

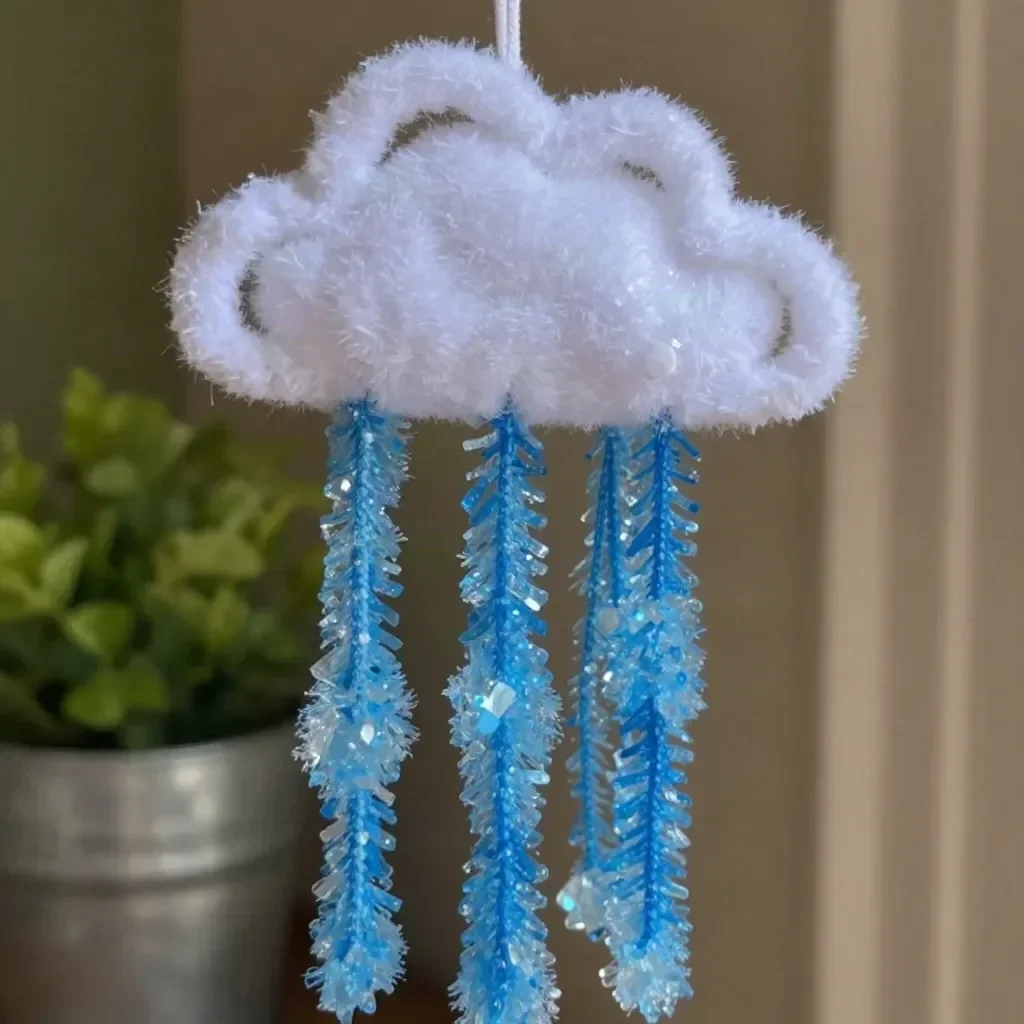
Crafting Your Own Crystal Cloud Raindrops
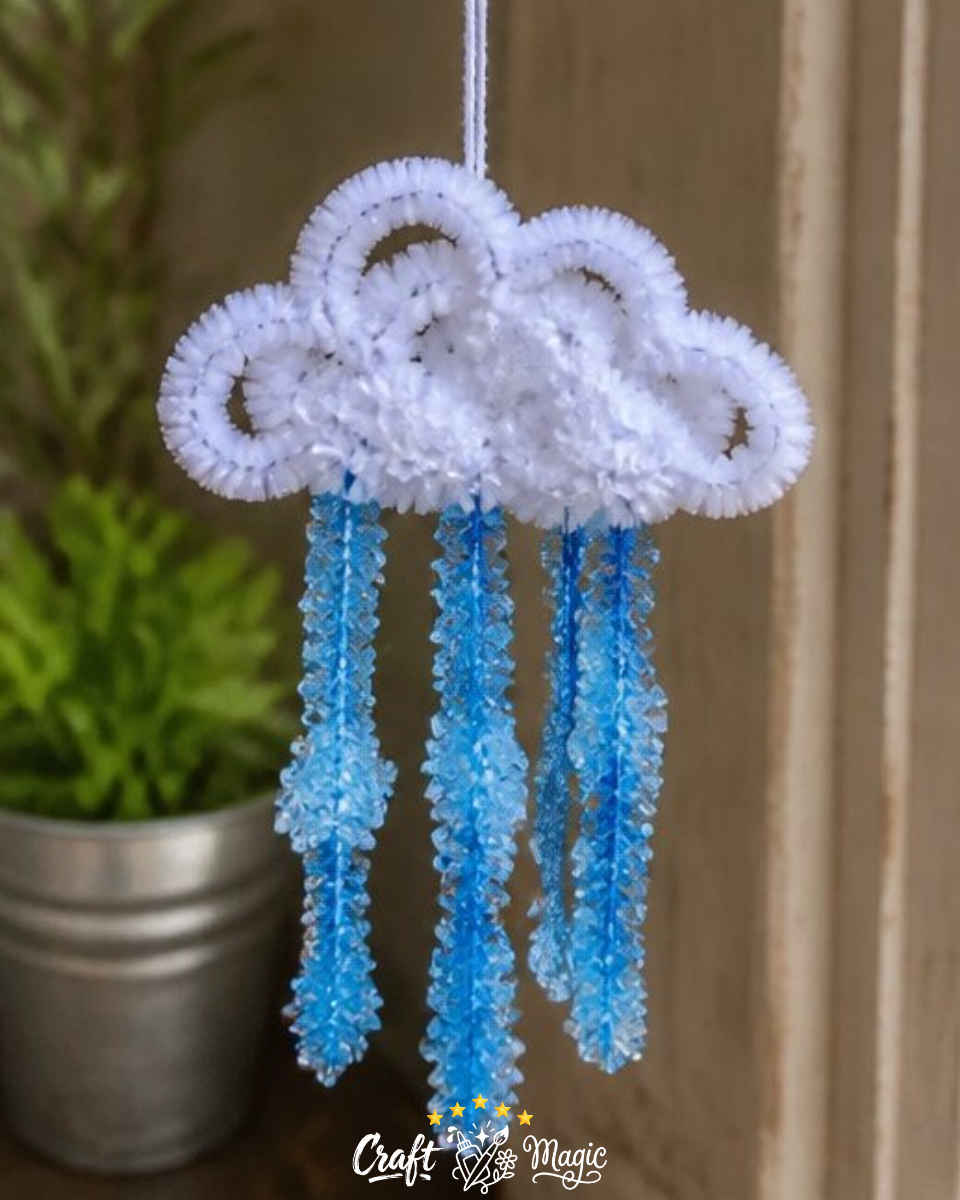
Create a cheerful and sparkly decoration with this delightful project, Crystal Cloud Raindrops. This fun and straightforward craft results in a fluffy, white cloud adorned with shimmering blue raindrops that will brighten up any space. Using simple materials like pipe cleaners and a borax solution, you can create eye-catching crystals that transform your DIY experience into something magical and visually appealing. This project is not only satisfying to make but also an excellent way to introduce kids to the wonders of crystallization and creativity. If you enjoy colorful crafts, you might also love our rainbow crystal butterfly suncatcher craft for added fun!
Materials You’ll Need
Before diving into the crafting process, gather the materials you’ll need:
- White pipe cleaners
- Blue pipe cleaners
- Borax
- Hot water
- Jars
- String
- Pencil
Getting Started with Crystal Cloud Raindrops
Now that you have your materials ready, it’s time to get creative and make your own Crystal Cloud Raindrops. This process not only beautifies your home but also demonstrates the fascinating science behind crystal formation.
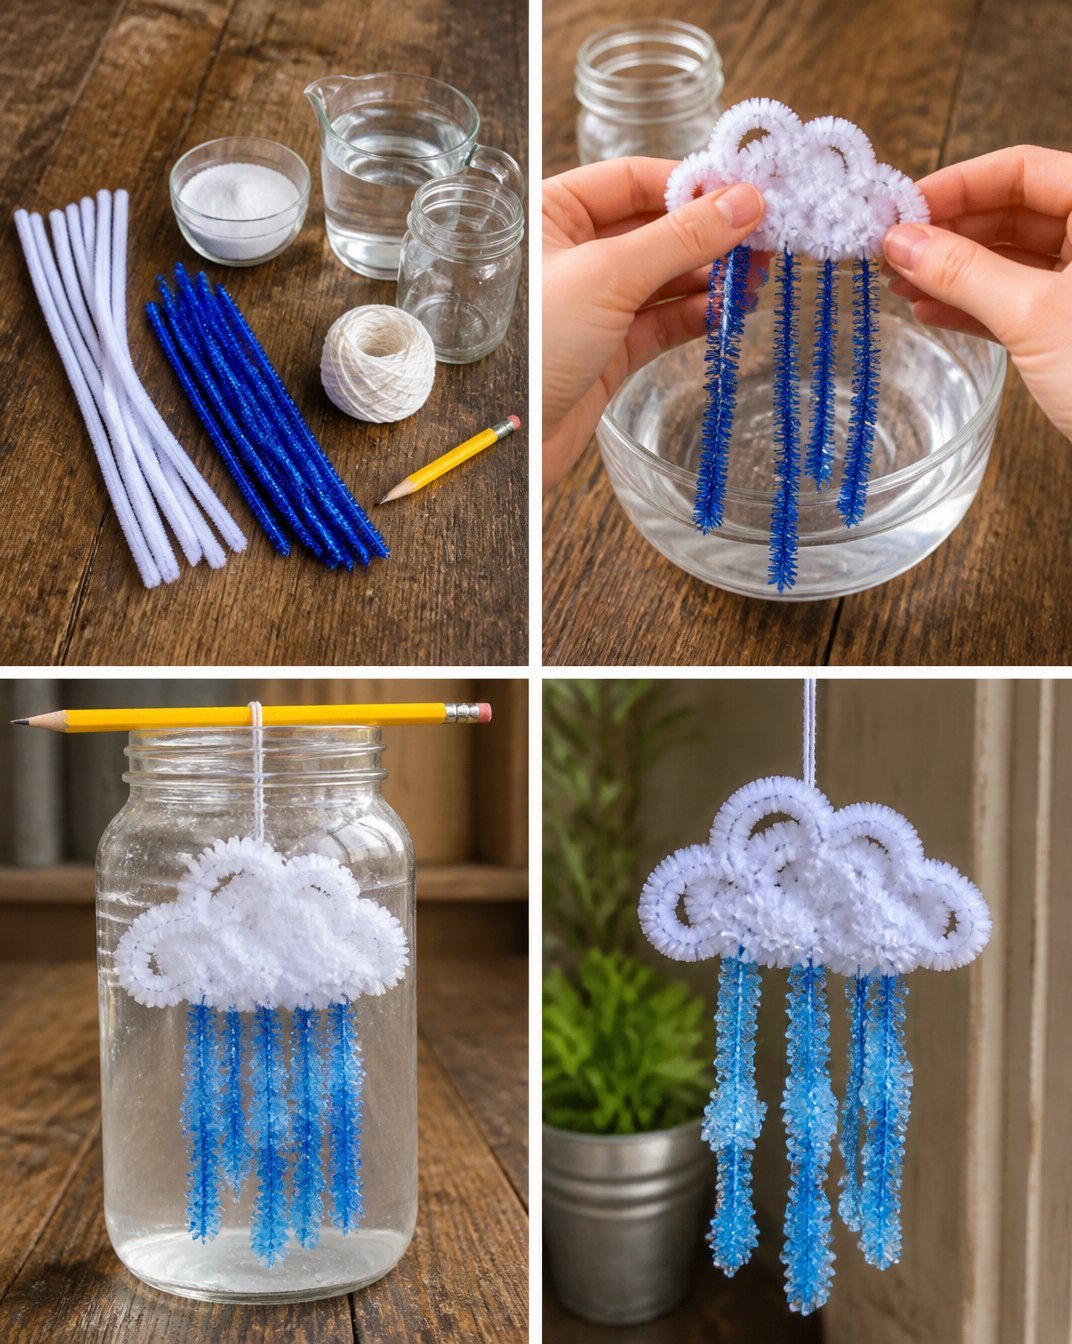
Shape Your Cloud: Start by bending the white pipe cleaners into a fluffy cloud shape, leaving room for blue pipe cleaner raindrops hanging down. These will add a playful touch to your creation.
Prepare the Borax Solution: In a jar, mix hot water with borax to create a saturated solution. You’ll know it’s ready when the borax dissolves completely, allowing for the formation of beautiful crystals later.
Suspend the Cloud: Carefully tie a piece of string to your cloud shape, then suspend it in the borax solution using a pencil laid across the top of the jar. This prevents the cloud from touching the bottom, maximizing crystal growth.
Wait Overnight: Leave the jar undisturbed overnight. As the solution cools, crystals will begin to form on your cloud, resulting in a dazzling display when removed.
Final Touches: In the morning, gently remove your cloud from the solution. Allow it to dry completely. Once dry, you can hang it up and enjoy the shimmering effect of your crystal raindrops.
Creating the Crystal Effect
The real magic of this project lies in the crystalline raindrops. As the borax solution cools, borax crystals will deposit on the cloud and raindrops, creating a shiny and textured appearance. This visual transformation, from simple materials to eye-catching art, is what makes crafting so rewarding. If you’re interested in exploring more crystal crafts, check out our rainbow crystal bat clothespin mobile for another enchanting DIY experience.
Helpful Tips for Success
Adjusting the Color: Feel free to experiment with different colors of pipe cleaners to create various cloud and raindrop combinations. You might mix shades to achieve a gradient effect.
Displaying Your Craft: Consider hanging your Crystal Cloud Raindrops by a window where sunlight can enhance the sparkle of the crystals, or using it as a delightful centerpiece at a summer party.
Involve Kids: This craft is perfect for family time! Let children shape the clouds and arrange the raindrops themselves, ensuring a hands-on experience that sparks their imagination.
Common Mistakes to Avoid
Not Waiting Long Enough: Ensure you leave the cloud in the solution overnight. Rushing this step won’t allow for proper crystal growth, and the result may not be as dazzling.
Using Too Much or Too Little Water: It’s essential to achieve a perfect saturated solution. If you add too much water, the crystals won’t form properly.
Cloud Size and Shape: Be mindful of how large you make your cloud. A bigger cloud might need more time to fully crystallize than a smaller one.
Frequently Asked Questions
What do I do if the crystals are not forming?
If your crystals aren’t forming, check the saturation of your borax solution. It may need more borax to ensure sufficient crystals form.
Can I use other materials?
While this project works best with the specified materials, you could experiment with different types of string or pipe cleaner colors if you wish.
Is this craft safe for kids?
Yes, this project is safe for kids with appropriate adult supervision, especially when handling hot water during the preparation of the borax solution.
Final Thoughts
The Crystal Cloud Raindrops are not just a delightful decoration; it’s an enjoyable project that combines creativity and science. As you hang your fluffy cloud with shimmering raindrops, you can take pleasure in knowing you created something unique. Embrace this creative journey, and don’t hesitate to personalize your cloud in any way that resonates with you.
Conclusion
If you’re looking for more playful crafting ideas for kids, consider trying this quick and easy rain cloud costume, which is perfect for themed parties or imaginative play!
Print
Crystal Cloud Raindrops
- Total Time: 15 minutes
- Makes: 1 decorative piece
Description
Create a fluffy cloud adorned with shimmering blue raindrops using simple materials and a borax solution.
Materials
- White pipe cleaners
- Blue pipe cleaners
- Borax
- Hot water
- Jars
- String
- Pencil
Instructions
- Shape your cloud: Bend the white pipe cleaners into a fluffy cloud shape.
- Prepare the borax solution: Mix hot water with borax to create a saturated solution.
- Suspend the cloud: Tie a piece of string to your cloud shape and suspend it in the borax solution.
- Wait overnight: Leave the jar undisturbed overnight for crystal growth.
- Final touches: Gently remove your cloud from the solution and let it dry completely.
Notes
Feel free to experiment with colors of pipe cleaners to achieve different effects. This craft is perfect for family involvement.