

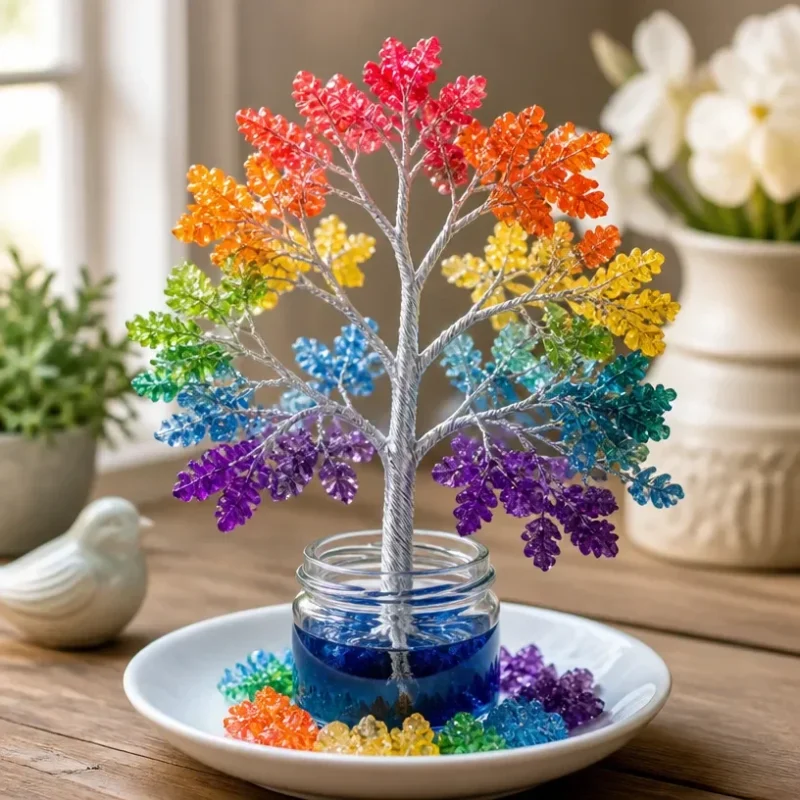
Crystal Rainbow Love Tree: Symbol of Harmony
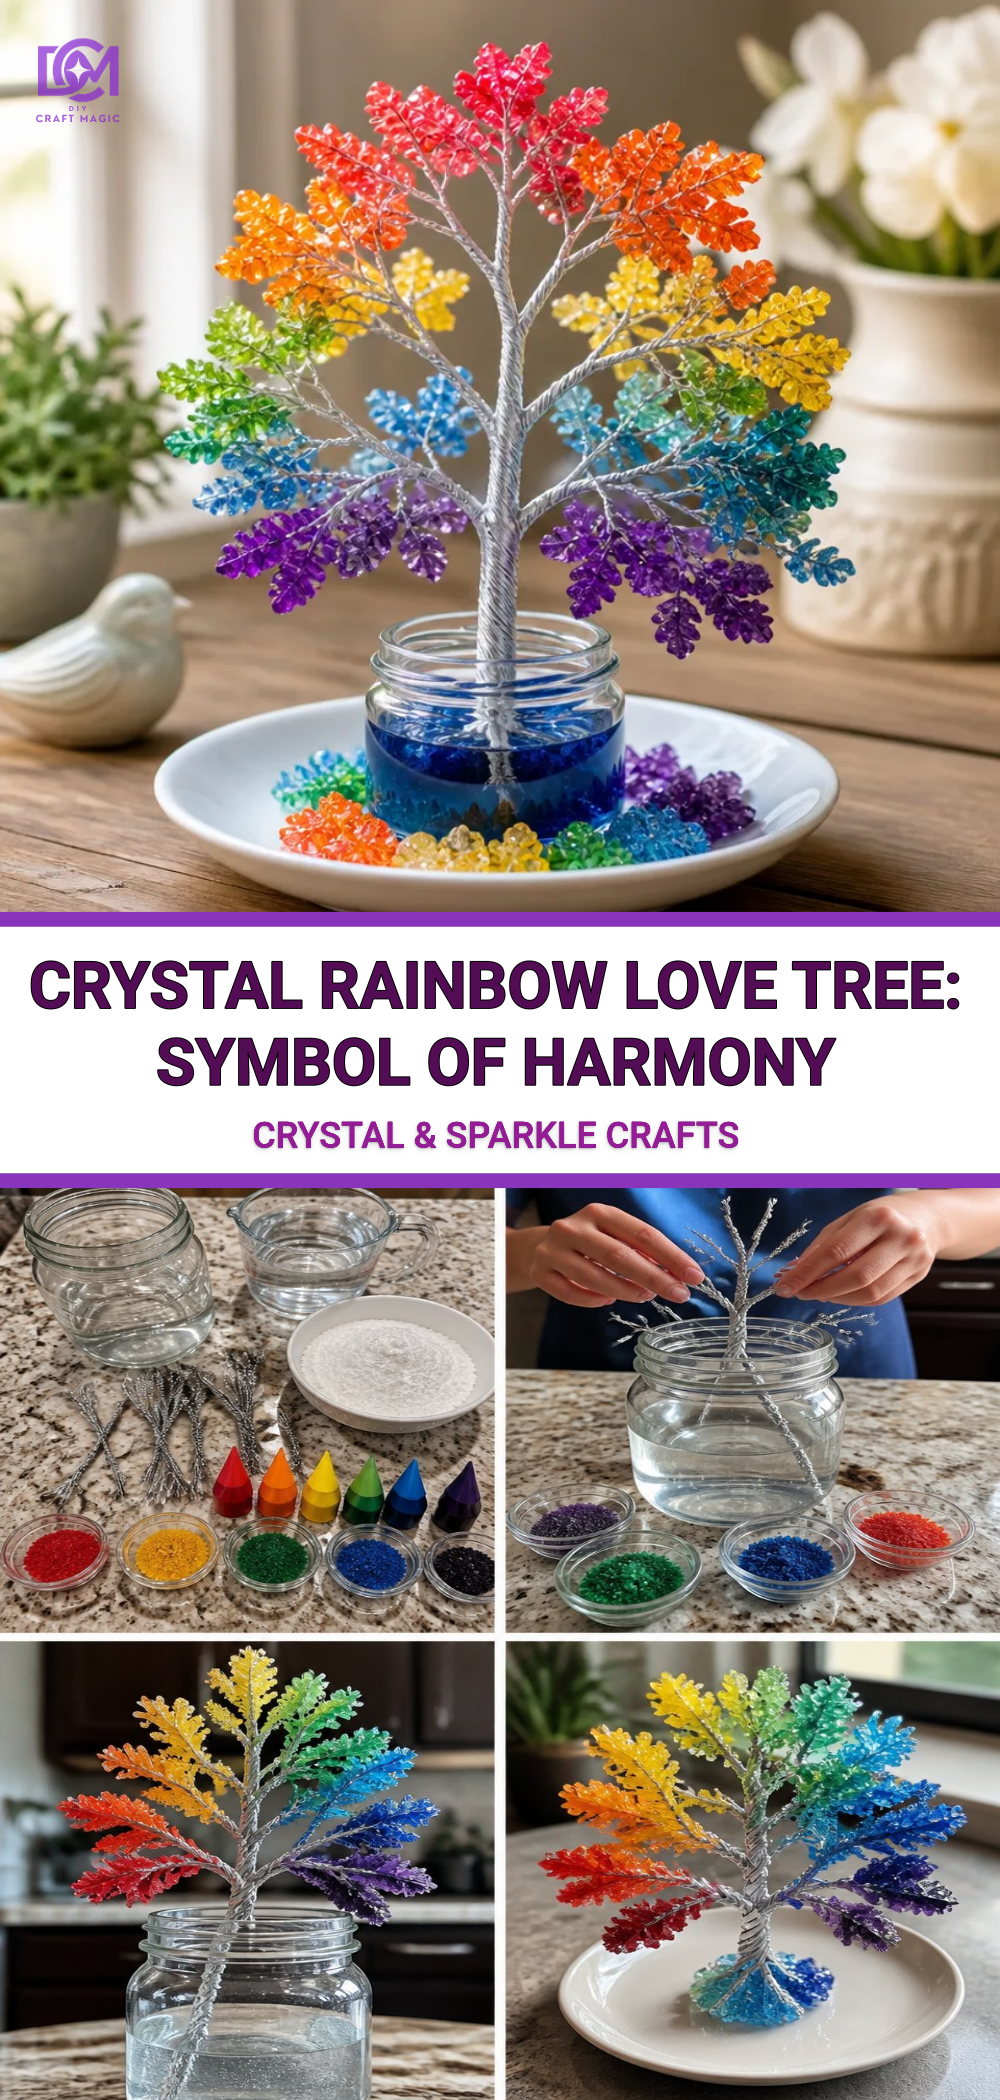
Creating a Crystal Rainbow Love Tree is not just a craft; it’s an artistic expression that symbolizes harmony and creativity. The finished product beautifully showcases layers of colors that shimmer and dance, reflecting light in a mesmerizing way. The best part is that this project is approachable for crafters of all skill levels, making it a perfect weekend activity with your family or friends. You may also find Prismatic Crystal Tree Diy Rainbow Decor useful.
You may also find Rainbow Bubble Crystal Canvas Wall Art Diy useful.
Materials You’ll Need
Gather the following materials to create your Crystal Rainbow Love Tree:
- Base: A sturdy surface like a wooden block or heavy ceramic pot
- Crystals: Various colored crystals or glass gems
- Wire: Thin gauge wire (preferably in copper or silver)
- Clay or Plaster: To serve as the trunk and secure the tree
- Paint: Acrylic paint in rainbow colors
- Glue: A strong adhesive, like hot glue or epoxy
- Scissors: For trimming the wire
- Optional: Suncatchers, beads, or decorative items
Why You’ll Love This Project
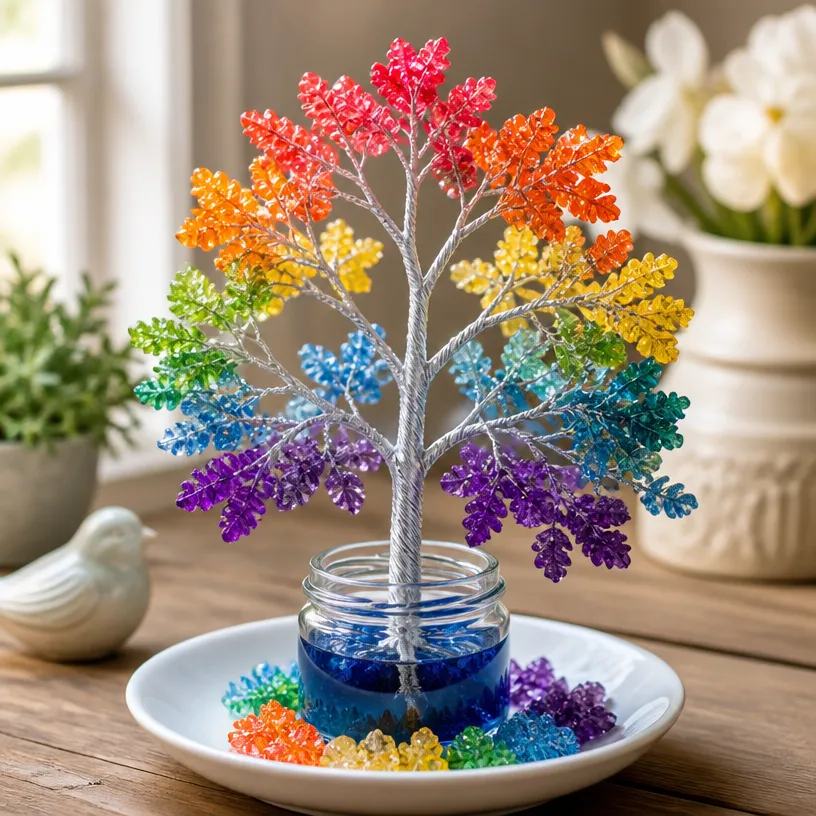
This project combines creativity, color, and a touch of nature, making it not only a fun craft but also an enchanting piece of decor. The process itself is satisfying, as you shape your tree and see the vibrant gems come together. Notably, similar projects like the Borax Rainbow Crystal Bloom Tree provide inspiration for adding unique elements to your design.
Step-by-Step Instructions
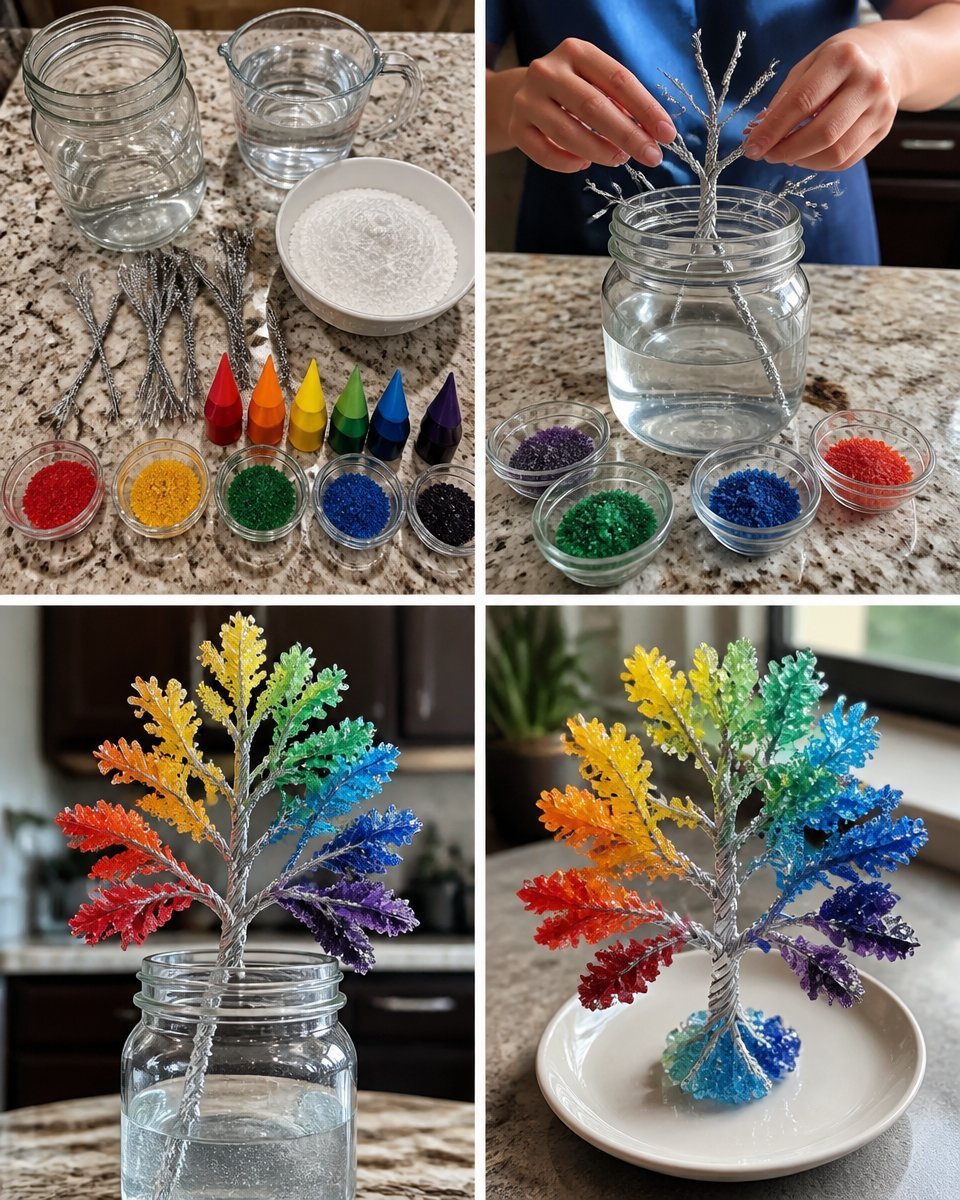
Base Preparation: Begin by securing your base. Use clay or plaster to create a trunk shape and let it set fully. This will serve as the foundation of your tree.
Wire Branches: Cut several pieces of wire to the desired length for your tree branches. Make these lengths varied to create a more natural look. Twist the wires together at the base for added support.
Attaching Crystals: Start adding crystals to the wire branches by threading them on. Secure each crystal in place with a small amount of glue. Remember, you can also refer to the prismatic sky phenomena guide for ideas on arranging colors.
Shape the Tree: Bend and shape the branches to give your tree a natural appearance. Allow your creativity to take over; some branches can be longer or shorter than others.
Painting the Trunk: Once the trunk is dry, paint it with brown or a rainbow color to match your tree’s theme. A glossy finish will enhance the overall look.
Final Assembly: Once everything is dry, attach the branches to the trunk securely with glue. Make sure the tree is balanced and stable.
Helpful Tips
- If you’re working with children, supervise them when using scissors and hot glue to ensure safety.
- You can personalize your Crystal Rainbow Love Tree by adding beads or charms that hold significance for you.
Common Mistakes to Avoid
One common mistake is overcrowding the branches; this can lead to a less stable tree. Ensure that you space out the crystals and observe how the tree looks as you assemble it. For more crafting ideas, check out the coffee filter rainbow roses tutorial for inspiration on using colors effectively.
Ways to Customize It
- Color Variations: Consider using different shades of one color, or let each family member make their own tree in their favorite colors.
- Seasonal Themes: Make different versions for various seasons, such as using autumn colors for fall or icy hues for winter.
Crafting With Kids
This project is suitable for kids under supervision. They can participate in choosing colors and gluing the crystals. It’s a great way to spark creativity and learn about color theory.
Frequently Asked Questions
How long does it take for the base to dry completely?
The drying time can vary depending on the material used. Generally, clay or plaster may take several hours, so plan accordingly.
Can I make a smaller version of the tree?
Absolutely! Adjust the wire lengths and crystal sizes to create a mini version of your rainbow tree.
What if I don’t have crystals?
You can substitute with colorful beads or even painted stones, giving you the same vibrant finish.
Conclusion
Creating your own Crystal Rainbow Love Tree is a delightful project that not only beautifies your space but also nurtures creativity. For practical tips on incorporating trees into your garden, you might explore options available at Dolphin Distributors Ltd. If you’re also interested in exploring healing crystals, you can find various options for sourcing them at Amazon. Enjoy crafting your personal symbol of harmony!
Print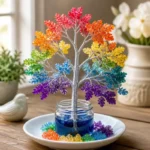
Crystal Rainbow Love Tree
- Total Time: 150 minutes
- Makes: 1 Crystal Rainbow Love Tree
Description
A delightful and colorful craft project that symbolizes harmony and creativity, perfect for all skill levels.
Materials
- Wooden block or heavy ceramic pot (base)
- Various colored crystals or glass gems
- Thin gauge wire (copper or silver)
- Clay or plaster (for the trunk)
- Acrylic paint in rainbow colors
- Strong adhesive (hot glue or epoxy)
- Scissors (for trimming the wire)
- Optional: Suncatchers, beads, or decorative items
Instructions
- Begin by securing your base. Use clay or plaster to create a trunk shape and let it set fully.
- Cut several pieces of wire to the desired length for your tree branches, making varied lengths for a natural look.
- Start adding crystals to the wire branches by threading them on and securing each with a small amount of glue.
- Bend and shape the branches to give your tree a natural appearance.
- Once the trunk is dry, paint it with brown or a rainbow color to match your tree’s theme.
- Once everything is dry, attach the branches to the trunk securely with glue to make sure the tree is balanced and stable.
Notes
Supervise children when using scissors and hot glue for safety. Personalize your tree with meaningful beads or charms.