


DIY Flower Magnets from Recycled Bottle Caps
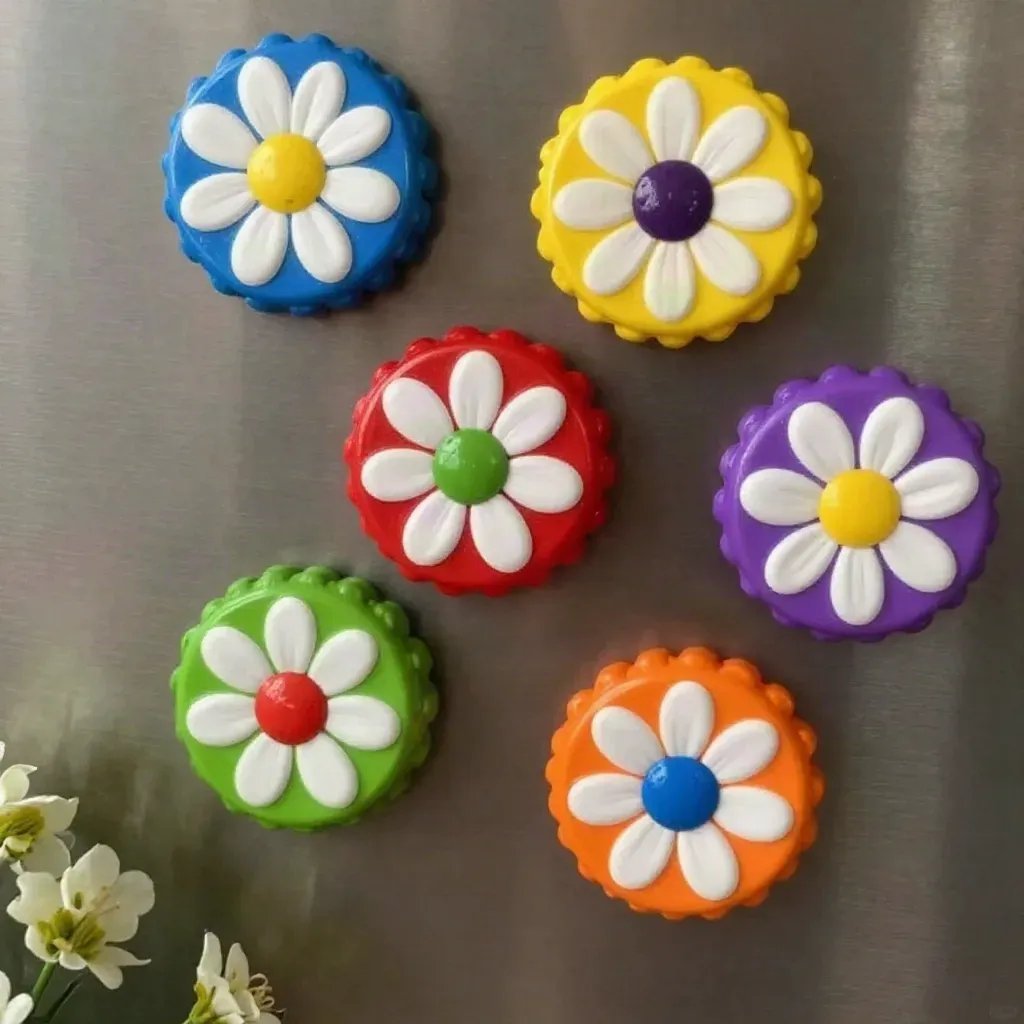
Transform ordinary bottle caps into delightful flower magnets that brighten up any metallic surface! Using simple materials like acrylic paint and adhesive magnets, this craft is both approachable and satisfying. The finished magnets showcase colorful floral designs, making them perfect for decorating your refrigerator or magnetic boards with a personal touch. You may also find Diy Rainbow Popsicle Stick Flower Wheel Craft useful.
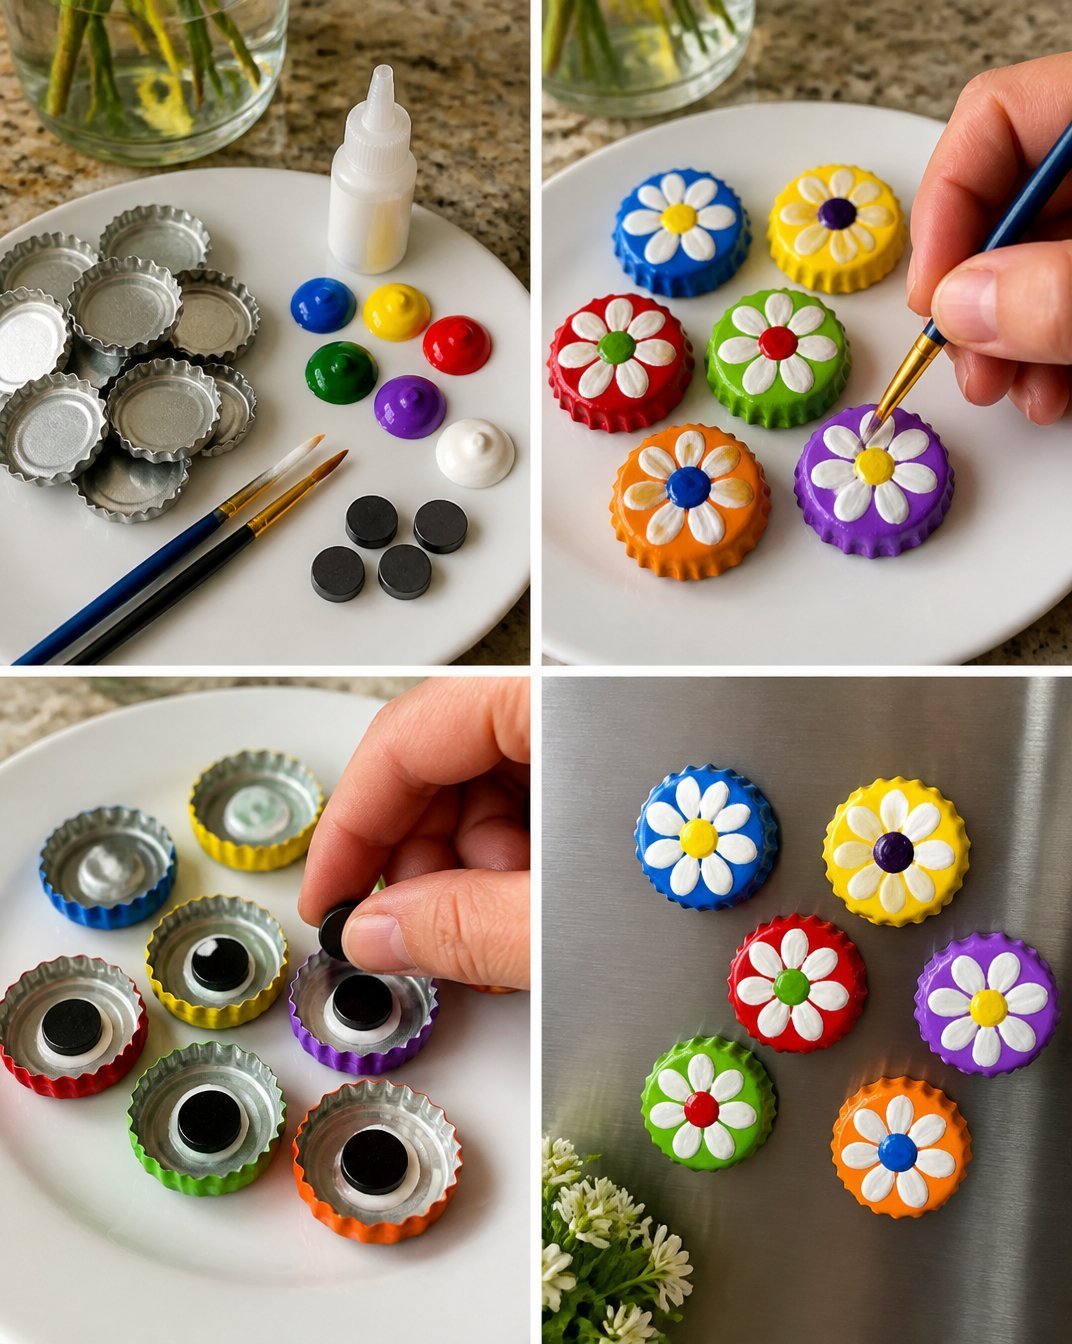
Materials You’ll Need
To get started, gather the following materials:
- Recycled bottle caps (metal or plastic)
- Acrylic paint (variety of colors for flowers)
- Paintbrushes (small for details and larger for background)
- Craft glue (strong adhesive)
- Adhesive magnets (available at craft stores)
- Optional: Clear sealant spray (to protect your paint)
- Optional: Gloss finish for extra shine
Step-by-Step Instructions
1. Prepare Your Workspace
Begin by preparing your workspace. Lay down newspaper or a drop cloth to protect your surfaces, and gather all your materials. It’s handy to have everything organized before you start painting.
2. Create Your Floral Designs
Now it’s time to paint! Take your bottle caps and paint the tops with floral designs. Let your imagination run wild with colors and patterns. Allow the paint to dry completely before you move on to the next step. You could even explore some inspiration from other colorful crafts such as the rainbow flower garden stakes to spark your creativity!
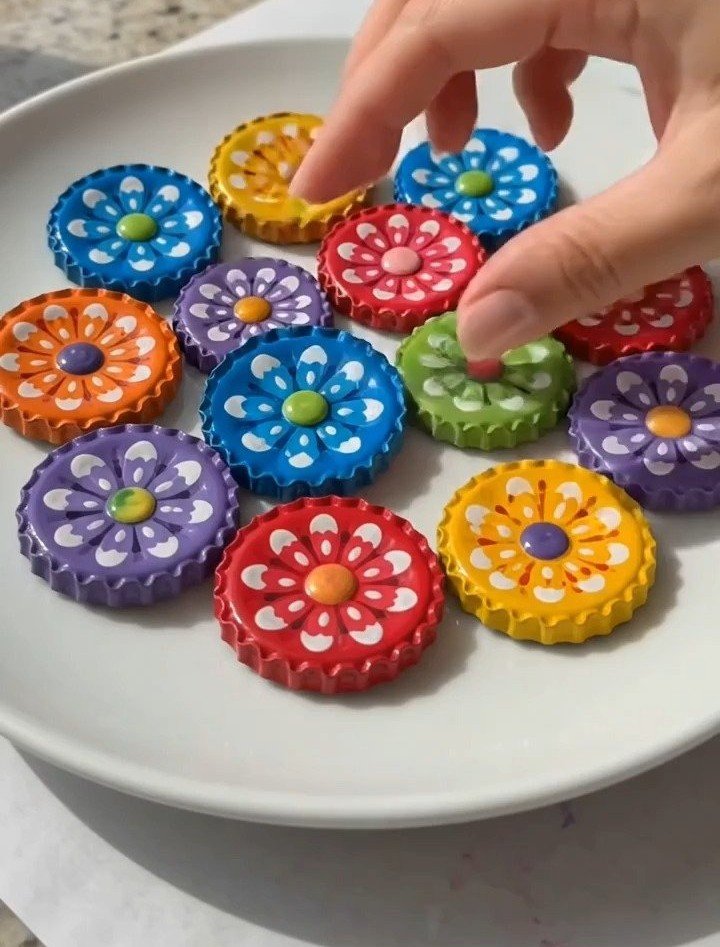
3. Attach the Magnets
Once the paint is dry, it’s time to make them functional. Apply a small dab of craft glue to the back center of each bottle cap. Then, press an adhesive magnet firmly onto the glue. Ensure it’s well-attached and let it set for at least one hour to allow the glue to bond effectively.
4. Enjoy Your Magnets
After the adhesive has dried, your flower magnets are ready to be displayed! Place them on a magnetic surface like a refrigerator or magnetic board. Their vibrant colors and designs will surely bring joy to anyone who sees them.
Helpful Tips
- Mix Your Colors: Experiment with different shades and patterns for each flower to create a diverse set of magnets.
- Use a Clear Sealant: If you want your designs to last longer and maintain vibrancy, consider using a clear sealant spray after the paint dries. This also gives your magnets a nice glossy finish.
- Craft with Kids: This project is great for family crafting! Engage kids by allowing them to design their own flower magnets, teaching them about recycling and creativity in one go.
Common Mistakes to Avoid
- Rushing the Drying Time: Take your time with the drying process to prevent smudges or a sticky feel.
- Skipping the Sealant: If you want to keep your artwork looking fresh, don’t skip sealing your painted caps, especially if they might get handled often.
Customization Ideas
- Consider adapting the shapes of your designs! Instead of traditional flower shapes, you might create butterflies or other whimsical designs, perhaps inspired by projects like the rainbow butterfly stakes.
- You can also create seasonal themes such as autumn leaves or winter snowflakes to change your decor with the seasons.
Frequently Asked Questions
How long does the paint take to dry?
The drying time can vary based on the type of acrylic paint used, but generally, a couple of hours should suffice. For best results, check the paint label.
Can I use different types of glue?
Yes, but make sure any alternative adhesive is strong enough to hold the magnet securely. Hot glue works well if you prefer it.
What if the colors lose vibrancy?
If your paint fades over time, consider applying a new coat or using the clear sealant to help maintain the color.
Conclusion
Creating DIY flower magnets from recycled bottle caps is a wonderful way to combine creativity with sustainability. These charming decorations are a fantastic project for both adults and kids, and they offer a fun way to beautify everyday spaces. If you’re looking for more engaging craft ideas, check out these paper flower magnets for more inspiration!
Print
DIY Flower Magnets from Recycled Bottle Caps
- Total Time: 140 minutes
- Makes: 6 flower magnets
Description
Transform ordinary bottle caps into delightful flower magnets that brighten up any metallic surface with colorful designs.
Materials
- Recycled bottle caps (metal or plastic)
- Acrylic paint (variety of colors for flowers)
- Paintbrushes (small for details and larger for background)
- Craft glue (strong adhesive)
- Adhesive magnets (available at craft stores)
- Optional: Clear sealant spray (to protect your paint)
- Optional: Gloss finish for extra shine
Instructions
- Prepare your workspace. Lay down newspaper or a drop cloth to protect your surfaces and gather all your materials.
- Create your floral designs by painting the tops of the bottle caps with various colors and patterns. Allow the paint to dry completely.
- Attach the magnets by applying a small dab of craft glue to the back center of each bottle cap. Press an adhesive magnet firmly onto the glue and let it set for at least one hour.
- Enjoy your magnets by placing them on a magnetic surface like a refrigerator or magnetic board.
Notes
Experiment with different shades and patterns for a diverse set of magnets. Consider using a clear sealant for longevity.