

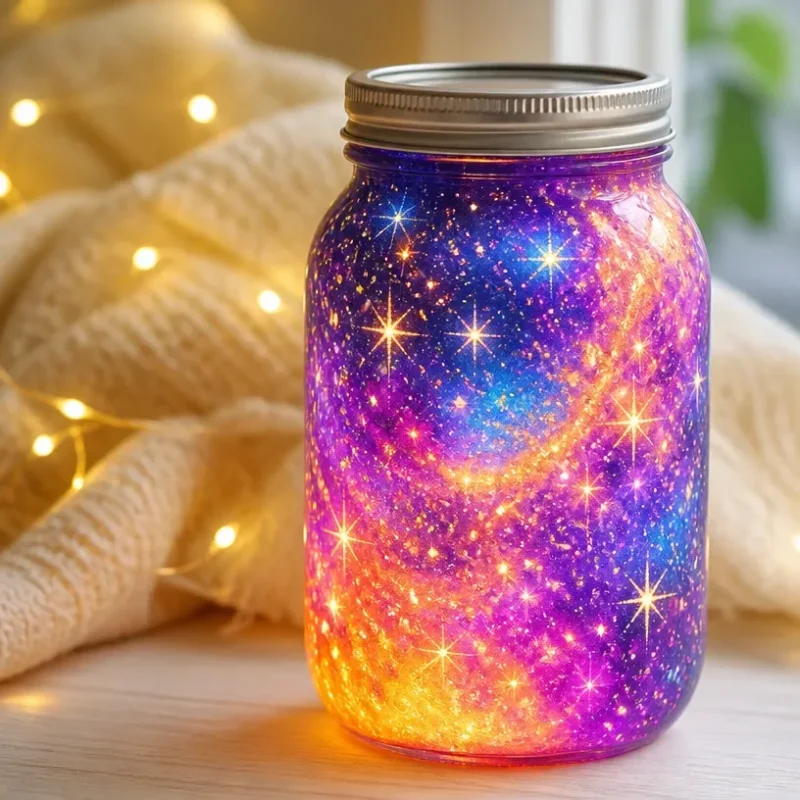
Glow Galaxy Jar: A Creative Craft Project
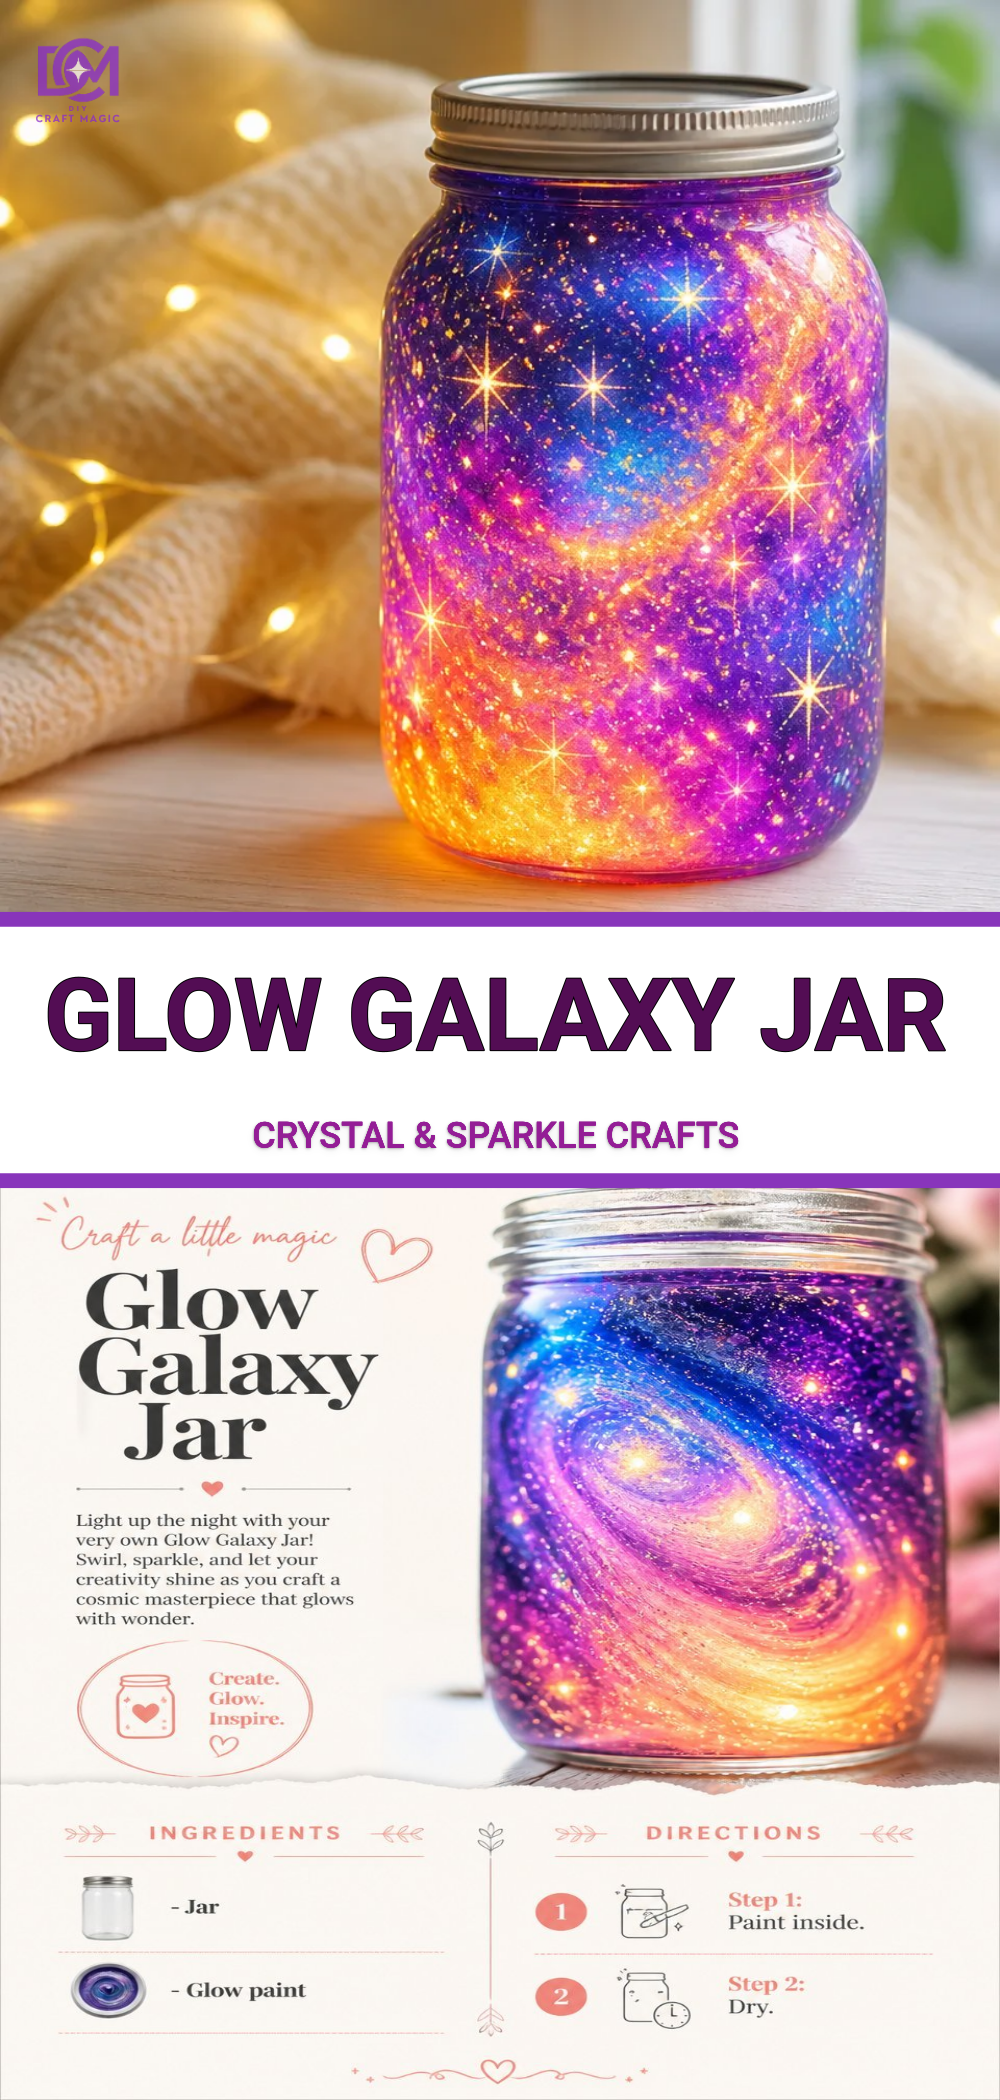
Creating a Glow Galaxy Jar is a delightful project that transforms a simple glass jar into a mesmerizing display of colorful galaxies. This craft is visually stunning as it combines swirling colors that glow softly in the dark, creating an enchanting effect perfect for a nightstand or a themed room. The best part? It’s easy to make and a wonderful opportunity to engage with kids in a hands-on crafting experience. You may also find Glow In The Dark Mermaid Jar Diy Craft For Kids useful.
Why You’ll Love This Project
You’ll find this Glow Galaxy Jar not only fun to make but also a brilliant way to express creativity. Layering colors and adding textures gives you an opportunity to experiment with different looks. Plus, the jar glows when the lights are out, making it a fantastic addition to any child’s room, or a lovely night light. You may also find Led Rainbow Galaxy Bottle Glowing Space Decor useful.
Materials You’ll Need
Before starting this exciting project, gather all necessary materials. Here’s a simple list to help you prepare:
- A clean glass jar with a lid
- Glow-in-the-dark paint or powder
- Acrylic paint in various colors (like blue, purple, black, and white)
- Soft brush or sponge for application
- Glitter (optional, for added sparkle)
- Water
- Small flashlight or black light for charging the glow
Choosing Your Materials
Opt for high-quality glow-in-the-dark products to ensure the best luminous effects. You might also consider using different sized jars to experiment with various aesthetics. For additional inspiration, check out this colorful ocean jar decor that showcases layering techniques that work beautifully with this project.
How to Make Your Glow Galaxy Jar
Let’s dive into the step-by-step process of creating your Glow Galaxy Jar, ensuring you achieve a stunning final result.
Step-by-Step Instructions
Prepare Your Jar: Ensure your glass jar is clean and dry. This will help the paint adhere better.
Add the Base Layer: Use a brush or sponge to apply black acrylic paint as your base. This will set the stage for your galaxy effect. Allow it to dry completely.
Create the Galaxy Layers: Once the black layer is dry, start adding colors. Use a sponge to dab on blue, purple, and white paint, creating swirls and layers. Feel free to mix colors for more depth. For a hint of sparkle, sprinkle glitter while the paint is still wet.
Incorporate Glow Elements: To achieve the magical glow, mix glow-in-the-dark paint or powder with a small amount of water and apply it over your colorful layers. This step is crucial, as it should be evenly distributed.
Final Touches: After the glow layer dries, seal your jar with the lid. To charge the glow, sit your jar under a light or use a small flashlight for a few minutes.
Getting the Colors Right
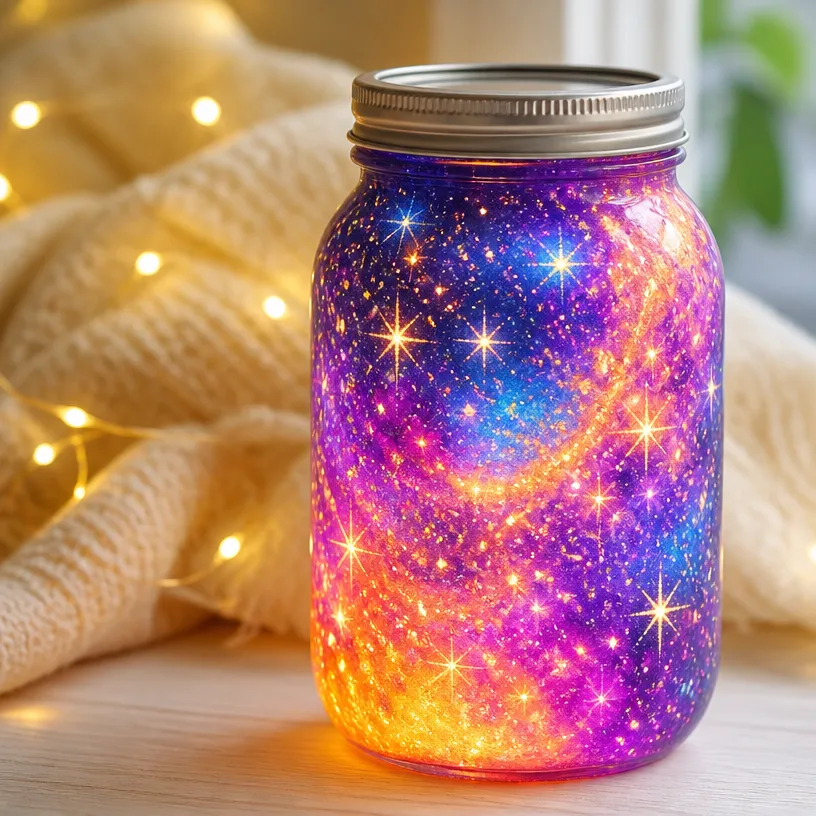
Finding the perfect color combination is essential for achieving a captivating look. Consider using dark blues and purples as your primary base, then add swirls of lighter colors to mimic star formations. If you’re nervous about your color choices, you can find more color ideas and inspirations in this magic summer galaxy jar project.
Creating the Crystal Effect
To enhance the glow effect, consider experimenting by adding items like faux crystals at the bottom of the jar. This technique can yield remarkable visual depth and intrigue.
Common Mistakes to Avoid
While this project is straightforward, a few common pitfalls can derail your crafting. Here are a few tips to ensure success:
- Over-Wetting the Glow Paint: Mixing too much water with the glow paint can dilute it, reducing its effectiveness. Aim for a thick paint consistency.
- Inadequate Drying: Be patient! Allow each layer to dry fully before applying the next one to avoid smudging.
- Layering Techniques: Experiment with how thick or thin you make your layers; both too thick or too thin can affect the final look.
Ways to Customize It
You can easily give your Glow Galaxy Jar its unique flair by playing with textures and colors. Consider adding beads, shells, or even fairy lights tucked under the lid for added ambiance. If you’re inspired, you might also look at this glowing rainbow ocean jellyfish jar light for more creative ideas to inspire your craft.
Display Ideas
Once completed, display your jar on a shelf, windowsill, or as a nightlight. If you’re making several jars, they can be a stunning centerpiece for a themed party!
Crafting With Kids
This is a perfect family project! Let children choose their own colors and help with painting. Just make sure they follow safety guidelines, especially when working with glass jars and paints.
Frequently Asked Questions
How long does it take for the jar to glow after charging?
Typically, your Glow Galaxy Jar will emit light for several hours after being charged under a light source. Ensure it’s charged well for the best effect.
Can I use different types of jars?
Absolutely! Experiment with shapes and sizes to create a variety of galaxy jar styles.
What if I can’t find glow-in-the-dark paint?
You can use glow powder mixed with a clear base or even try glow sticks for a temporary solution.
Conclusion
Making your own Glow Galaxy Jar is a satisfying way to embrace creativity while bringing a little magic into your home décor. Engage with the process, and don’t hesitate to explore resources like Galaxy Jars DIY: Hold the Galaxy in your Hands! for further inspiration, or check out Galaxy Jars with Mini-Lesson on Nebulae for a neat educational spin on the project. Happy crafting!
Print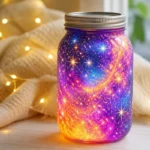
Glow Galaxy Jar
- Total Time: 20 minutes
- Makes: 1 jar
Description
Transform a simple glass jar into a mesmerizing Glow Galaxy Jar with vibrant colors and enchanting effects, perfect for any child’s room.
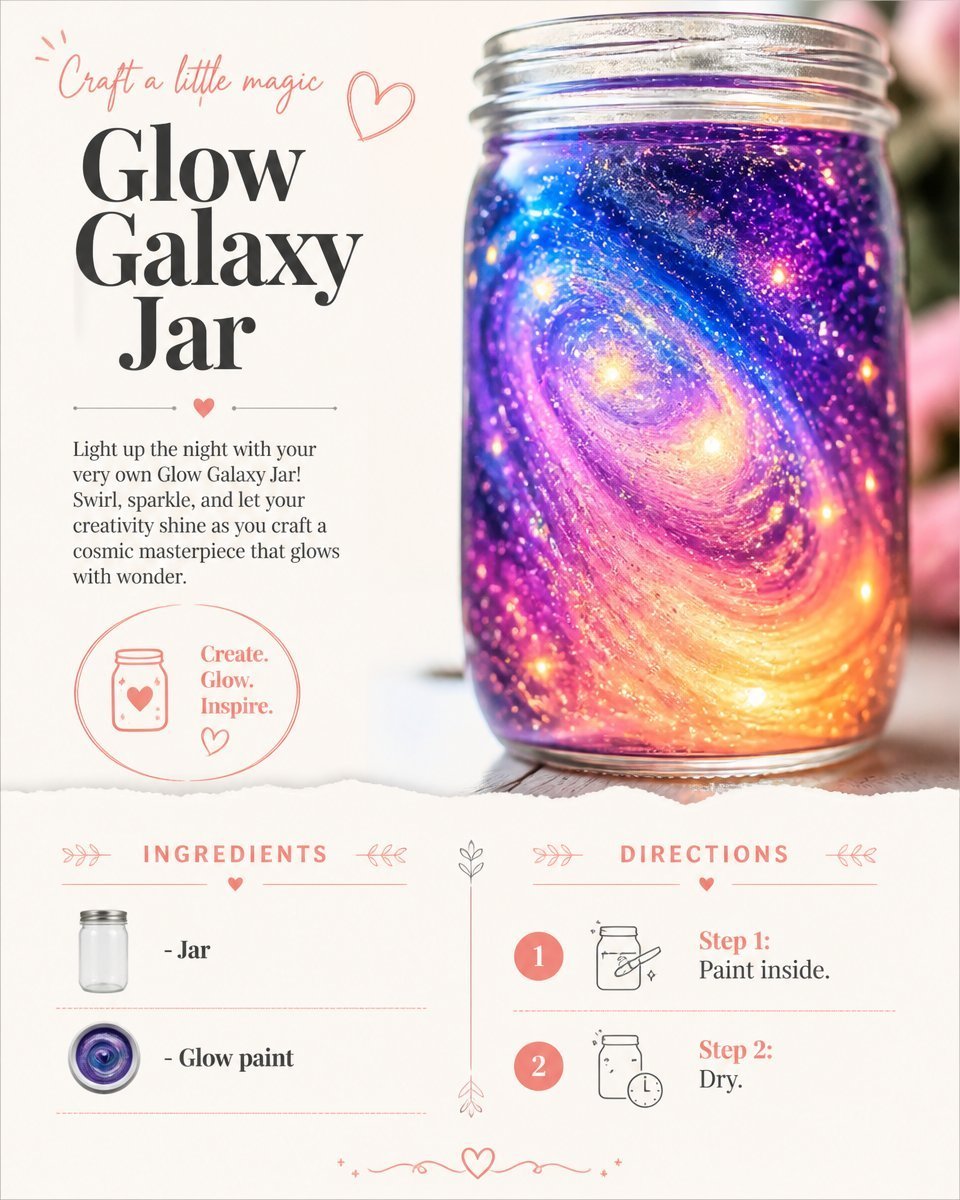
Materials
- A clean glass jar with a lid
- Glow-in-the-dark paint or powder
- Acrylic paint in various colors (blue, purple, black, white)
- Soft brush or sponge for application
- Glitter (optional)
- Water
- Small flashlight or black light for charging
Instructions
- Prepare your jar: Ensure your glass jar is clean and dry.
- Add the base layer: Apply black acrylic paint as your base, allow it to dry completely.
- Create the galaxy layers: Dab on blue, purple, and white paint, swirling and layering them.
- Incorporate glow elements: Mix glow-in-the-dark paint with water and apply over the colorful layers.
- Seal the jar: After the glow layer dries, seal your jar with the lid and charge it under a light.
Notes
Experiment with different jars and colors to customize your Glow Galaxy Jar. Adding faux crystals can enhance the visual depth.