

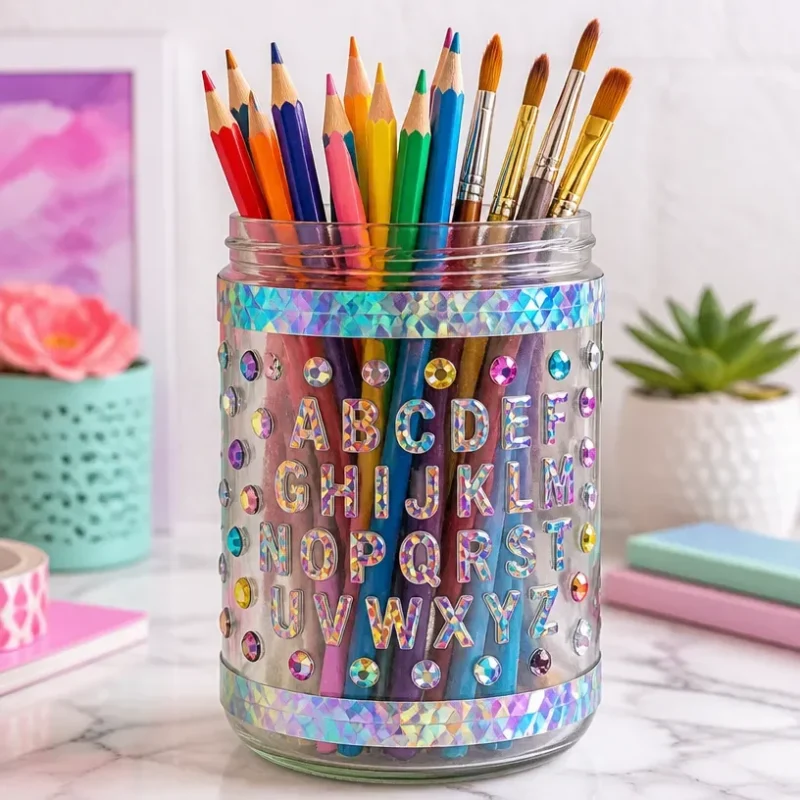
Create a Stunning Holographic Pencil Jar for Back-to-School Supplies
Crafting can transform ordinary materials into stunning visual creations, and today we’re diving into making a Holographic Pencil Jar that’s perfect for organizing school supplies or adding a pop of color to your workspace. This project is not only visually striking but also surprisingly simple to complete. You’ll enjoy the satisfying transformation as you turn plain jars into a rainbow of reflective beauty! You may also find Glow In The Dark Mermaid Jar Diy Craft For Kids useful.
Why You’ll Love This Project
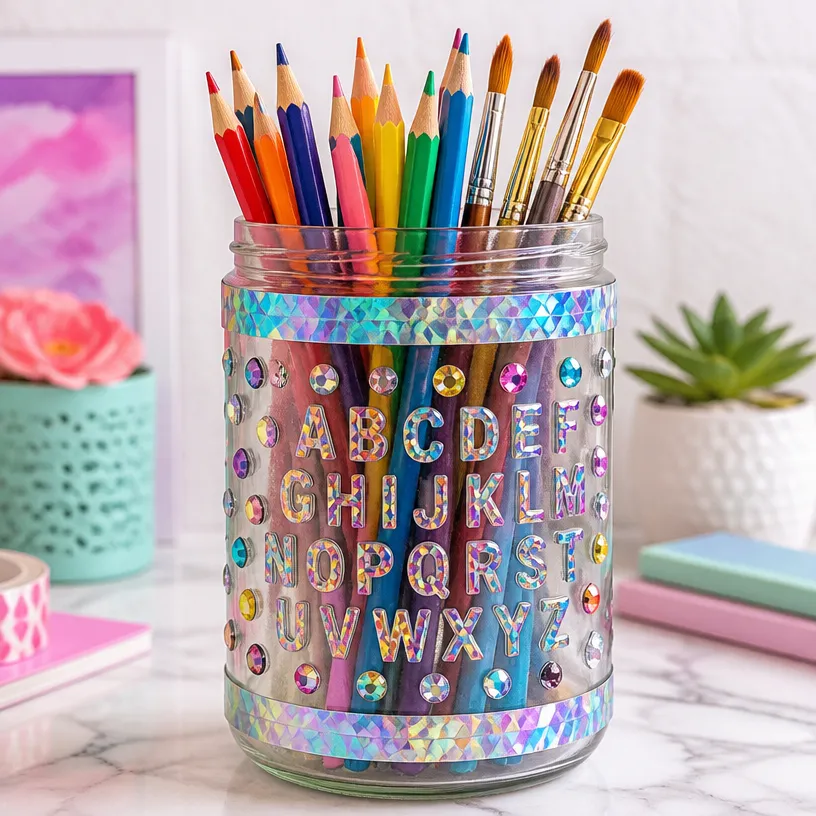
This Holographic Pencil Jar will amaze everyone with its glossy, colorful effect that catches the light beautifully. Whether you’re a parent looking for an engaging craft to do with your kids or a DIY enthusiast eager to add a personal touch to your study area, this project fits the bill. Plus, you’ll appreciate how easy it is to gather materials and follow the straightforward steps to create your masterpiece. You may also find Rainbow Pencil Flower Bouquet Craft Back To School useful.
You may also find Colorful Monster Pencil Holders Kids Desks useful.
Materials You’ll Need
Before we get crafting, let’s gather the materials you need to create this fantastic Holographic Pencil Jar:
- Clear glass jar (as a base)
- Holographic adhesive vinyl (for the shimmering effect)
- Craft knife or scissors (to trim the vinyl)
- Transfer tape (for easy application of the vinyl)
- Sponge applicator (to smooth out any bubbles)
- Adhesive (if not using self-adhesive vinyl)
Step-by-Step Instructions
Now that you’ve gathered your materials, let’s go through the steps needed to create your stunning Holographic Pencil Jar!
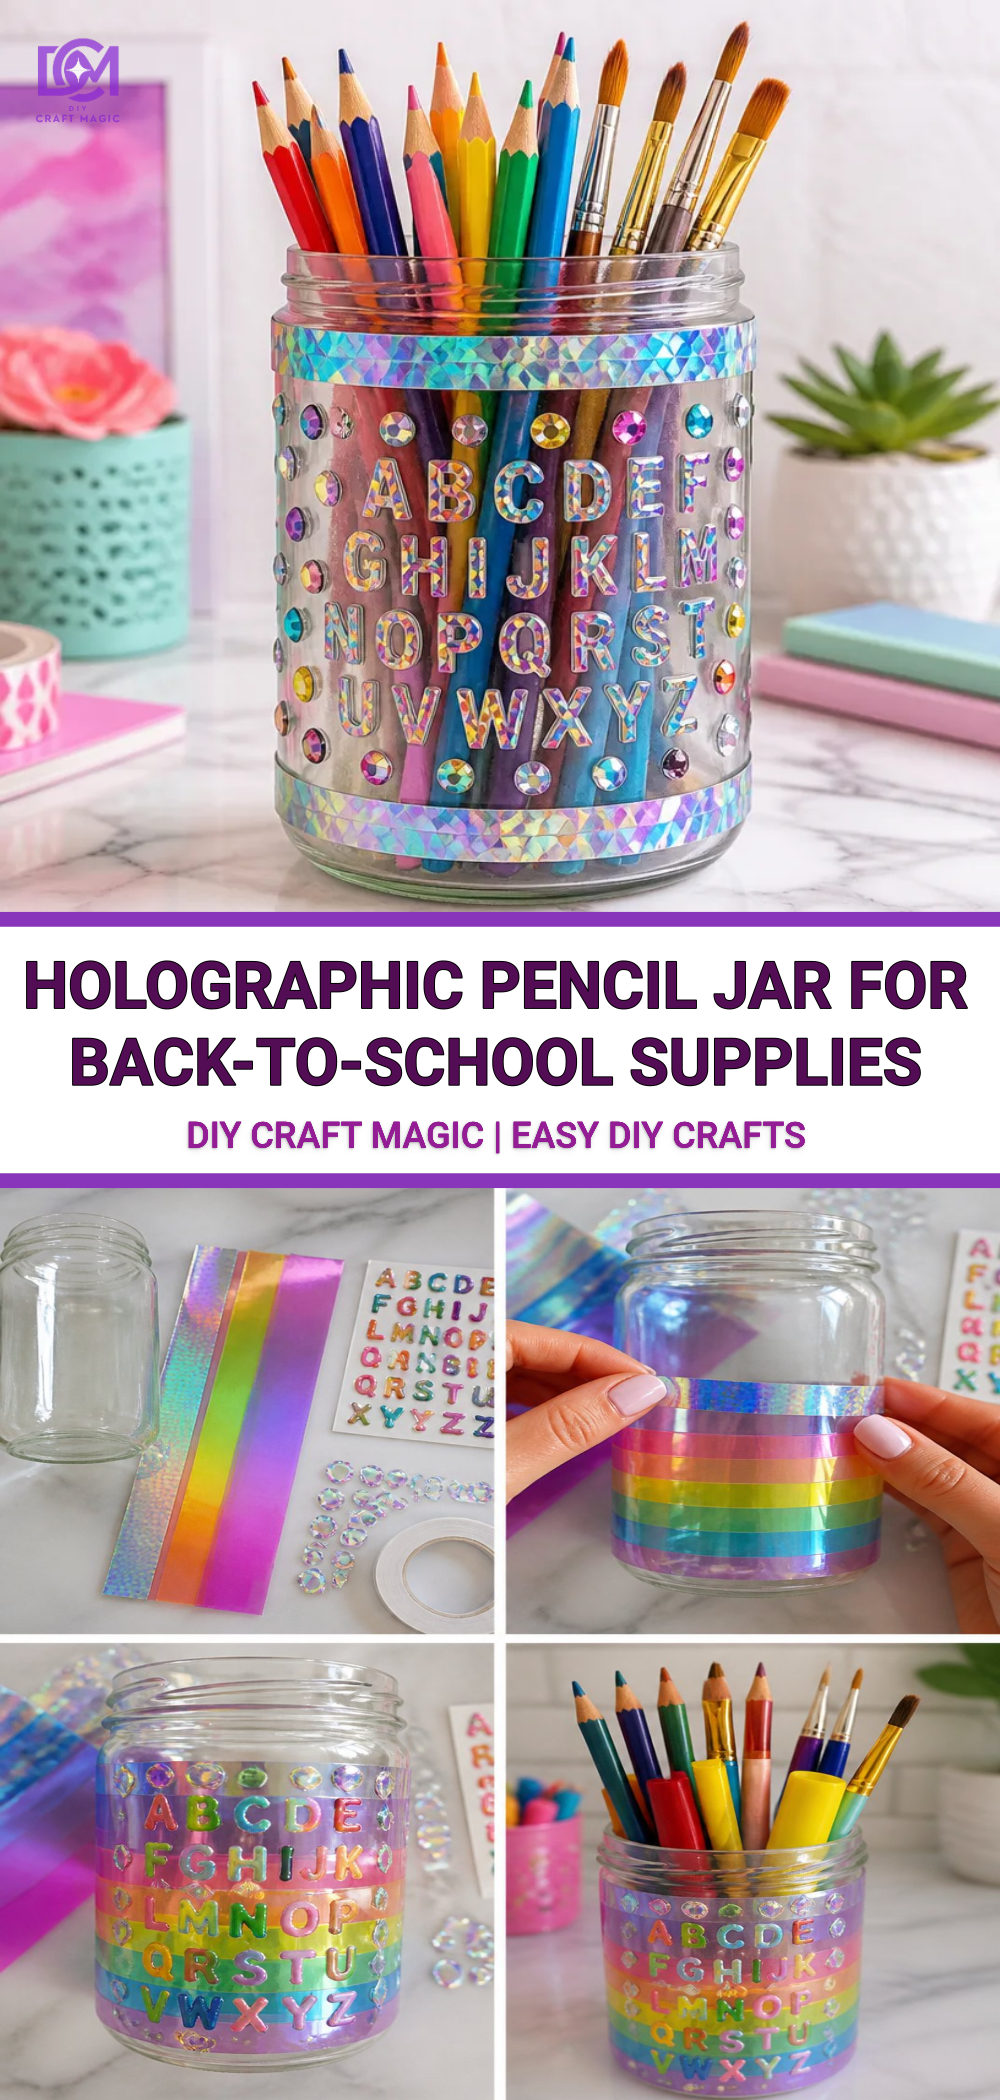
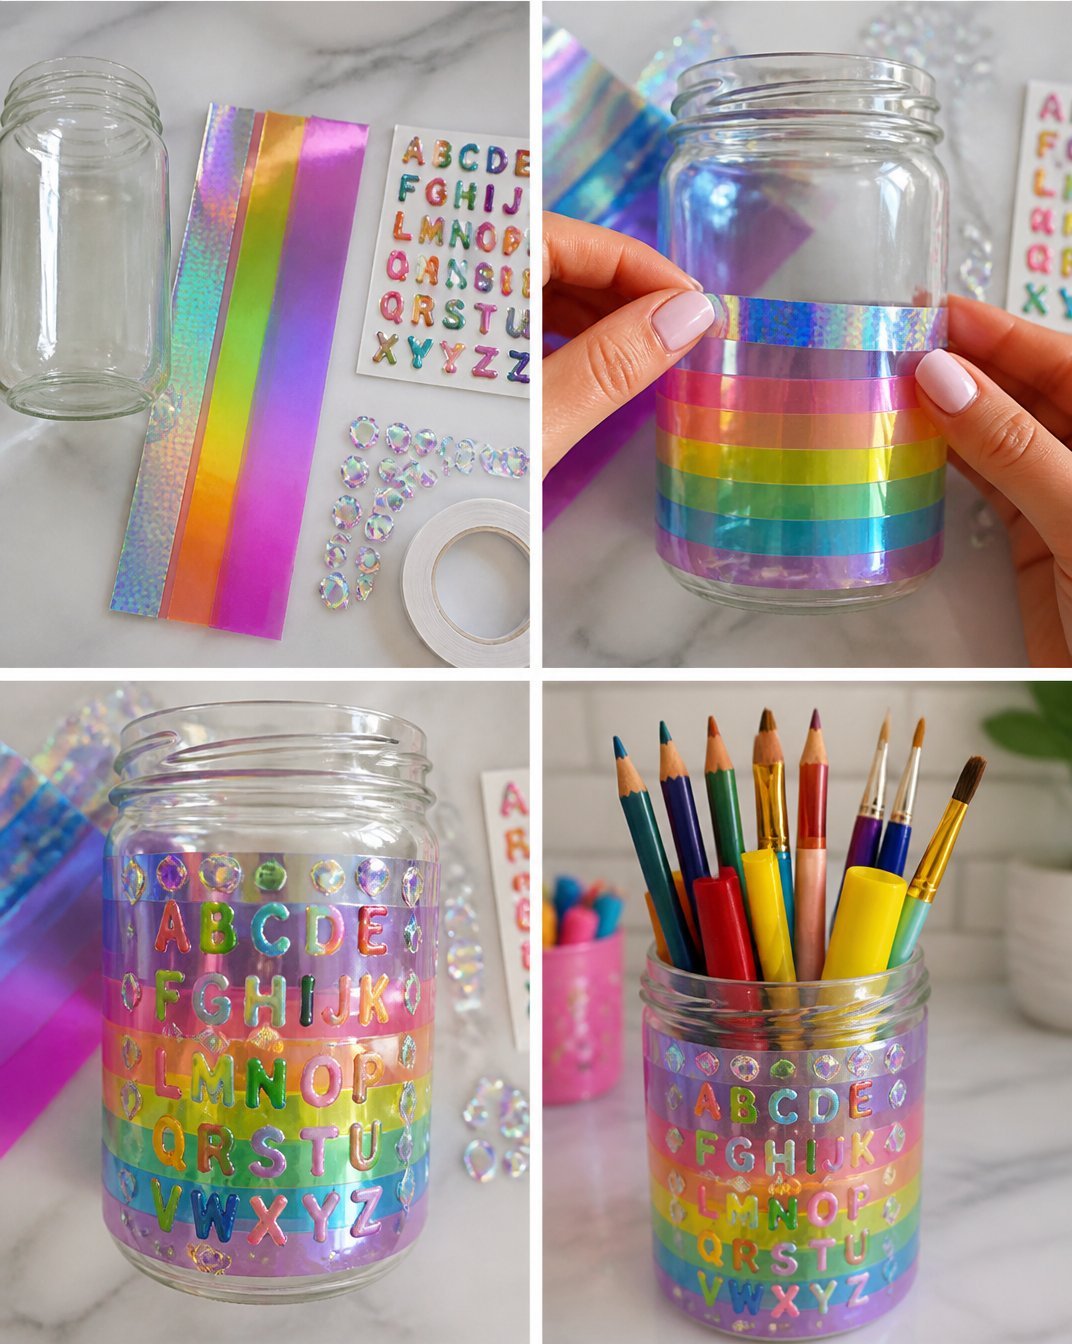
Prepare the Jar: Start by cleaning the glass jar thoroughly to ensure that the vinyl adheres properly. Any dust or fingerprints can prevent the bond.
Cut the Holographic Vinyl: Measure the height and circumference of your jar, then cut a strip of holographic vinyl accordingly. If you’re unsure about the design, consider simple shapes or patterns that will showcase the holographic effect.
For inspiration, you might like exploring more fun and colorful projects like the Colorful Ocean Jar Decor.
Apply Transfer Tape: Place a piece of transfer tape over the vinyl cutout to make it easier to transfer the design onto the jar. Use a sponge applicator to smooth out any bubbles.
Adhere the Vinyl to the Jar: Carefully peel off the backing from the vinyl and position it on the jar. Use the sponge applicator to apply firm pressure, ensuring it sticks without air bubbles.
Finishing Touches: Once the vinyl is securely attached, trim any excess using a craft knife for a clean edge. Your Holographic Pencil Jar is almost ready to shine!
Helpful Tips for Success
- When working with vinyl, take your time to ensure accurate placement. A few seconds of care can save you from needing to redo your work.
- Consider leaving some space around the top of the jar to create a sleek and modern look.
- Experiment with layering different vinyl colors to create unique patterns and designs that reflect your personal style.
Common Mistakes to Avoid
Some crafters may rush through the application process or skip cleaning the jar beforehand. These small oversights can lead to bubbles or poor adhesion. Always allow yourself ample time, and remember that crafting is about enjoying the process!
Ways to Customize It
Your Holographic Pencil Jar can be a unique expression of your personal style. Try using different colors of holographic vinyl to create a more vibrant look or cut intricate designs that reflect your interests. You might even consider filling the jar with Rainbow Monster Pencil Holders or other fun school supplies to complement the jar!
Crafting With Kids
This project is especially fun for kids! They can help with measuring, cutting, and applying the vinyl, making it a great teaching moment for skills like precision and creativity. Just remember to supervise them, especially when using scissors or a craft knife.
Frequently Asked Questions
How should I clean my jar before applying vinyl?
Make sure to clean the surface with rubbing alcohol. This will remove any residue or oils that could affect the adhesion.
Can I use other types of containers besides a glass jar?
Absolutely! You can adapt this project to plastic jars, tins, or even a pencil holder for a colorful desk accessory.
What if my vinyl doesn’t stick properly?
If you notice areas where the vinyl isn’t adhering, carefully peel it off and reapply. A small dab of adhesive may help if using non-self-adhesive vinyl.
Conclusion
Creating a Holographic Pencil Jar is not just a fun craft, but it also results in a beautiful, functional piece for your home or office. Whether for yourself or a thoughtful gift, your creation is sure to impress! To enhance your crafting experience as you prepare for the new school year, consider adding some beautiful colored pencils to your supplies, such as these rainbow colored pencils. Additionally, if you’re looking for an eye-catching storage solution, check out this iridescent pencil case for your new colorful creations!
Print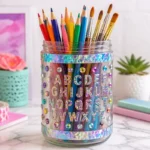
Holographic Pencil Jar
- Total Time: 25 minutes
- Makes: 1 Holographic Pencil Jar
Description
Create a stunning Holographic Pencil Jar for organizing school supplies with this easy craft project.
Materials
- Clear glass jar
- Holographic adhesive vinyl
- Craft knife or scissors
- Transfer tape
- Sponge applicator
- Adhesive (if not using self-adhesive vinyl)
Instructions
- Prepare the jar by cleaning it thoroughly.
- Cut the holographic vinyl to match the height and circumference of the jar.
- Apply transfer tape over the vinyl cutout.
- Adhere the vinyl to the jar, removing the backing.
- Finishing touches include trimming excess vinyl for a clean edge.
Notes
Allow ample time for each step to avoid mistakes and ensure a beautiful finish.