

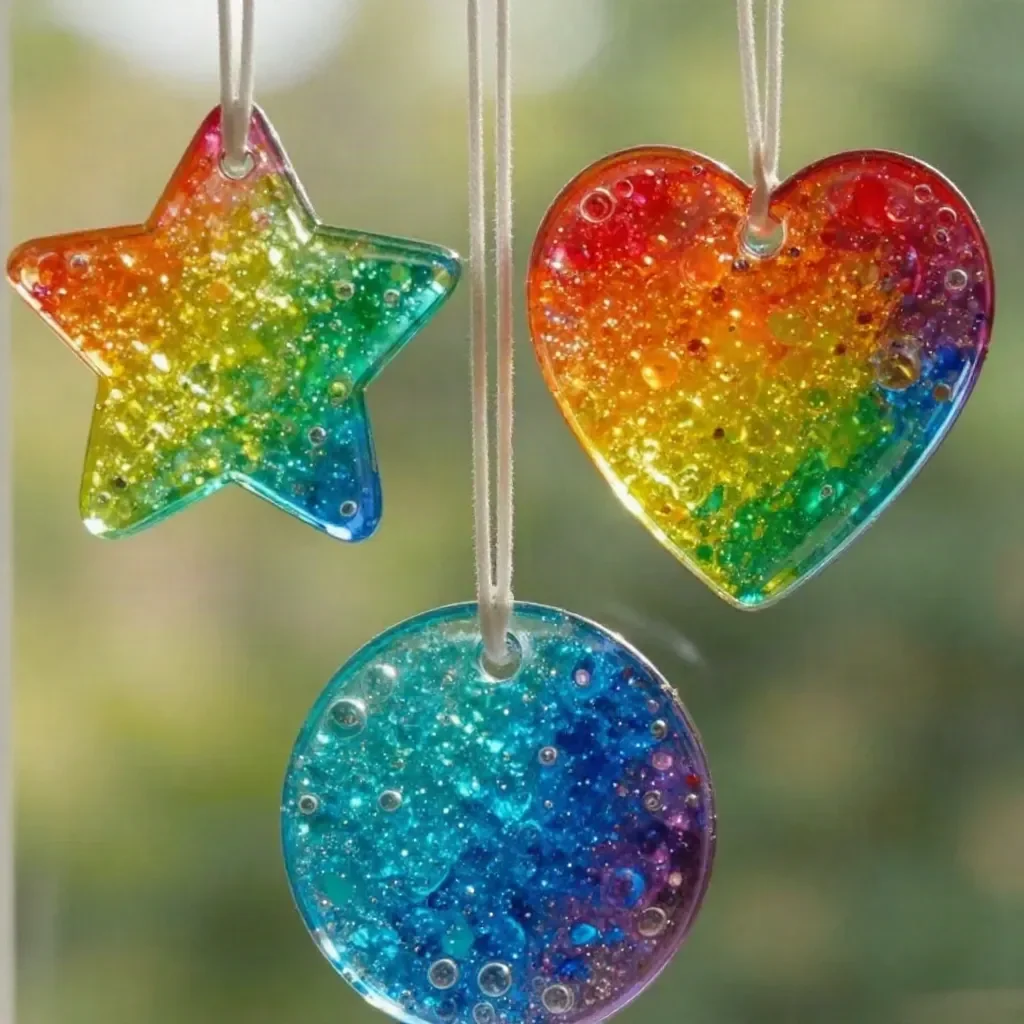
Melted Rainbow Suncatchers
Transform your ordinary crafts into extraordinary masterpieces with these vibrant melted rainbow suncatchers. Using just a few everyday materials, you can create stunning pieces that will bring a splash of color into your home. The glossy, translucent effect of the melted beads catches the sunlight beautifully, casting colorful reflections on your walls and floors making this project not just fun, but truly magical! You may also find Melted Crayon Rainbow Haunted House Suncatcher Craft useful.
Before diving into the instructions, you’ll need a few simple materials. Gather your supplies and get ready for a satisfying crafting experience that’s approachable for crafters of all skill levels. You may also find Melted Crayon Rainbow Heart Suncatcher For Kids useful.
Materials You’ll Need
- Translucent plastic pony beads
- Metal cookie cutters
- Parchment-lined baking sheet
- Oven
- Drill or heated skewer for making a hole
- String
Why You’ll Love This Project
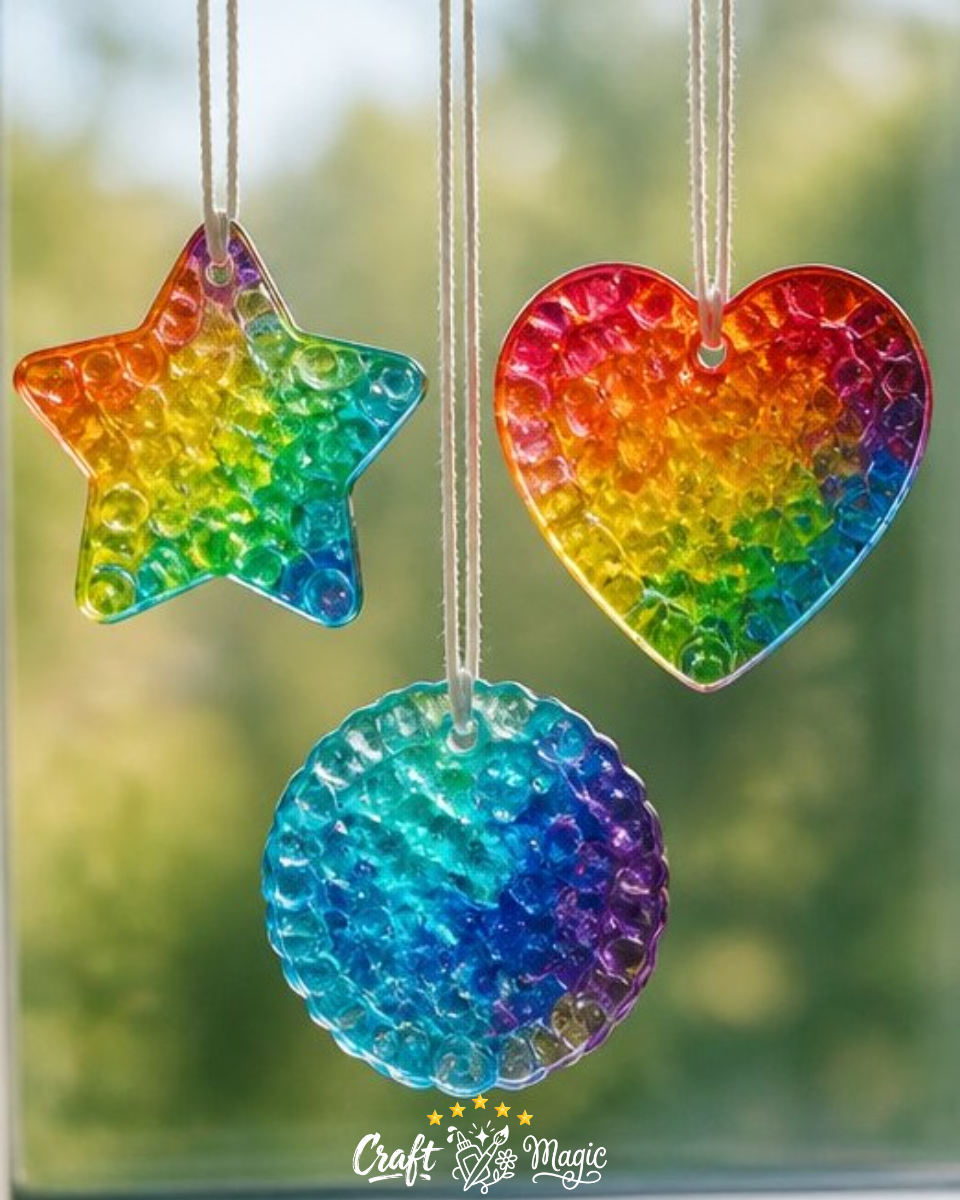
This craft isn’t just about making suncatchers; it’s an opportunity to unleash your creativity. The variety of colors available in translucent pony beads means you can customize your suncatchers to suit any theme or season. For example, consider making a beautiful rainbow heart suncatcher or a spooky haunted house suncatcher! Both options will delight children and adults alike while enhancing the ambiance of your space with playful light.
How to Make Melted Rainbow Suncatchers
Follow these easy steps to create your own stunning melted rainbow suncatchers:
- Gather all your materials and find a clean workspace. This will help everything go smoothly.
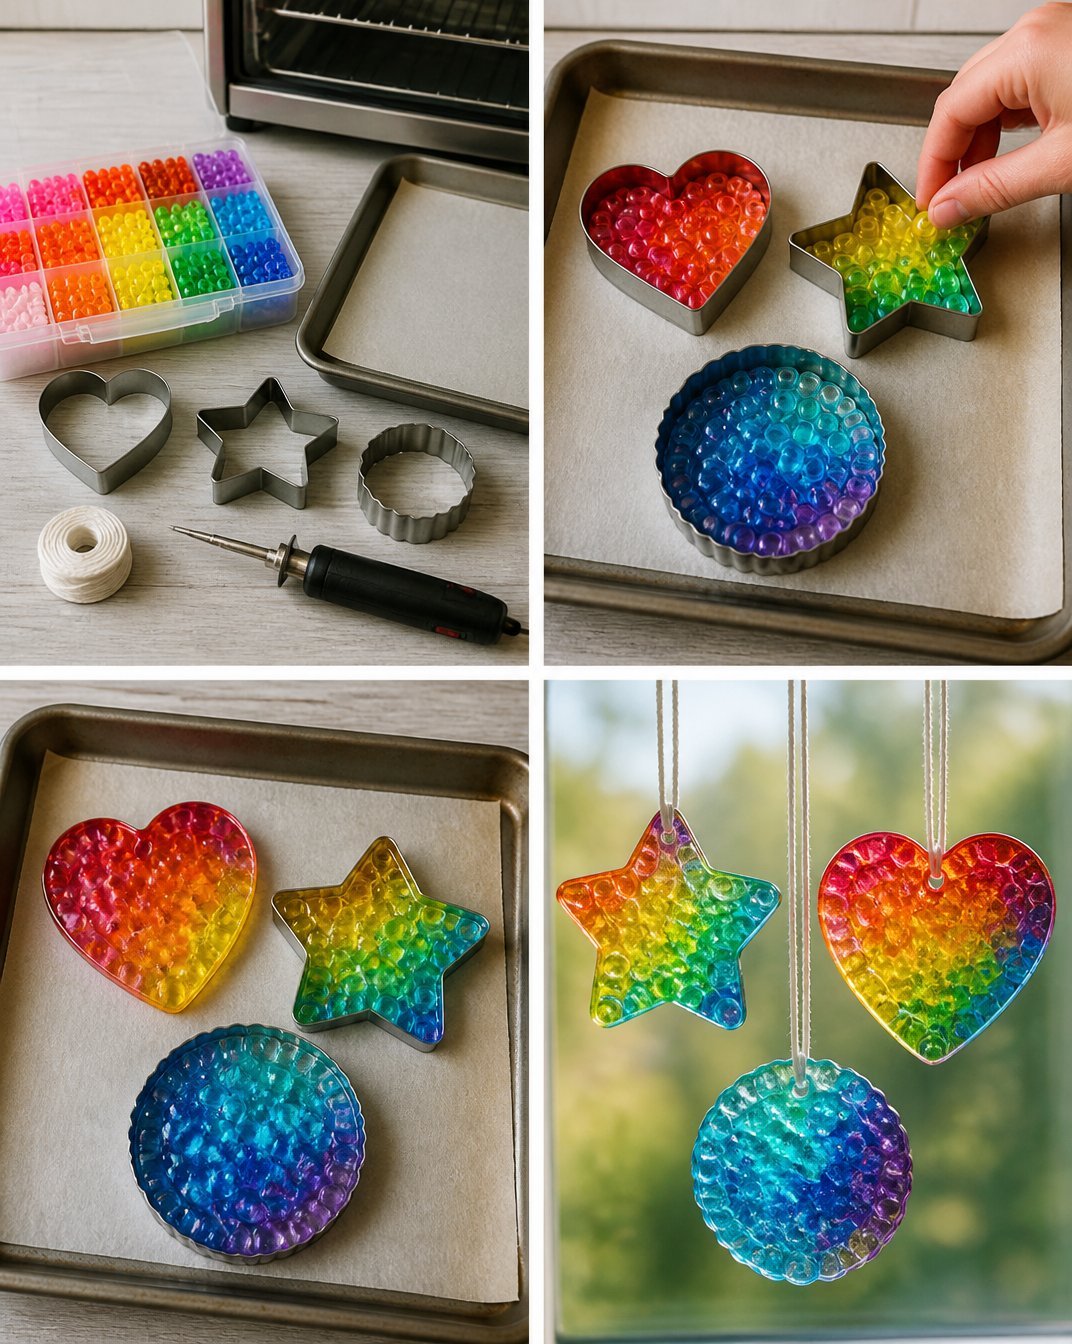
- Place translucent beads in a single layer inside the metal cookie cutters on the lined tray. Feel free to mix and match colors to create delightful patterns.
- Melt them in a well-ventilated oven, following the bead safety guidance, until they are fused together. The beads should melt to a glossy finish, so keep a close eye on them!
- Let them cool completely before removing from the cutters. At this stage, you can make a hole for hanging using a drill or heated skewer, making it easy to display your gorgeous crafts. Finally, add string for hanging.
Creating the Crystal Effect
When the beads melt, they transform into a beautiful, glossy surface that resembles stained glass. The key to achieving the best result lies in the melting process. Aim for a smooth, even distribution of beads in the cutters to ensure uniform melting. If you notice unevenly melted beads, don’t hesitate to experiment with different temperatures or baking times for your next batch!
Helpful Tips
- Safety First: Always use proper oven mitts and allow your project to cool fully before handling it to avoid burns.
- Color Combinations: Try different color combinations for unique effects! You might even enjoy experimenting with the patterns used in other crafts, such as the designs found in this rainbow butterfly suncatcher.
- Creative Display: Consider displaying your new suncatchers in windows, gardens, or even as gifts for friends and family. They make wonderful decorations for all occasions.
Common Mistakes to Avoid
One common mistake is overcrowding the cookie cutters with beads. This can lead to uneven melting and a less-than-ideal finish. Ensure that you only use enough beads to cover the bottom of the cutter in a single layer. Additionally, be cautious about the oven temperature; too high can lead to bubbling rather than a smooth finish.

Frequently Asked Questions
How do I hang my suncatcher?
Once your suncatcher is cool, create a small hole with a drill or heated skewer. Thread your string through the hole, and you’re all set to hang it in your favorite spot.
Can I use other shapes besides hearts and houses?
Absolutely! Get creative with different metal cookie cutter shapes. Flowers, stars, and even abstract designs can turn out beautifully.
Conclusion
Melted rainbow suncatchers are not only a fun craft project but also bring joy and color into your surroundings. For more creative ideas, you might find inspiration by exploring fused bead rainbow suncatchers that provide additional artistic avenues to explore. Enjoy crafting!
Print
Melted Rainbow Suncatchers
- Total Time: 30 minutes
- Makes: 4 suncatchers
Description
Create vibrant melted rainbow suncatchers that catch the sunlight and add color to your home decor.
Materials
- Translucent plastic pony beads
- Metal cookie cutters
- Parchment-lined baking sheet
- Oven
- Drill or heated skewer for making a hole
- String
Instructions
- Gather all your materials and find a clean workspace.
- Place translucent beads in a single layer inside the metal cookie cutters on the lined tray.
- Melt them in a well-ventilated oven until they are fused together.
- Let them cool completely before removing from the cutters.
- Make a hole for hanging using a drill or heated skewer, then add string for hanging.
Notes
For best results, ensure an even distribution of beads in the cutters and experiment with different colors and patterns.