

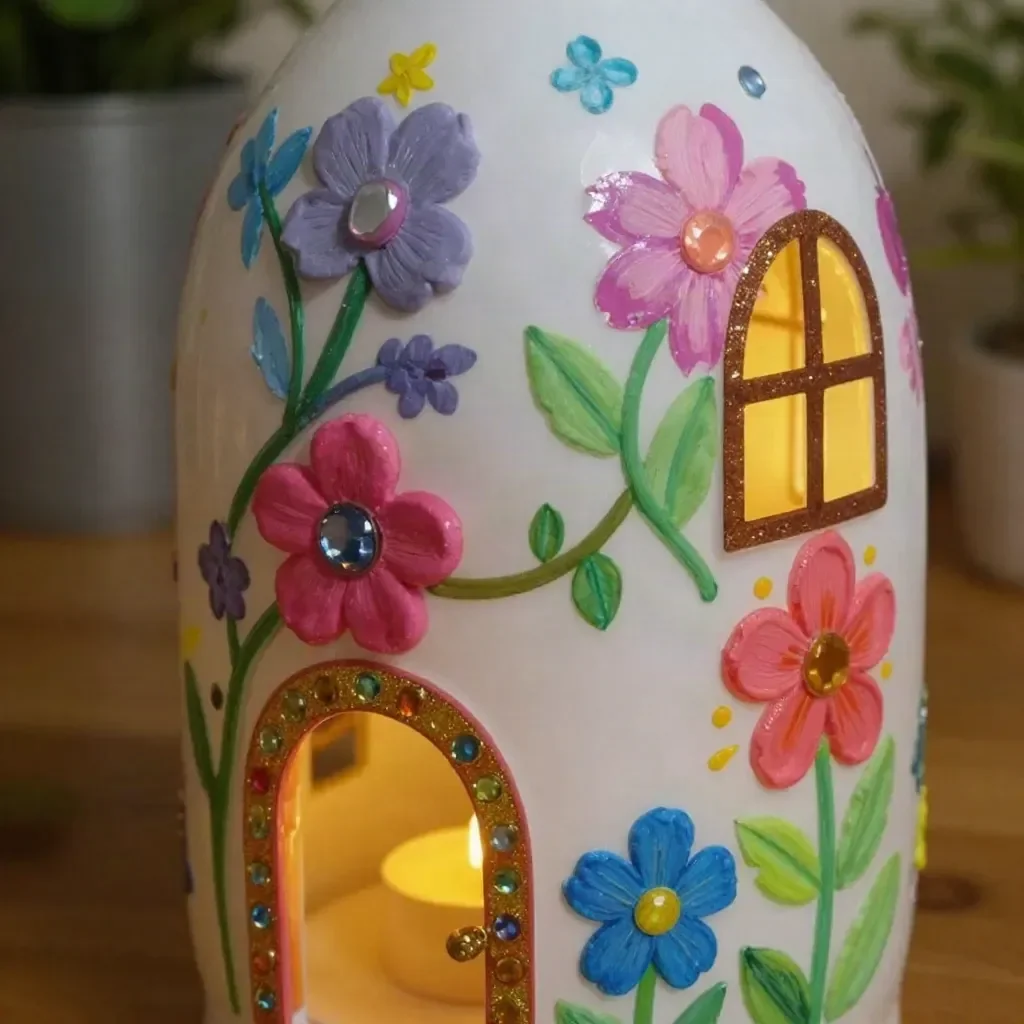
Milk Jug Fairy Lanterns
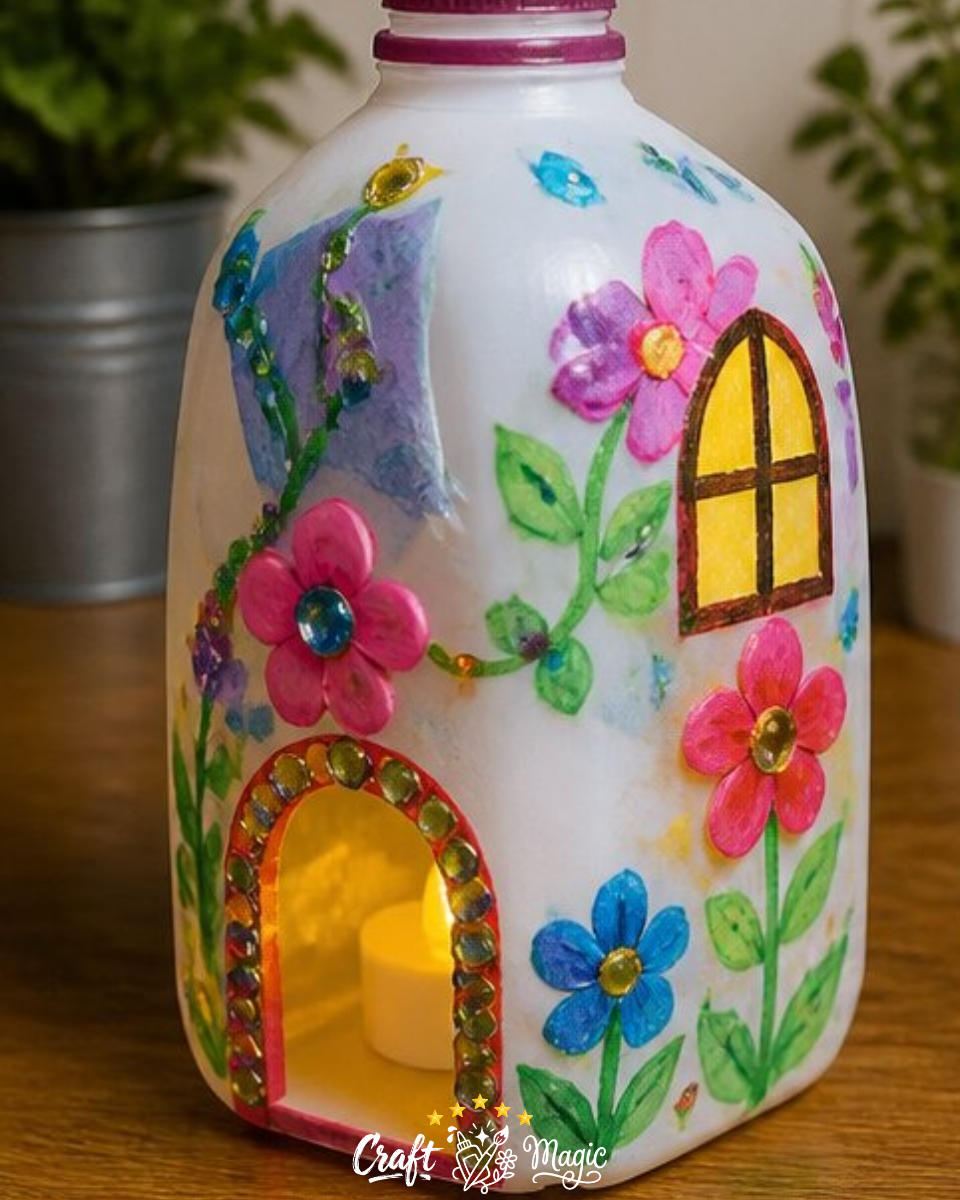
Create your own enchanting Milk Jug Fairy Lanterns, perfect for adding a whimsical touch to your garden or home decor. With just a few simple materials and a bit of creativity, you can transform everyday plastic milk jugs into vibrant, glowing lanterns. This craft project is especially enjoyable with kids as they decorate their lanterns with colorful designs and glittering gems, making it a wonderful bonding experience.
Materials You’ll Need
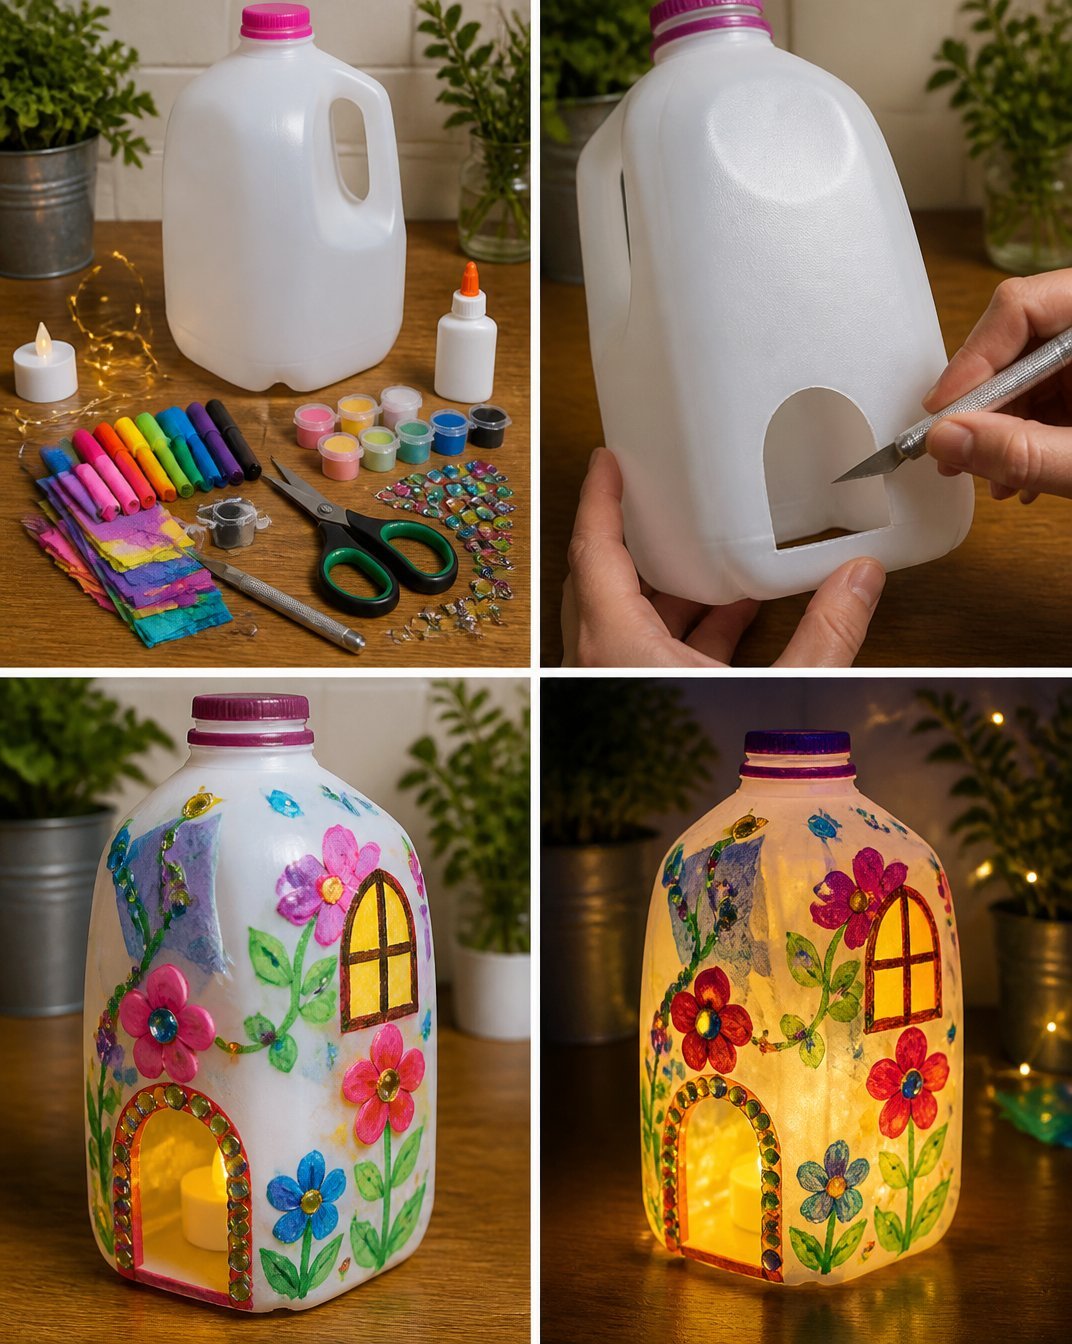
To get started, gather the following materials:
- Clean empty plastic milk jug
- Battery-operated LED tea light or fairy lights
- Permanent markers or acrylic paint
- Craft knife/scissors
- Glue
- Decorative gems or tissue paper
These materials are simple and accessible, making it easy for anyone to dive into this craft project.
Step-by-Step Instructions
Prepare the Milk Jug: Begin by thoroughly washing and drying your plastic milk jug. This step is crucial to ensure that your lantern looks its best, free of any labels or residue.
Create an Access Opening: Carefully cut a small opening in the back of the jug. This will allow you to place your light source inside later. Be cautious while using sharp tools, and make sure to supervise any younger crafters during this step.
Get Creative: Invite your little ones to decorate the outside of the jug! Use permanent markers or acrylic paint to draw fun designs like fairy windows and flowers. The more colorful, the better! Consider using decal accents to add even more flair.
Add Sparkle: Once the decorations are dry, enhance the look by adding decorative gems or colorful tissue accents. These elements will catch the light beautifully, creating that magical effect you want in your lantern.
Insert the Light Source: Finally, place your battery-operated LED light or fairy lights inside the jug. When you turn it on in a dim room, watch as your creation glows, illuminating your designs and sparkling accents.
Ways to Customize Your Lantern
Making Milk Jug Fairy Lanterns allows for plenty of customization! Here are a few ideas to inspire your creativity:
- Seasonal Themes: Decorate your lanterns according to seasons or holidays. Add autumn leaves for fall, snowflakes for winter, flowers for spring, or festive colors for holidays.
- Different Sizes: Experiment with different sizes of milk jugs or even other types of containers to create varying lantern sizes.
- Mixed Media: Consider adding other materials like fabric scraps or natural elements such as twigs to create unique textures and designs.
Helpful Tips for Success
- Allow for Drying Time: Make sure to dry any paint or glue completely before proceeding to the next steps to avoid any mess!
- Keep it Light: If using colored tissue paper, remember that lighter colors will allow more light to shine through, enhancing the glowing effect.
- Sustainable Crafting: This project is a fantastic way to recycle old milk jugs, turning waste into beautiful creations. Consider hosting a crafting session focused on sustainability with friends or family.
FAQs
How do I clean my milk jug before starting?
Just wash it with warm, soapy water and remove any remnants of stickers or labels. Let it dry completely before decorating.
Can I use other types of bottles?
Yes! This project can be adapted to various plastic bottles, jars, or containers that allow for creativity.
What should I do if my paint doesn’t stick?
If you’re having trouble with the paint adhering, try lightly sanding the surface of the jug or applying a primer before decorating.Lastly, crafting with kids can make this project even more rewarding, encouraging creativity and bonding time together. Dive into creating your Milk Jug Fairy Lanterns and let them brighten your space with their glow!
Conclusion
Incorporating crafts like Milk Jug Fairy Lanterns into your creative repertoire not only offers a fun activity but also allows for an array of customization and seasonal expression. For additional inspiration, check out this resource on crafting with milk jugs, and enjoy the journey of making with your loved ones!
Print
Milk Jug Fairy Lanterns
- Total Time: 15 minutes
- Makes: 1 lantern
Description
Create enchanting Milk Jug Fairy Lanterns to add a whimsical touch to your garden or home decor using simple materials.
Materials
- Clean empty plastic milk jug
- Battery-operated LED tea light or fairy lights
- Permanent markers or acrylic paint
- Craft knife/scissors
- Glue
- Decorative gems or tissue paper
Instructions
- Prepare the Milk Jug: Thoroughly wash and dry your plastic milk jug.
- Create an Access Opening: Carefully cut a small opening in the back of the jug.
- Get Creative: Decorate the outside with permanent markers or acrylic paint.
- Add Sparkle: Once dry, enhance with decorative gems or colorful tissue.
- Insert the Light Source: Place the LED light or fairy lights inside the jug.
Notes
Customize your lanterns for seasons or holidays and consider using various container sizes for different effects.