

Make Your Own Milk Jug Stained-Glass Lanterns
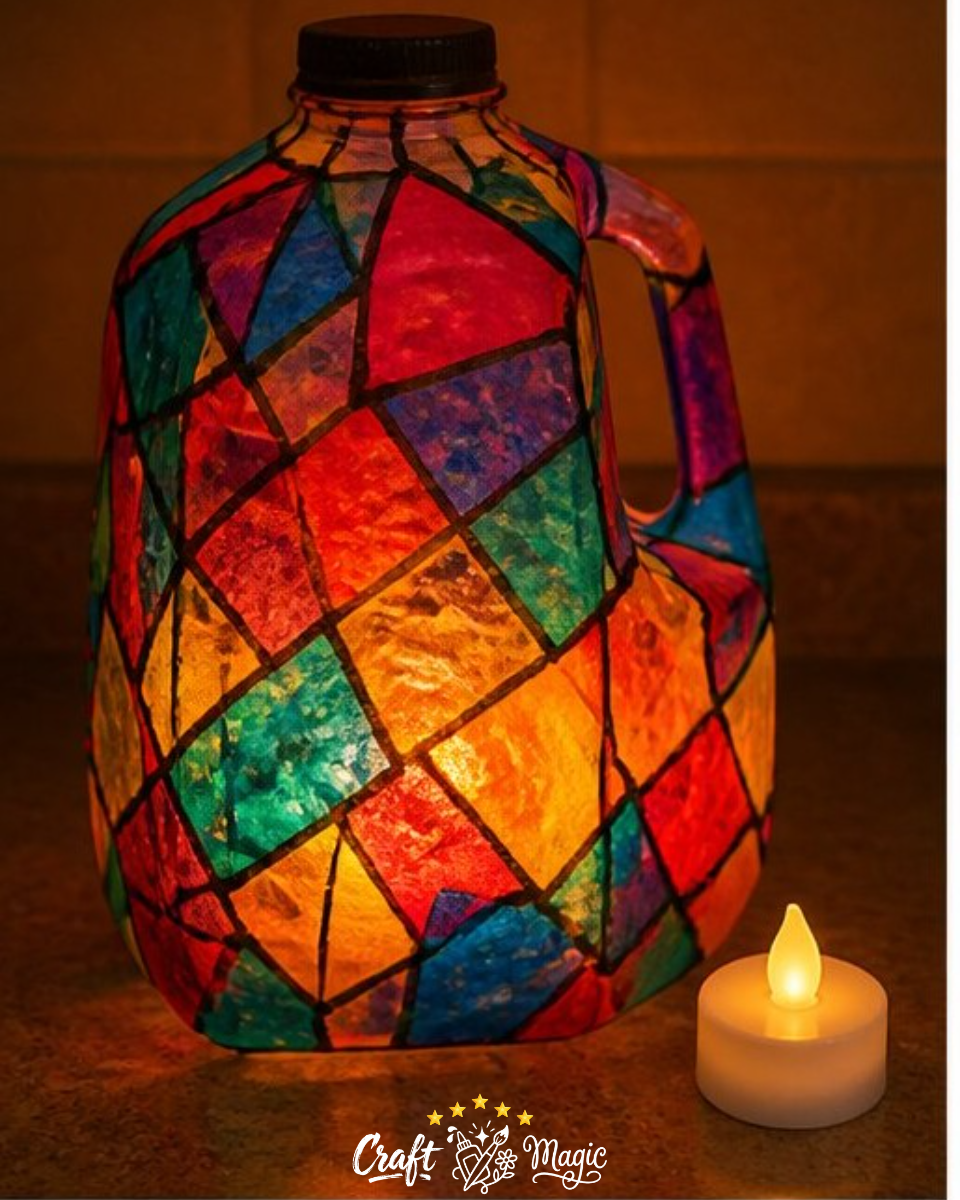
Transform a simple milk jug into a stunning stained-glass lantern that will bring colorful light to your home! This easy and satisfying project not only repurposes an everyday item but also showcases your creativity. Using colored tissue paper, decoupage glue, and a battery LED tea light, you can create a beautiful accent piece for any room. Let’s dive into this delightful crafting experience that will leave your lantern shimmering with personality. You may also find Rainbow Unicorn Haunted House Decor useful.
Materials You’ll Need
To get started on your milk jug stained-glass lantern, gather the following materials:
- Clean milk jug
- Colored tissue paper
- Decoupage glue
- Scissors
- Black marker
- Battery LED tea light
These common supplies make this project accessible for everyone, including families and teachers seeking fun crafts for kids.
Why This Craft Works So Well
This craft is a wonderful way to blend art and sustainability. By using a milk jug, you not only reduce waste but also create something visually striking. The translucent nature of the colored tissue paper combined with the decoupage technique allows light to filter through beautifully, creating a warm, inviting glow. You might find this project particularly enjoyable if you loved our suncatcher crafts.
How to Make Milk Jug Stained-Glass Lanterns
Step-by-Step Instructions
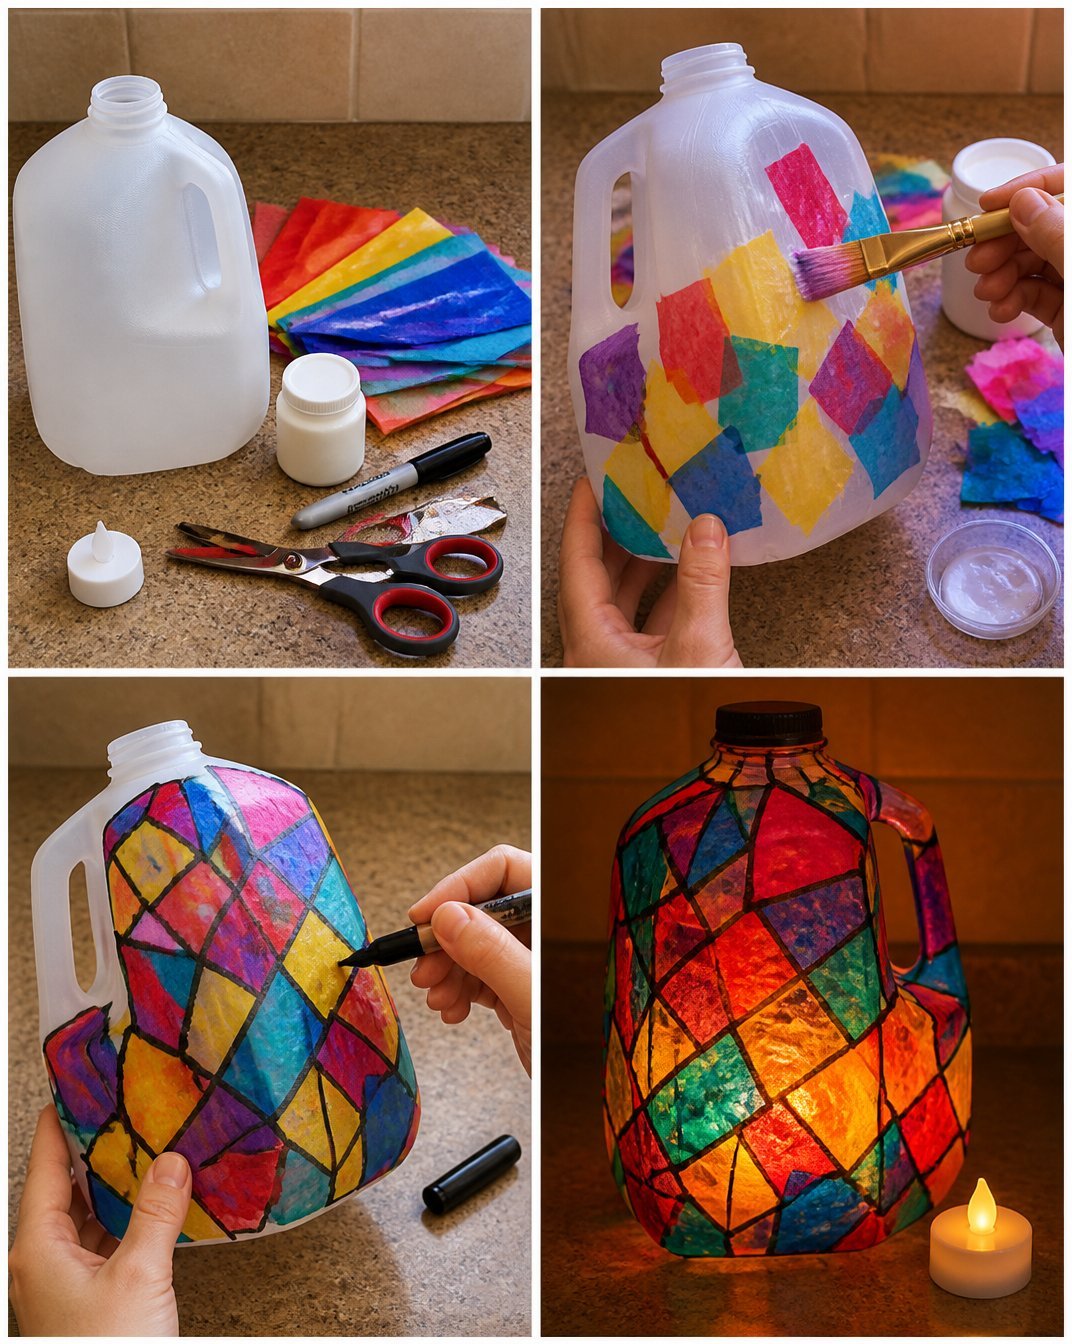
Prepare Your Tissue Paper: Start by cutting the colored tissue paper into small shapes, such as squares, triangles, or abstract forms. Enjoy experimenting with different colors and sizes to create unique patterns.
Apply Decoupage Glue: Brush the outside of the milk jug with a generous layer of decoupage glue. This glue will serve as the adhesive for your tissue paper.
Layer the Tissue Pieces: Begin placing the small tissue pieces over the surface of the milk jug. Don’t worry about being perfect; layering adds depth and character to your lantern. Seal each piece with another thin layer of decoupage glue to keep everything firmly in place.
Create Faux Stained-Glass Outlines: Once your tissue paper is applied, use a black marker to draw faux stained-glass outlines around the tissue shapes. This adds definition and brings a more polished look to your lantern.
Let it Dry Completely: Allow the lantern to dry fully according to the decoupage glue instructions. This step is essential to ensure the tissue is secured and the design holds well.
Add the LED Tea Light: Finally, place a battery-operated LED tea light inside your completed lantern. Turn it on to enjoy the colorful ambiance that your new creation brings to your space!
Tips for Crafting with Kids
If you’re doing this project with children, provide them with a variety of colored tissue papers and allow them the freedom to explore their creativity. Encourage them to mix colors and shapes, and remind them that there are no mistakes in art. Furthermore, always supervise when using scissors and glue to ensure a safe crafting experience.
Common Mistakes to Avoid
One common pitfall is using too much glue on the tissue paper, which can make it soggy and difficult to adhere properly. Instead, opt for a light coating and let it dry in between layers. Additionally, ensure that each tissue piece is sealed well to prevent lifting. If you want to try another engaging project, the Rainbow Panda Fall Leaf Friends Craft could be a great follow-up!
Ways to Customize It
To personalize your milk jug lantern, consider adding embellishments like glitter, beads, or even painting designs before applying the tissue paper. You can also experiment with different shapes of containers or adjust the size of the milk jug for varying light effects.
Display Ideas
Once your lantern is complete, think about where to place it. It makes a lovely centerpiece for a dinner table or can be positioned on a windowsill to illuminate the night sky. You could also create a series of lanterns in various colors to hang outside during a garden party or for seasonal decorations.
Frequently Asked Questions
How long does the project take to complete?
Typically, the crafting portion will take about an hour, plus additional drying time for the glue.
What variations can I try for different occasions?
Consider using themed colors for holidays, like red and green for Christmas or pastels for Easter. You can also create smaller lanterns for a whimsical garden display.
Can I use real candles instead of LED lights?
No, it’s not advised to use real candles as the milk jug could catch fire. Always use battery-operated lights for safety.
Conclusion
Crafting your own milk jug stained-glass lanterns is not just a creative outlet but also a way to beautify your home with handmade charm. Want to explore more projects like this? Check out events such as the Milk Jug Lantern featured by the Lowell Public Library for additional inspiration. Enjoy the radiant results of your crafting adventure!
Print
Milk Jug Stained-Glass Lanterns
- Total Time: 75 minutes
- Makes: 1 lantern
Description
Transform a simple milk jug into a stunning stained-glass lantern using colored tissue paper and decoupage glue for a vibrant decoration.
Materials
- Clean milk jug
- Colored tissue paper
- Decoupage glue
- Scissors
- Black marker
- Battery LED tea light
Instructions
- Prepare your tissue paper: Start by cutting the colored tissue paper into small shapes.
- Apply decoupage glue: Brush the outside of the milk jug with a layer of decoupage glue.
- Layer the tissue pieces: Place tissue pieces over the milk jug, sealing each with more glue.
- Create faux stained-glass outlines: Use a black marker to draw outlines around the tissue shapes.
- Let it dry completely: Allow the lantern to dry according to glue instructions.
- Add the LED tea light: Place the LED tea light inside and enjoy your creation!
Notes
For a creative experience with kids, allow freedom in design and supervise closely during crafting.