
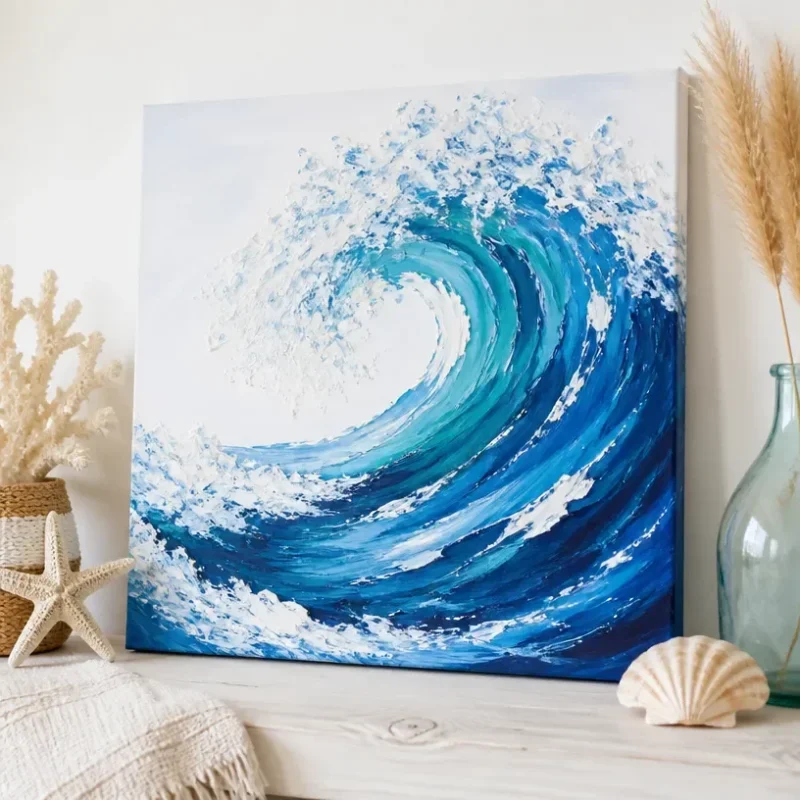
Ocean Wave Canvas Art – Coastal Wall Decor
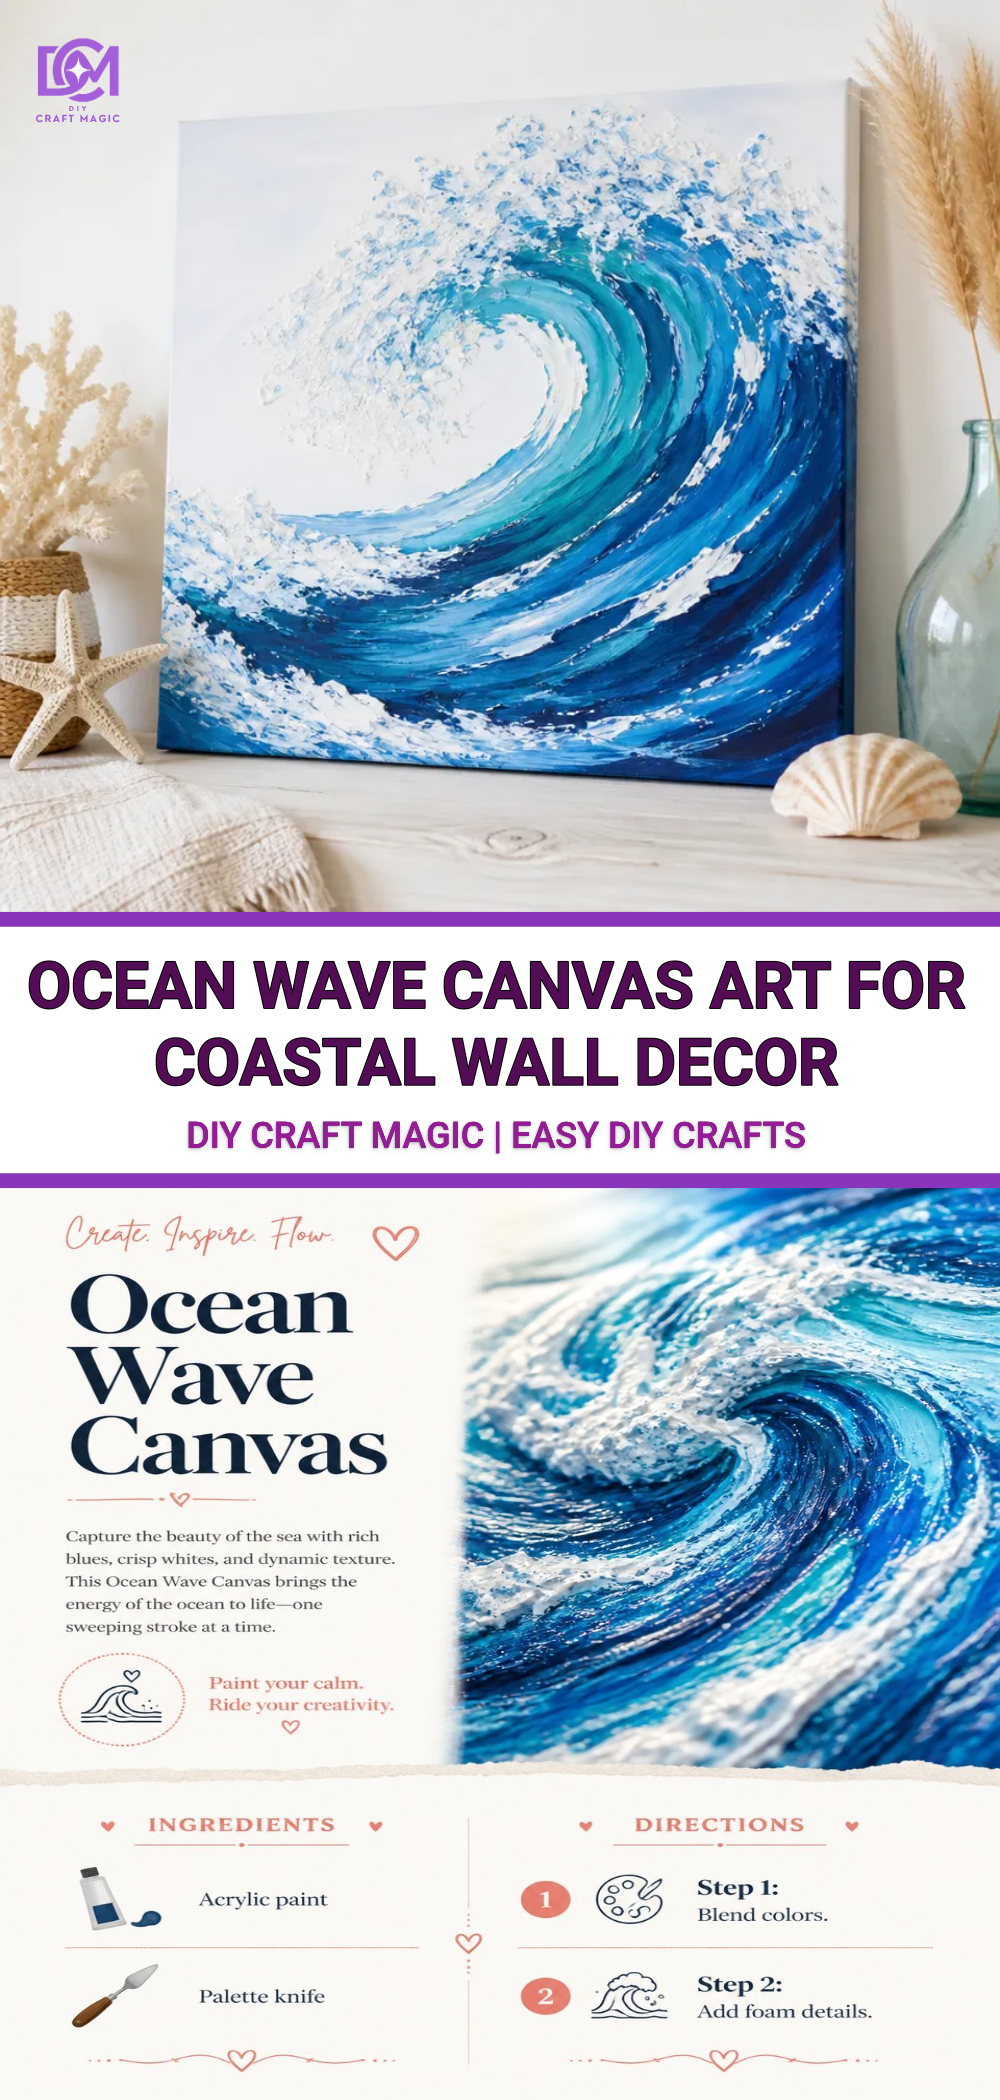
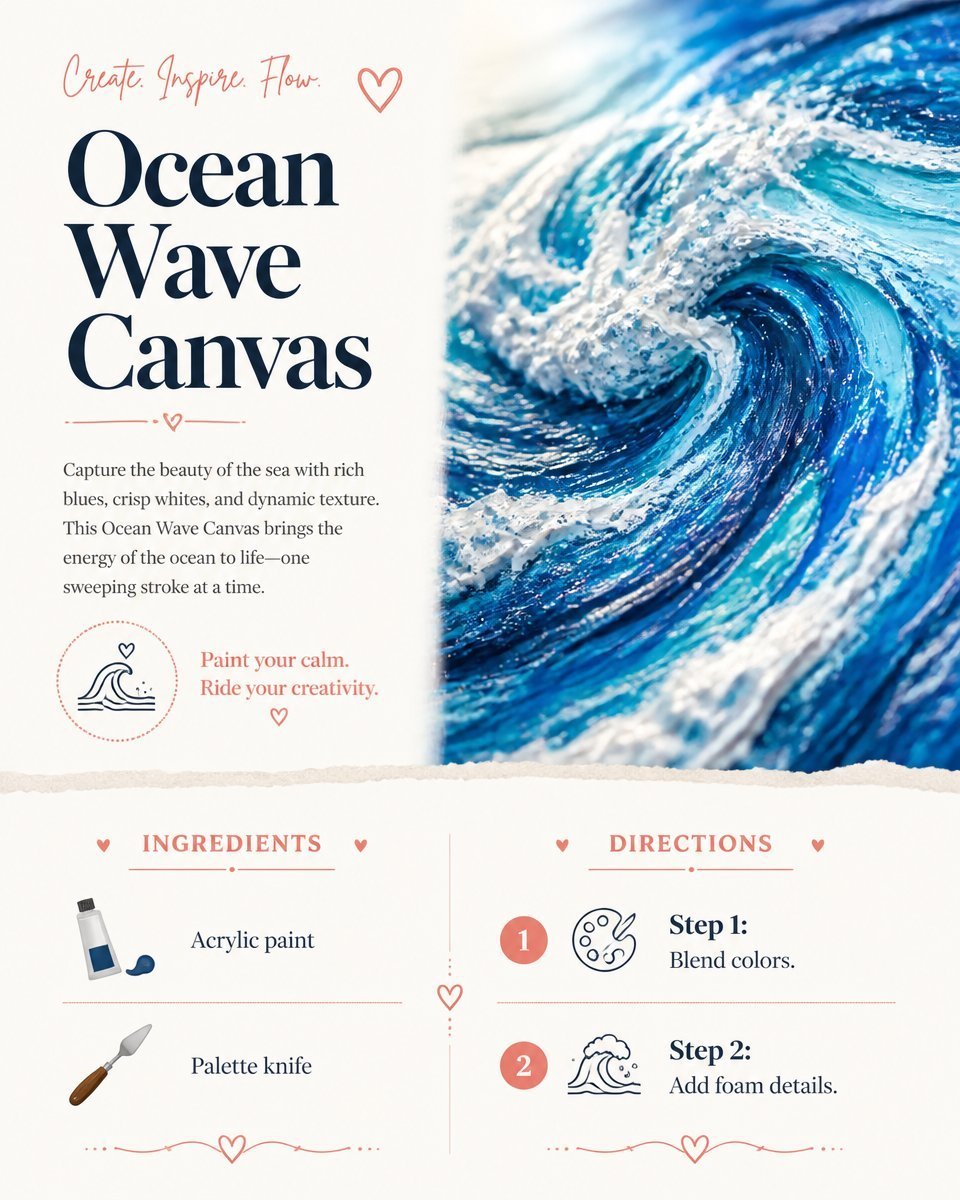
Transforming your living space into a coastal paradise has never been easier with this Ocean Wave Canvas Art project. This DIY decor not only captures the swaying waves of the ocean but also incorporates vibrant colors and textures that make the finished piece visually captivating. The process is satisfying and approachable, making it an ideal project for crafters of all skill levels. You may also find Rainbow Milk Art Print Diy Vibrant Wall Decor useful.
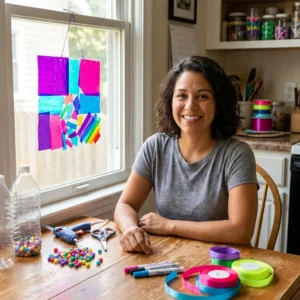
You may also find Colorful Rainbow Feather Window Decor Artwork useful.
Materials You’ll Need
Gather the following materials before getting started:
- Canvas board (any size you prefer)
- Acrylic paints (shades of blue, turquoise, white, and foam white)
- Paintbrushes (various sizes)
- Palette knife
- Water and paper towels for cleaning brushes
- Optional: Clear sealant spray for a glossy finish
Why This Craft Works So Well
This project combines the enjoyment of painting with the satisfaction of creating something beautiful to adorn your walls. The layers of color mimic the movement of ocean waves, thus allowing you to express your own unique style. For those interested in more ocean-themed crafts, consider exploring Colorful Ocean Jar Decor as a complementary project.
Getting the Colors Right
It’s essential to achieve the right blend of blues to reflect the ocean’s depth and light. Start by mixing different shades of blue and turquoise to create a gradient effect. Practice on a scrap piece of canvas to see how the colors interact. Have fun experimenting, and don’t hesitate to create various shades until you find the perfect combination.
How to Make Ocean Wave Canvas Art – Coastal Wall Decor
Step-by-Step Instructions
Prepare the Canvas: Start with a clean, dry canvas. If desired, apply a coat of white acrylic paint as a base layer to help the colors pop.
Mix the Paints: Using your palette knife, mix your acrylics to create the different ocean hues. Think of the stunning blues and turquoise that you see in the ocean.
Create the Background: Use a large paintbrush to apply the blended blue and turquoise colors on the canvas. Start from the top and work your way down, performing sweeping strokes to represent the sky and ocean.
Add Wave Details: Once the background is dry, use a smaller brush to add white and lighter blue highlights to create wave details. This step is crucial for adding realism to the piece. You can even experiment with a palette knife to create thicker, textured waves for depth.
Finalize with Foam Effects: Allow the paint to dry completely before applying the foam effects. Using white paint mixed with water, lightly dabbing on the edges of your waves will create a frothy look.
Seal Your Artwork: Once satisfied with your painting, consider using a clear sealant to protect your artwork. This ensures that the colors remain vibrant over time.
Ways to Customize It
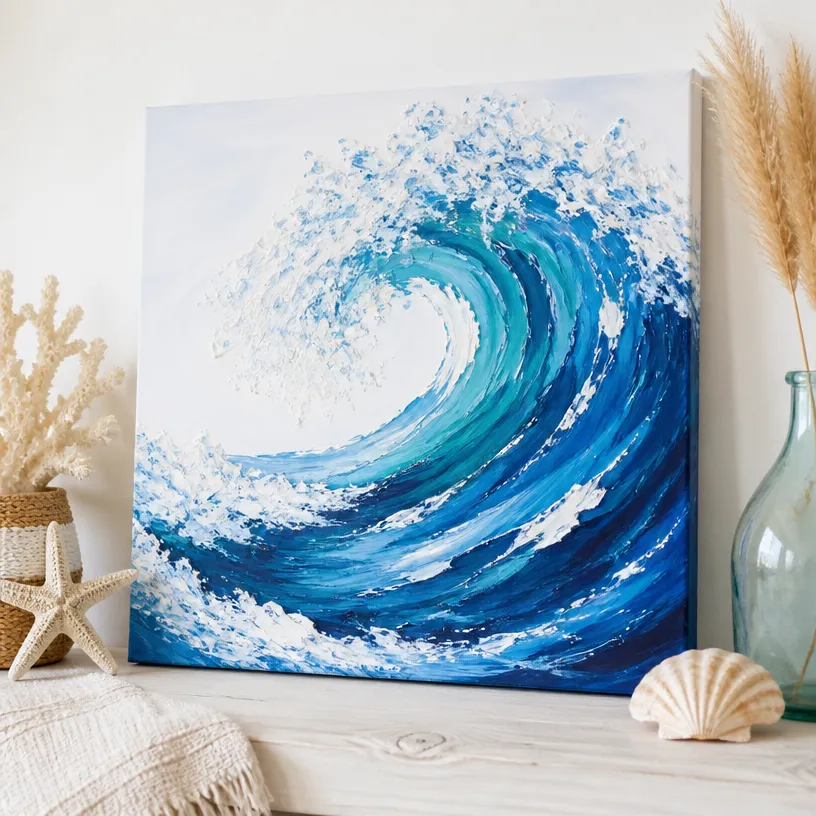
This Ocean Wave Canvas Art can be tailored to suit your style whether you want to explore more vibrant colors or create a monochromatic look, the choice is yours! You might also think about adding embellishments like shells for a 3D effect. Additionally, you could pair your canvas with Rainbow Bubble Crystal Canvas for a cohesive theme in your decor.
Common Mistakes to Avoid
Rushing the Drying Time: Make sure your layers are dry before adding new paint. This will prevent colors from mixing unintentionally.
Over-mixing Colors: When blending, be careful not to over-mix; leaving some separation between shades yields a more dynamic result.
Not Using Enough Paint: A light hand will not produce the desired vibrancy. Use enough paint to let your colors shine.
Crafting With Kids
This project is perfect for a family craft night! Teach your kids about color mixing while creating their own ocean wave art. Just ensure that there’s adult supervision for handling paints and tools. If you’re looking for additional fun crafts to do together, check out DIY Sparkly Heart Ornaments for seasonal inspiration.
Frequently Asked Questions
How long will this artwork take to dry?
Drying time can vary with humidity levels, but generally, it takes a few hours for your painting to be touch dry. Allow it to dry overnight for completed layering.
Can I use oil paints for this project?
While this project is optimized for acrylics due to their quick drying time and ease of use, oil paints could be used just keep in mind the extended drying time involved.
How should I display my canvas art?
This piece can be displayed in various ways on a wall, leaning on a shelf, or even above a mantel. Hang it in a well-lit area to highlight the colors.
Conclusion
Creating your own Ocean Wave Canvas Art brings a vibrant touch to your home decor while allowing for personal expression. As you explore this project, don’t forget to check out the varied options available for additional coastal-themed decor, like Ocean Waves Wall Art on Amazon and unique textures like Plaster Art Texture Painting #SG265. Enjoy crafting your own personal seaside escape today!
Print
Ocean Wave Canvas Art
- Total Time: 30 minutes
- Makes: 1 canvas art piece
Description
Create your own coastal paradise with this Ocean Wave Canvas Art project, perfect for crafters of all skill levels.
Materials
- Canvas board (any size you prefer)
- Acrylic paints (shades of blue, turquoise, white, and foam white)
- Paintbrushes (various sizes)
- Palette knife
- Water and paper towels for cleaning brushes
- Optional: Clear sealant spray for a glossy finish
Instructions
- Prepare the Canvas: Start with a clean, dry canvas. If desired, apply a coat of white acrylic paint as a base layer to help the colors pop.
- Mix the Paints: Using your palette knife, mix your acrylics to create the different ocean hues.
- Create the Background: Use a large paintbrush to apply the blended blue and turquoise colors on the canvas.
- Add Wave Details: Once the background is dry, use a smaller brush to add white and lighter blue highlights to create wave details.
- Finalize with Foam Effects: Allow the paint to dry completely before applying the foam effects.
- Seal Your Artwork: Once satisfied with your painting, consider using a clear sealant to protect your artwork.
Notes
Customize your art with vibrant colors or embellishments like shells for a 3D effect. Perfect for family craft nights!