

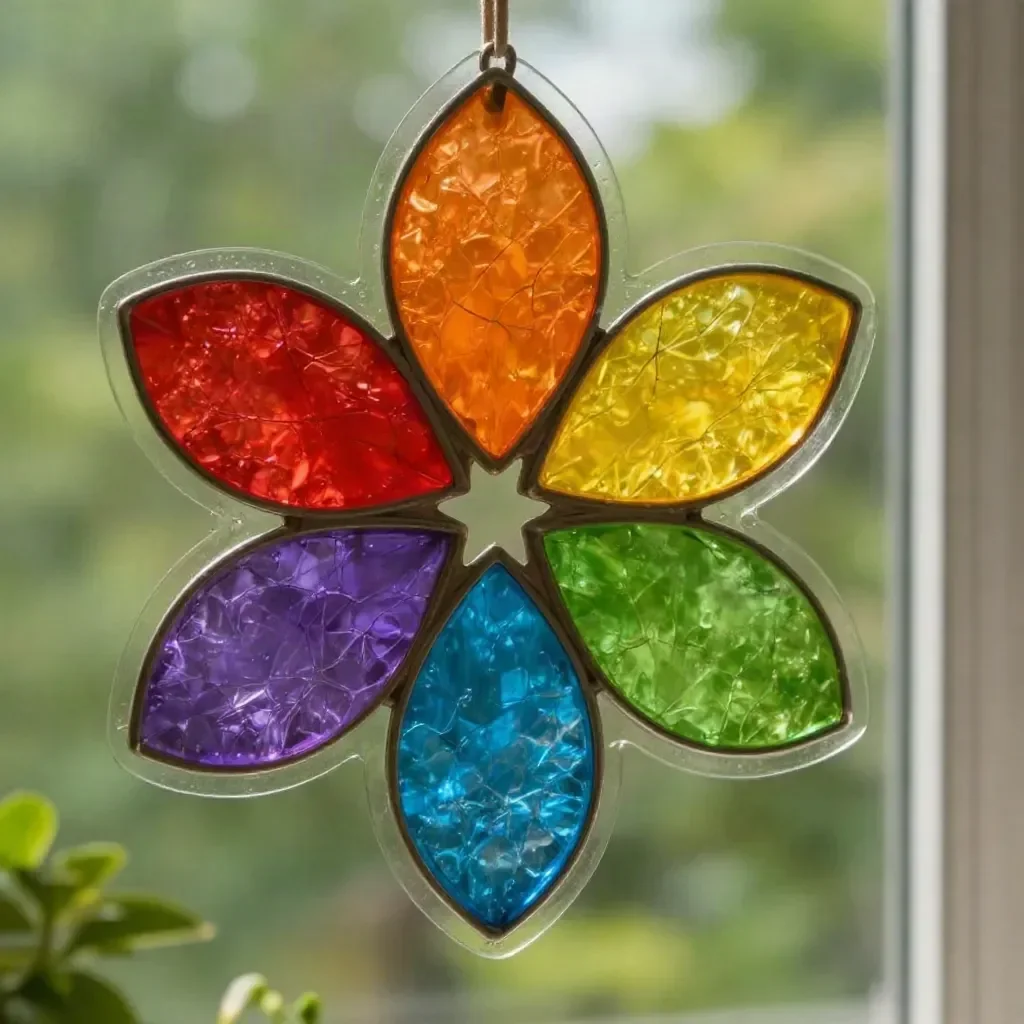
Paper Roll Rainbow Window Flower
Creating a Paper Roll Rainbow Window Flower is an engaging and straightforward project that beautifully combines creativity with the satisfying experience of crafting. This vibrant decor piece not only brightens up your space but also gives you a chance to repurpose simple materials like cardboard rolls and colorful tissue paper. The end result is a layered, lively flower that dances in the light, making it ideal for decorating windows or classrooms. Let’s dive into how you can create this delightful craft. You may also find Diy Rainbow Popsicle Stick Flower Wheel Craft useful.
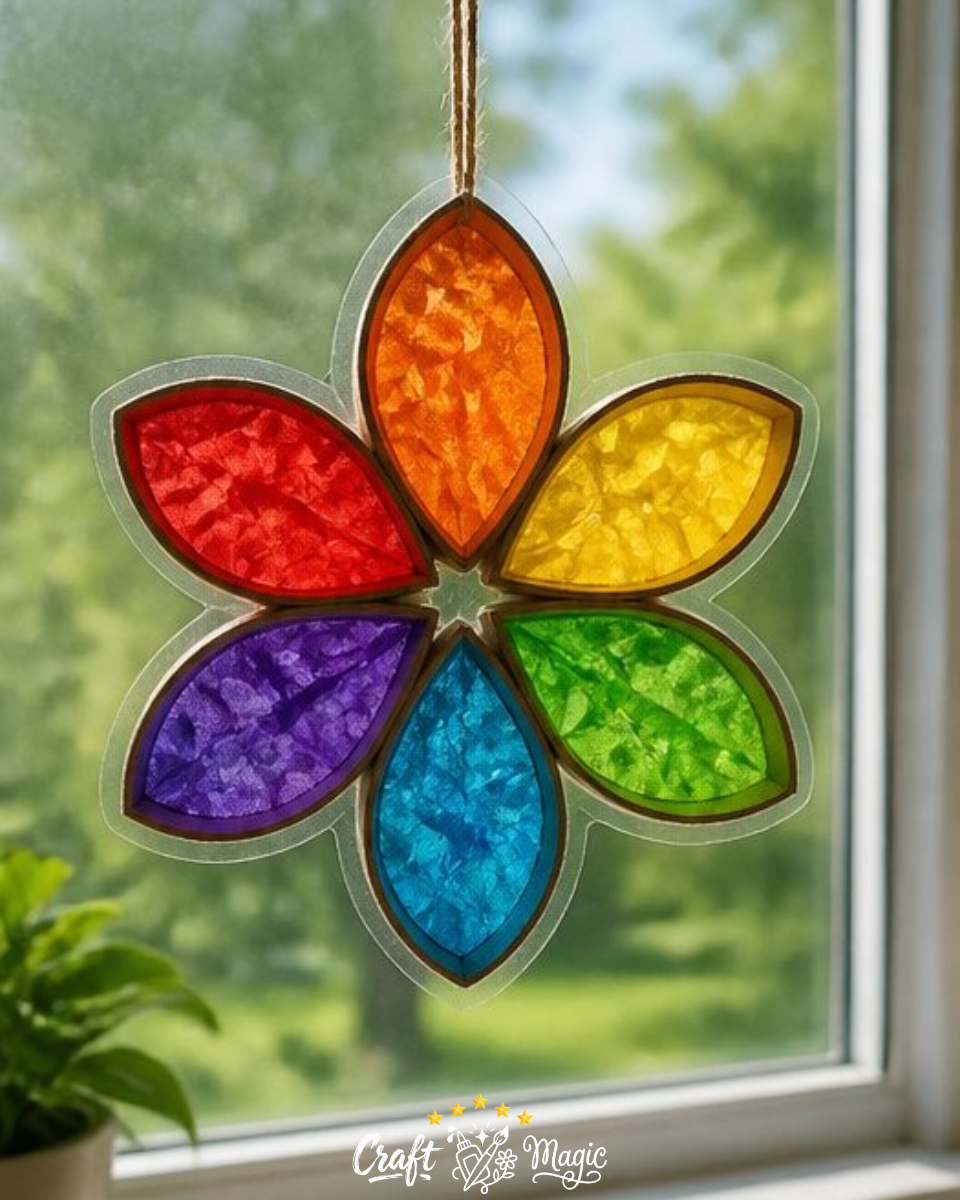
Materials You’ll Need
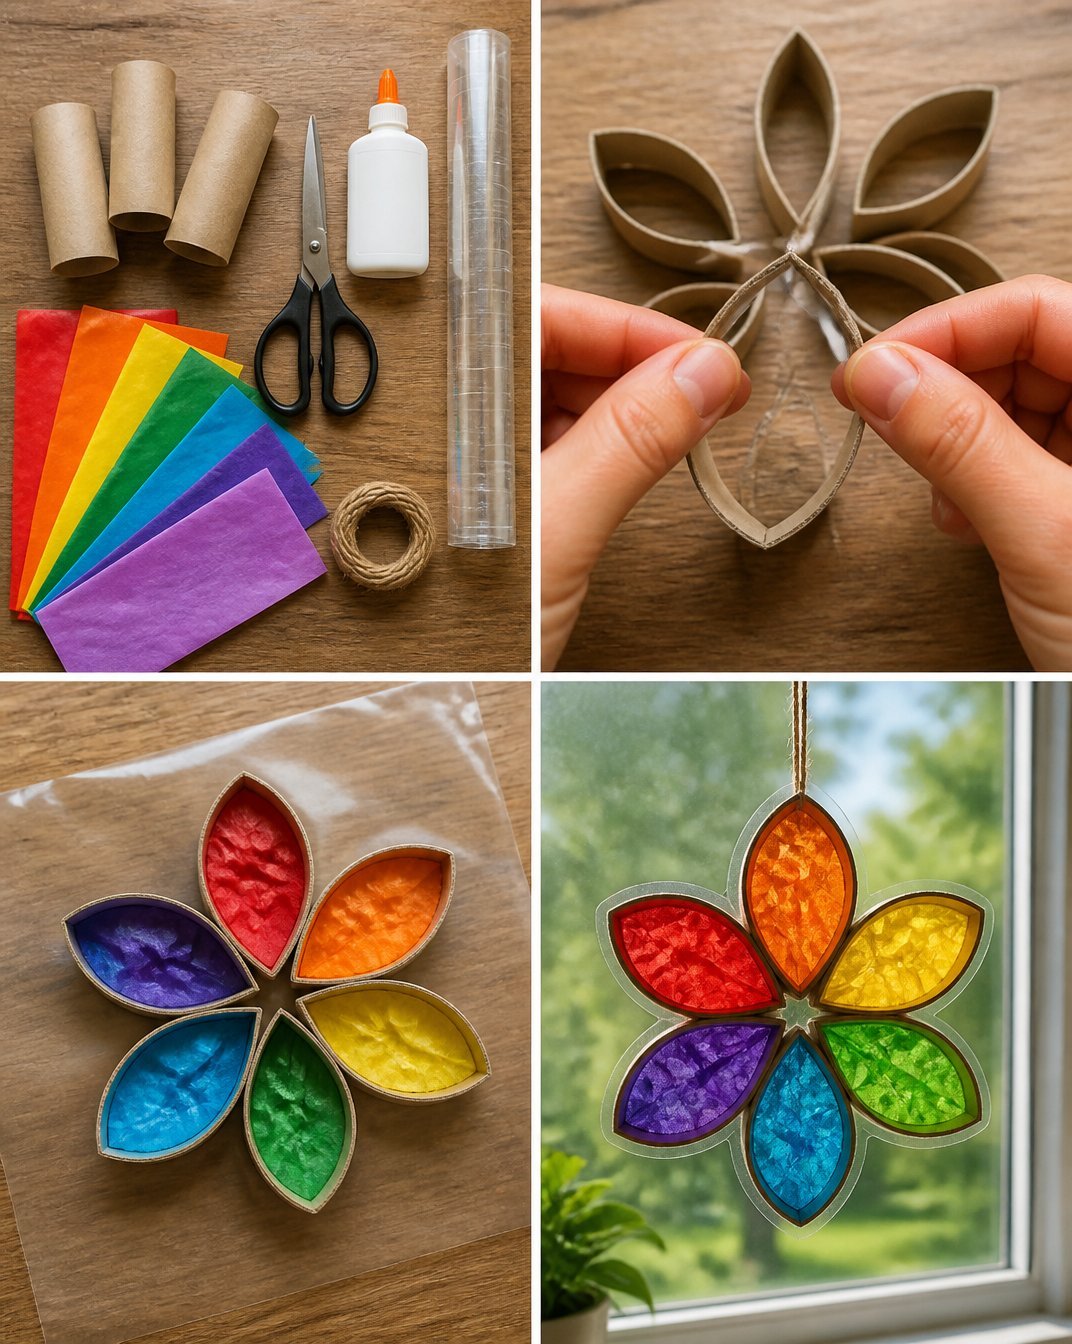
Gather the following materials to make your Paper Roll Rainbow Window Flower:
- Cardboard rolls
- Scissors
- Glue
- Clear contact paper
- Rainbow tissue paper
- String
Why You’ll Love This Project
Not only is this project easy to follow, but it also allows you to explore color mixing and layering techniques. The method of pinching cardboard rolls to create flower petals is an excellent hands-on activity, especially when crafting with children. If you like projects that also incorporate suncatchers, check out this pressed flower rainbow window medallion for more inspiration.
Step-by-Step Instructions
Step 1: Prepare the Cardboard Rolls
Begin by cutting your cardboard rolls into rings. Aim for approximately one-inch widths; this will help you form more defined petals. Once cut, pinch each ring to create a petal shape. You can adjust the curvature to achieve different petal styles, giving your flower a unique look.
Step 2: Assemble the Flower
Next, apply glue to attach the petal rings together, forming your flower. You can create as many layers as you like, but a classic flower shape typically consists of five to six petals. When the glue has dried, your flower structure will hold together sturdily.
Step 3: Add Color with Tissue Paper
Now, stick your flower onto a piece of clear contact paper. This acts as a base for filling your petal shapes with tissue paper. Choose several colors of rainbow tissue paper, cutting them into smaller squares. Fill each petal with a different color for a rich, vibrant look.
Step 4: Seal the Flower
After you’ve filled each petal, cover your flower with another sheet of clear contact paper. Press down gently to eliminate air bubbles. Once done, trim the edges for a neat finish. Finally, use a string to hang your beautiful window flower, making sure it’s secure enough to catch the light.
Creating the Crystal Effect
You can enhance the visual appeal of your flower by incorporating a crystal effect. If you want to experiment further, consider adding iridescent cellophane paper to your materials for an eye-catching sparkle when the light hits it. Using materials like these can elevate your project significantly, just like in our rainbow tissue paper flower lantern DIY for kids.
Helpful Tips
- Precautions: Always be cautious when using scissors and hot glue if you choose to secure additional embellishments.
- Color Choices: Consider using pastel shades for a softer look or bright hues for a more striking appearance.
- Display Ideas: Hang your flower in a spot that gets ample light to showcase its colors. It can also be a lovely addition to party decorations or seasonal crafts.
FAQ
How do I store my Paper Roll Rainbow Window Flower?
To keep your paper flower intact, store it flat in a dry, safe place, avoiding direct sunlight when not on display.
Can I use other materials instead of cardboard rolls?
Absolutely! You could substitute the cardboard rolls with foam rings or even plastic bottle caps, which can give your flower a different texture and dimension.
What if my flower petals don’t hold together well?
If the petals aren’t staying intact, ensure that you’re using enough glue and allowing it sufficient time to dry during assembly.
Conclusion
Crafting a Paper Roll Rainbow Window Flower is not just about enjoying the activity; it’s also about creating a lovely decoration that brings joy to any room. Once you’ve mastered this project, consider exploring additional crafting avenues. You might enjoy experimenting with other materials, like iridescent cellophane paper, readily available through products like the ones found on Amazon. If you’re interested, check out this roll of iridescent cellophane paper for a fun addition to your next project. Happy crafting!
Print
Paper Roll Rainbow Window Flower
- Total Time: 15 minutes
- Makes: 1 flower
Description
Create a vibrant and layered flower using cardboard rolls and colorful tissue paper, perfect for decorating windows or classrooms.
Materials
- Cardboard rolls
- Scissors
- Glue
- Clear contact paper
- Rainbow tissue paper
- String
Instructions
- Prepare the cardboard rolls by cutting them into one-inch rings.
- Assemble the flower by applying glue to attach the petal rings together.
- Add color with tissue paper by filling each petal with different squares of rainbow tissue.
- Seal the flower with another sheet of contact paper and trim the edges for a neat finish.
- Use a string to hang your flower securely where it can catch light.
Notes
Experiment with different materials like iridescent cellophane paper for added sparkle. Store your flower flat in a dry place to keep it intact.