

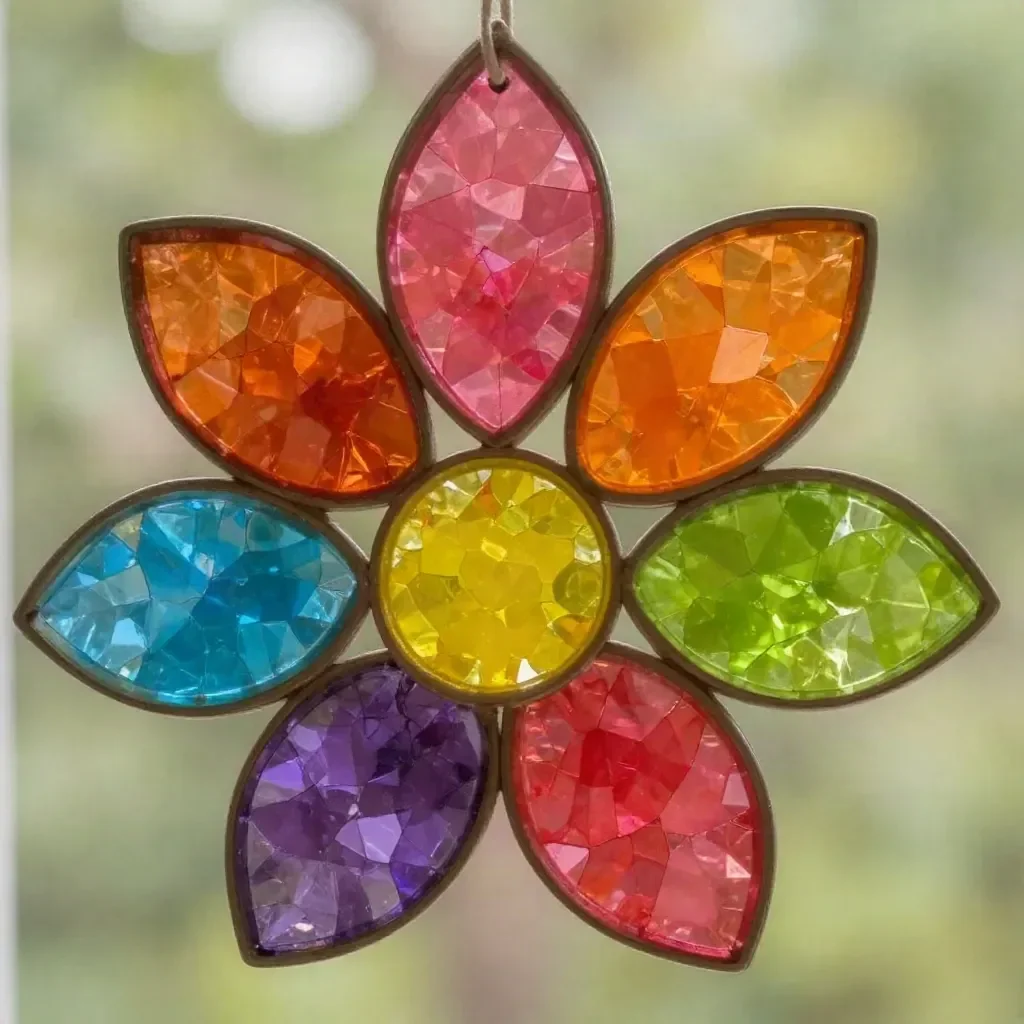
Paper Roll Flower Suncatcher
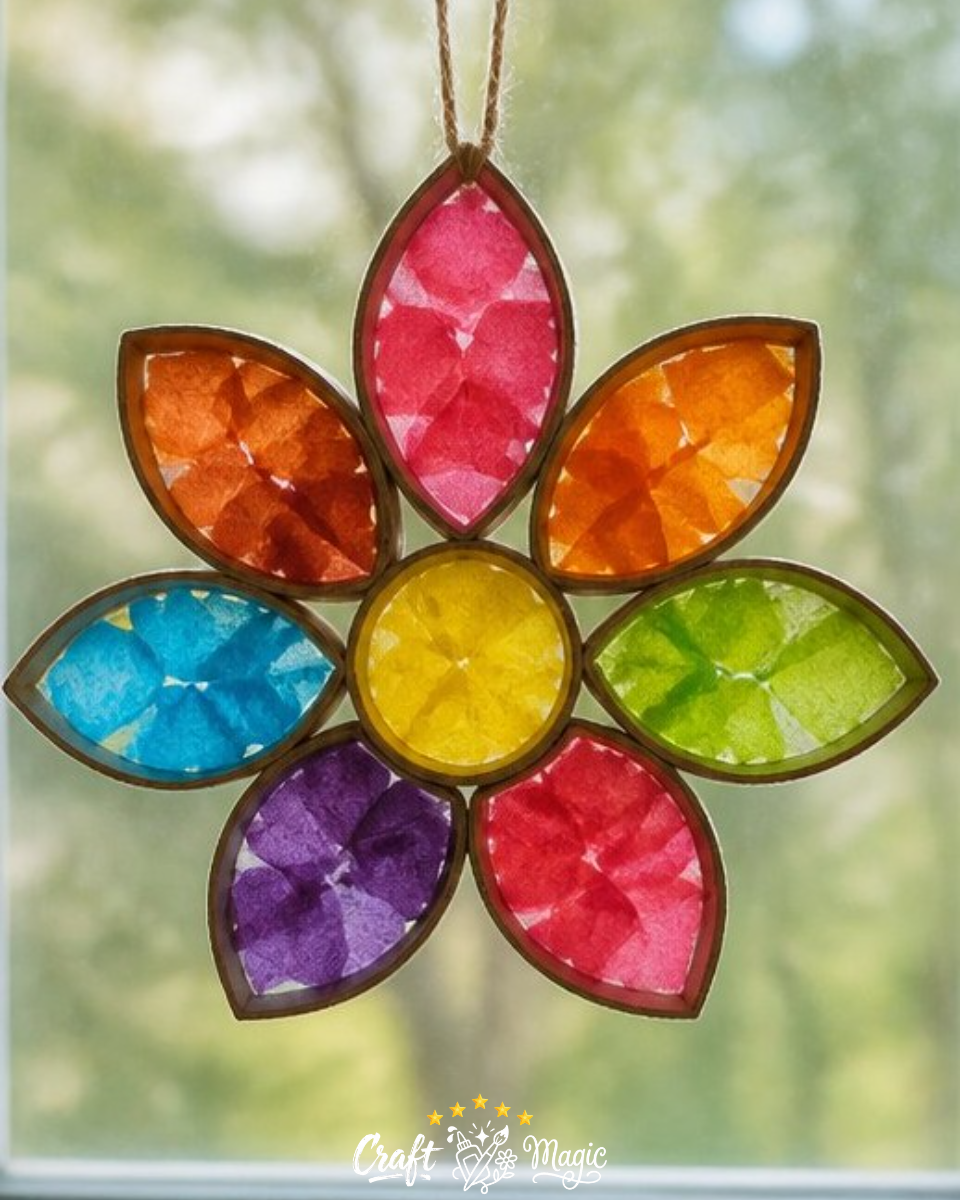
Transform simple cardboard toilet paper rolls into beautiful flower suncatchers that will brighten up any window. This project not only brings color into your environment but also taps into creativity with a hands-on crafting experience. The combination of colorful tissue paper and the translucent quality of the clear contact paper ensures that the finished result will shimmer in the light, making it visually striking and fun to create. You may also find Clear Blue Rainbow Bat Suncatcher Wreath Diy useful.
You may also find Clear Pink Unicorn Apple Teacher Suncatcher useful.
Materials You’ll Need
Gather these readily available supplies to get started on your paper roll flower suncatcher:
- Cardboard toilet paper rolls
- Scissors
- Glue
- Clear contact paper
- Tissue paper squares
- String

How to Make Paper Roll Flower Suncatcher
Follow these step-by-step instructions to create your very own flower suncatcher:
Step 1: Prepare Your Workspace
Find a clean, flat surface where you can work comfortably. Set out all your materials to have everything ready at hand.
Step 2: Cut the Toilet Paper Rolls
Using scissors, carefully cut the toilet paper roll into rings. Each ring should be about 1 inch wide. As you cut, pinch each ring to form petal shapes. This will give your flowers a more dimensional look.
Step 3: Create the Flower Outline
Take multiple petal pieces and glue them together to form the outline of your flower. You can create a layered flower by stacking the petals in varying sizes. Experiment with arrangements until you find a design that you love.
Step 4: Assemble the Suncatcher
Place the flower you’ve created on a piece of clear contact paper. Take your tissue paper squares and fill in the empty spaces around the petals. Choose colors that complement each other for a vibrant effect.
Step 5: Seal and Trim
Once filled, cover the design with another sheet of clear contact paper to seal it. Use scissors to trim around your flower, leaving a small border of contact paper to hold everything together.
Step 6: Hang It Up
Finally, cut a piece of string and attach it to the top of your suncatcher to hang it up. Choose a sunny spot where it can catch the light beautifully.
The process is straightforward and enjoyable, making it a wonderful project for families and kids. You might also want to explore more creative projects like this rainbow tissue paper flower lantern, which has similar delightful results!
Tips for Success
- Be Careful with Scissors: If children are involved, always supervise them when using scissors to ensure safety.
- Experiment with Colors: Try different color combinations for the tissue paper to create unique flower designs that can reflect your personality or the seasons.
- Use a Variety of Shapes: You can create petals of varying shapes and sizes to add more character to your flowers.
Common Mistakes to Avoid
- Not Allowing the Glue to Dry: If you rush the drying time, the petals may come apart. Make sure to give the glue enough time to set.
- Using Too Much Contact Paper: While sealing, use just enough to cover your design without excessive overlapping, as this can make the final product less clear.
Customizing Your Suncatcher
Feel free to get creative with your designs! You can add embellishments like glitter or add beads to the string for a touch of sparkle. For a seasonal variation, think about using colors that represent holidays or themes, such as red and green for Christmas or pastels for springtime.
Frequently Asked Questions
Can I use different types of paper for the petals?
Yes, you can use any lightweight paper, but tissue paper is recommended for its translucent qualities.
How do I hang my suncatcher?
You can hang it using string or even sticky putty that doesn’t leave a residue on your windows.
How long will it last?
With careful handling, your suncatcher can last for several months, particularly if kept out of direct sunlight for long periods, which might fade the colors.
Conclusion
Creating a paper roll flower suncatcher is not only a fun craft project but also a wonderful way to brighten your home. If you’re looking for more inspiration, consider making a suncatcher using pressed flowers and leaves; it adds another beautiful dimension to your crafting repertoire. Check out this guide on how to make a suncatcher with pressed flowers and leaves for more ideas!
Print
Paper Roll Flower Suncatcher
- Total Time: 15 minutes
- Makes: 1 suncatcher
Description
Transform simple cardboard toilet paper rolls into beautiful flower suncatchers that will brighten up any window with vibrant colors.
Materials
- Cardboard toilet paper rolls
- Scissors
- Glue
- Clear contact paper
- Tissue paper squares
- String
Instructions
- Prepare your workspace on a clean, flat surface with all materials at hand.
- Cut the toilet paper roll into rings about 1 inch wide and pinch each ring to form petal shapes.
- Create the flower outline by gluing multiple petal pieces together in varying sizes.
- Assemble the flower on a piece of clear contact paper, filling in the gaps with tissue paper squares.
- Seal the design with another sheet of clear contact paper and trim around the flower.
- Hang it up using a piece of string in a sunny spot.
Notes
Be careful with scissors, especially when children are involved. Experiment with colors and shapes for unique designs.