

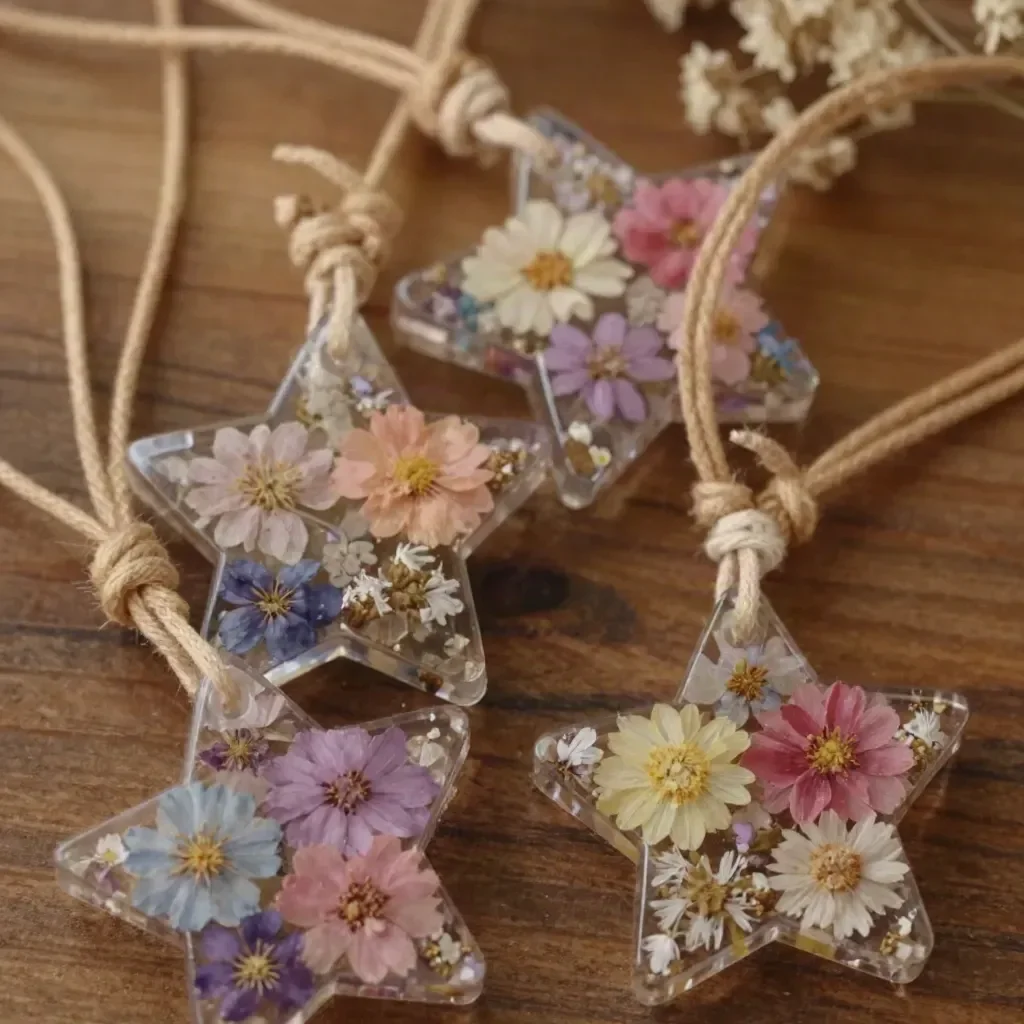
Pressed Flower Star Charms
Creating pressed flower star charms is a delightful way to showcase vibrant florals and add a personalized touch to your accessories. The combination of clear glue, pressed flowers, star-shaped silicone molds, fine glitter, and thin cords come together to create stunning, eye-catching designs. These charms are perfect for adding a bit of cheer to your everyday items or giving as thoughtful handmade gifts for friends and family. You may also find Colorful Cupcake Liner Witch Flower Bouquet Craft useful.
If you love the idea of transforming everyday materials into colorful art, you might also enjoy making pressed flower rainbow window medallions or a colorful cupcake liner flower bouquet!
Materials You’ll Need
Before you begin, gather the following materials:
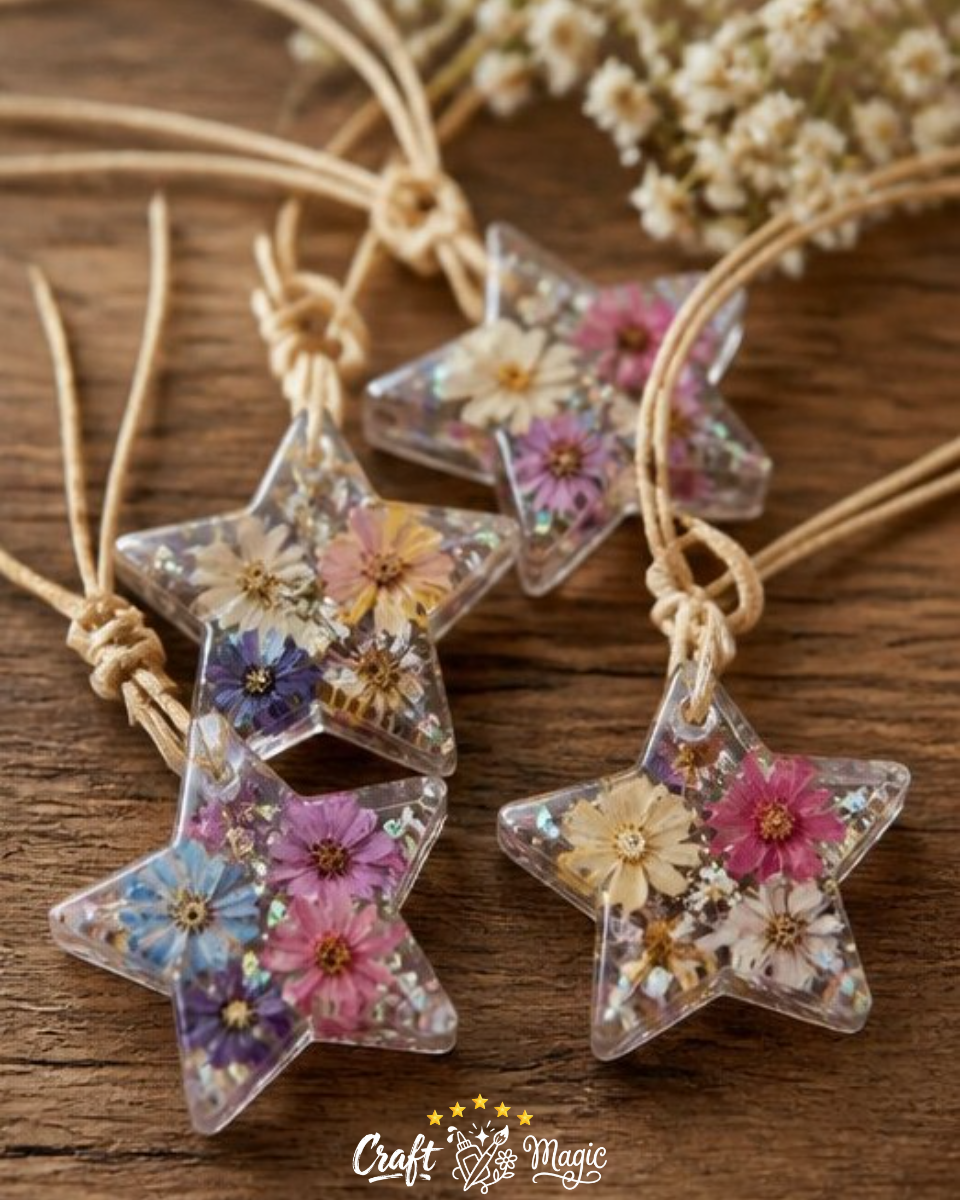
- Clear glue
- Pressed flowers (small, colorful ones work best)
- Star silicone mold
- Fine glitter
- Thin cord
How to Make Pressed Flower Star Charms
Step 1: Prepare Your Workspace
Clear a flat area at your crafting table to work on. Having an organized workspace makes the crafting process smoother and more enjoyable.
Step 2: Apply Glue to the Molds
Start by adding a thin layer of clear glue to the bottom of your star silicone molds. You’ll want to ensure that the surface is fully covered but not too thick, as we’ll layer more glue afterward.
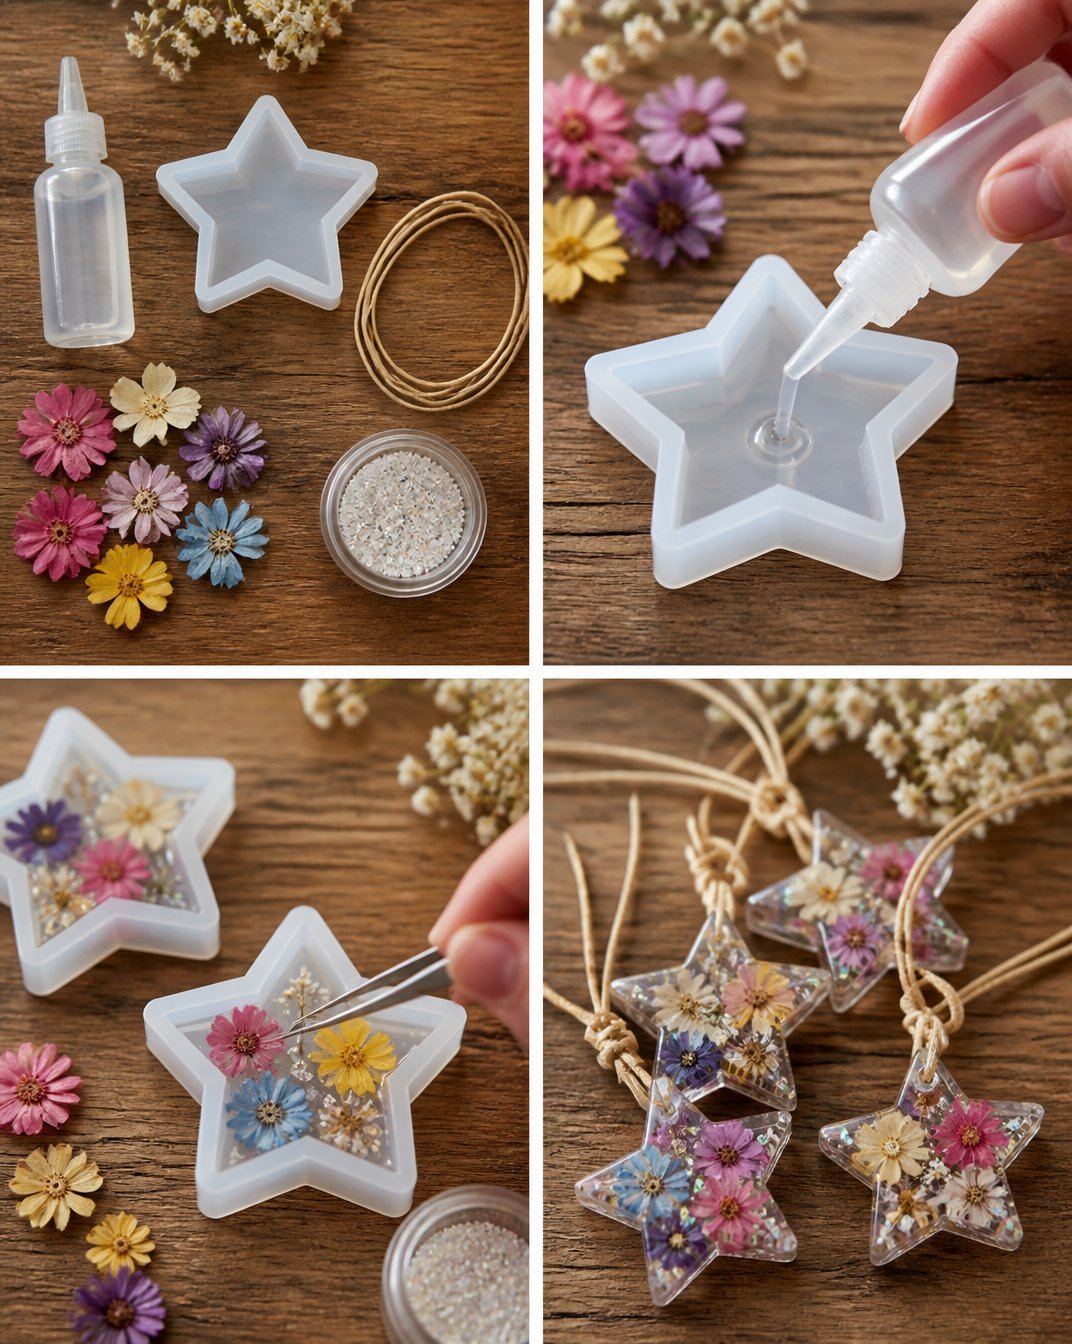
Step 3: Add Flowers and Glitter
Once the glue is applied, place small pressed flowers into the mold, arranging them as desired. A sprinkle of fine glitter can be added at this stage for a touch of sparkle. After arranging the flowers and glitter, cover them with another layer of clear glue. This will encapsulate the flowers and keep them secure.
Step 4: Let it Dry
Allow the charms to dry fully, which may take several hours depending on the thickness of your glue layers. It’s important to give them ample time to harden completely to avoid any damage when removing them from the molds.
Step 5: Remove and Finish
Once dried, gently remove the charms from the silicone molds. If they feel a bit sticky or soft, give them more time to dry. After removing the charms, thread a thin cord through a small hole created during the molding process, or use a glue dot to attach the cord if necessary.
Tips for Success
- Choosing Your Flowers: Opt for smaller flower varieties that can fit into the mold easily. Delicate flowers like violets or daisies often work beautifully.
- Creating Variations: Experiment with different colors of glitter or even layering more than one flower type in each charm to create a stunning effect.
- Displaying Your Charms: You can use these star charms as pendants, keychains, or simply hang them as decorative pieces in your window for a whimsical display.
Frequently Asked Questions
How long should I let the glue dry?
It’s best to let your charms dry for at least 4-6 hours, but overnight drying ensures they are fully cured and durable.
Can I use other shapes besides stars?
Absolutely! Feel free to explore different silicone molds in various shapes, like hearts or circles, to personalize your charms even further.
Is this craft suitable for kids?
Yes! This project can be a fun family activity. Just ensure adult supervision during the handling of the glue and any small parts.Creating pressed flower star charms is a simple yet rewarding project that transforms natural beauty into functional art. They are perfect for seasonal decor or adding a unique touch to your accessories. Experiment with colors and styles, and don’t hesitate to encourage creativity in your crafting journey.
Conclusion
In conclusion, these pressed flower star charms can be an amazing addition to your crafting repertoire. For those looking to expand on flower-themed projects, consider checking out a pressed flower necklace for an elegant way to wear your floral creations! Happy crafting!
Print
Pressed Flower Star Charms
- Total Time: 375 minutes
- Makes: 4 charms
Description
Create vibrant pressed flower star charms that add a personal touch to your accessories with simple materials.
Materials
- Clear glue
- Pressed flowers (small, colorful ones)
- Star silicone mold
- Fine glitter
- Thin cord
Instructions
- Prepare your workspace by clearing a flat area at your crafting table.
- Apply a thin layer of clear glue to the bottom of the star silicone molds.
- Add small pressed flowers into the mold and sprinkle fine glitter for sparkle.
- Cover the flowers and glitter with another layer of clear glue.
- Let the charms dry fully for several hours.
- Remove the charms from the silicone molds and thread a thin cord through the hole.
Notes
Use smaller flower varieties for the best fit in the molds. Experiment with different colors of glitter for unique effects.