

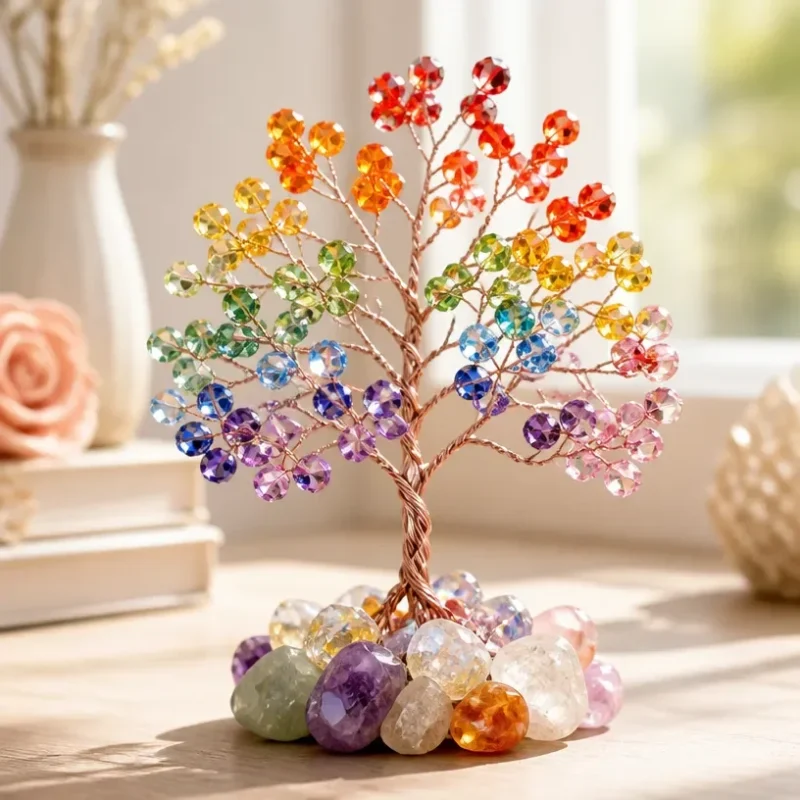
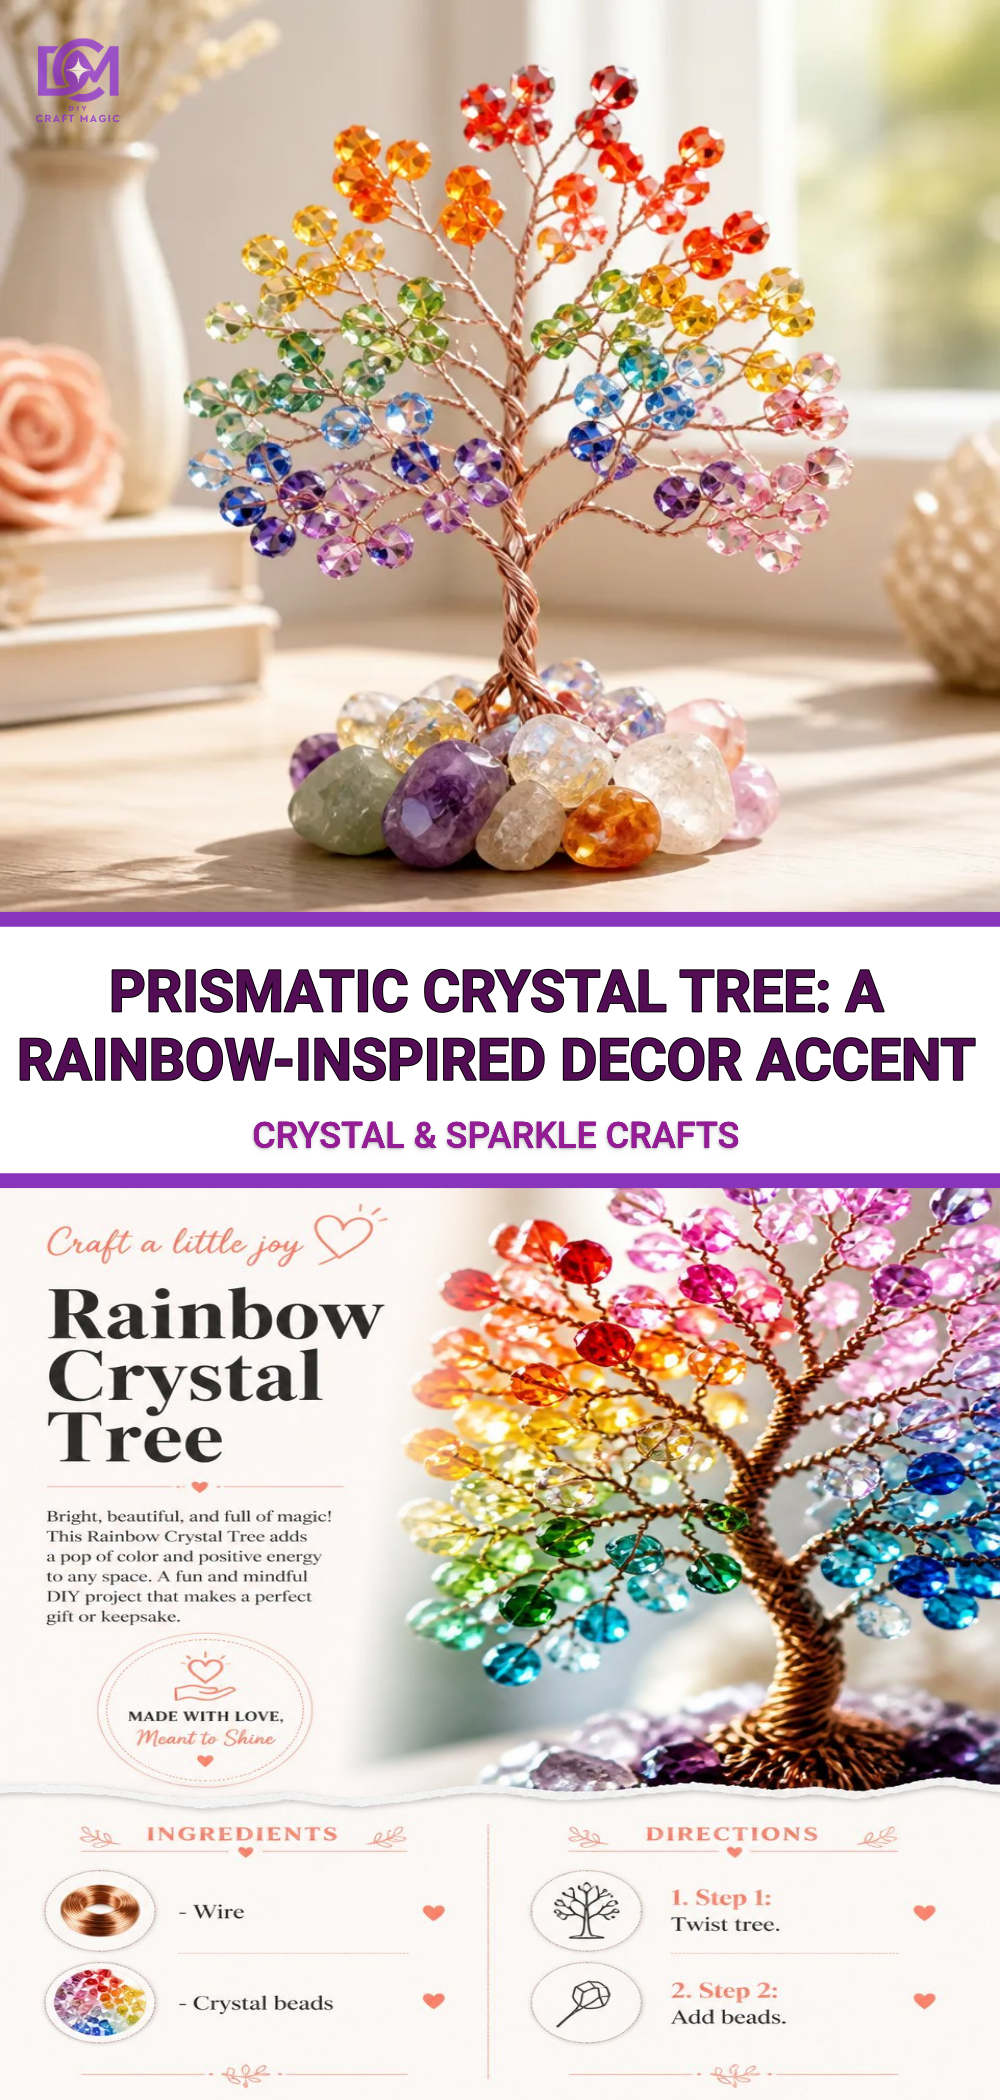
Prismatic Crystal Tree: A Rainbow-Inspired Decor Accent
Creating a Prismatic Crystal Tree brings a vibrant splash of color and elegance to any space. This project harnesses the beauty of crystals to mimic the natural magic of light as it refracts through various hues. The final product is not just a striking decor element but also an engaging crafting experience that anyone can enjoy. The materials are straightforward and accessible, making this an ideal project for families or crafty beginners. You may also find Crystal Accented Rainbow Butterfly Tree Decor useful.
Materials You’ll Need
You may also find Prismatic Butterfly Crystal Mobile Nursery Decor useful.
To create your Prismatic Crystal Tree, gather the following materials: You may also find Borax Rainbow Crystal Bloom Tree Garden Decor useful.
- Assorted colored crystals or glass beads
- Wire (preferably craft wire)
- Wooden base or a sturdy platform for stability
- Hot glue gun and glue sticks
- Scissors
- Paint (optional for base decoration)
- Ribbon (for embellishment)
Choosing Your Materials
One of the most enjoyable aspects of this project is selecting your crystals. You can opt for various colors to create a rainbow effect. If you’re unsure what to choose, consider checking out elegant crystal bouquets for inspiration. Once you’ve gathered your supplies, it’s time to start crafting!
How to Make Prismatic Crystal Tree: A Rainbow-Inspired Decor Accent
Step-by-Step Instructions
Prepare Your Base: Start by ensuring your wooden base is clean and dry. If desired, paint it in a color that complements your crystals. Let the paint dry fully before proceeding.
Cut the Wire: Cut several pieces of wire to different lengths. These will serve as the branches of your tree. Aim for varying heights to create a natural look.
Attach the Branches: Using the hot glue gun, attach one end of each wire piece securely to the base. Arrange them in a way that simulates the branches of a tree.
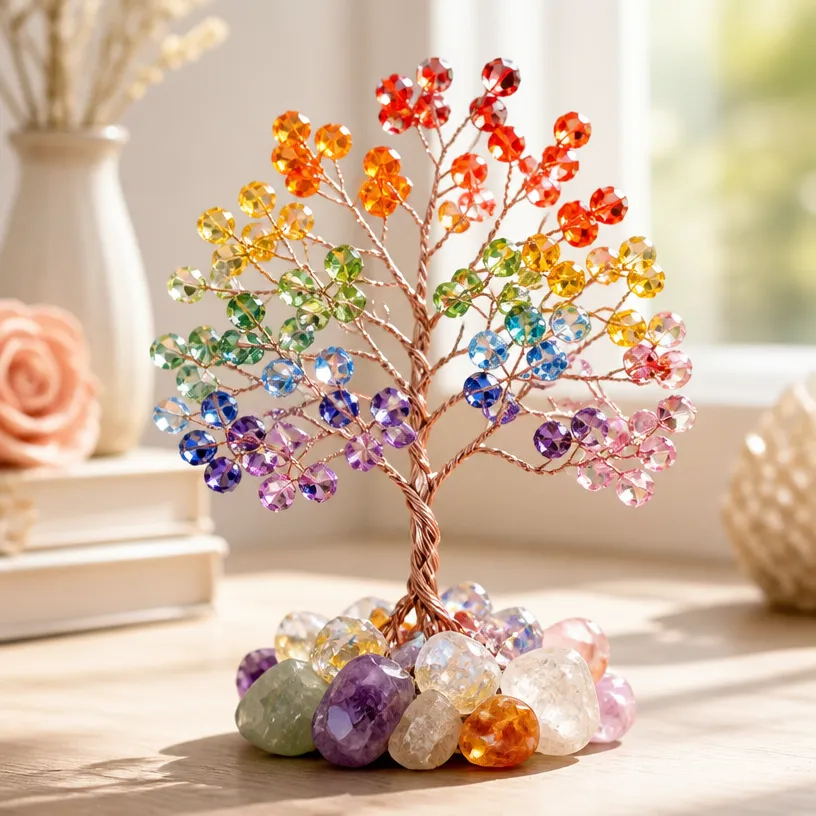
Add the Crystals: Once the glue has set, start attaching your crystals. Thread them onto the wire branches, spacing them out for an aesthetically pleasing look. Secure each crystal in place with a dab of hot glue.
Finishing Touches: After your branches are filled with crystals, consider adding some ribbon to enhance the festive feel. You could tie it around the base or let it drape down.
Getting the Colors Right
When arranging your crystals, think about color transitions. For instance, placing reds next to oranges can help create a warm, sunset effect. Mixing in clear or frosted crystals can also add depth, as they reflect light beautifully. If you want to see more ideas on color arrangements, explore the Prismatic Crystal Tree projects available on our website.
Creating the Crystal Effect
To achieve a stunning display, place your finished Prismatic Crystal Tree where sunlight can shine on it. The arrangement of crystals should catch the light and yield a beautiful spectrum of colors dancing around your room.
Helpful Tips
- Work in Sections: If you’re crafting with kids or as part of a group, consider dividing the tasks. Some can focus on the base while others can work on crystal placement.
- Safety First: Be cautious while using the hot glue gun. It’s best for younger crafters to have adult supervision during this phase.
Customization Ideas
Feel free to customize your Prismatic Crystal Tree with mini ornaments, seasonal decorations, or even artificial flowers to match various holidays or personal preferences. Inspired by themes, you can create a winter wonderland by adding icy blue and white crystals or a vibrant spring tree with blooming colors.
Common Mistakes to Avoid
- Overloading the Branches: Be mindful not to overcrowd the branches with too many crystals, as they might tip the tree over.
- Not Allowing Drying Time: Give the glue plenty of time to set properly before moving your tree. This could prevent mishaps later on.
Frequently Asked Questions
How long does the project take?
Typically, this project can take about 2-3 hours, including drying time.
Can I use different kinds of crystals?
Yes, mixing different crystals can create a unique appearance, enhancing the visual effect.
How should I store my tree?
Store it in a cool, dry place away from direct sunlight to prevent any potential fading.
Final Thoughts
Crafting a Prismatic Crystal Tree not only enhances your home decor but also provides a fun, hands-on activity perfect for family bonding. Experiment with different colors and styles to make each tree uniquely yours. Whether for a holiday centerpiece or an everyday display, your prismatic creation is sure to catch the eye!
Conclusion
To expand your crafting journey, consider exploring more about different crystal and suncatcher crafts available at DIY Craft Magic. You may also find charming decor items like the Crystal Hummingbird Flower Prism Suncatcher useful in bringing an extra touch of beauty to your spaces!
Print
Prismatic Crystal Tree
- Total Time: 120 minutes
- Makes: 1 tree
Description
Create a vibrant Prismatic Crystal Tree that adds a splash of color and elegance to any space. This engaging crafting experience is perfect for families and beginners.
Materials
- Assorted colored crystals or glass beads
- Wire (craft wire preferred)
- Wooden base or sturdy platform
- Hot glue gun and glue sticks
- Scissors
- Paint (optional for base decoration)
- Ribbon (for embellishment)
Instructions
- Prepare your base: Start by ensuring your wooden base is clean and dry. Paint it if desired and let it dry completely.
- Cut the wire into several pieces of different lengths for the branches.
- Attach the branches securely to the base using the hot glue gun, arranging them like tree branches.
- Add the crystals by threading them onto the wire branches and securing with hot glue.
- Finish by adding ribbon for decoration around the base or draping it down.
Notes
Work in sections for group crafting and supervise kids during hot glue application. Avoid overcrowding branches with crystals and allow glue to set before moving the tree.