


Back-to-School Rainbow Apple Mosaic Art
Get ready to brighten up your school year with a stunning Rainbow Apple Mosaic Art project! This engaging craft not only captures the vibrant colors of a rainbow but also provides a fun and creative outlet perfect for both kids and adults. The finished piece is not only visually striking with its layered colors and textures but also serves as a fantastic decorative element for your home or classroom. You may also find Pineapple Rainbow Garland Diy Summer Parties useful.
Why You’ll Love This Project
Creating a Rainbow Apple Mosaic isn’t just about the beautiful result; it’s also about the joy and satisfaction you get from the process. The way vibrant colors come together to create a unique piece of art is incredibly rewarding. Plus, it’s an excellent way to recycle materials you might already have, making it both economical and environmentally friendly. You may also find How To Create Jellyfish Rainbow Salt Art useful.
Before diving into the supplies and steps needed to create this remarkable mosaic, let’s explore the materials you’ll need. You may also find Rainbow Apple Cupcake Liner Flower Wreath For Kids useful.
Materials You’ll Need
Before starting, ensure you have all the materials ready. For this project, you’ll need:
- Colorful cardstock (red, yellow, green, blue, and purple)
- Scissors
- Glue
- Pencil
- A base (like cardboard or canvas)
- Optional: embellishments like glitter, sequins, or beads to add sparkle
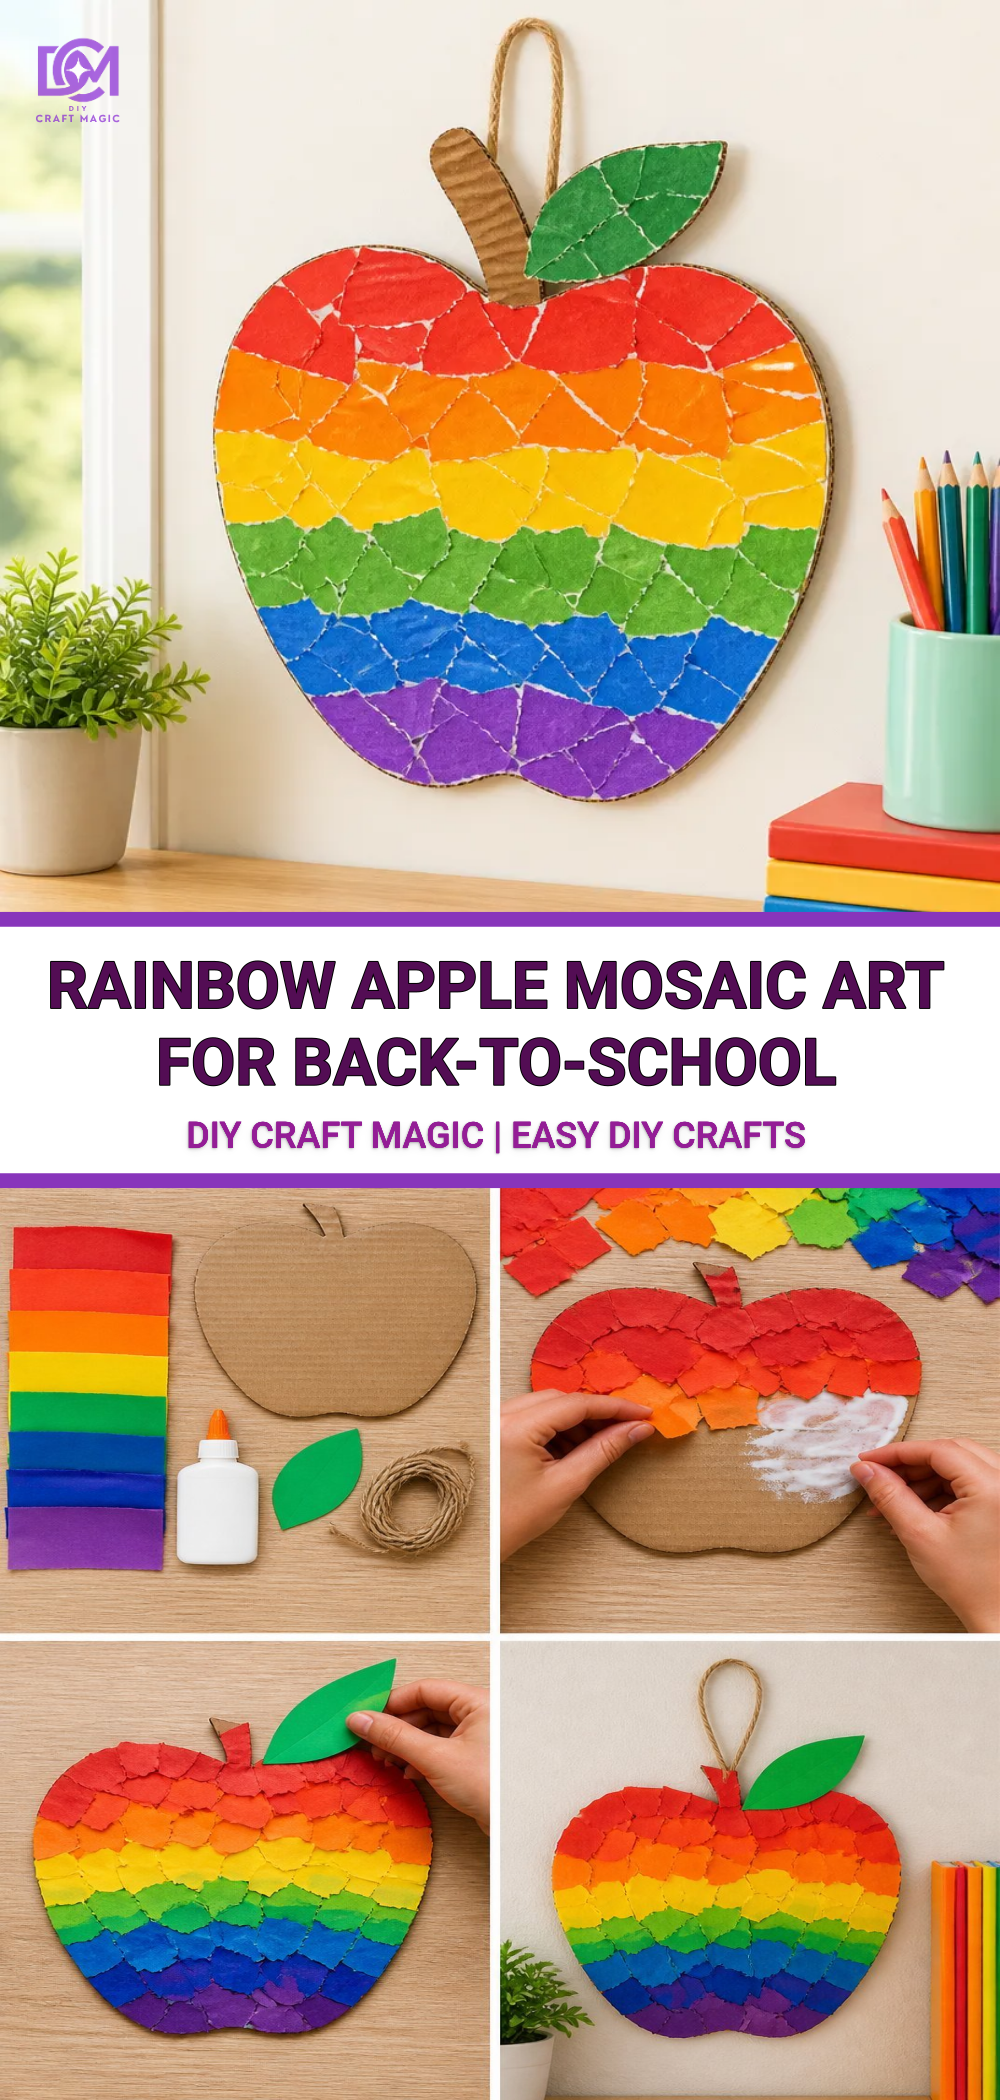
Having all these materials on hand will make your crafting experience smooth and enjoyable!
How to Make Back-to-School Rainbow Apple Mosaic Art
Now let’s break down the steps to create your mosaic masterpiece.
Step 1: Prepare Your Base
Begin by cutting your base to a size that suits your display area. You can use a piece of cardboard or a canvas that you can easily hang on a wall.
Step 2: Cut Your Colors
Next, use your scissors to cut the colorful cardstock into small squares or random shapes. This is where you have the opportunity to customize your pieces. You can adjust the size based on your desired final look.
Step 3: Outline Your Apple
Using a light pencil, draw the outline of an apple in the center of your base. This will guide you on where to place your colored pieces.
Step 4: Start Gluing
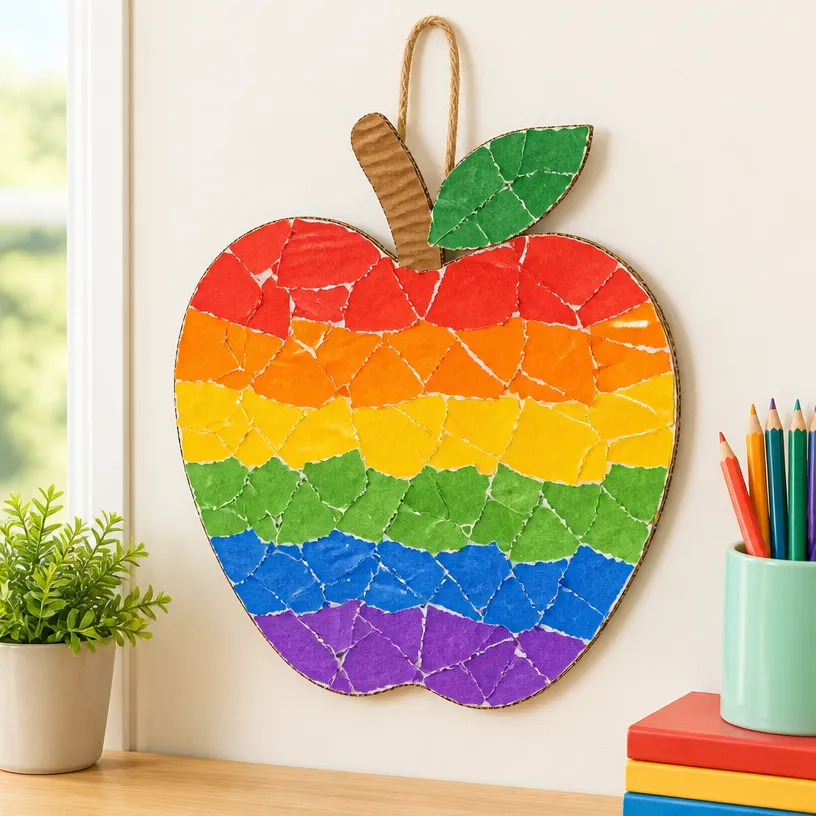
Starting with the outside of your apple shape, begin gluing your colorful cardstock pieces in place. Layer the colors to create a beautiful rainbow effect. Use a mix of colors to ensure a vibrant transition. If you need some inspiration for other colorful crafts, check out this colorful rainbow feather window decor artwork.
Step 5: Fill in the Details
As you progress towards the center of the apple, gradually blend in colors to create depth. Consider adding shades and experimenting with patterns. This will enhance the aesthetic quality of your rainbow apple, giving it that true mosaic look.
Helpful Tips
- Choose Colors Wisely: When selecting your colors, think about how they harmonize. A soft gradient from red through purple can create a mesmerizing visual effect.
- Layering is Key: To achieve depth, layer your cuts slightly, overlapping them as you work your way through the design for a more dimensional appearance.
- Don’t Rush: Take your time during the gluing stage. Allow each section to fully set before moving on to prevent any pieces from shifting.
Common Mistakes to Avoid
- Too Much Glue: Applying excess glue can lead to a messy project. Use just enough to hold each piece in place.
- Limiting Color Choices: Don’t be afraid to experiment with color combinations. A rich palette will enhance your artwork’s appeal.
- Ignoring the Base Shape: Ensure your base is strong enough to hold the weight of your materials. A flimsy base may not support the finished artwork adequately.
Customization Ideas
Feel free to customize your rainbow apple! You could incorporate different shapes of fruits or add a personal touch with words or quotes. For another fun and vibrant craft idea, consider making this melted crayon rainbow heart suncatcher.
Crafting With Kids
This project is perfect for kids! Involving children in the creative process can be a great way to bond. Just be sure to supervise any cutting or use of glue to ensure safety.

Frequently Asked Questions
How long will the glue take to dry?
It usually takes about 30 minutes for the glue to set. However, allowing your artwork to dry overnight is best for a sturdy finish.
Can I use other materials?
Absolutely! You can use recycled magazines, fabric scraps, or other paper types for different textures.
What are the best ways to display my artwork?
Once dried, hang your Rainbow Apple Mosaic in a well-lit area to showcase its colors. It can also make a unique centerpiece for a back-to-school event.
Conclusion
Creating a Back-to-School Rainbow Apple Mosaic is a fantastic way to unleash your creativity while making a colorful piece of art. As you embark on this craft, consider exploring more options like this Mosaic Apple Art for additional inspiration. And if you’re interested in making other crafts, check out the Colorscape coloring app to turn your favorite photos into stunning color designs! Enjoy crafting!
Print
Back-to-School Rainbow Apple Mosaic Art
- Total Time: 40 minutes
- Makes: 1 artwork
Description
Brighten up your school year with a vibrant and engaging Rainbow Apple Mosaic Art project, perfect for kids and adults alike!
Materials
- Colorful cardstock (red, yellow, green, blue, purple)
- Scissors
- Glue
- Pencil
- A base (cardboard or canvas)
- Optional: embellishments like glitter, sequins, or beads
Instructions
- Prepare Your Base by cutting it to a suitable size for display.
- Cut Your Colors into small squares or random shapes.
- Outline Your Apple by drawing an outline in the center of your base.
- Start Gluing your colored cardstock pieces, beginning with the outside.
- Fill in the Details by blending colors towards the center for depth.
Notes
Involve kids in the creative process but supervise with cutting and glue for safety.