

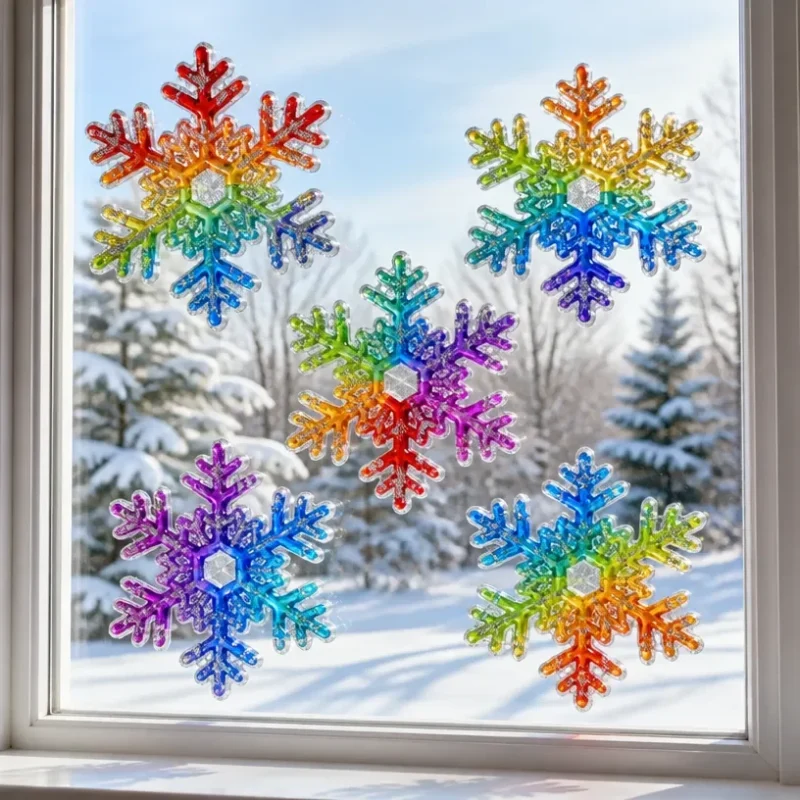
Rainbow-Colored Snowflake Window Clings for Winter Decor
Creating stunning rainbow-colored snowflake window clings is an enjoyable craft project that transforms your windows into vivid displays of color for the winter season. This visually striking project is both approachable and satisfying, allowing you to unleash your creativity and brighten up your home. The clings not only complement your winter decor but also bring a cheerful touch to the chilly days ahead. You may also find Diy Colorful Rainbow Mandala Window Decor useful.
Why You’ll Love This Project
The beauty of this project lies in its simplicity and the vibrant results. These window clings are made using everyday materials, making them easy to craft with family or friends. The colorful snowflakes catch sunlight beautifully, creating a shimmering effect that instantly enhances the ambiance of any room. If you’re exploring other creative window decor ideas, you might also enjoy making colorful feather window decor.
Materials You’ll Need
To make your rainbow-colored snowflake window clings, gather the following materials: You may also find Diy Rainbow Mandala Stones For Home Decor useful.
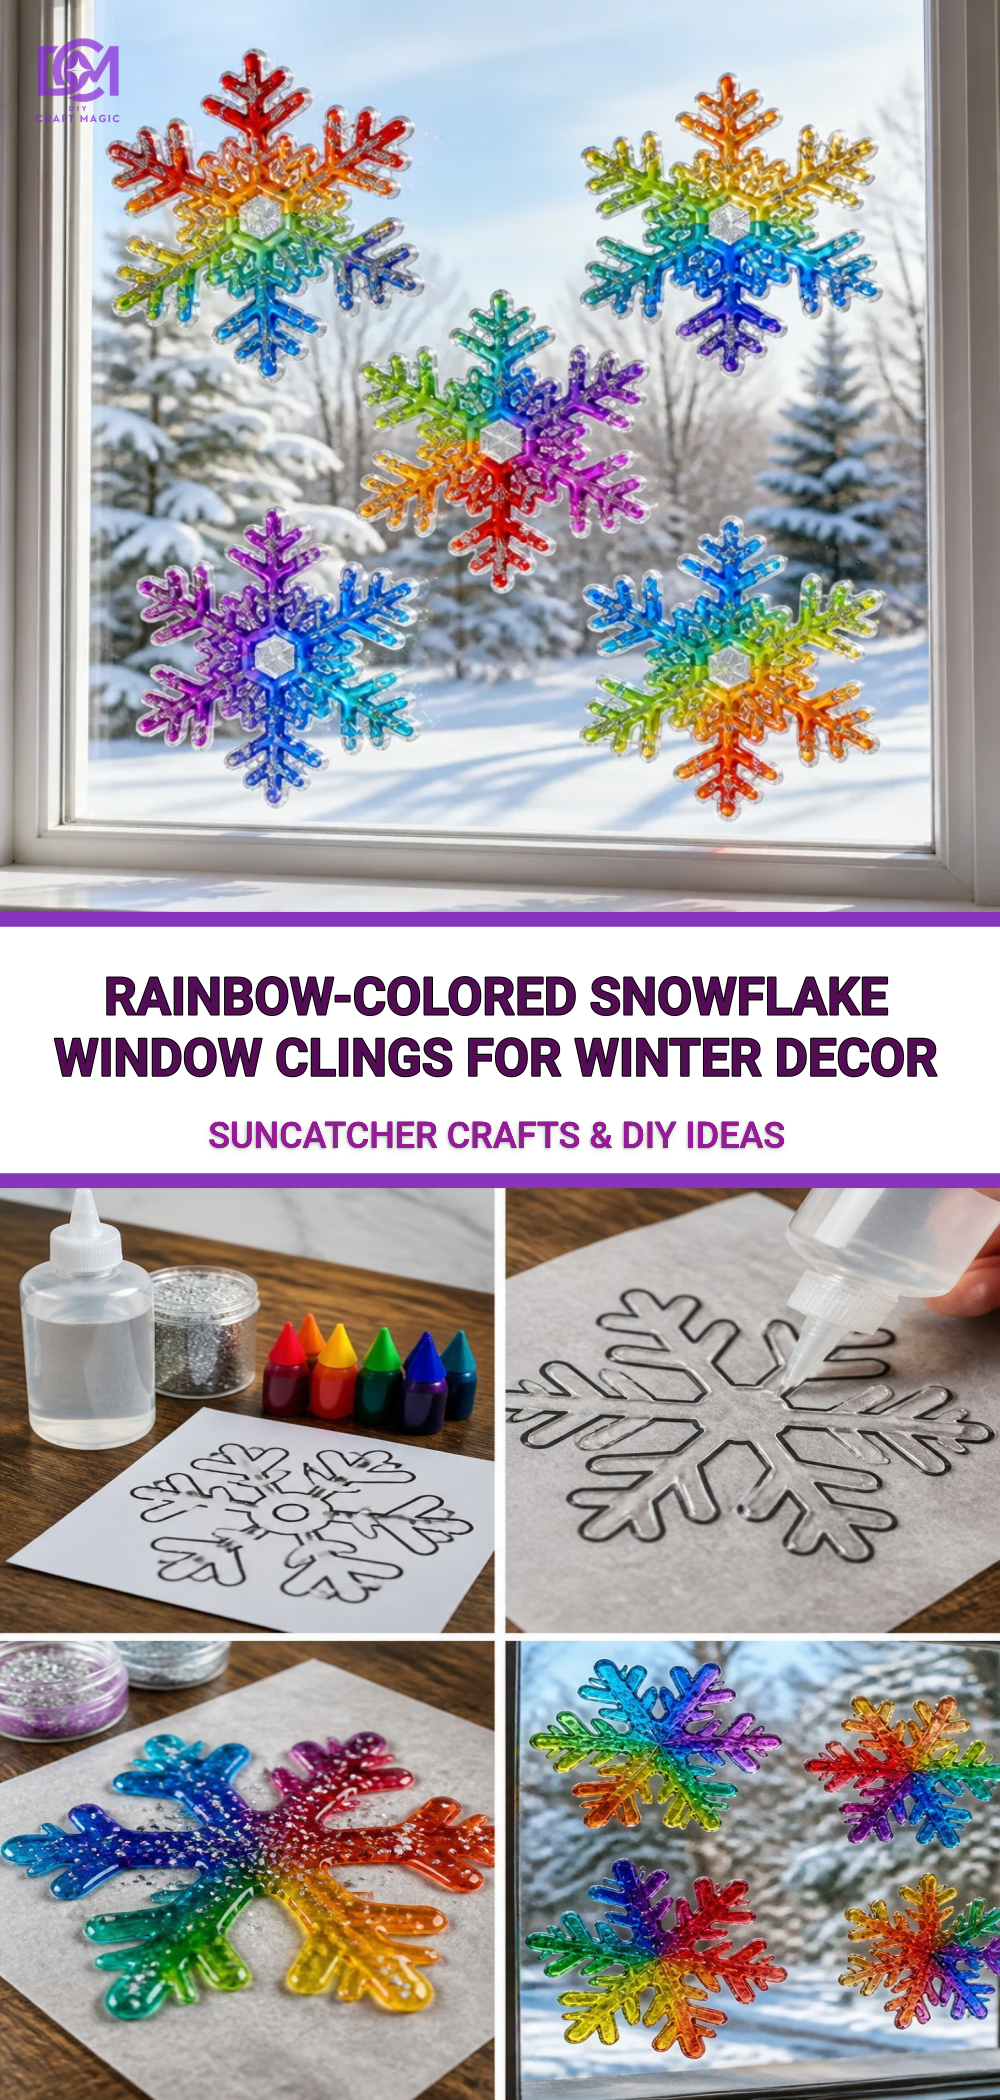
- PVA Glue: This will serve as your main adhesive for forming the clings.
- Food Coloring: Choose various colors to create the rainbow effect.
- Wax Paper: Serves as the base for your clings.
- Spray Bottle with Water: To lightly mist the window before applying the finished clings.
- Paper Towels: Handy for cleanup and drying excess glue.
- Scissors: For trimming the wax paper as needed.
Step-by-Step Instructions
Prepare Your Workspace: Start by laying down a protective covering on your work surface. This will catch any drips or spills and make cleanup easier.
Mix Your Colors: In small cups, mix PVA glue with desired food coloring. The more food coloring you add, the more vibrant the clings will be.
Create Snowflake Designs: Using a brush or the squeeze bottle, draw snowflake shapes on the wax paper. Ensure the design is sufficiently thick, as this will help the cling hold its shape.
Drying Time: Allow the designs to dry overnight in a location where they won’t be disturbed. The thicker the application, the longer they might need to dry.
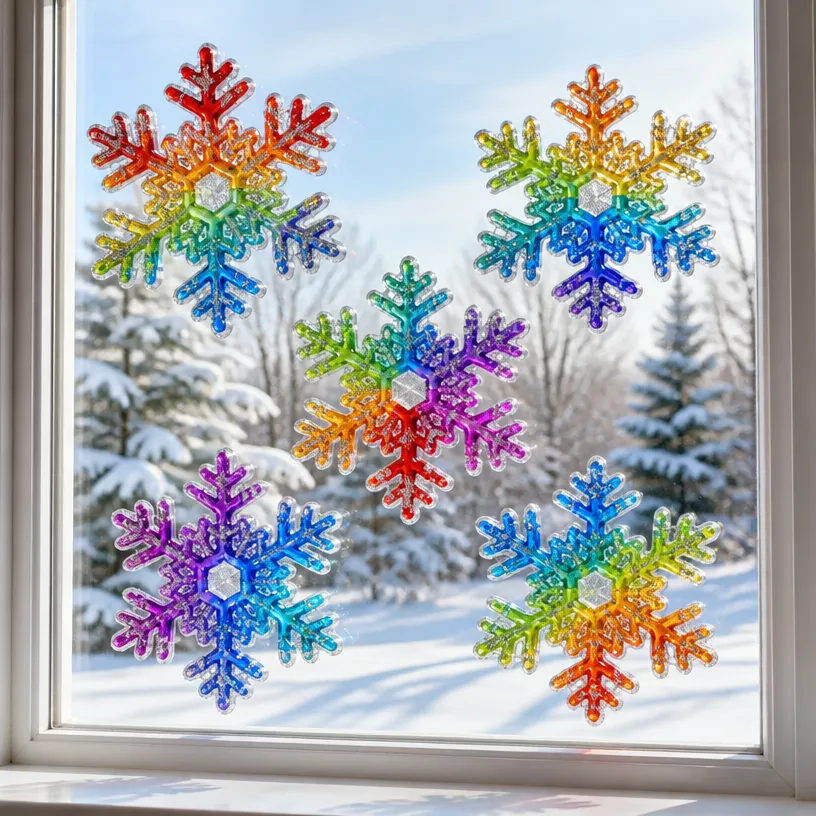
Peel and Apply: Once dry, gently peel the snowflakes off the wax paper. Lightly mist your window with water and press the clings onto the glass, which will help them stick better and make cleanup easier later on.
Helpful Tips
For an added effect, consider making contrasting designs that complement your window aesthetics. For instance, pairing these snowflakes with neon spiral glue suncatchers can result in a captivating winter display.
Allow the window clings to dry completely before trying to reposition them. If they do curl after peeling off, lightly mist them with water again to relax the material.
Common Mistakes to Avoid
Don’t apply the glue too thinly, as this can result in fragile clings that break easily. Make sure to create a nice, thick layer to ensure durability.
Be mindful of the drying environment. High humidity or excessive moisture can lead to an extended drying time and potentially affect the cling’s texture.
Crafting With Kids
This project is perfect for families and can be a fantastic educational experience. Children can learn about colors, shapes, and the process of evaporation when they see how the glue dries. Supervising young children is important, especially when using scissors and handling food coloring.
Display Ideas
Once your window clings are beautifully crafted, consider arranging them in festive patterns or shapes that mimic a winter wonderland. You might also look into making pastel flower glue suncatchers for windows to further enhance your winter decor.
Frequently Asked Questions
How do I store leftover glue?
Store any leftover glue mixture in a tightly sealed container to keep it from drying out.
Can I reuse the window clings?
While they can be reused, over time they may become less sticky. To prolong their life, store them flat and clean them gently before reapplying.
What if my clings don’t stick?
If the clings don’t adhere well, try misting the window lightly with water prior to application. This can help create a more breathable surface for the clings to stick to.
Conclusion
Creating rainbow-colored snowflake window clings is a fun and straightforward craft that adds a bright touch to your home’s winter decor. Enjoying the crafting process with loved ones enhances the experience. For related projects, check out these Happy Birthday window gel cling stickers or discover unique options on Etsy’s extra-large window clings. Happy crafting!
Print
Rainbow-Colored Snowflake Window Clings
- Total Time: 15 minutes
- Makes: Multiple clings
Description
Create stunning rainbow-colored snowflake window clings to brighten your home decor this winter season.
Materials
- PVA Glue
- Food Coloring
- Wax Paper
- Spray Bottle with Water
- Paper Towels
- Scissors
Instructions
- Prepare your workspace by laying down a protective covering.
- Mix PVA glue with desired food coloring in small cups.
- Create snowflake designs on the wax paper using a brush or squeeze bottle.
- Dry the designs overnight in a stable location.
- Peel the snowflakes off the wax paper, lightly mist your window, and apply the clings.
Notes
Allow the clings to dry completely before repositioning. Mist with water if they curl after peeling.