

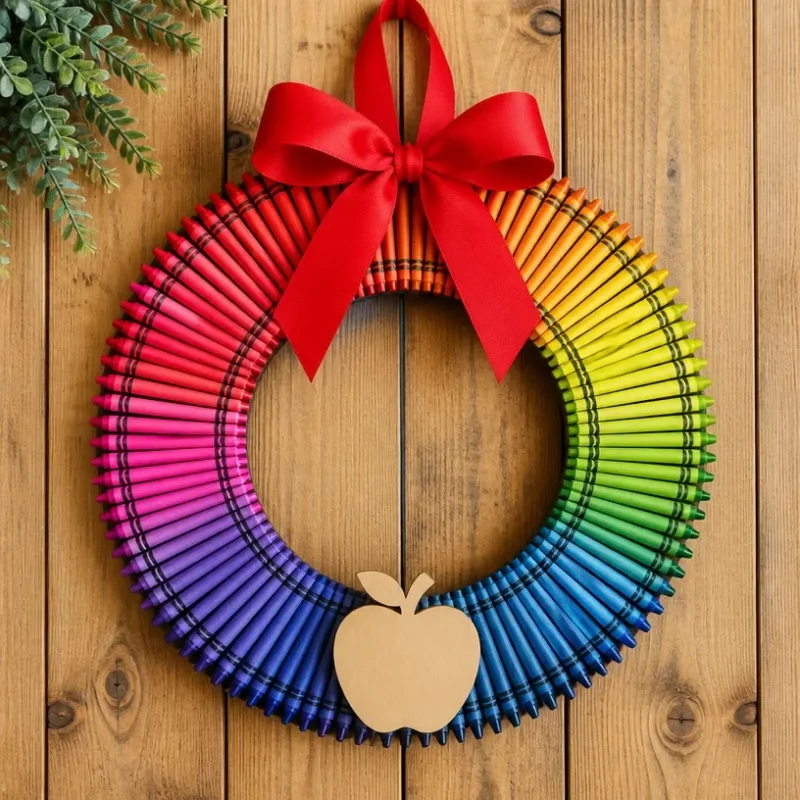
Rainbow Crayon Teacher Appreciation Wreath
Creating a Rainbow Crayon Teacher Appreciation Wreath is a delightful way to show gratitude to the teachers in your life. This colorful craft not only brightens up any space but also uses everyday materials, making it an approachable and satisfying project for families and beginner crafters alike. Think vivid, glossy colors that melt together into a stunning display that teachers will cherish. You may also find Clear Blue Rainbow Bat Suncatcher Wreath Diy useful.
Materials You’ll Need
Before starting your craft, gather the following materials: You may also find Melted Crayon Rainbow Haunted House Suncatcher Craft useful.
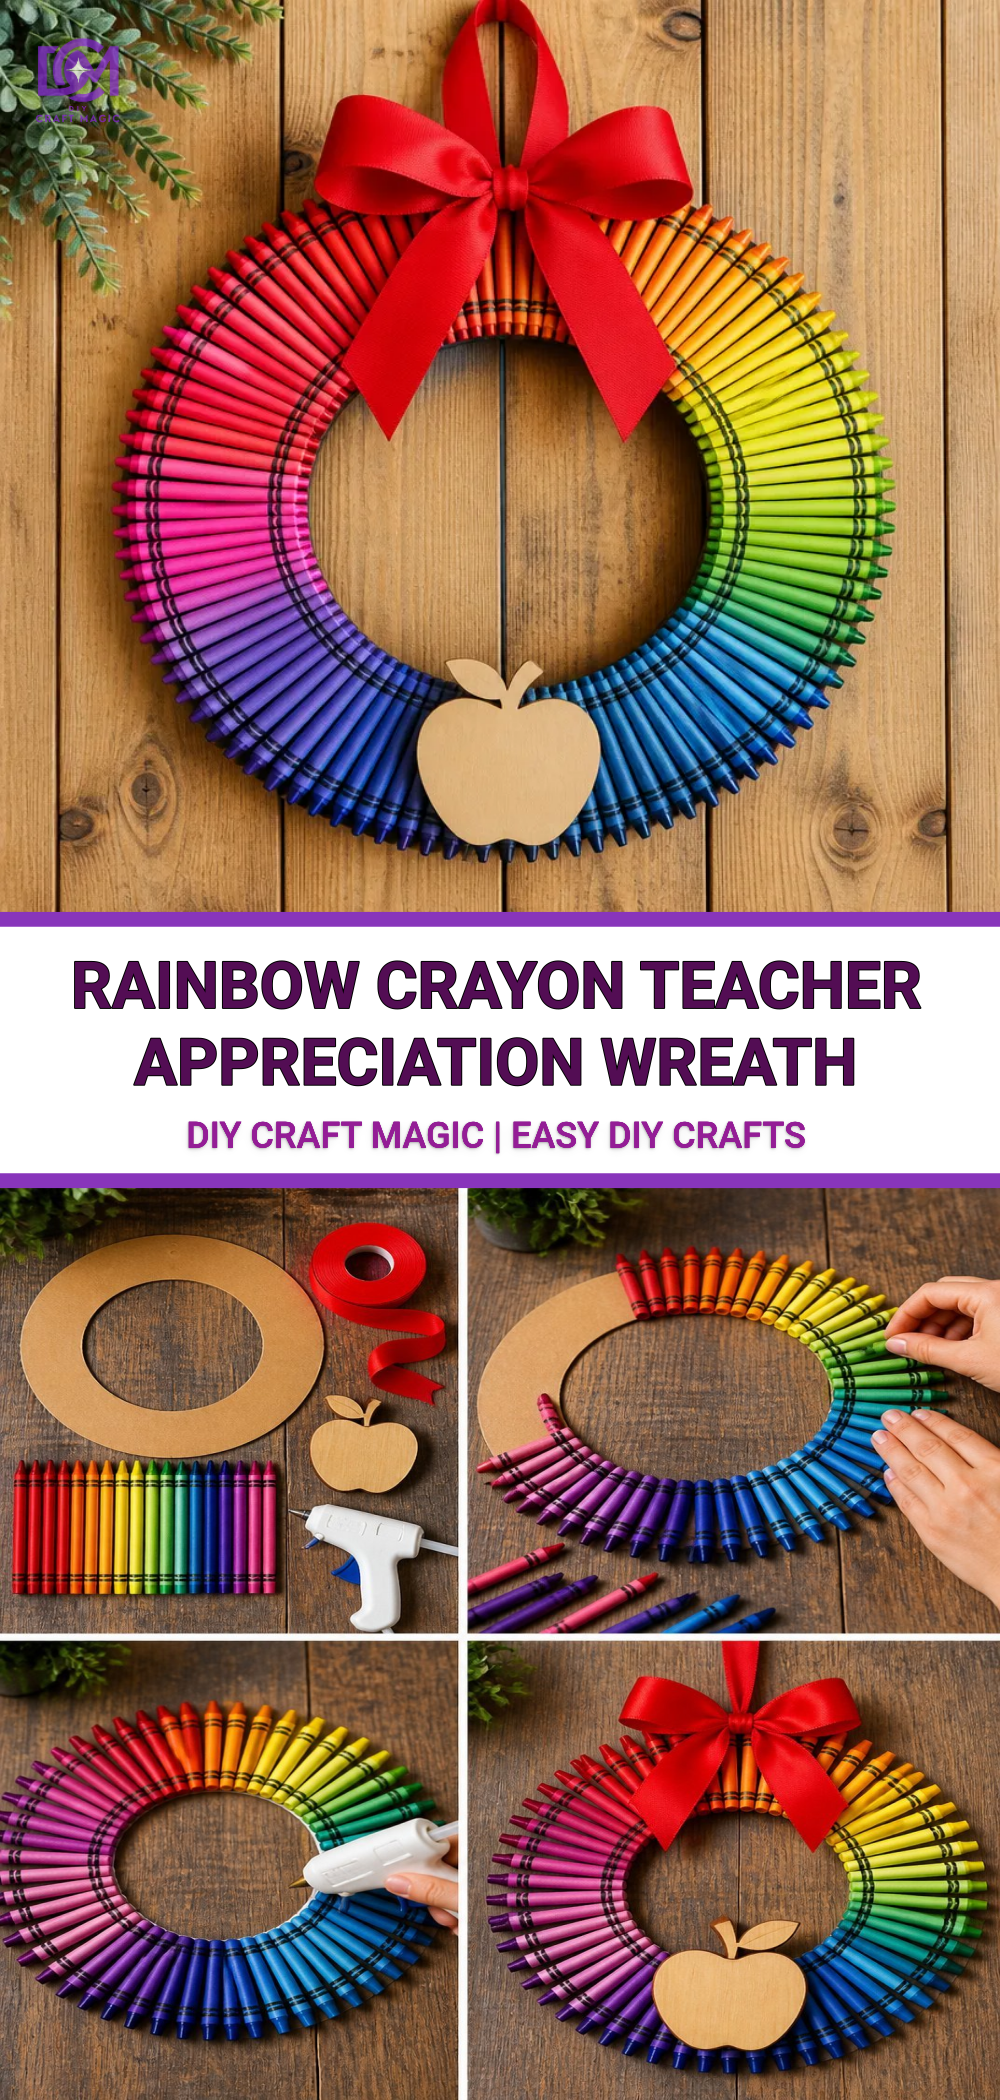
You may also find Rainbow Apple Cupcake Liner Flower Wreath For Kids useful.
- 1 cup of broken crayons (various colors)
- Clear plastic suncatcher sheets
- Scissors
- Hot glue gun
- Wreath form (foam or cardboard)
- Ribbon for hanging
- Optional: embellishments like stickers or more crayons
How to Make Your Wreath
This project is simple and can be completed in just a few steps. Here’s how to bring your vibrant Rainbow Crayon Teacher Appreciation Wreath to life!
Step-by-Step Instructions
Prepare Your Crayons: Start by peeling off the paper from your broken crayons. This is a great way to reuse crayon remnants and get colorful results. For smaller kids, this might require adult supervision.
Melt the Crayons: Preheat your oven to 200°F (93°C). Place the broken crayons into small cookie cutters on a baking sheet lined with parchment paper. Bake them for about 10-15 minutes or until they have melted into colorful puddles. Keep an eye on them to prevent burning.
Pour and Cool: Once the crayons are fully melted, let them cool slightly. After about five minutes, carefully pour the melted crayon into your clear suncatcher sheets. Give them a good swirl to mix colors for added visual interest.
Cut the Shapes: After your melted crayon mix has cooled and hardened, remove them from the suncatcher sheets and cut them into fun shapes to attach to your wreath.
Attach to Wreath Form: Use a hot glue gun to secure your colorful shapes onto the wreath form. Feel free to layer them for a dimensional effect. You might want to balance the colors around the wreath for an even look.
Add a Ribbon: Once the shapes are glued on securely, thread a ribbon through the top of your wreath for hanging. This adds a beautiful finishing touch.
Extra Decorations: If you’re feeling extra creative, embellish the wreath with additional stickers or shapes, perhaps something meaningful that represents the teacher’s personality or subject area.
Display Your Creation: Hang your Rainbow Crayon Teacher Appreciation Wreath at the classroom door or give it as a gift. It’s sure to light up the day of any teacher!
As you enjoy making this wreath, you might want to explore similar projects, like the melted crayon rainbow butterfly suncatcher that adds a lovely pop of color to windows!
Helpful Tips
- Make sure to supervise younger children when using scissors and working with hot glue.
- If you wish to create a more textured effect, try adding a layer of pressed flowers or leaves underneath the crayon shapes.
- Should you have leftover materials, consider making a melted crayon heart suncatcher to spread the fun!
Common Mistakes to Avoid
One of the most common setbacks in this project is the crayons not melting properly. Ensure that they are evenly placed in the cookie cutters and not overfilled. Additionally, maintaining a watchful eye while they bake will prevent any burning. If your wreath doesn’t have enough dimension, consider layering more crayon shapes or using foam shapes for added height and interest.
Color Ideas
Choosing your colors can be a fun part of this project. A rainbow palette is always a win, but you can also opt for school colors or the teacher’s favorite hues. Mix and match to create a unique look that reflects the teacher’s style.
Display Ideas
Your wreath can be displayed in various places. Consider hanging it at the entrance of the classroom, on a door, or even giving it as a gift at the end of the school year. It’s both decorative and personal, making it a charming keepsake.
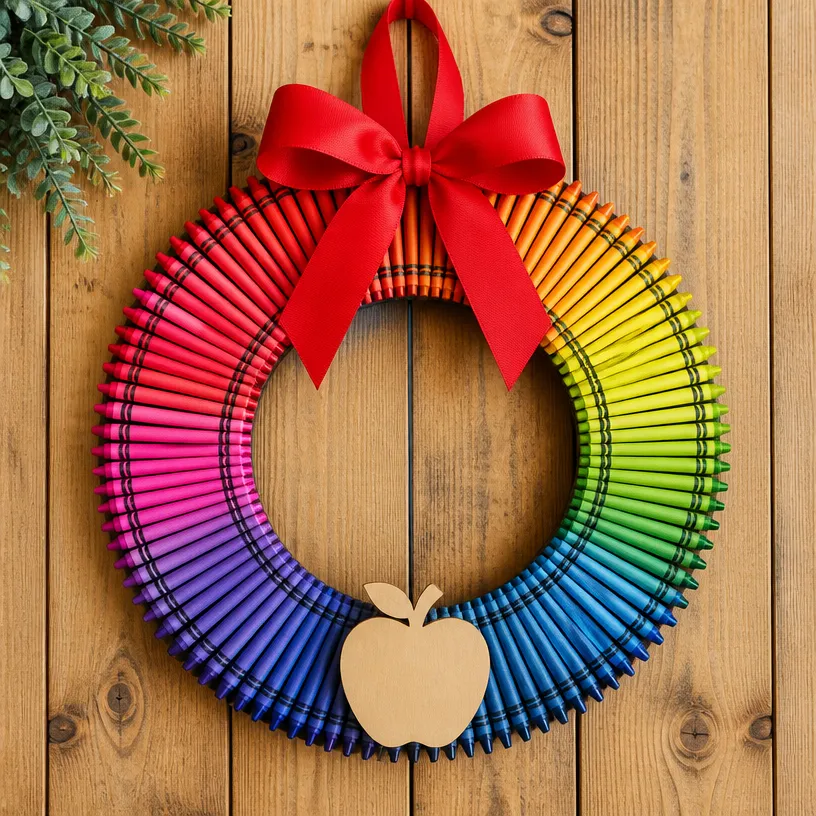
Crafting With Kids
This project is perfect for family crafting time! Kids will enjoy peeling the crayons, mixing colors, and gluing on the shapes. It fosters creativity and provides a wonderful platform for discussing the importance of appreciating teachers and the role they play in learning.
Frequently Asked Questions
How do I clean up if crayon wax spills?
Use a paper towel to absorb excess wax while it’s still warm, and wash the fabric with hot, soapy water to remove any smaller residuals.
Can this be made ahead of time?
Yes, you can make your wreath a week ahead. Just store it in a cool place to protect the colors.
What should I do if I don’t have a hot glue gun?
You can use craft glue instead, but it may take longer to dry and less secure over time compared to hot glue.
Tips for Making It Seasonal
You can also adapt this project to make different wreaths for different seasons or holidays. Think about creating a fall-themed wreath with autumn colors or even a Christmas wreath using red, green, and white crayons.
Conclusion
The Rainbow Crayon Teacher Appreciation Wreath is a vibrant way to express your gratitude and add some color to any room. By following the above instructions, you can create a heartfelt gift that any teacher would love. If you’re interested in more decorative ideas, you might find inspiration from Etsy’s teacher wreath supplies or read about how to make a crayon wreath for more ideas. Happy crafting!
Print
Rainbow Crayon Teacher Appreciation Wreath
- Total Time: 30 minutes
- Makes: 1 wreath
Description
Create a vibrant and heartfelt Rainbow Crayon Teacher Appreciation Wreath using simple materials. This colorful craft is perfect for expressing gratitude to teachers.
Materials
- 1 cup of broken crayons (various colors)
- Clear plastic suncatcher sheets
- Scissors
- Hot glue gun
- Wreath form (foam or cardboard)
- Ribbon for hanging
- Optional: embellishments like stickers or more crayons
Instructions
- Prepare your crayons by peeling off the paper from your broken crayons.
- Melt the crayons by preheating your oven to 200°F (93°C) and placing the broken crayons into small cookie cutters on a baking sheet lined with parchment paper for about 10-15 minutes.
- Pour the melted crayon into your clear suncatcher sheets and swirl to mix colors.
- Cut the melted crayon mix into fun shapes after it has cooled.
- Attach the colorful shapes onto the wreath form using a hot glue gun.
- Add a ribbon through the top of your wreath for hanging.
- Extra decorate with additional stickers or shapes.
- Display your creation at the classroom door or gift it to a teacher.
Notes
Supervise younger children when using scissors and working with hot glue. To make a textured effect, layer pressed flowers or leaves beneath the crayon shapes.