

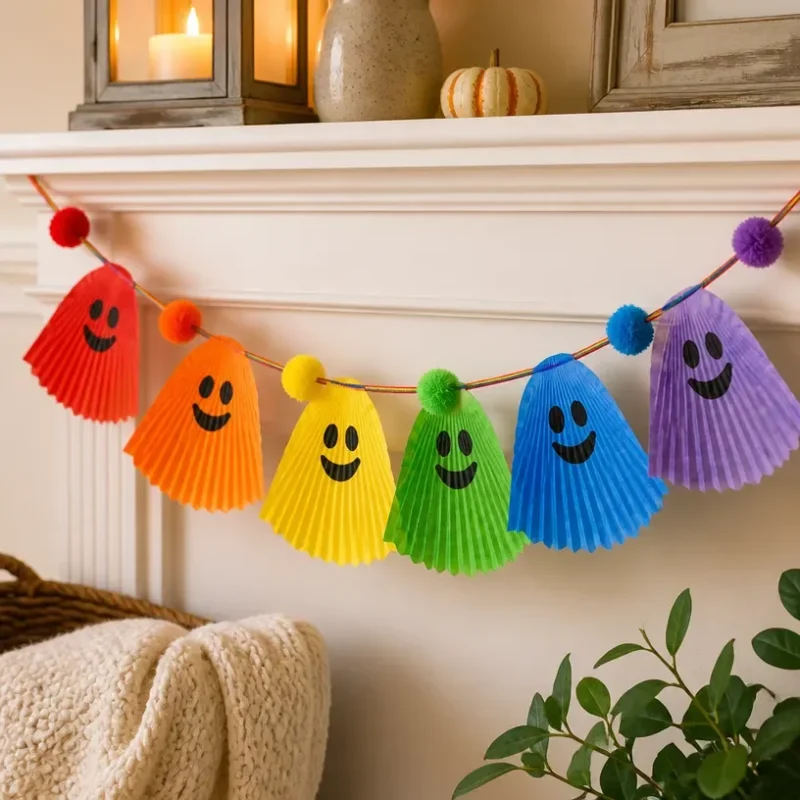
Rainbow Ghost Cupcake-Liner Garland
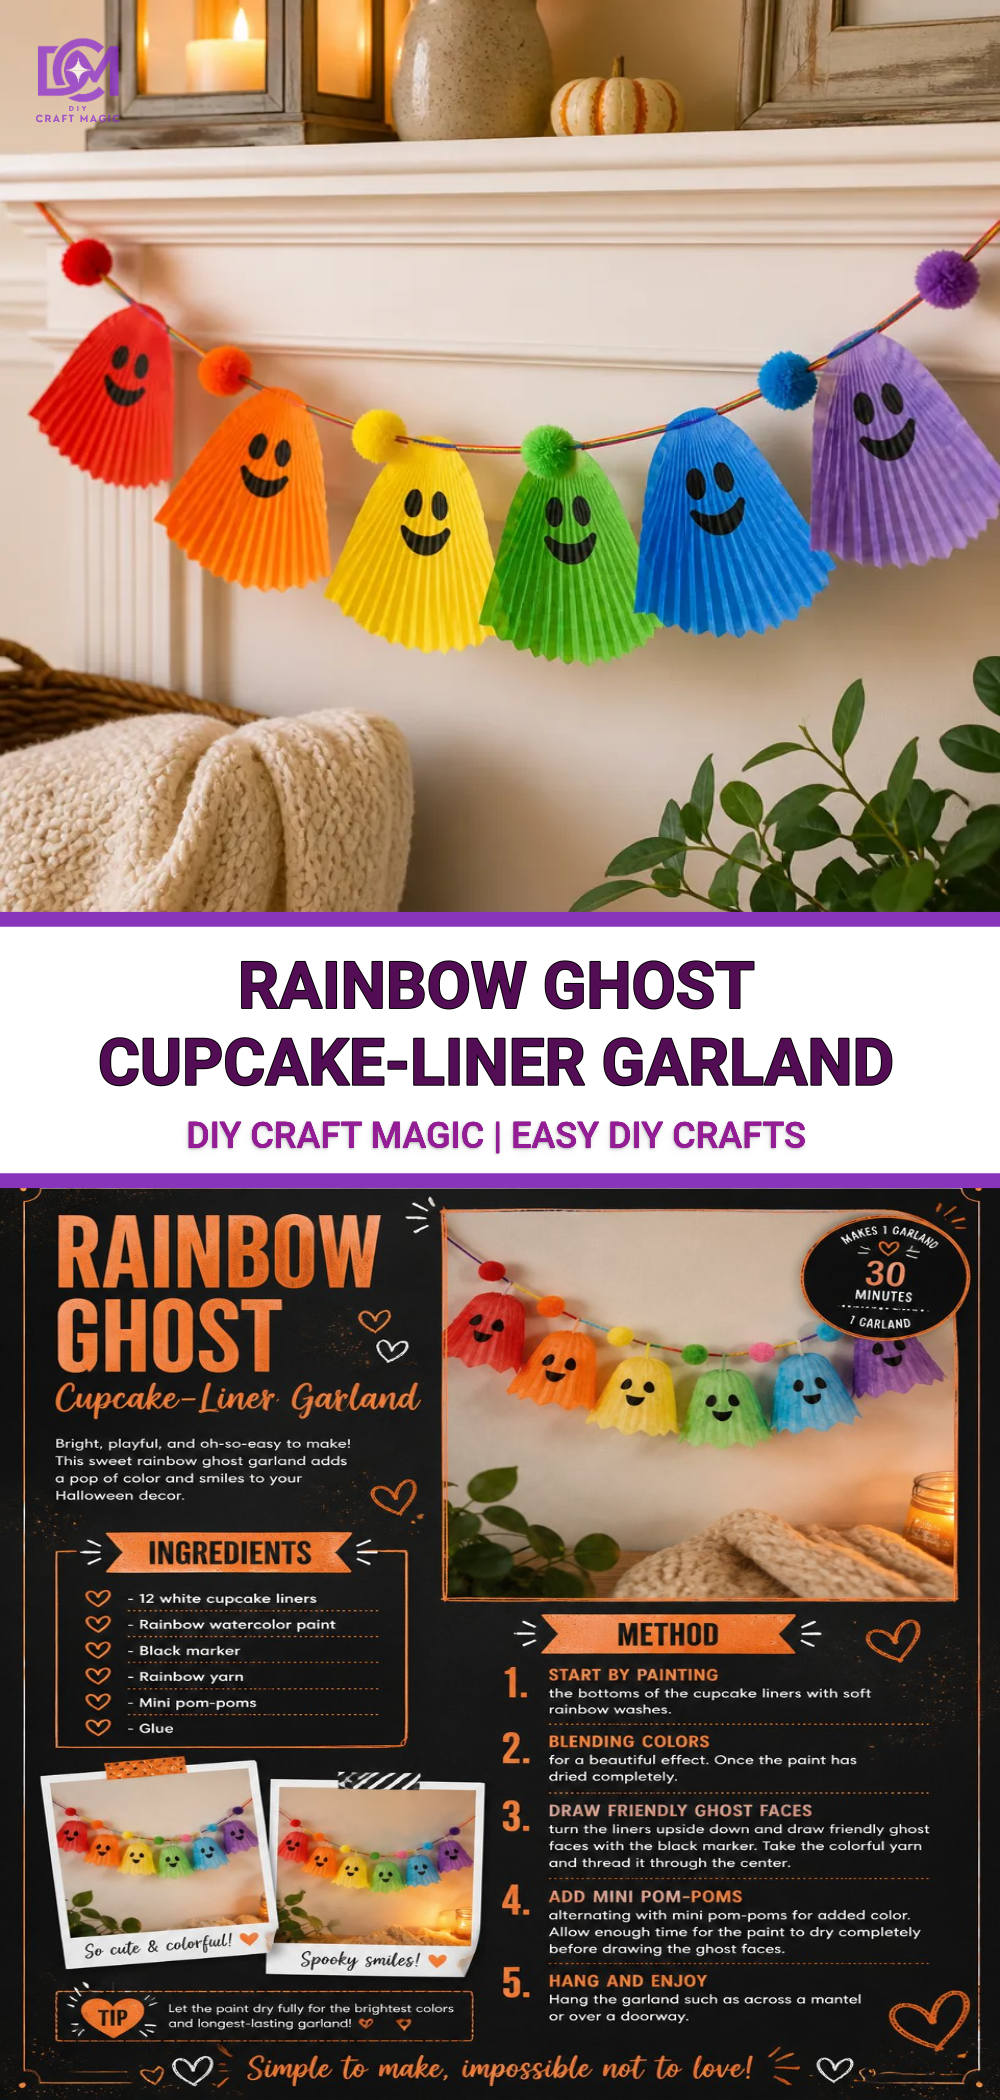
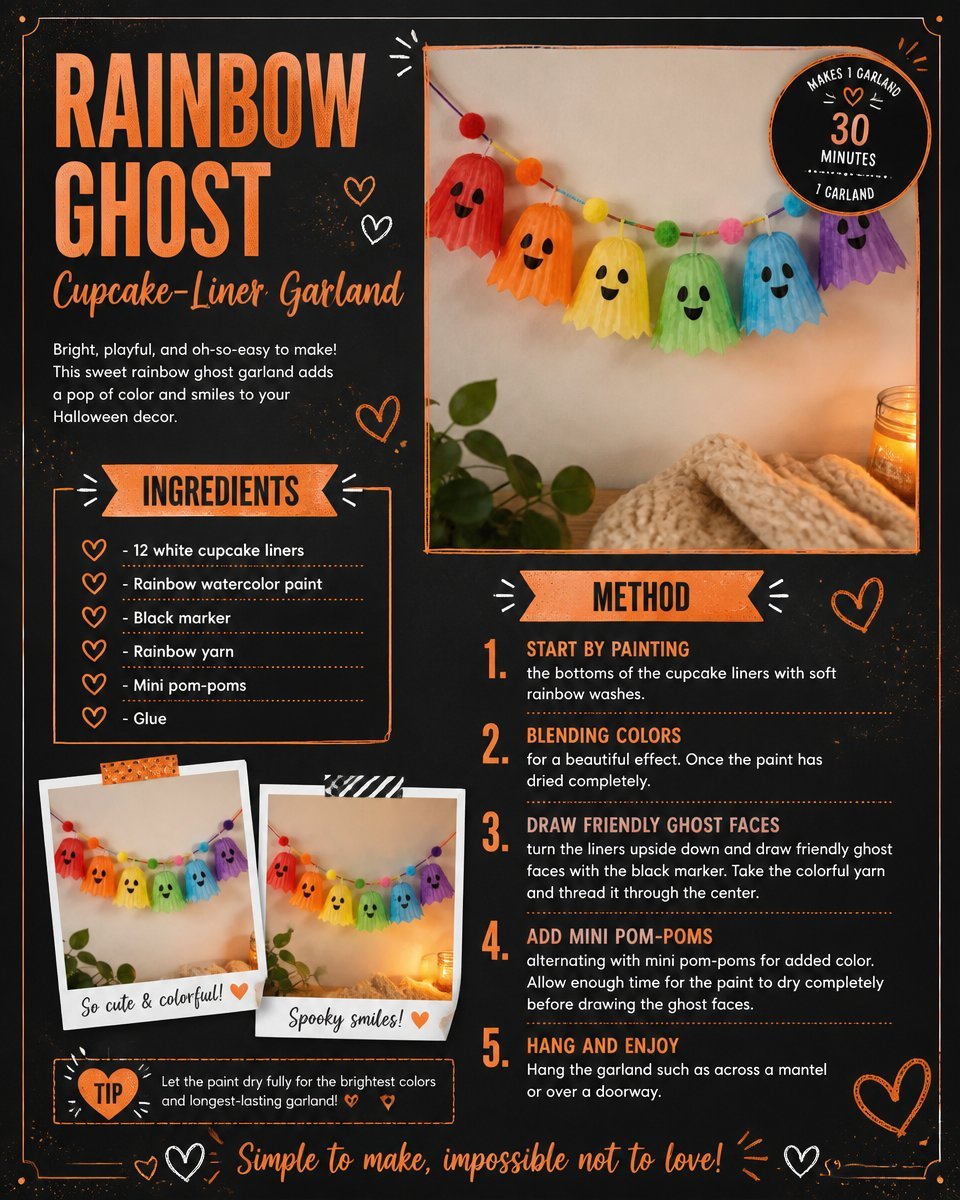
Creating a Rainbow Ghost Cupcake-Liner Garland is a delightful way to add a splash of color and whimsy to your Halloween decorations. This project is approachable for all ages, making it an ideal activity for families or classrooms. The vibrant colors combined with the playful ghost theme will brighten up any space, making it a charming addition to your festive festivities. You may also find Rainbow Ghost Cupcake Liner Garland Halloween Decor useful.
Materials You’ll Need
Before you embark on this colorful crafting adventure, ensure you gather the following materials: You may also find Rainbow Ghost Kitten Suncatcher Garland useful.
You may also find Colorful Butterfly Garden Rainbow Cupcake Liners useful.
- Cupcake liners: Assorted colors (the brighter, the better!)
- Scissors: For cutting liners
- Hot glue gun: A reliable way to attach your decorations (remember to use caution and supervise children)
- String or twine: To assemble your garland
- Black marker: For drawing ghost faces
- Ghost template (optional): For those who prefer a guide
How to Make Rainbow Ghost Cupcake-Liner Garland
Now that you have everything ready, let’s dive into the crafting process! Here are the steps to create your garland.
Prepare the Cupcake Liners: Start by flattening the cupcake liners. This will make them easier to work with and help create the ghostly appearance.
Create the Ghost Faces: Using your black marker, draw playful ghost faces on the inside of each cupcake liner. This step is fun, and you can get creative with different expressions!
Assemble the Garland:
- Cut a length of string or twine ideal for your display area.
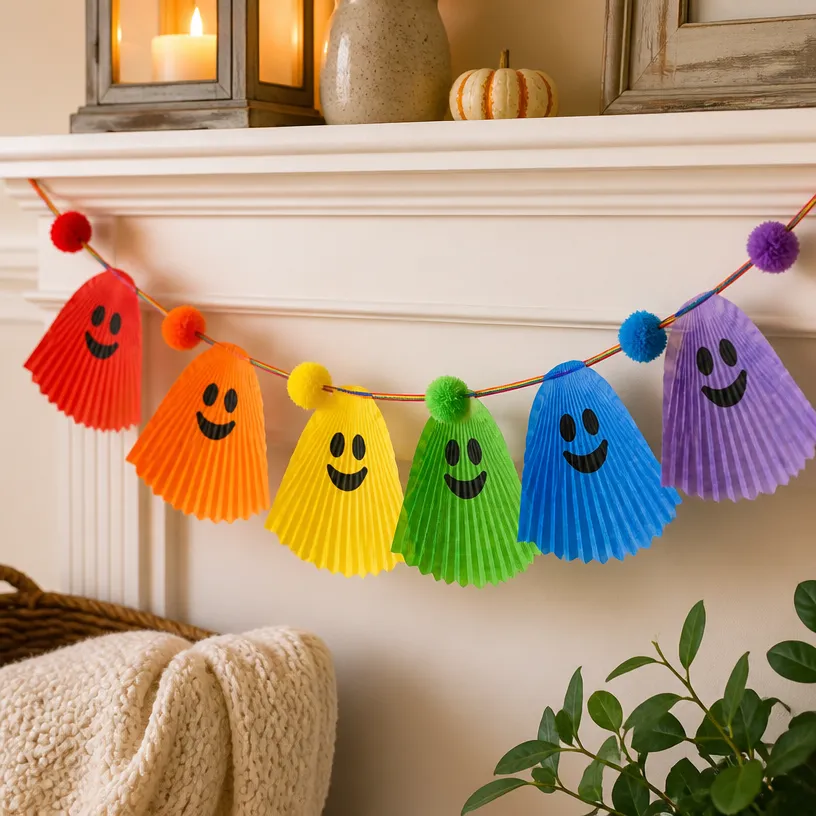
- Start gluing the liners onto the string. Place them in rainbow order from one end to the other for a vibrant look. Alternatively, you can alternate colors to create a visually striking pattern.
- Leave some space between each ghost to allow it to flutter and add depth to the garland.
Hang Your Creation: Once you’ve attached the cupcake liners, hang your garland in your desired location. It looks great over doorways, on windows, or across mantels.
Add Some Sparkle: For an extra touch, consider incorporating some more crafts, like adding shimmering paper or gluing some elements to the garland’s ends. If you’re interested, you can check out how to create a clear rainbow ghost shaker as a complementary project!
Getting Creative with Your Garland
Once you’ve completed the basic version of your garland, think about adding personal touches. You can vary the size of the cupcake liners or mix in other themed designs to create a unique look.
Another great idea is to mix up your themes! Pair your rainbow ghosts with other holiday decorations, such as adding spooky-cute panda ghosts for a fun twist!
Helpful Tips
- Supervision is Key: If you’re crafting with little ones, make sure to supervise them while using the hot glue gun and scissors.
- Test the Design: Before finalizing your layout, you might want to lay your cupcake liners out on the table to see how they look together.
- Reinforce the Hanging String: If you’re using heavier liners or multiple layers, consider reinforcing the string at spots where you know there’ll be more weight.
Common Mistakes to Avoid
- Not Flattening the Liners: Unflattened cupcake liners may not hang correctly, giving them a less ghostly appearance.
- Overuse of Glue: While it’s tempting to use extra glue for security, too much can cause the liners to become misshapen or resist laying flat.
Frequently Asked Questions
Can I use regular paper instead of cupcake liners?
Absolutely! You can cut ghost shapes out of colored paper if you can’t find liners. Just make sure they’re sturdy enough to hold their form.
How can I store the garland after Halloween?
Carefully fold the garland and store it in a cool, dry place. Avoid crumpling the cupcake liners to preserve their shape for next year’s decorating.
How can I make the garland more durable for outdoor display?
If you’re hanging it outside, consider laminating the liner ghosts or using waterproof materials to ensure they stay vibrant in different weather conditions.
Final Thoughts
The Rainbow Ghost Cupcake-Liner Garland is an enjoyable and festive craft that the whole family can partake in. Not only does it add a splash of color to your Halloween decor, but it also offers a fantastic opportunity to get creative with family and friends. Embrace your imagination, and feel free to customize it to make it more personal.
Conclusion
In conclusion, making a garland is a fantastic way to celebrate the festive season. If you’re looking for more creative inspirations, check out this spooky-cute panda ghost cupcake-liner garland or discover 30 DIY Halloween wreath ideas for every style of spook. Happy crafting!
Print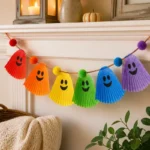
Rainbow Ghost Cupcake-Liner Garland
- Total Time: 15 minutes
- Makes: 1 garland
Description
Create a colorful and whimsical Rainbow Ghost Cupcake-Liner Garland to brighten up your Halloween decorations.
Materials
- Cupcake liners: Assorted colors (the brighter, the better!)
- Scissors: For cutting liners
- Hot glue gun: For attaching decorations
- String or twine: To assemble your garland
- Black marker: For drawing ghost faces
- Ghost template (optional): For those who prefer a guide
Instructions
- Prepare the cupcake liners by flattening them for easier handling.
- Create ghost faces using a black marker on the inside of each liner.
- Cut a length of string or twine suitable for your display area.
- Start gluing the liners onto the string in rainbow order or alternate colors.
- Leave space between each ghost for a flutter effect.
- Hang your garland in the desired location for decoration.
- Add some sparkle with additional crafts like shimmering paper if desired.
Notes
Supervise children while using hot glue and scissors, and consider reinforcing the hanging string if using heavier liners.