


How to Make a Rainbow Melted Crayon Butterfly Suncatcher
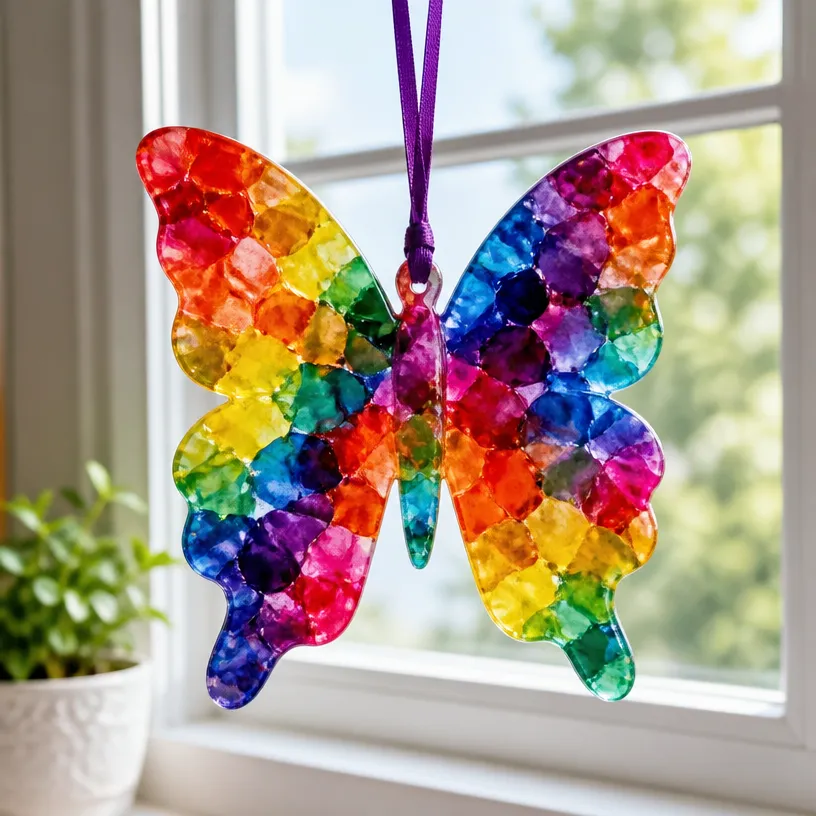
Creating a rainbow melted crayon butterfly suncatcher is a delightful craft project that’s perfect for kids and adults alike. The beautiful colors melted into unique patterns not only add vibrancy to your space but also create a stunning effect that catches the sunlight, resembling stained glass. This project is approachable and satisfying, as it transforms everyday materials into a colorful work of art. Let’s explore how to make this eye-catching suncatcher! You may also find Melted Crayon Rainbow Butterfly Suncatcher For Kids useful.
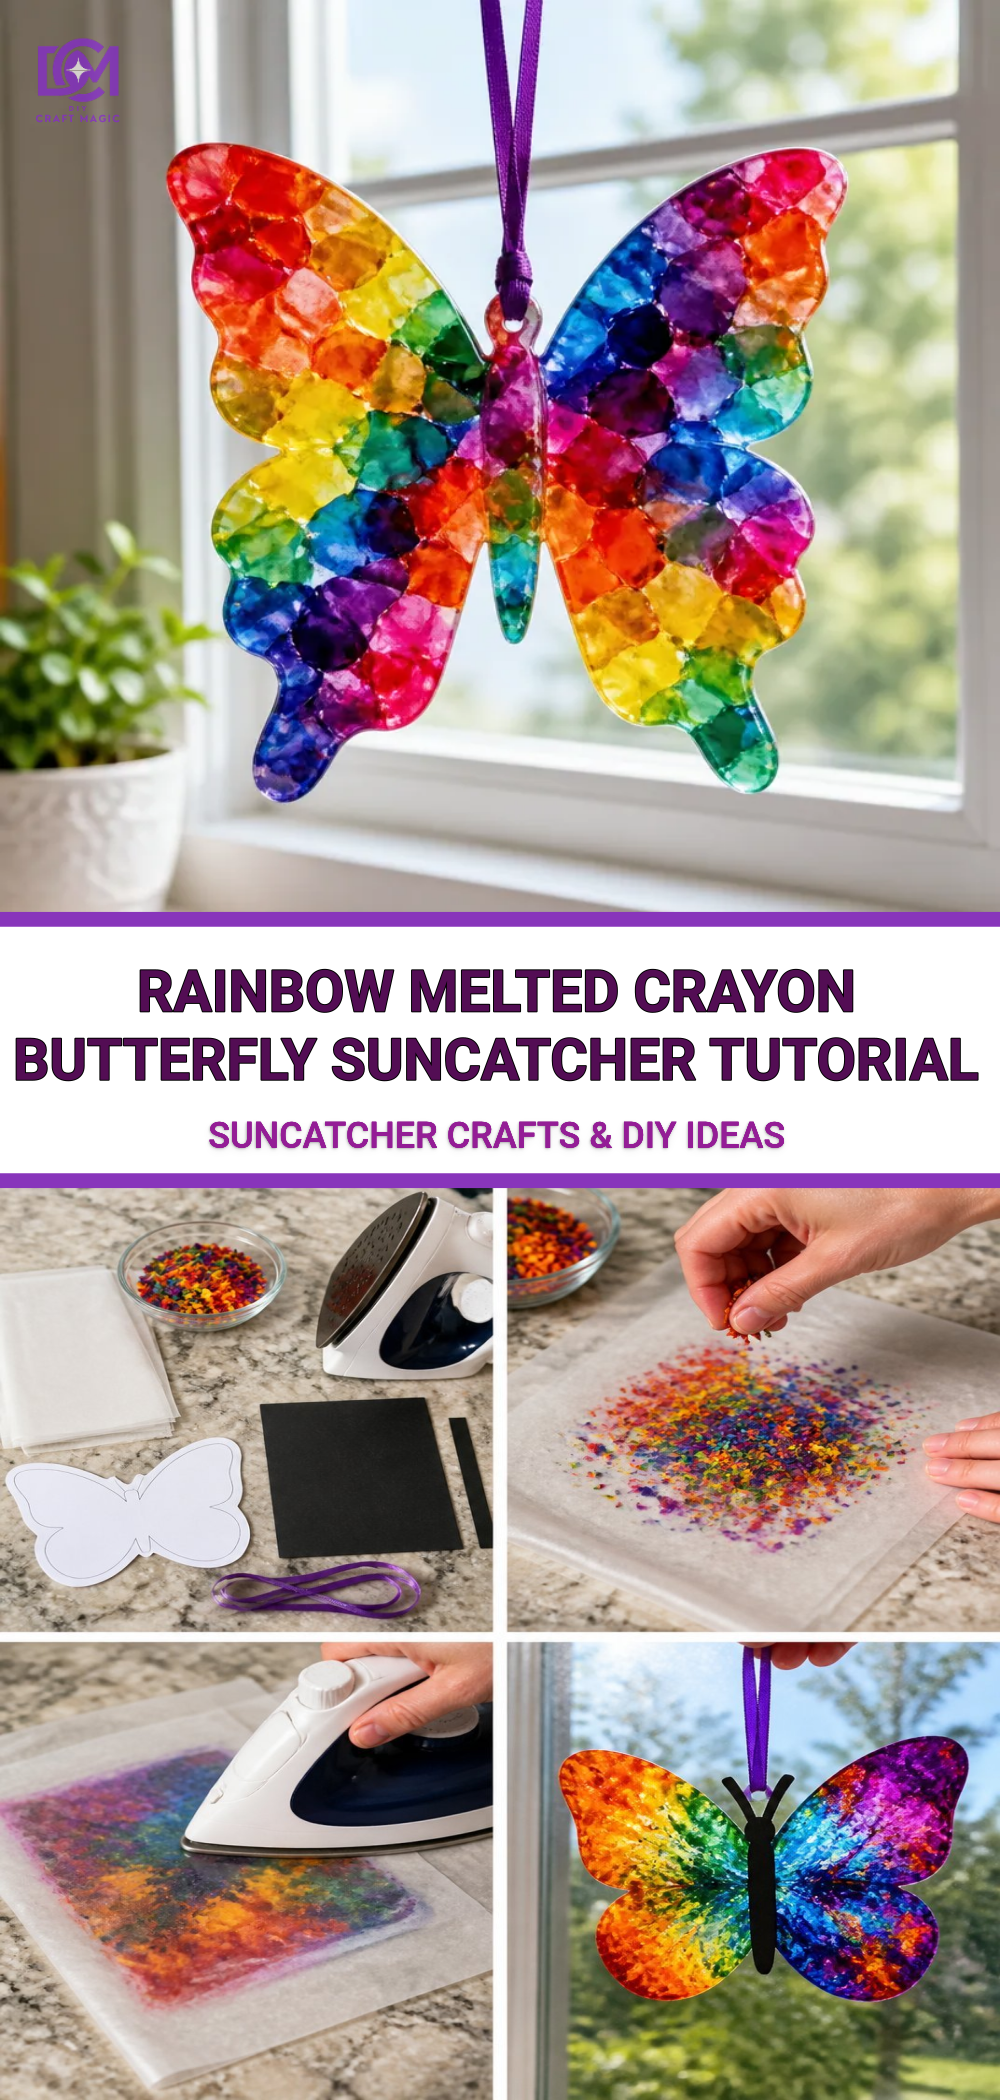
You may also find Rainbow Melted Crayon Butterfly Suncatcher Diy useful.
Materials You’ll Need
To get started, gather the following materials: You may also find Melted Crayon Rainbow Haunted House Suncatcher Craft useful.
- Crayons (various colors)
- Wax paper
- Butterfly template or outline
- Iron
- Scissors
- String or fishing line (for hanging)
- Transparency sheet (optional)
Step-by-Step Instructions
Prepare Your Materials: Preheat the iron on a low setting. While it heats, remove the paper from the crayons and break them into small pieces.
Set Up the Work Area: Lay a piece of wax paper on an ironing board and place your butterfly template below it. This setup will guide the placement of crayon pieces.
Arrange the Crayons: Sprinkled crayon pieces onto one side of the wax paper, following the shape of the butterfly outline. Don’t worry about being too precise this is about creativity!
Cover and Iron: Carefully place another piece of wax paper on top of the crayon pieces. Then, place a thin cloth over the wax paper and gently iron over it until the crayons melt. Be patient and watch the colors blend together; this process is truly mesmerizing.
Let it Cool: Allow the melted crayon creation to cool and harden for a few moments. This step is essential to ensure everything sets properly.
Cut Out the Shape: Once cool, cut out the butterfly shape. This is where your suncatcher starts to take form!
Add Hanging Mechanism: If desired, attach a string or fishing line for hanging it in a sunny window. This will allow the light to shine through the colorful design.
Optional Stained-Glass Effect: For an extra touch, adhere the butterfly onto a transparency sheet to create a stunning stained-glass effect that enhances color vibrancy.
This project can be a fun hands-on activity with kids, encouraging creativity and expressing their colorful visions. If you’re looking for more ideas like this one, check out this melted crayon rainbow heart suncatcher tutorial for another fantastic craft to try.
Getting the Colors Right
When selecting crayons for your butterfly, think about color combinations that appeal to you. Mixing warm and cool colors can yield a dynamic effect. Additionally, consider using a variety of shades to create a more vibrant suncatcher.
If you’re interested in other creative butterfly-related crafts, you might enjoy our guide on creating a melted bead butterfly suncatcher for some variation in technique and style.
Helpful Tips
- Ironing Technique: Keep the iron moving to avoid burning the wax paper. You only need to apply heat long enough for the crayons to melt and blend together.
- Color Layers: If you want to create layered colors, apply a first layer, let it cool, and then add another layer before re-ironing.
- Creative Shapes: Feel free to explore beyond butterflies! The same technique can be applied to other shapes or designs, such as flowers or even seasonal themes.
Common Mistakes to Avoid
- Overheating the Wax Paper: This can cause it to burn, so err on the side of caution with temperature and time.
- Using Too Many Crayon Pieces: A thick layer may not melt uniformly, resulting in uneven colors. A balanced sprinkle works best.
- Not Allowing Enough Cooling Time: Cutting too soon could lead to a messy tear; give it time to set properly.
Frequently Asked Questions
Can I use any type of crayons?
Yes, standard crayons work best for melting, but make sure they are not washable or specialty types that might not melt properly.
How do I store my suncatcher?
If you’re not displaying it right away, keep it flat in a safe spot away from heat sources to prevent warping.
What if the colors aren’t vibrant enough?
You can always re-iron it gently with a thin cloth if you want the colors to blend a bit more.
Can I add embellishments?
Definitely! Adding glitter or other decorations can personalize your suncatcher even further.
Conclusion
Incorporating projects like a rainbow melted crayon butterfly suncatcher into your crafting repertoire brings vibrancy and fun to any space. This project is just a glimpse into the endless crafty opportunities available for families and kids. For more inspiration, check out 10 cool craft projects for kids and learn about more engaging activities. Also, if you’d like another take on this melted crayon concept, be sure to visit this melted crayon sun catcher tutorial for additional ideas!
Print
Rainbow Melted Crayon Butterfly Suncatcher
- Total Time: 15 minutes
- Makes: 1 suncatcher
Description
Create a vibrant butterfly suncatcher using melted crayons and wax paper. A delightful craft for kids and adults that brightens up any space with colorful patterns.
Materials
- Crayons (various colors)
- Wax paper
- Butterfly template or outline
- Iron
- Scissors
- String or fishing line (for hanging)
- Transparency sheet (optional)
Instructions
- Prepare Your Materials: Preheat the iron on a low setting. While it heats, remove the paper from the crayons and break them into small pieces.
- Set Up the Work Area: Lay a piece of wax paper on an ironing board and place your butterfly template below it.
- Arrange the Crayons: Sprinkle crayon pieces onto one side of the wax paper, following the shape of the butterfly outline.
- Cover and Iron: Carefully place another piece of wax paper on top and iron over it until the crayons melt.
- Let it Cool: Allow the melted crayon creation to cool and harden for a few moments.
- Cut Out the Shape: Once cool, cut out the butterfly shape.
- Add Hanging Mechanism: Attach a string or fishing line for hanging it in a sunny window.
- Optional Stained-Glass Effect: Adhere the butterfly onto a transparency sheet for enhanced color vibrancy.
Notes
Keep the iron moving to avoid burning the wax paper and allow sufficient cooling time before cutting.