

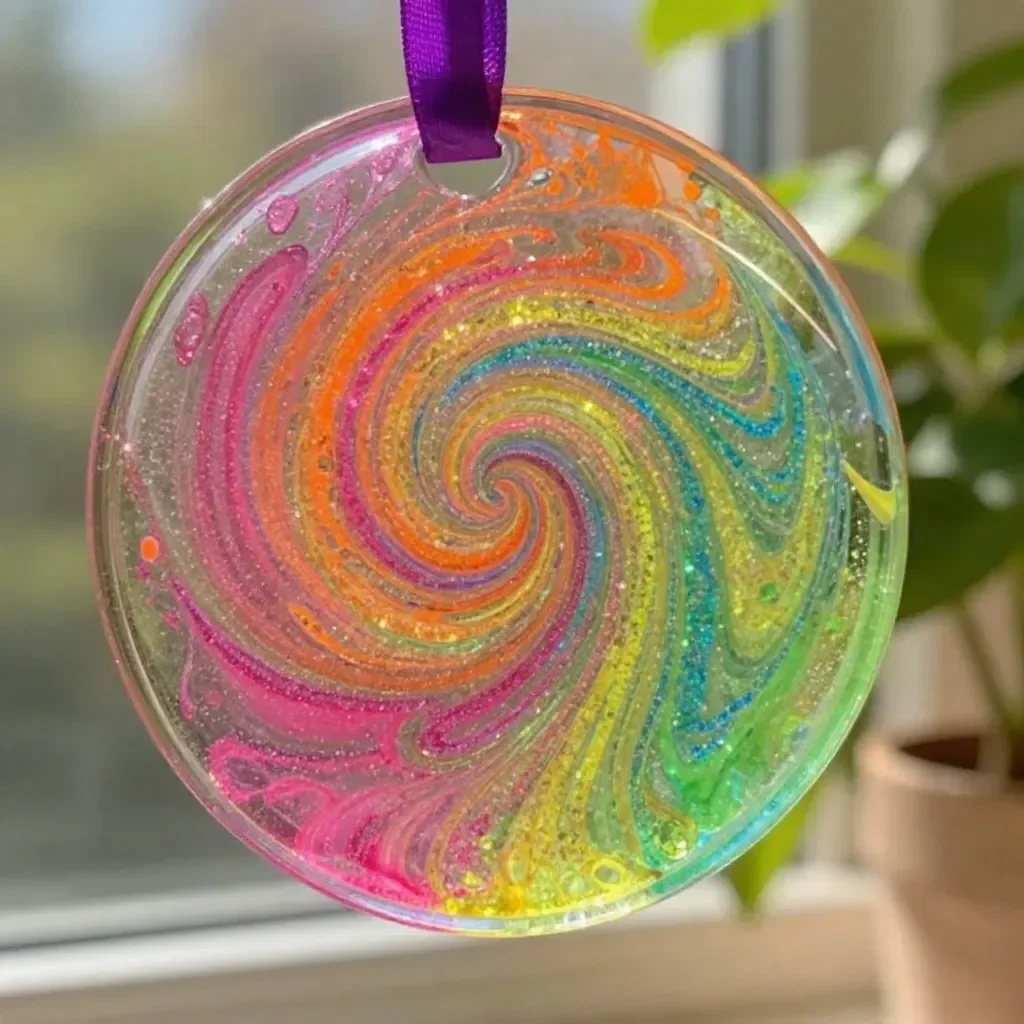
Swirled Glue Suncatchers
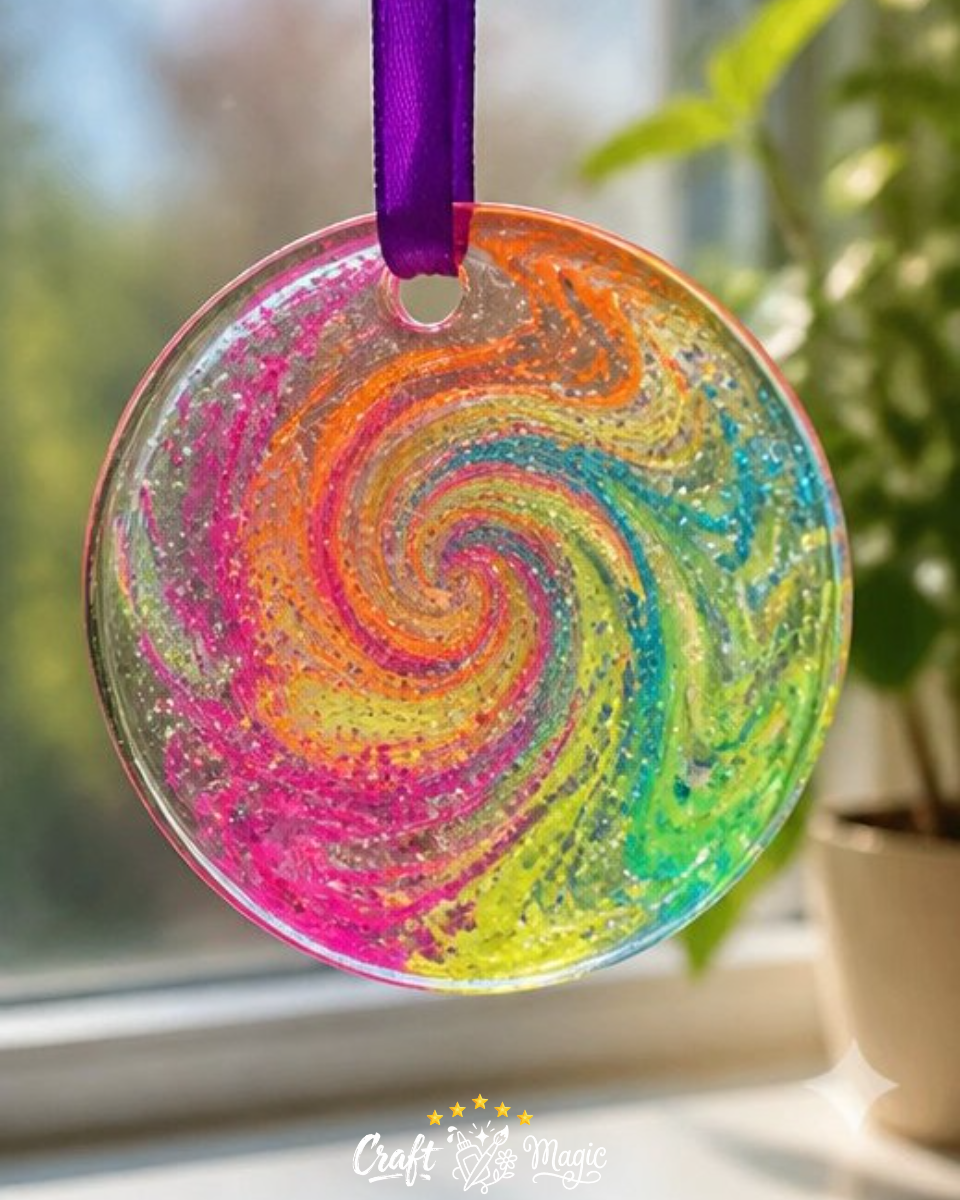
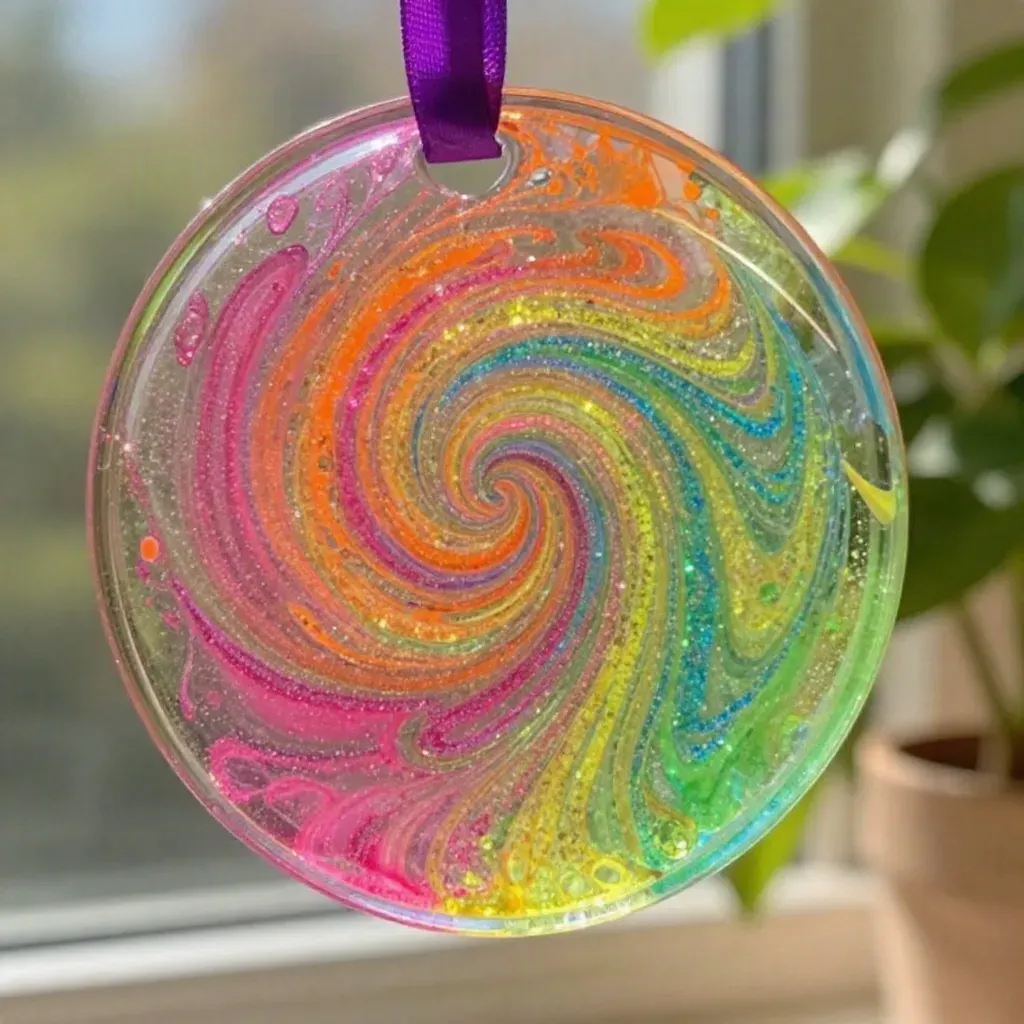
Create beautiful, colorful Swirled Glue Suncatchers that will add a touch of vibrant artistry to your windows! This simple project utilizes clear glue, neon food coloring, and glitter to produce stunning, translucent designs that glitter and glow when sunlight shines through. The process is not only satisfying but also allows for plenty of creative expression, making it an ideal craft for beginners and families alike. If you’re looking to explore colorful crafts, you might also enjoy creating a Clear Pink Unicorn Apple Teacher Suncatcher.
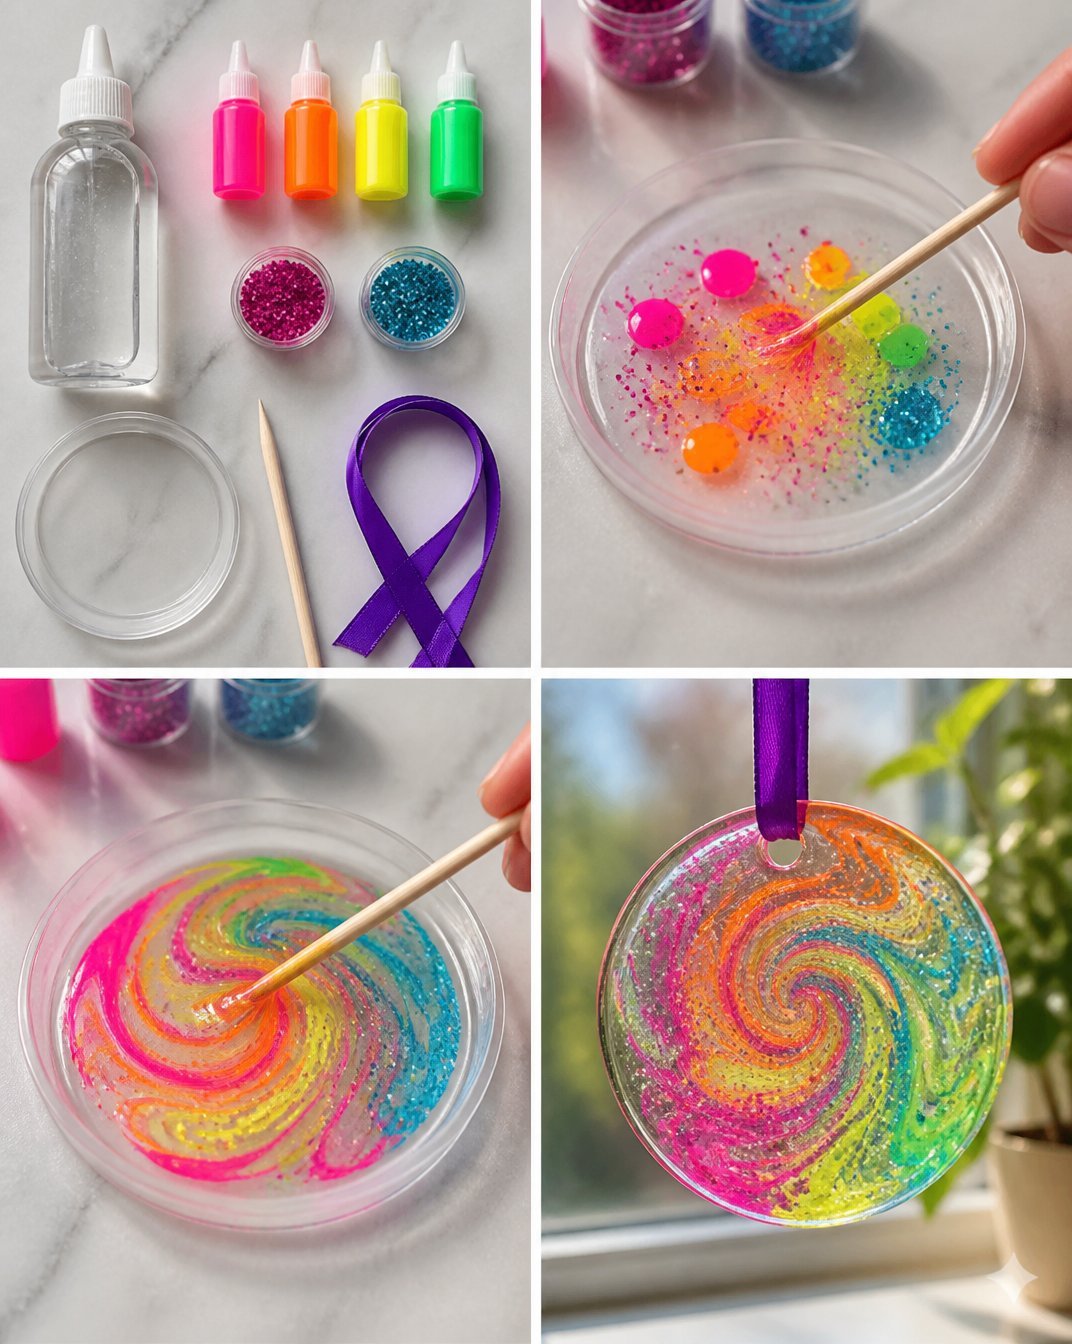
Materials You’ll Need
To get started with your Swirled Glue Suncatchers, gather the following materials: You may also find Rainbow Panda Fall Leaf Friends Craft For Kids useful.
- Clear glue
- Neon food coloring
- Glitter
- Plastic lid
- Skewer
- Ribbon
You may also find Rainbow Unicorn Haunted House Decor useful.
How to Make Swirled Glue Suncatchers
This craft is straightforward and broken down into a few simple steps. Here’s how to create your lovely suncatchers:
Prepare the Base: Start by filling a plastic lid with a thin layer of clear glue. This will serve as the base of your suncatcher.
Add Color: Using neon food coloring, add drops of various colors directly into the glue. Don’t hesitate to get creative with your color choices!
Swirl the Colors: Using a skewer, gently swirl the colors together. Aim for a marble effect where the colors blend without becoming muddled.
Add Glitter: Sprinkle a pinch of glitter into the mix to add some sparkle. This step enhances the visual appeal of your suncatcher!
Drying Time: Allow the suncatcher to dry completely. This might take a few hours, depending on the thickness of the glue layer.
Final Touch: Once the glue is fully dry, carefully peel it out from the plastic lid. Add a ribbon to the top for hanging, and your beautiful creation is ready to shine in the sunlight!
Getting the Colors Right
Choosing the right colors can significantly impact the final appearance of your suncatchers. Consider using complementary colors which contrast well against each other, or opt for a monochromatic scheme for a chic look. Remember, neon colors tend to show up brightly once they are dry, so trust the process and have fun experimenting!
Ways to Customize It
One of the fantastic aspects of making your Swirled Glue Suncatchers is the ability to personalize them. You can create different shapes by using various lids or molds. Additionally, try incorporating seasonal colors or themed glitter to match holidays or personal tastes. For instance, autumn colors would work wonderfully for a fall decoration.
Crafting With Kids
This project is a fantastic way to engage children in hands-on creative activities. They’ll enjoy mixing the colors and watching the transformation as the glue dries. Just ensure that adult supervision is present, especially when handling materials like glitter or food coloring that can be messy. Have fun watching their eyes light up as they see their colorful creations!
Troubleshooting
In the crafting world, it’s common to face a few hiccups. If your suncatcher doesn’t peel off smoothly, it may need more drying time. Ensure that the glue layer is not too thick, as this can hinder drying. If the colors have mixed too much and lost their vibrancy, don’t fret! Each attempt is a learning experience that leads to even better designs next time.
Frequently Asked Questions
How long does it take for the suncatcher to dry completely?
Drying can vary with humidity and temperature, but typically expect it to take at least 3-4 hours. For best results, leave it overnight.
Can I use regular food coloring instead of neon?
Yes, but the final effect might be less vibrant. Neon food coloring provides a brighter outcome that really shines through the sunlight.
Are there other materials I can use?
Certainly! Instead of glitter, you could use sequins or small beads for added texture.
In Conclusion
Making Swirled Glue Suncatchers is an enjoyable project for individuals of all skill levels. These vibrant ornaments not only brighten any window but also encourage creativity and exploration in crafting. If you’re interested in similar colorful projects, check out this colorful DIY glue suncatcher craft, which offers yet another exciting way to play with light and color. Happy crafting!
Print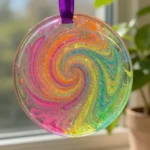
Swirled Glue Suncatchers
- Total Time: 255 minutes
- Makes: 1 suncatcher
Description
Create beautiful, colorful Swirled Glue Suncatchers that add a touch of vibrant artistry to your windows! A simple project utilizing clear glue, neon food coloring, and glitter.
Materials
- Clear glue
- Neon food coloring
- Glitter
- Plastic lid
- Skewer
- Ribbon
Instructions
- Prepare the Base: Start by filling a plastic lid with a thin layer of clear glue.
- Add Color: Using neon food coloring, add drops of various colors directly into the glue.
- Swirl the Colors: Using a skewer, gently swirl the colors together.
- Add Glitter: Sprinkle a pinch of glitter into the mix to add some sparkle.
- Drying Time: Allow the suncatcher to dry completely.
- Final Touch: Once the glue is fully dry, carefully peel it out from the plastic lid and add a ribbon for hanging.
Notes
Choosing complementary colors can enhance the appearance. Supervise children while crafting.