

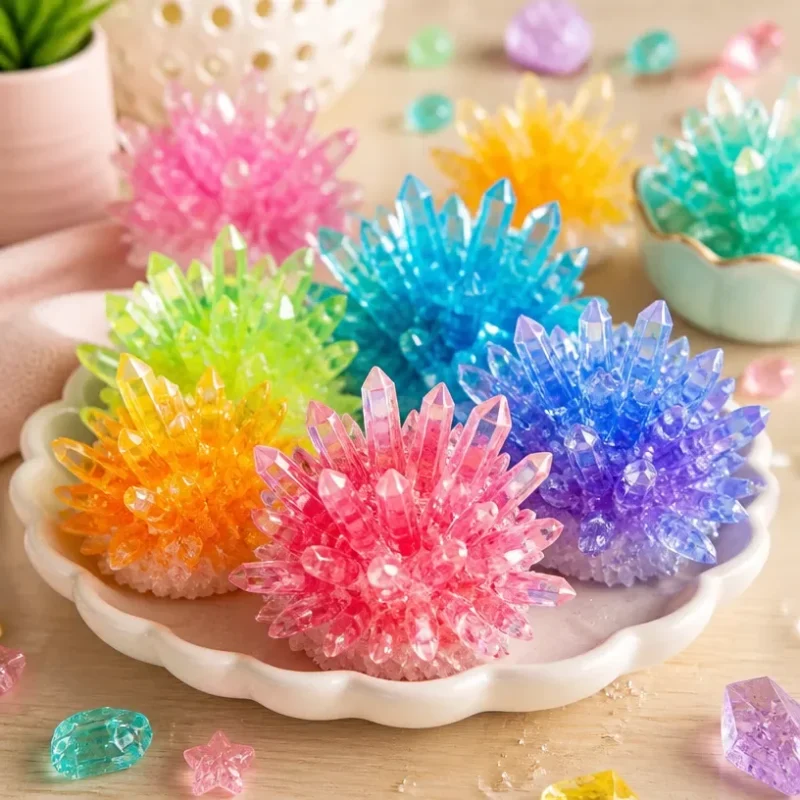
Colorful Crystal Sea Urchins: A Rainbow-Inspired Guide
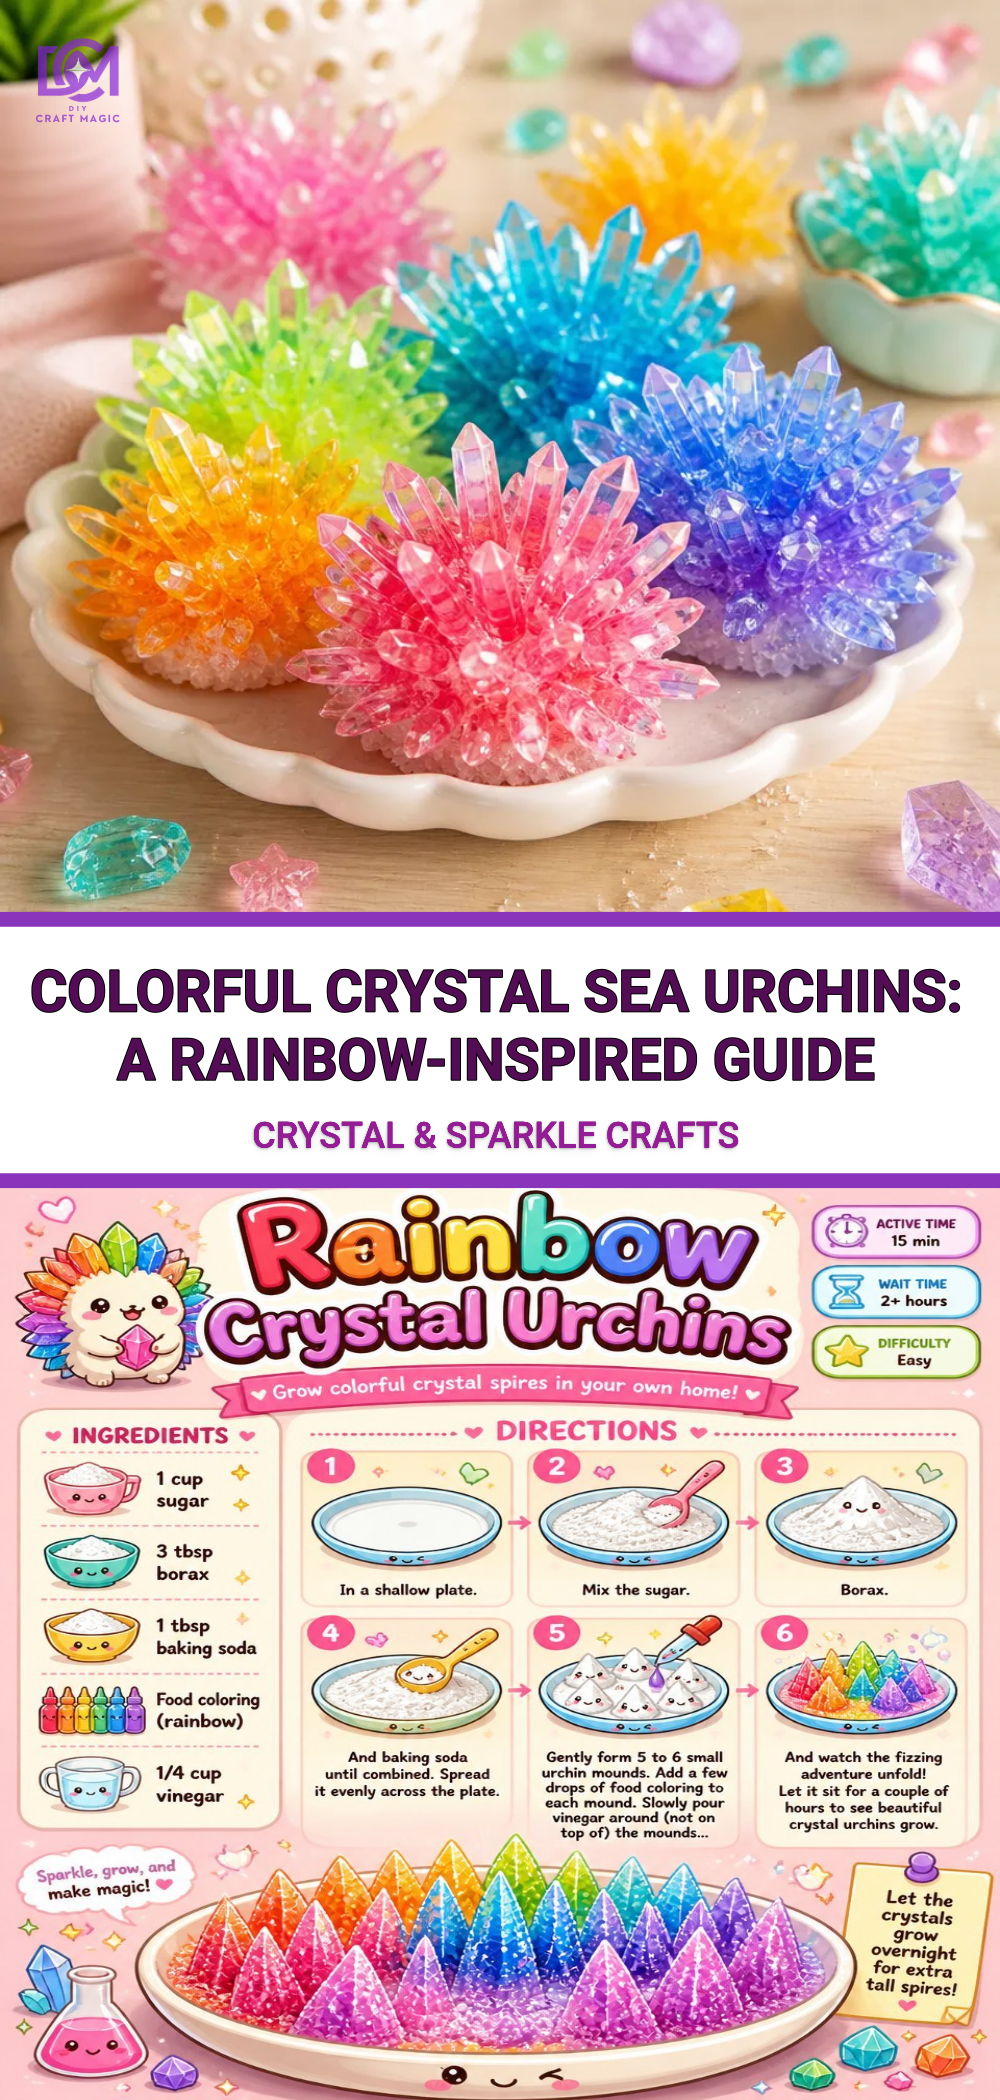
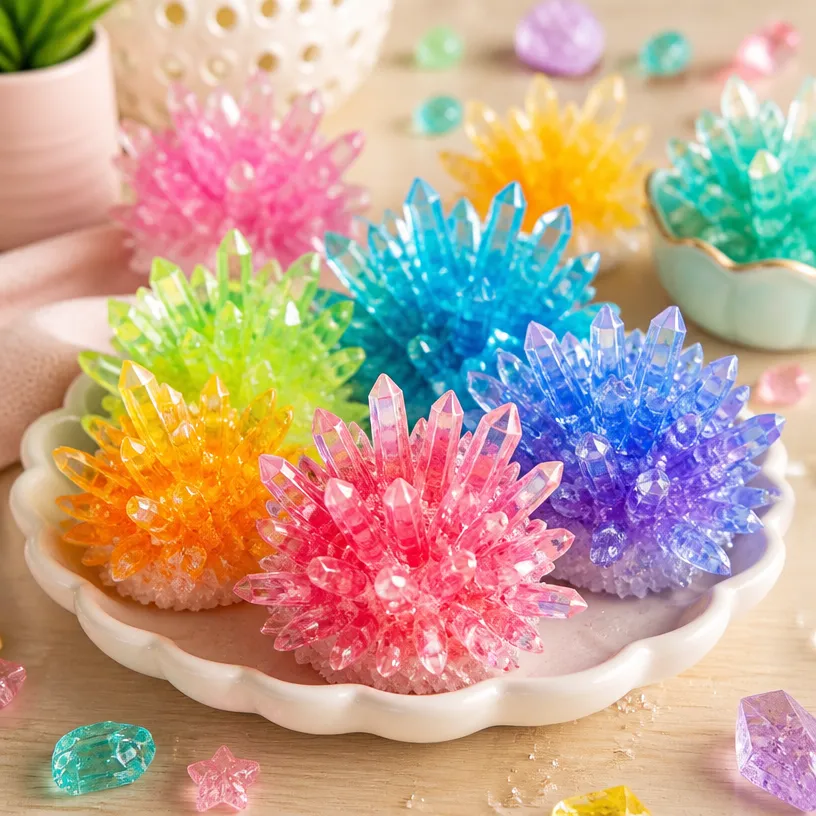
Creating colorful crystal sea urchins brings the ocean’s beauty right to your craft table. This vibrant DIY project allows you to play with colors and textures, resulting in stunning décor that can brighten any space. The process is straightforward and satisfying, inviting both novice and seasoned crafters to unleash their creativity while manipulating simple materials into eye-catching pieces. You may also find Crystal Rainbows Clouds Prismatic Sky Phenomena Guide useful.
You may also find Colorful Cupcake Liner Witch Flower Bouquet Craft useful.
Materials You’ll Need
For this project, gather the following materials to create your colorful crystal sea urchins:
- Clear glue
- Colorful salt or sugar crystals
- Balloon (inflatable, round type)
- Scissors
- Craft paint in various colors
- Paintbrush
- Sealing spray (clear, glossy finish)
Ensure you have everything on hand to make the crafting process smoother!
Before You Start
Before jumping into the crafting, it’s essential to understand a bit about how different materials will impact your outcome. When selecting colors for your urchins, consider the techniques demonstrated in our article on colorful crystal butterfly rainbow wings. Color combinations can play a significant role in creating the right aesthetic.
Step-by-Step Instructions
Inflate and Prepare the Balloon: Start by inflating the balloon to your desired size. This will serve as the base shape of your crystal sea urchin.
Mix the Colorful Crystals: In a bowl, combine various colors of salt or sugar crystals for maximum contrast. This is where your creativity can shine! For inspiration on using vibrant colors, check out our bubble print butterfly wings technique.
Apply Glue: Generously coat the surface of the inflated balloon with clear glue. Be careful to work in sections to keep control over the placement of the crystals.
Add Crystals: Sprinkle the colorful crystals over the glued areas. Repeat this step until the entire balloon surface is covered.
Drying Time: Allow the balloon to dry completely, which may take a few hours. A well-ventilated area will hasten the drying process.
Pop and Reveal: Once dry, gently pop the balloon and peel it away from your beautiful crystal creation.
Painting the Edges: To finish, use craft paint to touch up any areas that need color on the Urchin’s top. You can even sprinkle some extra crystals over wet paint for added dimension.
Sealing Your Work: Once satisfied, apply a clear sealing spray to protect your piece and keep the colors vibrant.
Helpful Tips
- Experiment with Shapes: To diversify your urchins, try using balloons of different sizes and shapes to create a variety of sea creatures.
- Display Ideas: Think about showcasing your vibrant urchins on a sandy surface or within a glass vase to mimic ocean scenery. For floral variations, our handy guide on colorful cupcake liner flower bouquets may spark new ideas.
Common Mistakes to Avoid
- Skipping the Drying Step: Rushing to pop the balloon before the glue has fully dried may result in a messy outcome. Patience will ensure a pristine craft.
- Overgluing: Using too much glue can lead to excessive dripping and a less vibrant crystal finish. A balanced approach is best.
Ways to Customize It
- Theme Your Crystals: Consider changing the base color to fit a particular theme, like beachy tones or vibrant tropical hues.
- Add Embellishments: Incorporate beads or sequin accents for an even more dazzling effect.
Crafting With Kids
This craft is not only enjoyable for adults but presents an excellent opportunity for kids to express their creativity under supervision. Ensure that younger children have help with cutting materials and applying glue, while letting them have fun with placement and color choices.
What I Would Do Differently
If I were to make these again, I might experiment with a larger variety of crystal textures such as coarse versus fine to see how they layer differently on the balloon surface.
Frequently Asked Questions
How long does it take for the glue to dry completely?
It usually takes about 2-4 hours, but check until it feels firm to the touch.
Can I use other types of crystals?
Yes! You’re welcome to experiment with other materials like glitter or small beads for unique effects.
What if my balloon pops during the drying phase?
If that happens, don’t worry! Just re-apply the glue and crystals to a new inflated balloon.
Conclusion
Creating your colorful crystal sea urchins is a delightful craft that not only beautifies your space but also allows for full creative freedom. As you explore this project, consider checking out insightful resources like A Curious Gift Guide at the Bell Museum for inspiration, or delve into the science behind colors with an article on rainbow-inspired multicolor techniques. Happy crafting!
Print
Colorful Crystal Sea Urchins
- Total Time: 255 minutes
- Makes: 1 colorful sea urchin
Description
Create stunning colorful crystal sea urchins using simple materials and unleash your creativity.
Materials
- Clear glue
- Colorful salt or sugar crystals
- Inflatable round balloon
- Scissors
- Craft paint in various colors
- Paintbrush
- Clear sealing spray
Instructions
- Inflate and prepare the balloon: Inflate the balloon to your desired size.
- Mix the colorful crystals: In a bowl, combine various colors of salt or sugar crystals.
- Apply glue: Generously coat the surface of the inflated balloon with clear glue.
- Add crystals: Sprinkle the colorful crystals over the glued areas.
- Drying time: Allow the balloon to dry completely for a few hours.
- Pop and reveal: Once dry, gently pop the balloon and peel it away.
- Painting the edges: Use craft paint to touch up areas on the Urchin’s top.
- Sealing your work: Apply a clear sealing spray to protect your piece.
Notes
Experiment with shapes and colors for diverse sea creature designs. Supervise kids during cutting and gluing.