

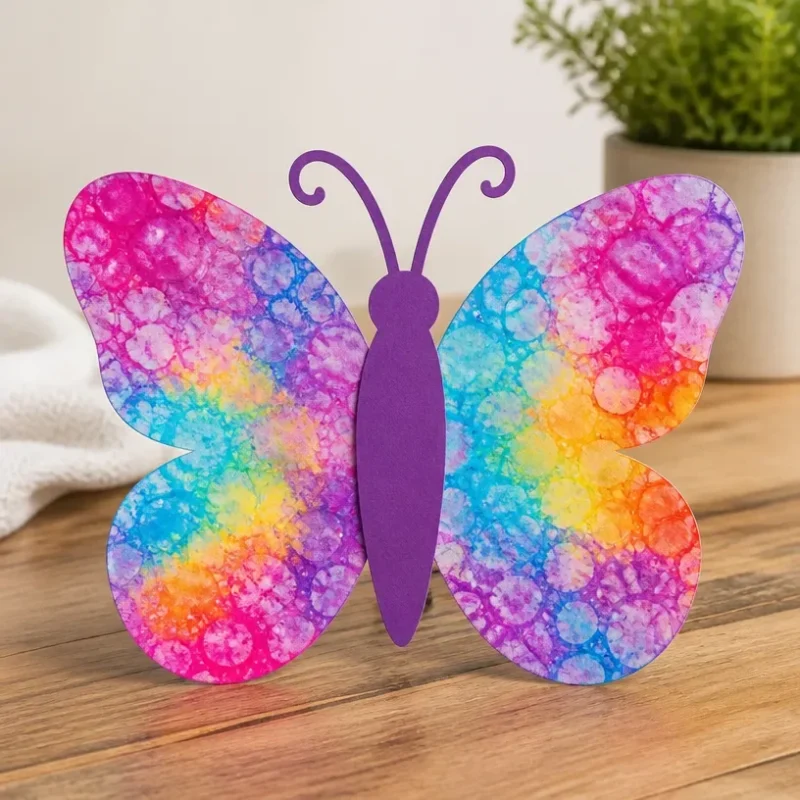
Bubble Print Transforms Butterfly Wings: Colorful Wing Art
Creating beautiful, colorful wing art using bubble prints offers a delightful way to explore creativity with simple materials. This craft not only produces stunning visuals but also allows for a hands-on artistic experience that is both engaging and satisfying. The vibrant, layered colors of the bubble print evoke the delicate and whimsical nature of real butterfly wings, making it a perfect project for families and crafters of all skill levels. You may also find Galaxy Bubble Glue Diy Window Art useful.
Why You’ll Love This Project
This craft allows you to experiment with vibrant colors and fun techniques while creating something beautiful. The resulting artwork can be used for decorations, gifts, or simply as a fun activity with kids. If you enjoy colorful projects, you might also like making a colorful cupcake liner flower bouquet, which shares the same playful spirit.
Materials You’ll Need
Before diving into the crafting process, gather the following materials: You may also find Colorful Cupcake Liner Witch Flower Bouquet Craft useful.
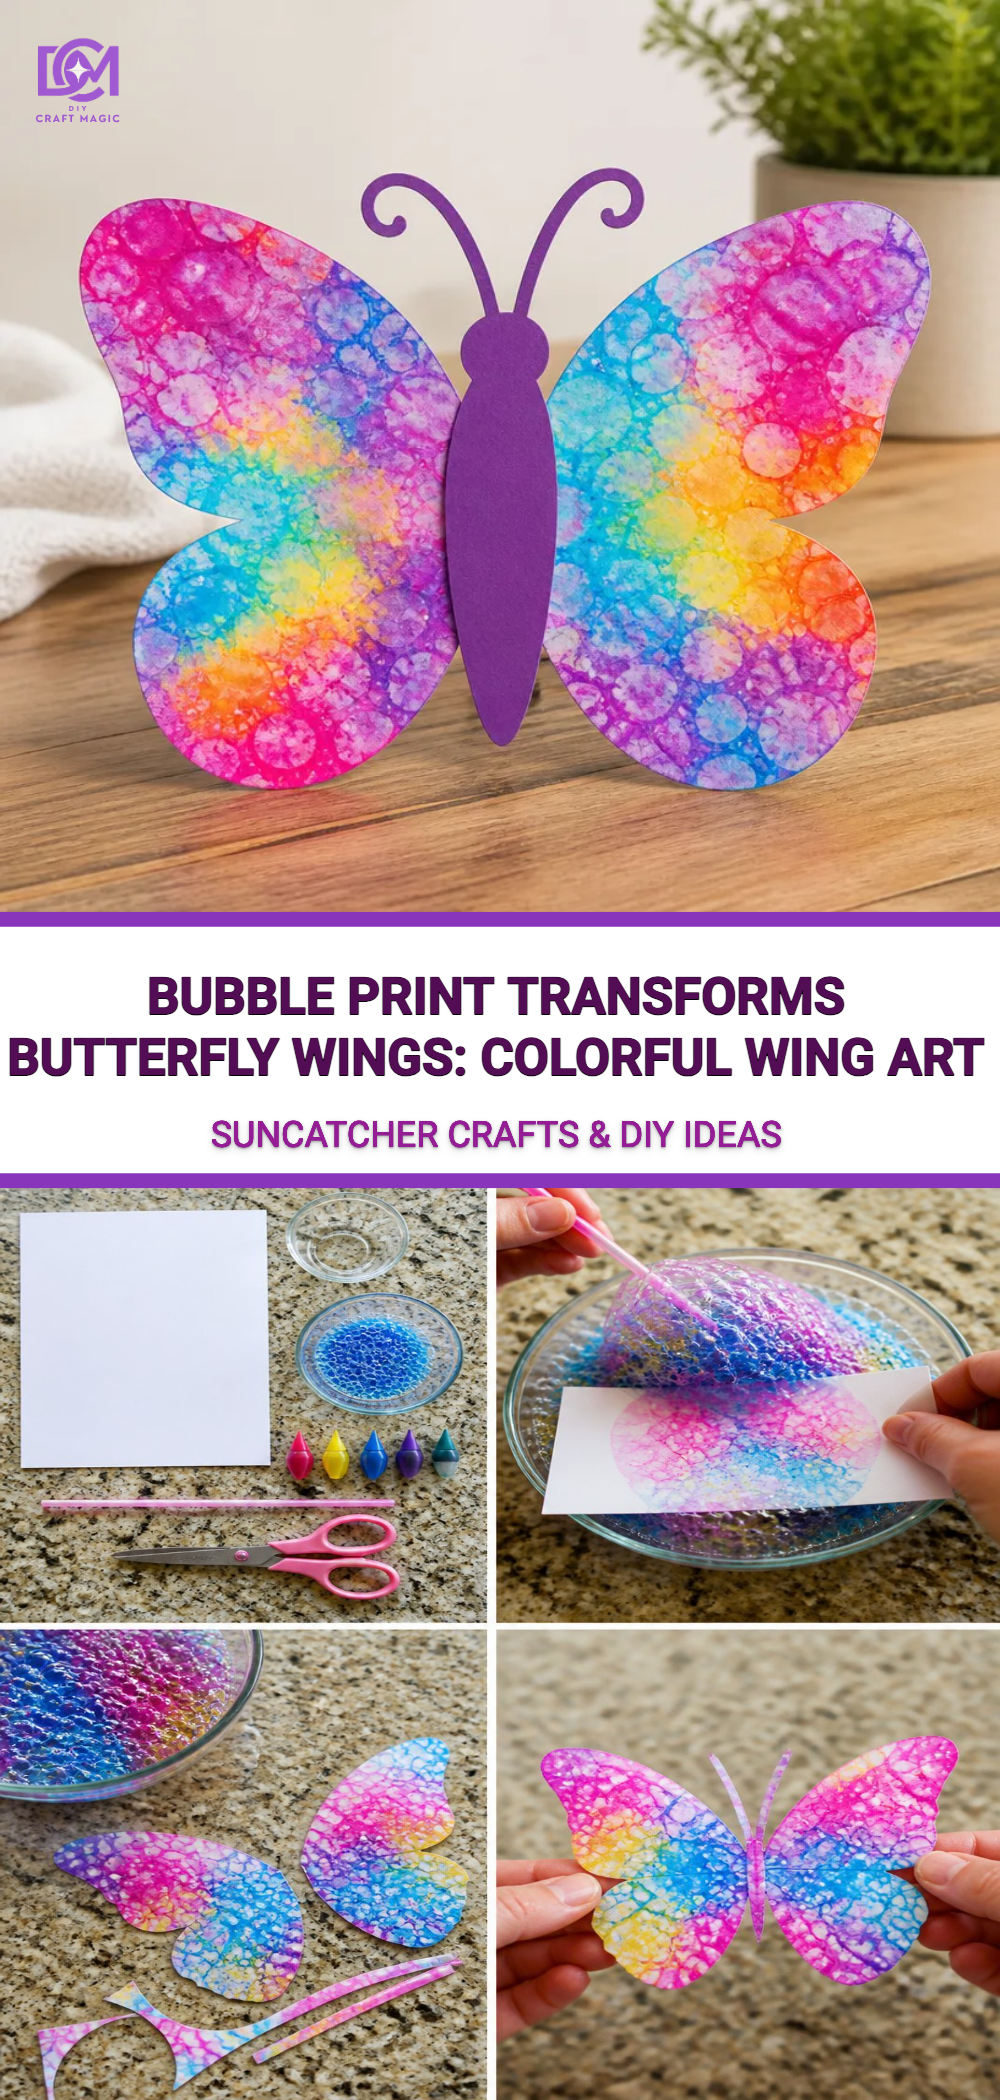
- Bubble wrap
- Non-toxic paint in various colors
- White cardstock or thick paper
- A shallow dish or tray
- A straw or a bubble wand
- Water
- Paper towels
- Scissors
- Optional: Glitter for added sparkle
Choosing Your Materials
When selecting your materials, choose vibrant paint colors that will create stunning effects. Non-toxic paints are ideal for crafts involving children, ensuring safety during the fun process. Bubble wrap is essential for creating the unique bubble print effect, while cardstock serves as the canvas for your wing designs.
How to Make Bubble Print Transforms Butterfly Wings
Let’s jump into creating your butterfly wing art! Follow these step-by-step instructions to achieve beautiful results.
Step-by-Step Instructions
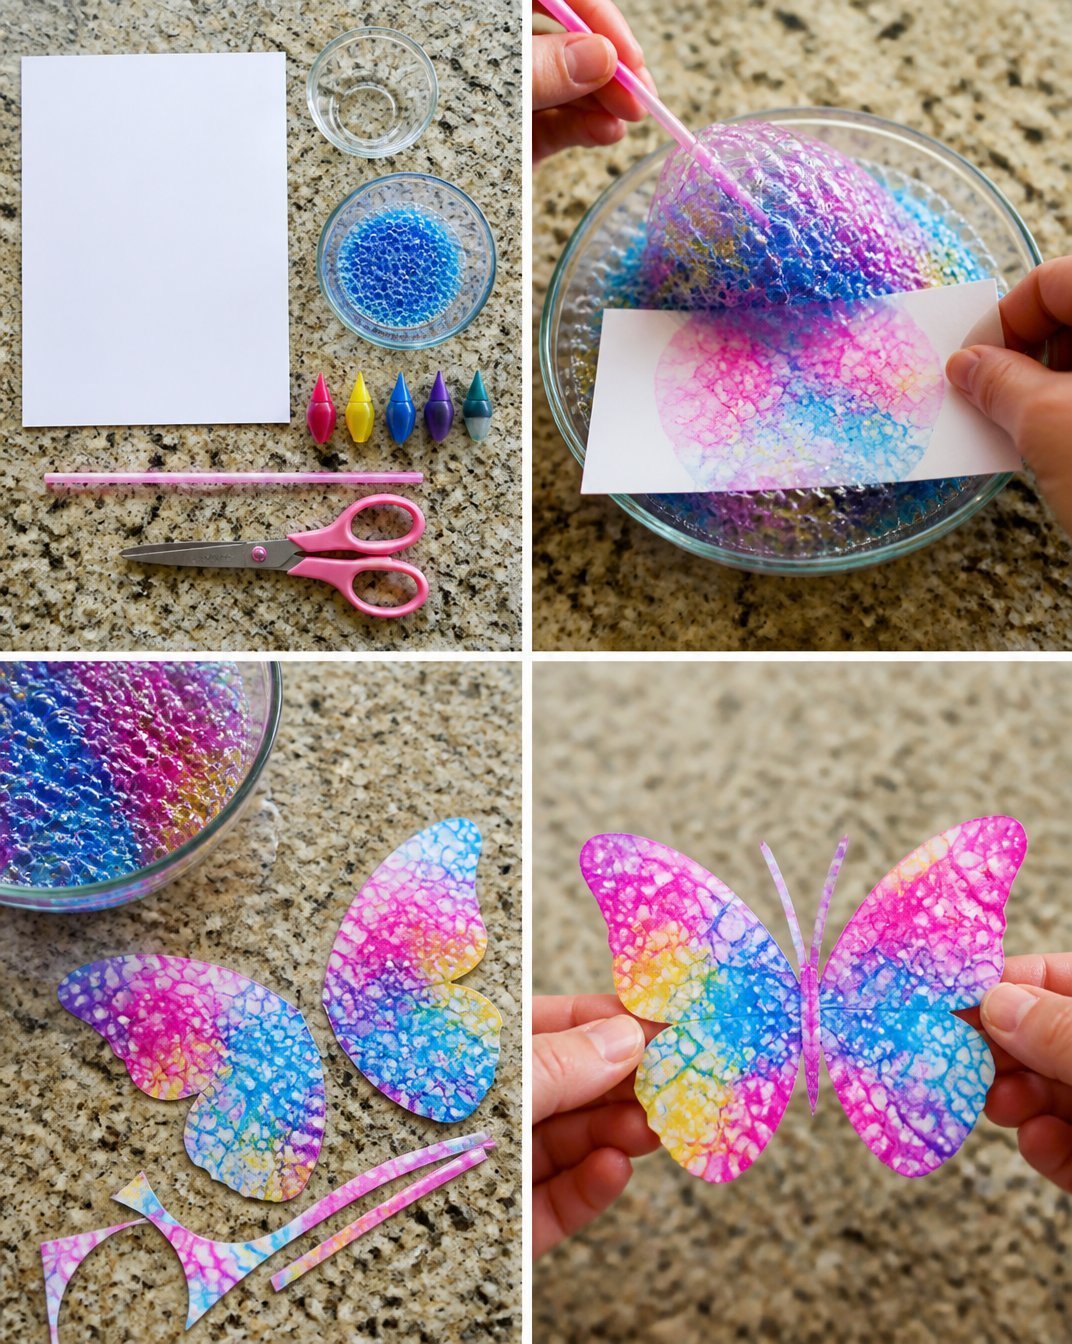
Prepare the Bubble Mixture: In a shallow dish, mix equal parts of paint and water. The consistency should be fluid enough to create bubbles, so adjust as necessary.
Create Bubbles: Using a straw or bubble wand, dip it into your bubble mixture. Gently blow into the straw or use the wand to create a layer of bubbles on the surface. This part is fun and may require some practice, so don’t hesitate to experiment!
Print the Bubbles: Carefully press a piece of cardstock down onto the bubbles, ensuring that the paint sticks to the paper. Lift the paper straight up to reveal the colorful print. If you wish to create multiple layers, repeat the process with different colors just be careful not to mix too much for a muddy effect.
Shape Your Artwork: Once your prints dry, use scissors to cut them into butterfly wing shapes. You can create a symmetrical design to make matching wings or experiment with different shapes for a more abstract look.
Optional: Add Glitter: If you’d like to enhance the sparkle of your butterfly wings, sprinkle some glitter on the wet paint before it dries. This will add an eye-catching touch to your beautiful creation.
Getting the Colors Right
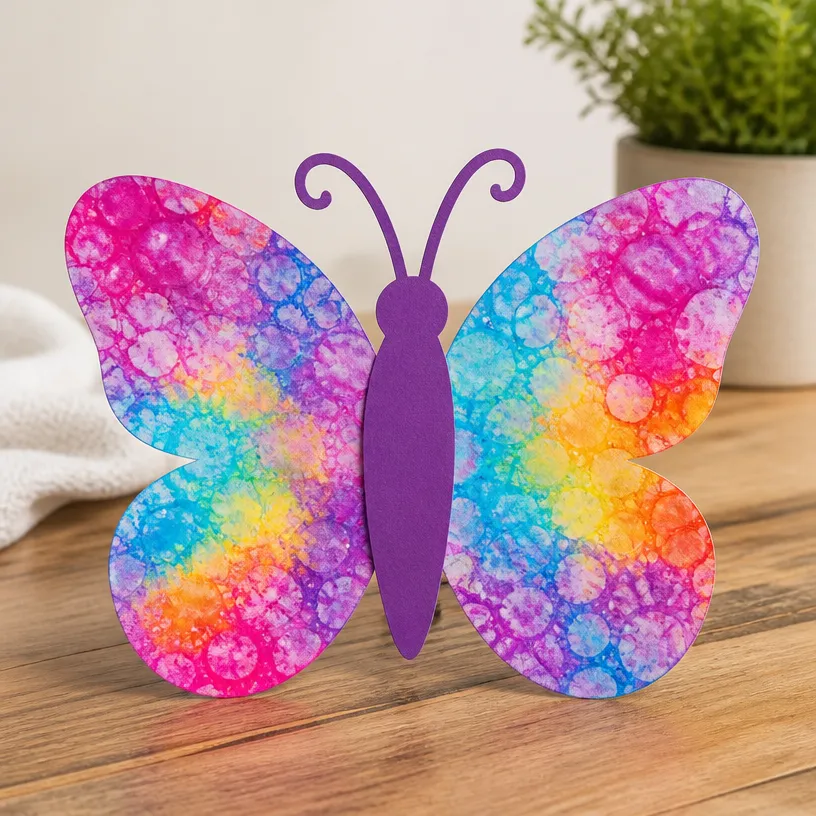
Choosing the right colors can significantly affect the outcome of your butterfly wing art. Vibrant colors like yellows, blues, and pinks tend to create more lively designs. Aim for high-contrast combinations to make the prints pop. If you’re seeking inspiration, you might find the techniques in bubble wrap pinwheel painting particularly helpful, as they explore the dynamic use of color and form.
Creating the Crystal Effect
To achieve a crisper, more vibrant print, consider adding a touch of glycerin to your paint mixture. This will help the bubbles hold their shape longer, resulting in sharper details when you press the cardstock down.
Helpful Tips
- Experiment with various sized bubbles: Larger bubbles create a more abstract effect, while smaller bubbles can yield finer details.
- Allow each layer to dry before adding additional colors to avoid unwanted mixing.
- Don’t hesitate to try different types of paint, like metallics or pastels, to see how they influence your prints.
Common Mistakes to Avoid
- Too much water in the paint mixture can lead to overly diluted colors. Ensure you achieve the right balance for vibrant prints.
- Rushing the pressing step might lead to smudged prints. Take your time for the best outcome.
Ways to Customize It
- Consider creating a themed display by crafting additional designs like flowers or seasonal decorations. Pair your butterfly art with techniques from kitchen sponge firework prints for an even more cohesive look.
- Experiment with size using large sheets of cardstock for bigger wings or smaller pieces for mini butterflies.
Display Ideas
Once your colorful butterfly wings are complete, think about how to showcase them. You can frame them for a stunning wall display or hang them from a ceiling as part of a warm, whimsical atmosphere. They also make lovely gifts or unique pieces for children’s rooms.
Crafting With Kids
This project is ideal for children as it encourages creativity and experimentation. Make sure to supervise young crafters, especially during the bubble creating process, to ensure safety. Set up a designated crafting area for a fun and organized experience.
Troubleshooting
If your prints aren’t turning out as expected, double-check your paint-to-water ratio. Too much water can dilute colors, while too little may make it hard to produce bubbles.
Frequently Asked Questions
Can I use alternative paper types?
Yes! While cardstock provides a sturdy base, other types of paper can also work for different effects.
How can I store leftover bubble paint?
Seal any unused bubble paint in a container and store it in the fridge. However, use it within a week for the best results.
Is this project suitable for toddlers?
With supervision, toddlers can join in the fun, especially if you focus on the bubble-blowing aspects.
Conclusion
Incorporating bubble print techniques into your crafts can create delightful results, particularly with projects like butterfly wing art. If you’re looking for more butterfly-themed activities, check out these 10 easy butterfly crafts for kids. For a unique piece to enhance your decor, explore the beautiful options available at Brazilian Butterfly Art on Etsy. Enjoy your crafting journey!
Print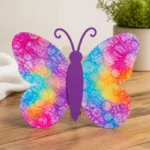
Bubble Print Transforms Butterfly Wings: Colorful Wing Art
- Total Time: 10 minutes
- Makes: 1 artwork piece
Description
Create beautiful and colorful butterfly wing art using bubble prints, an engaging craft project for families and crafters of all skill levels.
Materials
- Bubble wrap
- Non-toxic paint in various colors
- White cardstock or thick paper
- A shallow dish or tray
- A straw or a bubble wand
- Water
- Paper towels
- Scissors
- Optional: Glitter for added sparkle
Instructions
- Prepare the bubble mixture: In a shallow dish, mix equal parts of paint and water.
- Create bubbles: Dip a straw or bubble wand into the mixture and blow to create a layer of bubbles.
- Print the bubbles: Press cardstock onto the bubbles, and lift to reveal your print.
- Shape your artwork: Cut dried prints into butterfly wing shapes.
- Optional: Add glitter to the wet paint for extra sparkle.
Notes
Experiment with different colors and shapes for unique designs. Supervision is recommended for young crafters.