

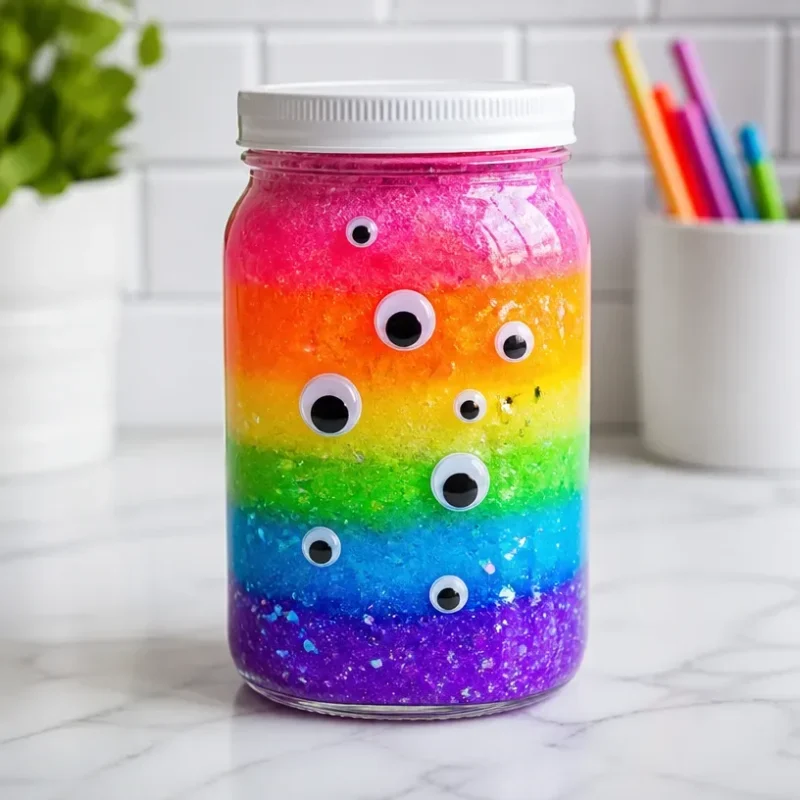
Colorful Glow-In-The-Dark Monster Slime with Rainbow Colors
Creating your own Colorful Glow-In-The-Dark Monster Slime is a delightful way to indulge in a creative DIY project that both kids and adults can enjoy. This vibrant slime not only glows in the dark, making it a fun nighttime surprise, but it also showcases a spectrum of beautiful rainbow colors, enhancing its visual appeal. The process of making slime is straightforward and satisfying, inviting those around to join in the fun. You may also find Rainbow Glowing Monster Slime Magic useful.
Why You’ll Love This Project
The combination of tactile play and colorful creation makes this project incredibly enjoyable. As you layer the colors, you’ll see how each shade blends and transforms into something magical. Additionally, this sticky and stretchy concoction serves as an excellent sensory experience, perfect for crafty afternoons or themed parties. For similar creative ideas, check out our guide on bioluminescent slime.
Materials You’ll Need
To get started, gather the following materials: You may also find Rainbow Glowing Monster Slime useful.
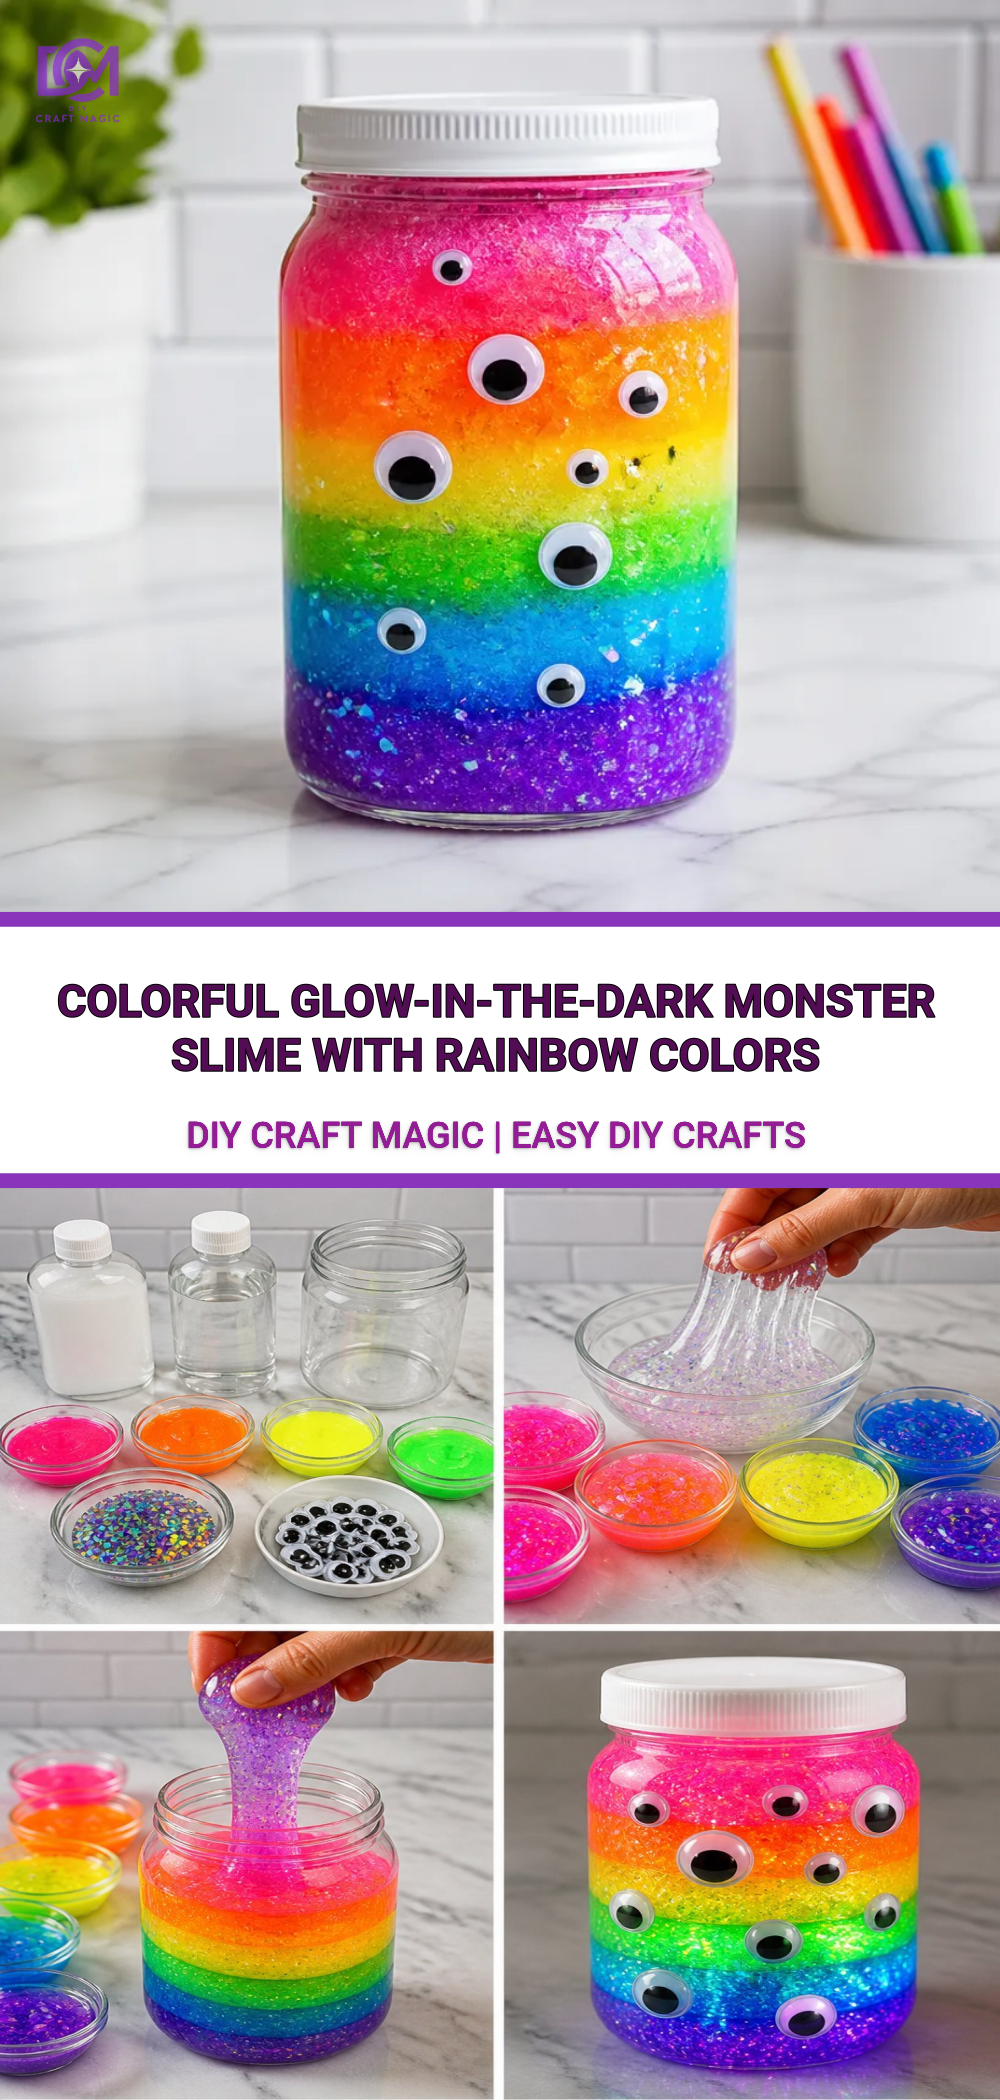
- 1 cup of white school glue
- 1 cup of water
- 1 tablespoon of baking soda
- 1 teaspoon of glow-in-the-dark powder
- Food coloring (various colors)
- 1/2 cup of liquid starch
- Mixing bowls
- Whisk or spoon
- Airtight container for storage
Step-by-Step Instructions
Prepare the Base
In a mixing bowl, combine the school glue and water. Whisk them together until fully blended to create a smooth base for your slime.Add the Glow Powder
Stir in the glow-in-the-dark powder until it’s evenly distributed within the glue mixture. This step is crucial as it provides that exciting luminescent quality.Mix in the Color
Divide the mixture into separate bowls based on how many colors you want. Add a few drops of food coloring to each bowl and mix well to achieve your desired shades.Incorporate Baking Soda and Starch
To each color, add the baking soda, mixing thoroughly until it is fully dissolved. Following that, add half of the liquid starch to each bowl. Stir well until the slime begins to form. If it is too sticky, add a little more starch until you reach the desired consistency.Layer Colors
Now comes the fun part: layering. In a larger container, add the colors one at a time. You can even create swirls for a more marbled effect, making your slime visually stunning.
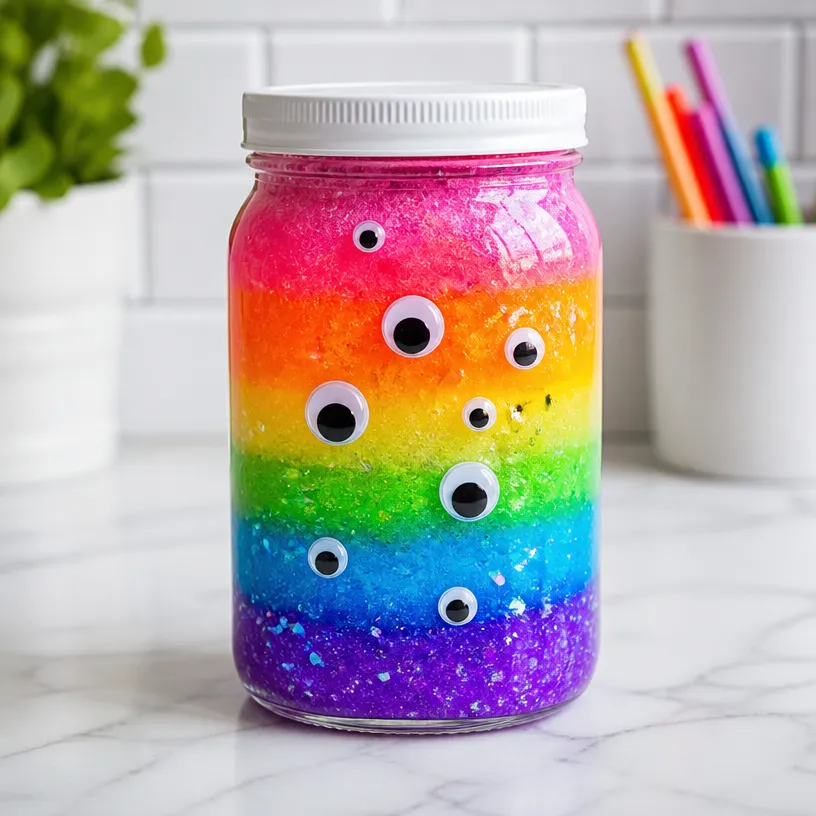
- Storage
Once you’re done, store the slime in an airtight container to keep it fresh and ready for your next play session.
Getting the Colors Right
When selecting your food coloring, consider using gel colors for a more vibrant effect. Gel colors are richer and bolder compared to liquid ones, ensuring that each layer maintains its unique hue. For ideas on creating colorful crafts, refer to our tutorial on colorful crystal wings.
How to Get the Best Result
For optimal glow-in-the-dark effects, charge your slime under a bright light source before using it in the dark. This enhances the glow significantly and makes for an impressive reveal.
Tips for Crafting with Kids
When making slime with children, ensure that adult supervision is present, as some components like liquid starch may be better handled by grown-ups. Encourage kids to add their favorite colors, sparking creativity while instilling a sense of ownership over their project.
Common Mistakes to Avoid
Be careful not to add too much liquid starch in the initial mix, as it can cause your slime to become stiff. Start with less and add as needed to achieve the perfect stretchy texture.
Ways to Customize It
If you want to personalize your slime further, consider incorporating small glitter pieces, tiny plastic creatures, or even scented oils. These variations will make your slime unique and cater to individual preferences. If you’re looking for more creative projects, explore our guide on colorful crystal sea urchins.
Frequently Asked Questions
How do I store the slime?
Make sure to keep your slime in an airtight container. This prevents it from drying out and maintains its stretchy quality for future use.
Can I make this slime without glue?
Unfortunately, glue is a key ingredient for this kind of slime. Without it, you won’t achieve the same stretchy consistency.
What should I do if my slime is too sticky?
If your slime is stickier than you would like, gradually add more liquid starch until it reaches the desired texture.
Final Thoughts
Creating Colorful Glow-In-The-Dark Monster Slime is not only about the process but also enjoying playtime with family or friends. The glowing effect adds an extra layer of fun, making it an ideal activity for any occasion. Encourage your creativity and bring a rainbow of colors to life in your very own slime!
Conclusion
For more slime-related excitement, you might want to check out JA-RU Rainbow Slime for Kids. Additionally, explore more kids’ craft ideas at Crafts Archives – DIY Adulation. Enjoy crafting!
Print
Colorful Glow-In-The-Dark Monster Slime
- Total Time: 10 minutes
- Makes: 4 servings
Description
Create vibrant Glow-In-The-Dark Monster Slime with rainbow colors in a fun and engaging DIY project suitable for all ages.
Materials
- 1 cup of white school glue
- 1 cup of water
- 1 tablespoon of baking soda
- 1 teaspoon of glow-in-the-dark powder
- Food coloring (various colors)
- 1/2 cup of liquid starch
- Mixing bowls
- Whisk or spoon
- Airtight container for storage
Instructions
- Prepare the base: In a mixing bowl, combine the school glue and water. Whisk until fully blended.
- Add the glow powder: Stir in the glow-in-the-dark powder until evenly distributed.
- Mix in the color: Divide the mixture into bowls, add food coloring, and mix to achieve desired shades.
- Incorporate baking soda and starch: Add baking soda, mix until dissolved, then add liquid starch and stir until slime begins to form.
- Layer colors: In a larger container, add colors one at a time, creating swirls for a marbled effect.
- Store the slime: Keep in an airtight container to maintain freshness.
Notes
For best glow effects, charge slime under bright light before use. Supervise children during the process for safety.