

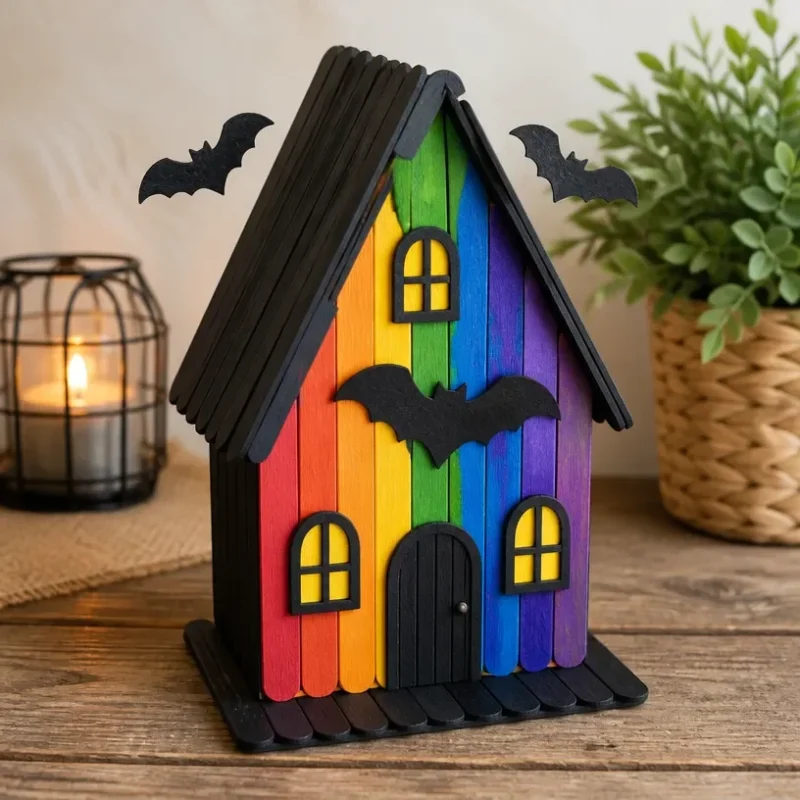
Colorful Popsicle-Stick Spooky Schoolhouse
Welcome to this exciting craft project, where we’ll create a Colorful Popsicle-Stick Spooky Schoolhouse! This charming creation not only adds a festive touch to your home during spooky season but also allows you to explore your creativity using simple materials. Imagine vibrant colors and whimsical designs that transform plain popsicle sticks into a delightful schoolhouse display. You may also find Bubble Print Butterfly Wings Colorful Wing Art useful.
Before you dive in, let’s gather the materials you’ll need for this fun project. You may also find Colorful Crystal Sea Urchins Rainbow Guide useful.
Materials You’ll Need
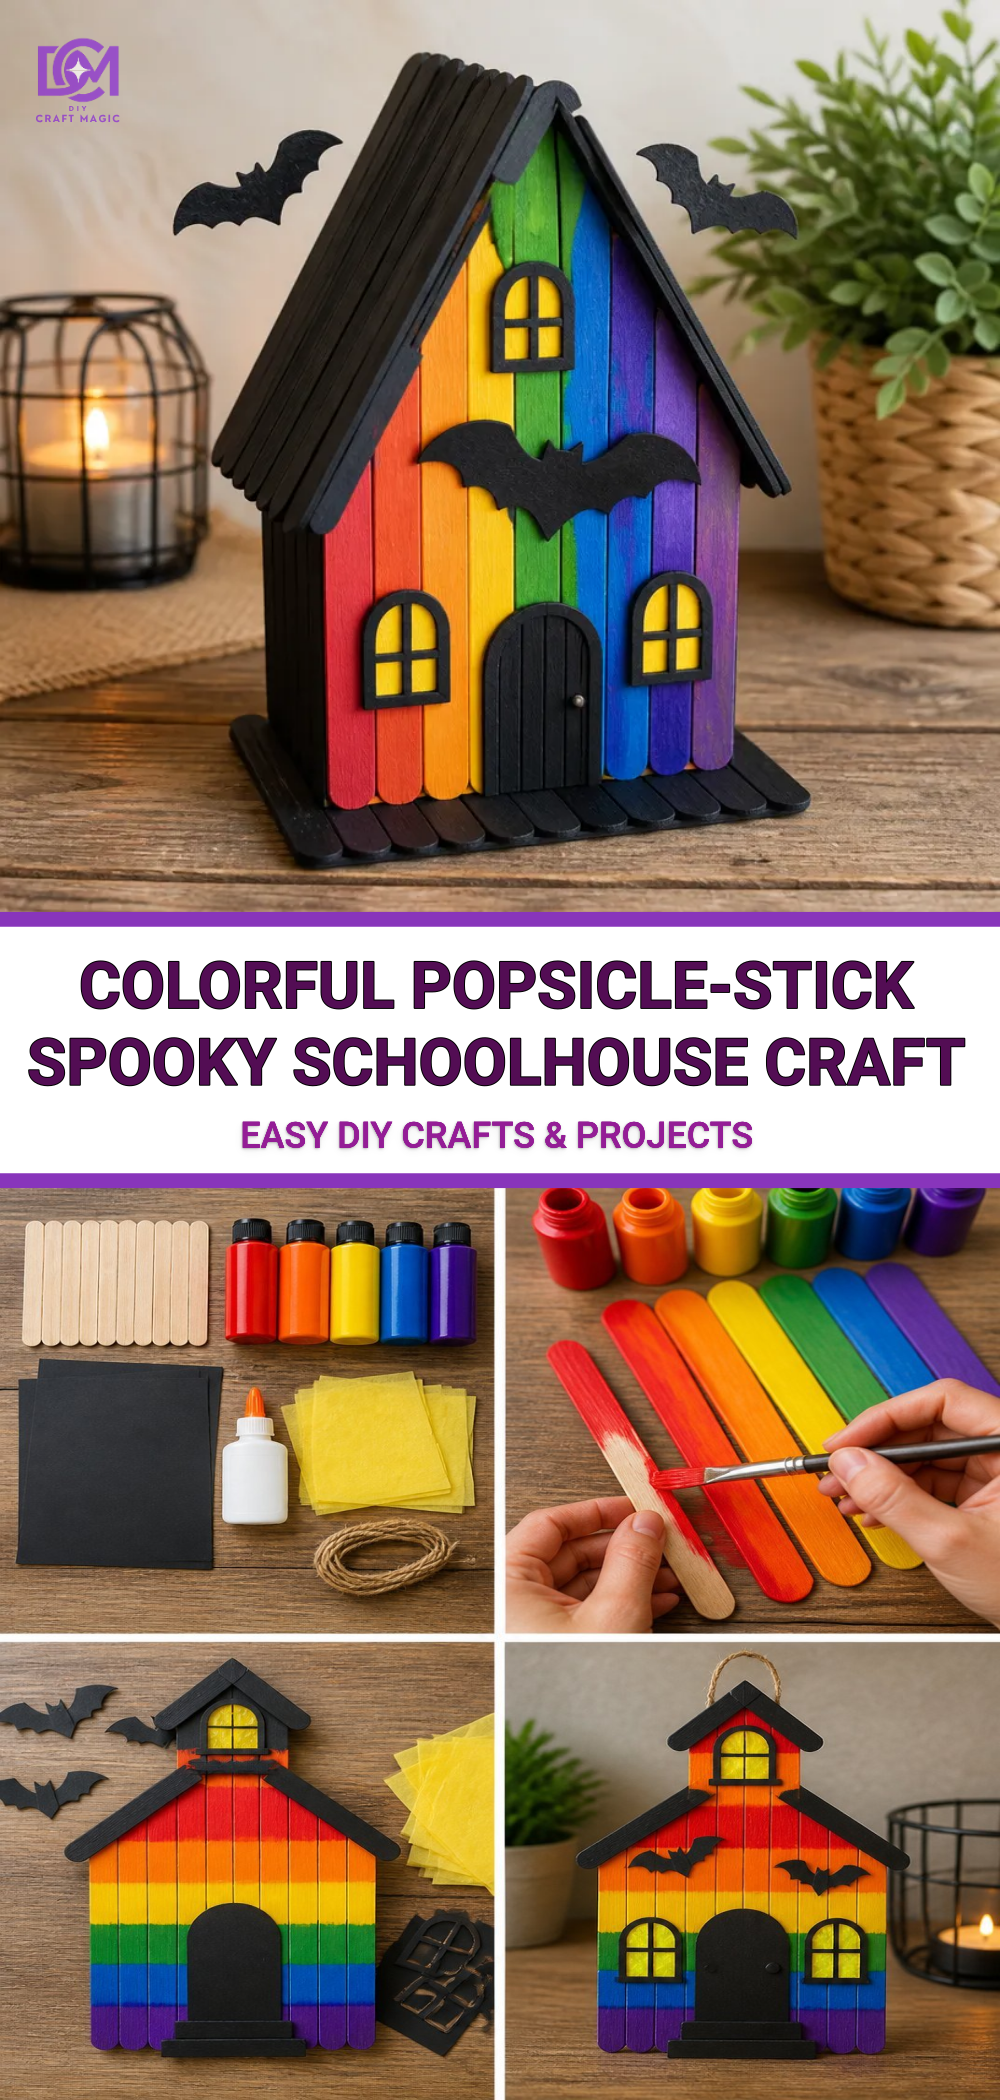
- Popsicle sticks: Regular and mini sizes work great for different details.
- Acrylic paints: Your choice of colors for the schoolhouse and spooky elements.
- Hot glue gun and glue sticks: Essential for assembling your schoolhouse.
- Paintbrushes: For applying paint smoothly.
- Black construction paper: Useful for making decorative elements like windows and bats.
- Googly eyes: A fun addition for adding personality to your spooky elements.
- String lights (optional): To light up your schoolhouse for a festive touch.
Now that we have our materials, let’s break down the steps to make your Colorful Popsicle-Stick Spooky Schoolhouse.
How to Make Your Colorful Popsicle-Stick Spooky Schoolhouse
Step 1: Prepare Your Popsicle Sticks
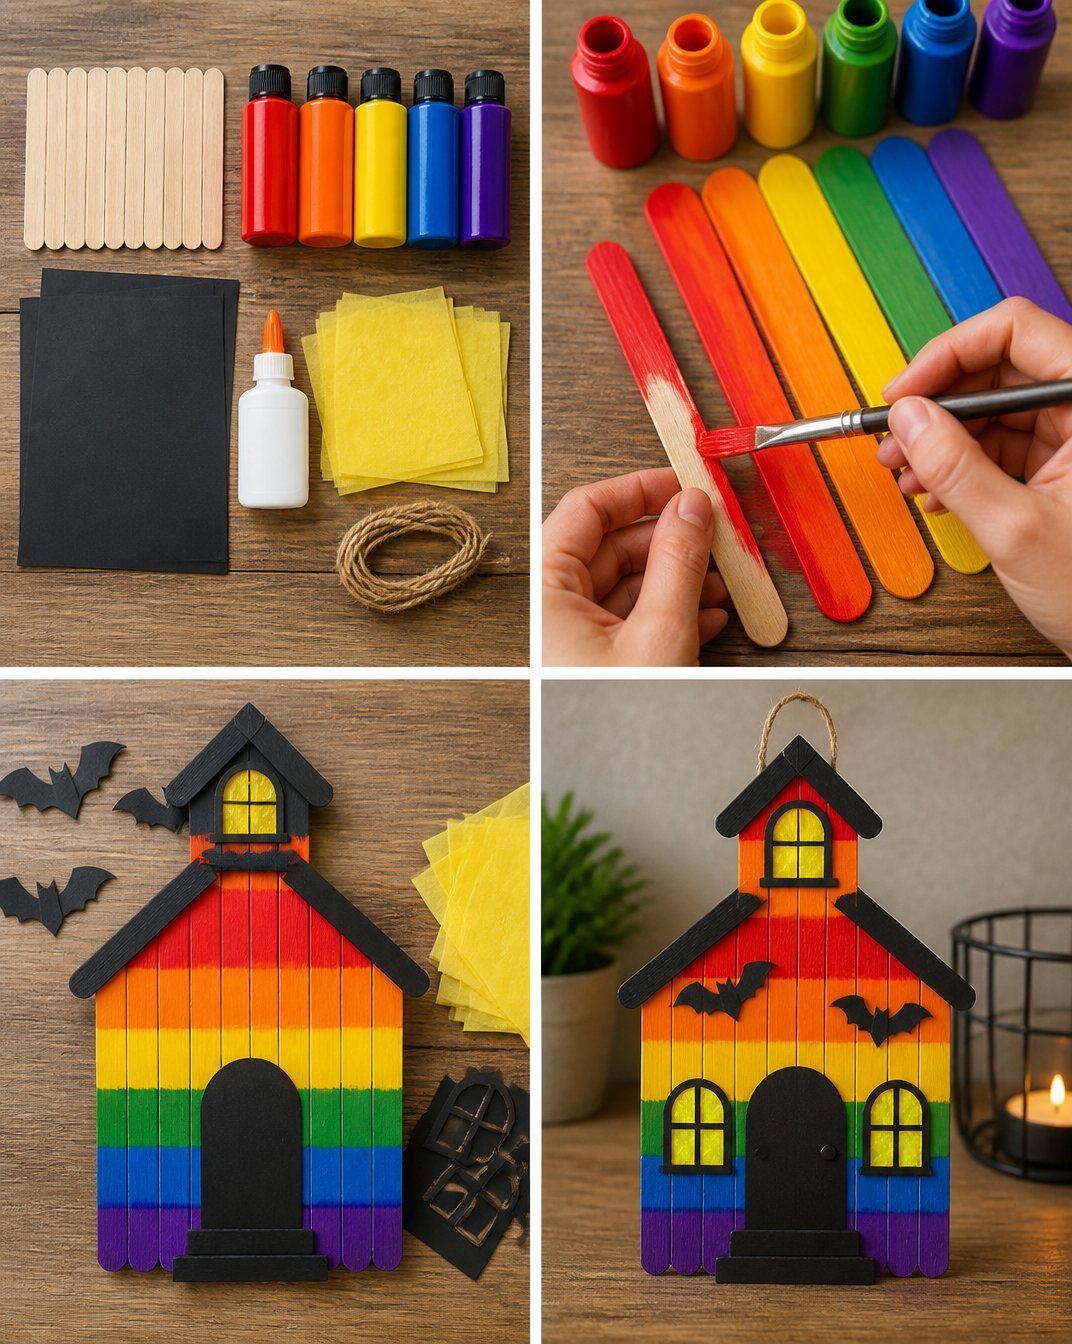
Start by painting your popsicle sticks in colorful shades. You can choose classic Halloween colors like orange, black, and purple or go for a more whimsical look with bright shades. Allow the paint to dry completely. This not only ensures a vibrant finish but also makes the assembly process much smoother.
Once dry, you can arrange your painted sticks in the shape of a schoolhouse. For an inspiring visual idea, you might like to check out other projects such as Colorful Cupcake Liner Flower Bouquet for creative assembly techniques.
Step 2: Build the Base
Next, create the base of your schoolhouse using several popsicle sticks laid out flat. Use your hot glue gun to secure them together for a sturdy foundation. If desired, you can decorate the base with extra paints or stickers that complement the overall aesthetic of your spooky schoolhouse.
Step 3: Assemble the Walls and Roof
Begin building the walls by adhering upright popsicle sticks to the base, spaced evenly apart. For an engaging look, alternate between larger and mini popsicle sticks. This variation adds dimension and interest to your structure. Once the walls are in place, create the roof by laying a few more popsicle sticks at an angle for a peaked effect. Adding colorful details can also enhance this section.
Step 4: Add Decorative Elements
Now comes the fun part! Use black construction paper to cut out eerie shapes such as windows, bats, or even a spooky door. Attach these decorations to your schoolhouse with hot glue. For additional charm, adding googly eyes to some of the elements can bring your spooky schoolhouse to life. If you want to explore more colorful decorations, consider creating Colorful Butterfly Garden Rainbow Cupcake Liners as complementary pieces.
Step 5: Illuminate the House (Optional)
To make your spooky schoolhouse really stand out, consider incorporating string lights or LED candles inside. This addition creates a warm glow that enhances the haunted ambiance, especially at nighttime!
Helpful Tips
- Involvement: This project is perfect for crafting with kids! Involve them in painting and designing their own spooky schoolhouses.
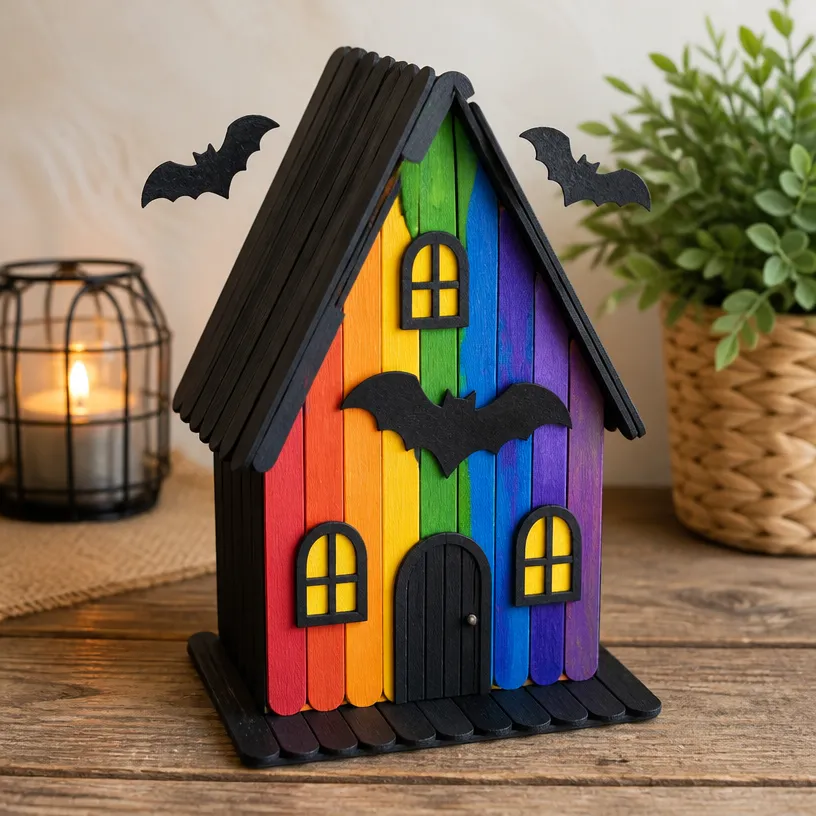
- Coloring Variations: Don’t hesitate to experiment with different color combinations. You could even create a schoolhouse with a rainbow theme.
- Safety First: When using hot glue guns, ensure adult supervision for young children.
Common Mistakes to Avoid
- Uneven Glueing: To prevent your pieces from falling apart, make sure you apply enough hot glue when assembling walls and the roof.
- Rushing the Paint Drying: It’s tempting to skip the drying time, but patience is key to achieving a polished look.
Ways to Customize It
You can personalize your color palette according to your preferred spooky theme be it whimsical or classic Halloween. Additionally, consider embellishing your schoolhouse with fabric scraps or stickers for even more character. For inspiration, explore how to add vibrant elements like in our Colorful Crystal Butterfly Rainbow Wings project.
Frequently Asked Questions
How long does it take to dry completely?
Allow each painted stick to dry for about 30 minutes to ensure your colors stay vibrant.
Can I use other materials?
Yes! Feel free to experiment with other craft materials like felt or even natural elements like twigs for unique designs.
What age group is this project suitable for?
This project is suitable for various ages. Younger kids may need assistance with hot glue, but they can actively participate in painting and assembling.
Conclusion
Your Colorful Popsicle-Stick Spooky Schoolhouse is all set for display! With a few more creative touches, you can enhance its festive charm. Discover more delightful ideas by checking out Edible Marshmallow Paint! – Smart School House for even more fun projects to try with your family. Also, don’t forget to explore a creative recipe like the Schoolhouse Rock Cake – Do It Myself! to complement your spooky craft! Enjoy your crafting journey!
Print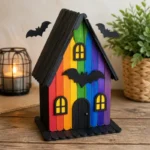
Colorful Popsicle-Stick Spooky Schoolhouse
- Total Time: 60 minutes
- Makes: 1 spooky schoolhouse
Description
Create a vibrant and spooky schoolhouse using popsicle sticks and colorful paints, perfect for the Halloween season.
Materials
- Popsicle sticks (regular and mini)
- Acrylic paints (various colors)
- Hot glue gun and glue sticks
- Paintbrushes
- Black construction paper
- Googly eyes
- String lights (optional)
Instructions
- Prepare your popsicle sticks by painting them in colorful shades and allowing them to dry completely.
- Build the base using several popsicle sticks laid flat and secured with hot glue.
- Assemble the walls by adhering upright popsicle sticks to the base and create the roof with angled popsicle sticks.
- Add decorative elements using black construction paper for windows and bats, and attach googly eyes for a fun touch.
- Illuminate the house with optional string lights or LED candles for a spooky ambiance.
Notes
Involve kids in the crafting process and experiment with colors for a personalized touch. Ensure adult supervision when using hot glue.