


Glowing Rainbow Potion in Crystal Jar
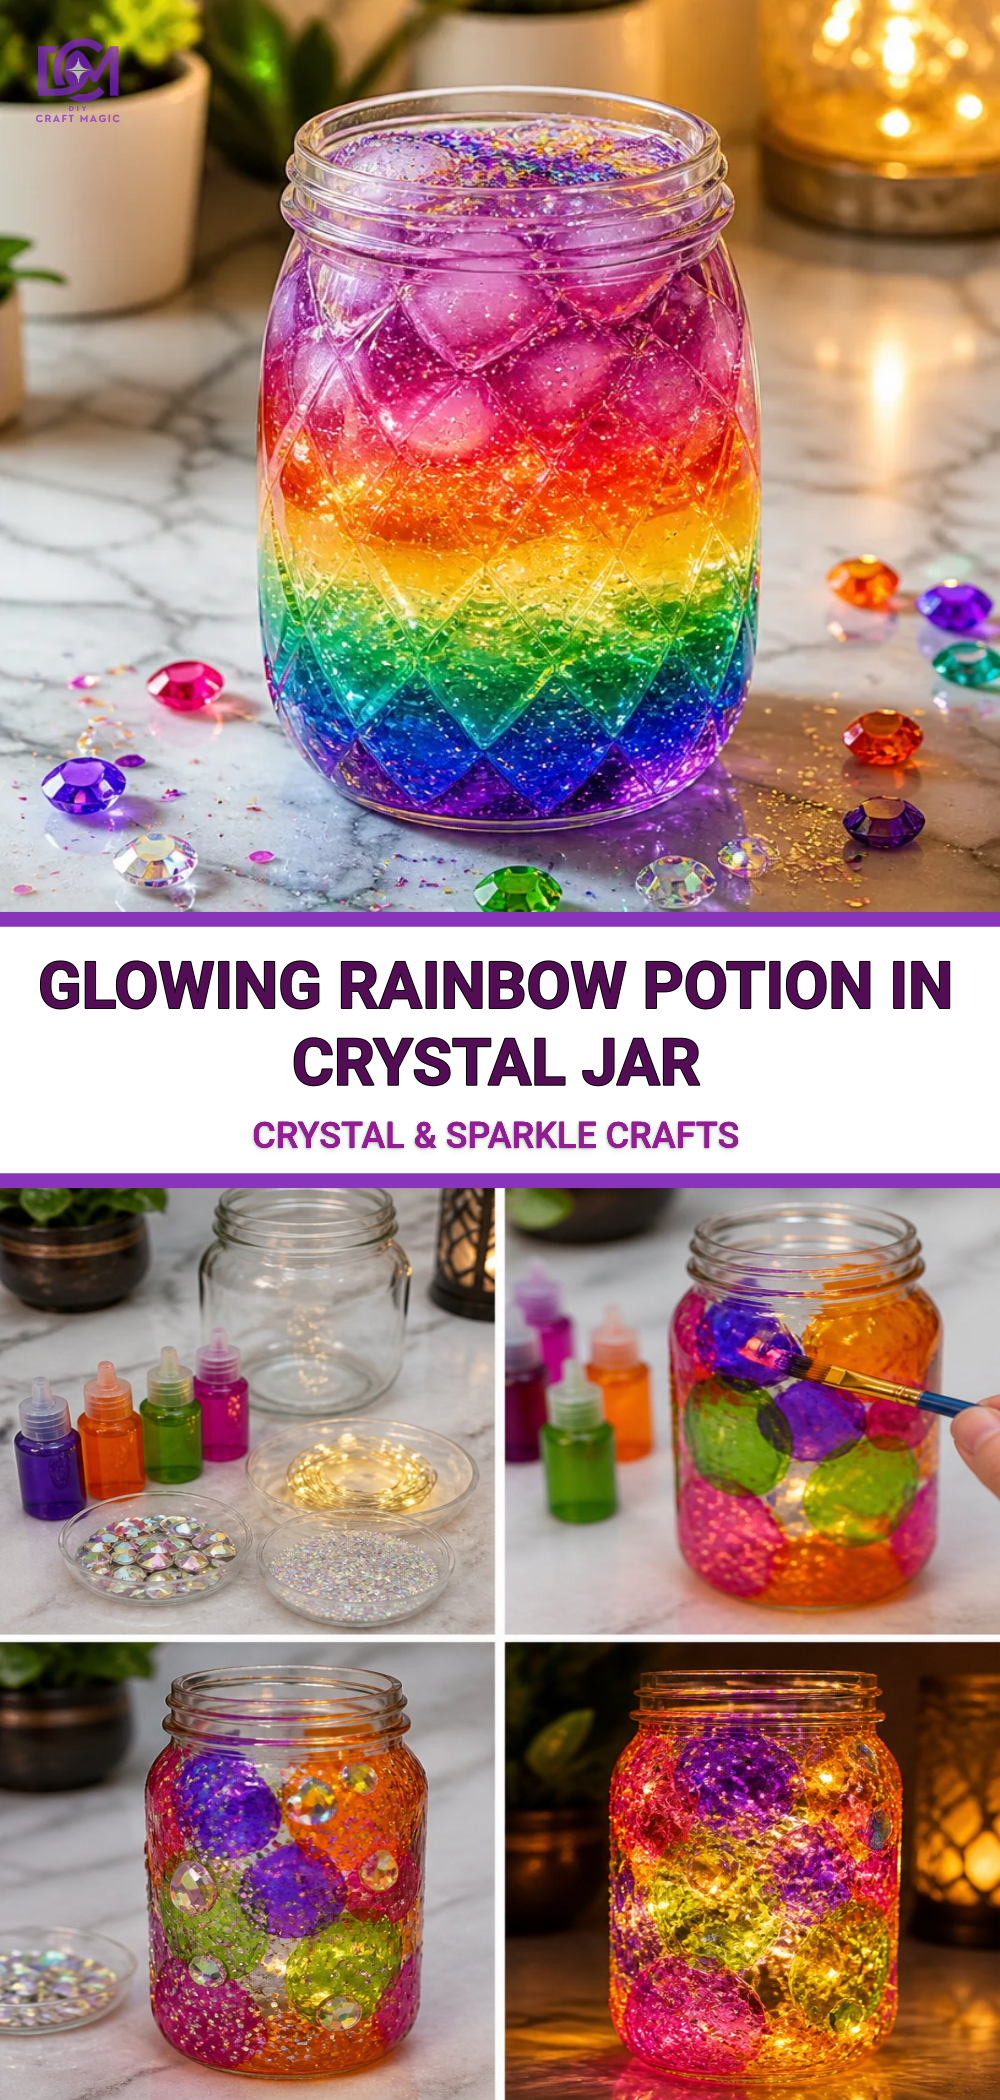
Creating a glowing rainbow potion in a crystal jar is a delightful project that combines vivid colors and fizzy soda, resulting in a visually stunning drink that will impress your friends and family. The layered effect, created by carefully pouring ingredients, adds an artistic touch, while the optional sprinkle of edible glitter provides a magical finish. What’s wonderful about this craft is its simplicity and the satisfying hands-on creation process, making it perfect for both children and adults alike. You may also find Glowing Rainbow Ocean Jellyfish Jar Light useful.
Materials You’ll Need
To get started on your glowing rainbow potion, gather the following materials: You may also find Borax Rainbow Crystal Bloom Tree Garden Decor useful.
- 1 cup water
- 1 tablespoon food coloring (various colors)
- 1 cup clear soda or sparkling water
- Edible glitter (optional)
- Ice cubes
How to Make Glowing Rainbow Potion in Crystal Jar
Follow these simple steps to create your dazzling glowing rainbow potion:
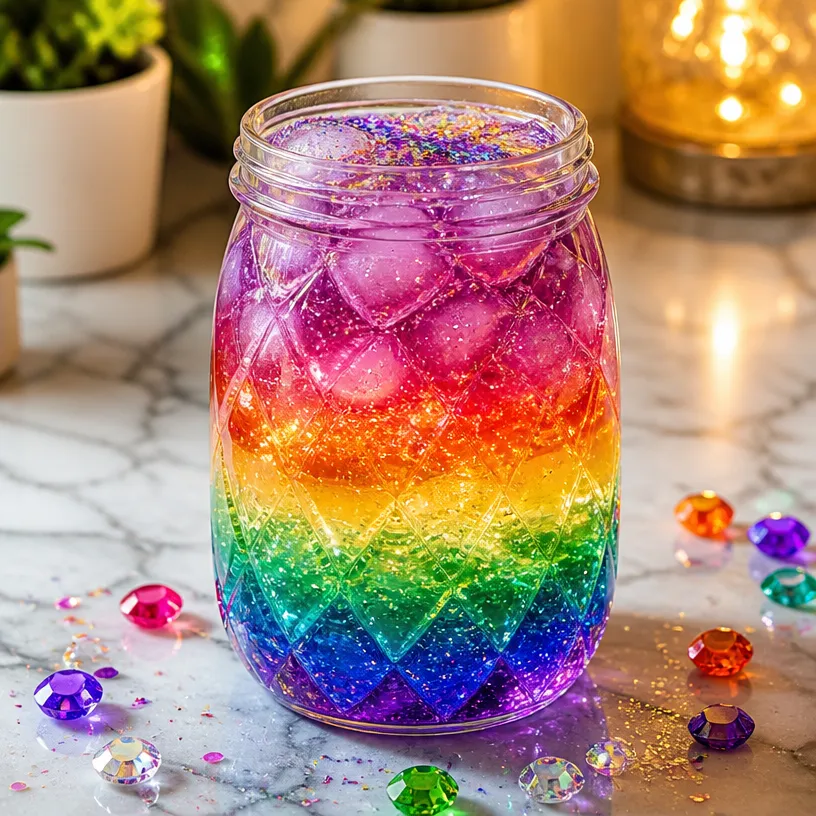
Mixing Colors: In your crystal jar, begin by mixing the water with food coloring. Choose vibrant colors to create layers that will stand out. You can use any combination of colors that you find striking.
Layering the Soda: This step is crucial for achieving the layered effect. Carefully pour the clear soda or sparkling water over the back of a spoon into the jar. This technique allows the soda to float on top of the colored water without mixing, creating beautiful, distinct layers.
Chill it Down: To enhance the visual and refreshing experience, add ice cubes to your jar. This not only chills your potion but also adds to the eye-catching look.
Add Some Sparkle: If you want your potion to shimmer, sprinkle some edible glitter on top. This adds an enchanting element and brings the entire project to life.
Serve and Enjoy: Serve your glowing rainbow potion immediately. Watch as friends and family admire the colorful layers before enjoying a sip of this fizzy creation!
For those who love crafting colorful creations, you might enjoy exploring rainbow potion jars with glitter swirl decor too!
Tips for Creating the Best Effects
Choosing Your Colors: When selecting food coloring, opt for the brightest shades available. This will enhance the visual impact of your layers and make your potion look magical.
Pouring Technique: To maintain the layers, pour slowly and gently over the spoon. A steady hand can make all the difference in achieving the distinct layers of color.
Experiment with Flavors: If you’re adventurous, try different flavored sodas to add a twist to your potion’s taste. Lemon-lime soda adds a zesty flavor, while cranberry soda can introduce a sweet tartness.
Visual Display: Consider displaying your potion in a well-lit area or outdoors to catch the sun’s rays, which will amplify the colors and glitter, creating an even more enchanting look.
Common Mistakes to Avoid
Rushing the Process: Pouring too quickly can cause your layers to mix. Take your time with each step for the best results.
Ignoring Proportions: Ensure you are using the correct measurements for ingredients. Too much soda might dilute your colors, resulting in a less vibrant potion.
Not Chilling Properly: Adding room temperature ice cubes can cause some melting that may affect the clarity of your layers. Use ice from a chilled cooler if possible.
Frequently Asked Questions
Can I use other types of containers?
While a crystal jar is visually appealing, you can use any clear glass or plastic container. Just ensure it’s transparent to showcase your stunning layers!
How should I store leftover potion?
The potion is best served fresh. However, if you need to store it, keep it in the refrigerator in an airtight container. Be aware that the layers may mix over time.
Is this project suitable for young children?
Yes, it’s a great crafting activity with adult supervision. However, make sure to supervise during the pouring process to avoid spills and mess.
Can I customize the potion for different occasions?
Absolutely! Tailor the colors and flavors based on seasons or themes. For Halloween, use orange, black, and purple; for summer parties, go with bright pastels.
Variations to Try
Feel free to customize your glowing rainbow potion with different styles. For example, you could swap out the edible glitter for small lanterns or use themed colors for holidays and celebrations. Another fun project involves creating glowing rainbow potion bottles that you can display as decorations.
Lastly, if you enjoy storytelling with your craft, you might also appreciate crafting a glowing rainbow witch potion in a cauldron for an enchanting display!
Conclusion
This glowing rainbow potion is not just a treat for the eyes but also a delightful drink for anyone who tries it. You can also find fun accessories to complement your craft, such as a Crystal Jar Sticker that adds a unique flair to your creations. For those who love to wear their crafts, consider a lovely Glowing Vial Necklace to show off your enchanting style. Get creative, enjoy the process, and have fun with your vibrant potion!
Print
Glowing Rainbow Potion in Crystal Jar
- Total Time: 10 minutes
- Makes: 2 servings
Description
A delightful project that combines vivid colors and fizzy soda to create a visually stunning layered drink.
Materials
- 1 cup water
- 1 tablespoon food coloring (various colors)
- 1 cup clear soda or sparkling water
- Edible glitter (optional)
- Ice cubes
Instructions
- Mix the water with food coloring in your crystal jar to create vibrant layers.
- Carefully pour the clear soda over the back of a spoon into the jar to maintain the layers.
- Add ice cubes to chill the potion and enhance its visual appeal.
- Sprinkle edible glitter on top for a magical effect.
- Serve immediately and enjoy the fizzy creation with friends and family!
Notes
For best effects, choose bright food coloring and pour slowly. Experiment with different flavored sodas for unique tastes.