

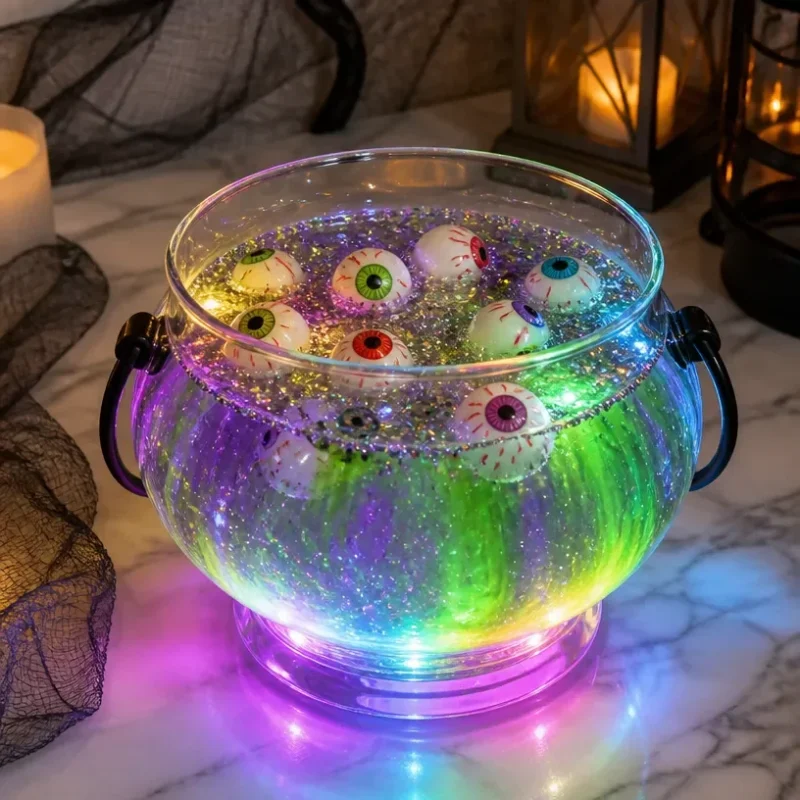
Crafting the Glowing Rainbow Witch Potion in a Cauldron
Get ready to immerse yourself in a spectacular craft project that celebrates creativity and color! In this tutorial, you will learn how to create a Glowing Rainbow Witch Potion in a Cauldron. This charming craft not only captivates the imagination with its vibrant colors but also has a mystical glow that adds to its whimsical appeal, making it perfect for Halloween or any magical occasion. You may also find Colorful Cupcake Liner Witch Flower Bouquet Craft useful.
Why You’ll Love This Project
This project is incredibly satisfying because it allows you to transform ordinary materials into a glowing masterpiece. The layering of colors creates a vibrant visual display, while the glowing effect adds an enchanting twist. Best of all, it’s an approachable craft that is perfect for both kids and adults, ensuring everyone can join in on the fun. You may also find Colorful Cupcake Liner Witch Hat Flowers Tutorial useful.
Before You Start
Before diving into the crafting process, let’s gather all the materials you’ll need for this project. Keep in mind that some items may require adult supervision, especially when handling items like hot glue or scissors. You may also find Bubble Print Butterfly Wings Easy Kids Craft useful.
Materials You’ll Need
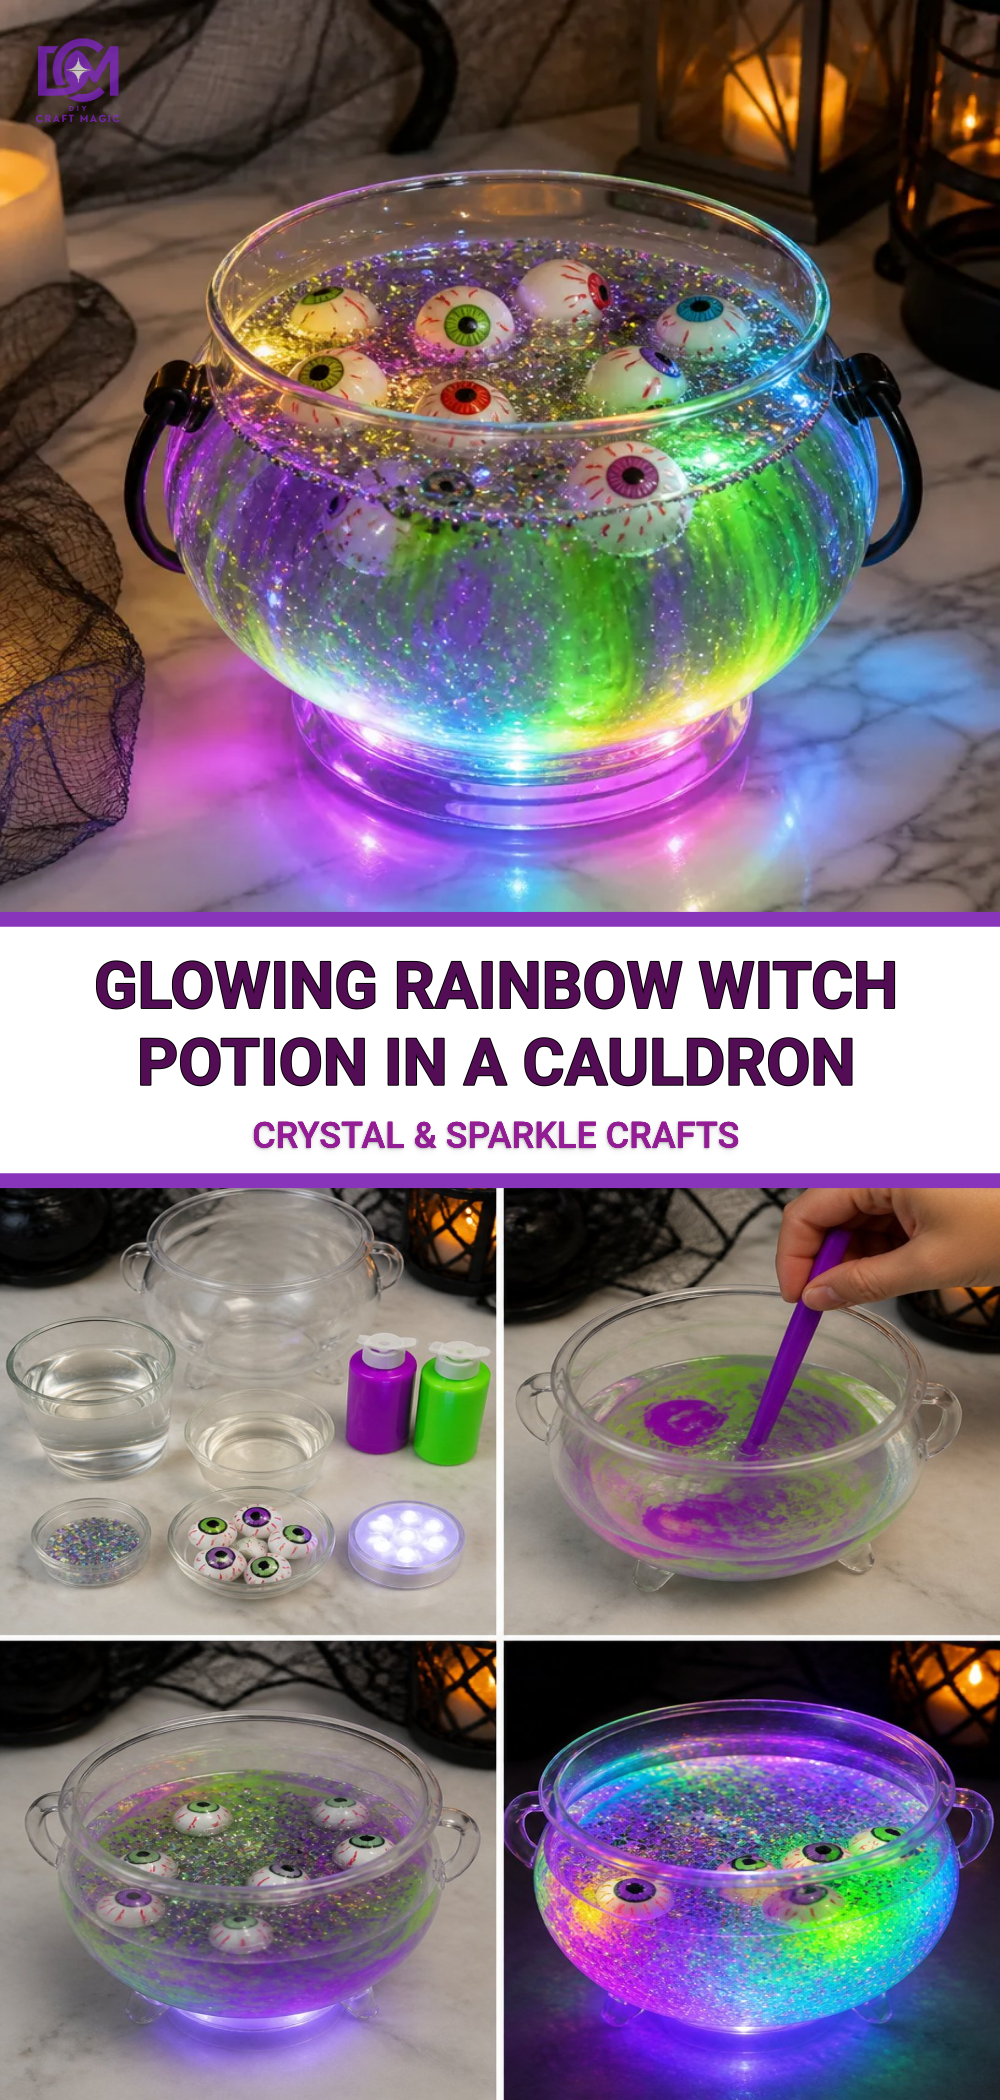
- A black cauldron (you can find fun options for display at craft stores)
- Glossy acrylic paints in a range of colors (like red, orange, yellow, green, blue, purple)
- Clear-glass or translucent plastic jars for potion bottles
- LED tealight candles for the glowing effect
- Glow in the dark paint (optional for extra glow)
- Paintbrushes
- Water for mixing paint
- Glitter (optional)
- Craft glue
- Scissors
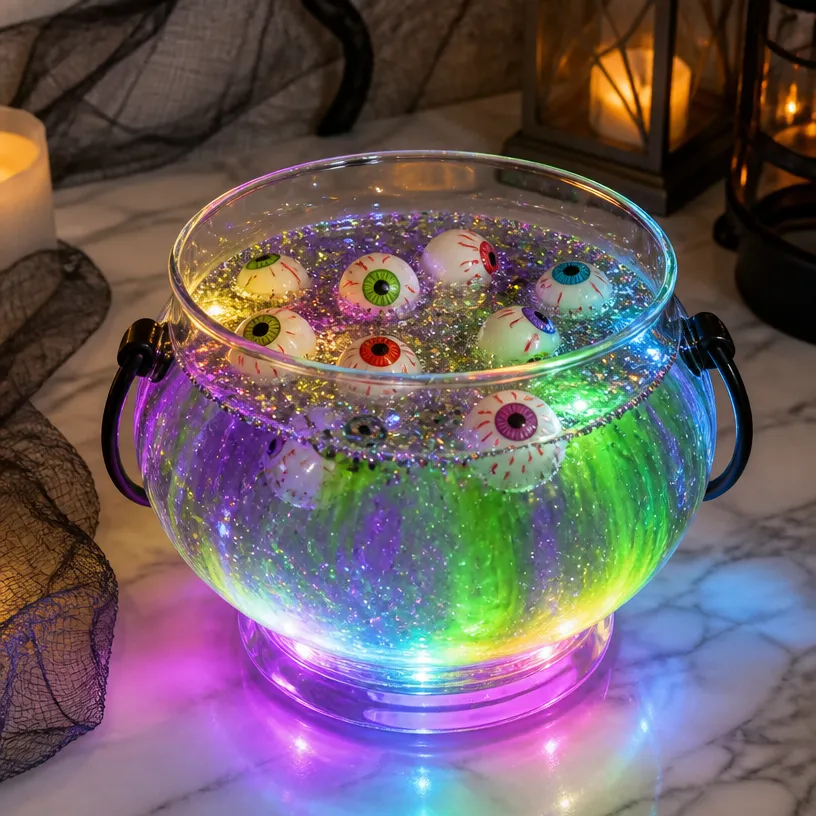
How to Make the Glowing Rainbow Witch Potion in a Cauldron
Step-by-Step Instructions
Prepare Your Work Area: Set up your workspace by laying down a protective covering to prevent any paint spills.
Mix Your Colors: In small palettes or cups, mix your glossy acrylic paint with a bit of water to achieve a fluid consistency that will layer nicely. You can also customize your colors to create unique shades!
Layer the Colors: Begin layering your colors in the clear jars. Start with the darker shades at the bottom and gradually add lighter shades on top. Aim for a gradient that represents a rainbow. Typically, you can use red, orange, yellow, green, blue, and purple. This process is similar to the creation of glowing rainbow potion bottles! If you desire added shimmer, sprinkle some glitter between layers.
Add a Glowing Effect: Place an LED tealight candle at the bottom of your cauldron or inside each potion jar. This will create an enchanting glow that shines through the layers of your painting.
Seal and Secure: Once you’re satisfied with the colors and their arrangement, let your jars dry completely. If using glow-in-the-dark paint, apply a thin layer over the top once the base colors dry for additional luminescence.
Assemble Your Cauldron: Carefully place your painted jars into the cauldron. You can also add additional materials like small faux cobwebs or plastic spiders to enhance the Halloween theme.
Getting the Colors Right
When mixing colors, it’s essential to find shades that complement each other. Consider testing color mixtures on a piece of paper before applying them to your jars. If you’re looking for a fun variation, you can check out the bubble print butterfly wings tutorial for creative color application techniques!
Tips for Success
- Clean your brushes thoroughly between color changes to keep hues pure.
- Use a small artist brush for detailed work or when painting the edges of your jars.
- If you’re crafting with kids, be sure to supervise closely, especially during the cutting and gluing processes.
Common Mistakes to Avoid
- Skipping the drying time can cause your colors to mix unintentionally.
- Not layering colors correctly can result in muddy hues; always layer from dark to light.
- Overloading a brush with paint may lead to drips; use a gentle amount for better control.
Ways to Customize It
Feel free to adapt this project for seasonal themes! For a spooky touch, add more decorative elements such as fake spiders or skulls around the cauldron. You can also change the colors of your potion for different festivities for instance, shades of red and green for Christmas.
Crafting With Kids
This project is an excellent opportunity to engage with children. Allow them to take the lead on paint application and mixing colors. It’s a great way for them to express their creativity while learning about color mixing and layering.
FAQ
How long do I need to let the jars dry?
Typically, the jars should dry for at least 24 hours to ensure that the paint has set properly.
Can I use regular candles instead of LED?
While regular candles can work, they should not be placed inside glass containers due to the risk of breakage. LED candles are much safer for this project.
What if I don’t have a cauldron?
You can use any decorative bowl or container to display your potion jars. Creativity knows no bounds!
Conclusion
Creating your own Glowing Rainbow Witch Potion in a Cauldron is a delightful project that makes for an eye-catching display. To enhance your Halloween festivities, consider serving a themed drink alongside your craft. A fun idea is to try the Witch’s Brew Halloween Punch. If you’re looking for an even more festive atmosphere, check out the range of light-up witches’ cauldrons available online for a perfect finishing touch. Happy crafting!
Print
Glowing Rainbow Witch Potion in a Cauldron
- Total Time: 15 minutes
- Makes: 1 decorative potion display
Description
Transform ordinary materials into a vibrant, glowing potion for Halloween or any magical occasion.
Materials
- 1 black cauldron
- Glossy acrylic paints in various colors (red, orange, yellow, green, blue, purple)
- Clear-glass or translucent plastic jars
- LED tealight candles
- Glow in the dark paint (optional)
- Paintbrushes
- Water for mixing paint
- Glitter (optional)
- Craft glue
- Scissors
Instructions
- Prepare Your Work Area: Set up your workspace with a protective covering.
- Mix Your Colors: Combine acrylic paint with water in palettes for a fluid consistency.
- Layer the Colors: Pour dark shades at the bottom of jars, then gradually add lighter shades.
- Add a Glowing Effect: Insert an LED tealight candle into the cauldron or jars for glow.
- Seal and Secure: Allow jars to dry completely and add glow-in-the-dark paint if desired.
- Assemble Your Cauldron: Place painted jars into the cauldron, optionally decorating with cobwebs or spiders.
Notes
For best results, test color mixtures before applying. Supervise kids during cutting and gluing.