
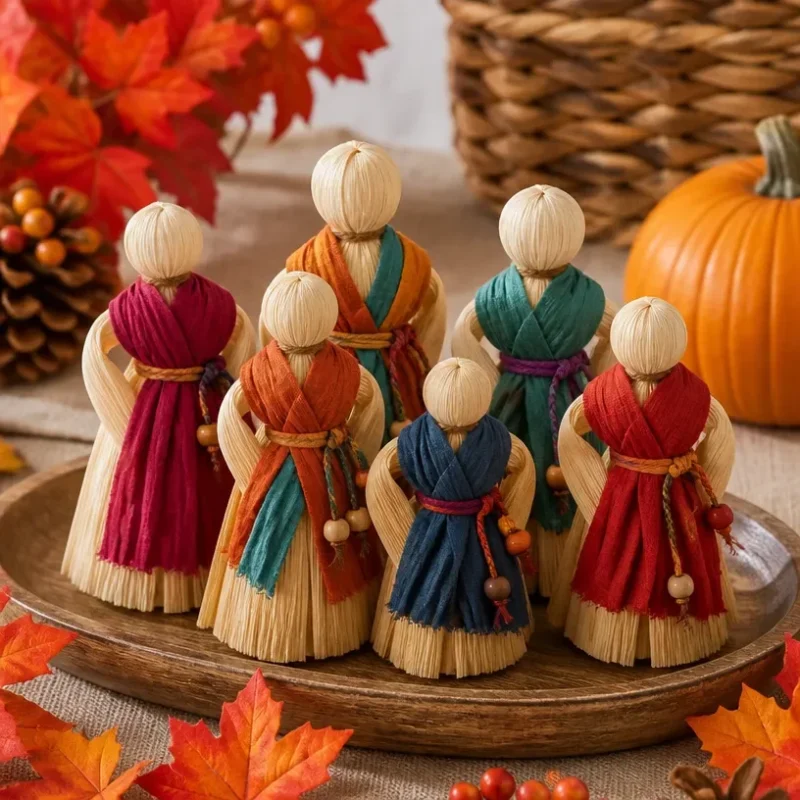
Colorful Corn-Husk Harvest Dolls for Autumn Decor
Autumn is a season brimming with vibrant colors and a serene ambiance, making it the perfect time to create your own Colorful Corn-Husk Harvest Dolls. These delightful dolls not only bring the essence of fall into your home but also serve as decorative pieces that add a pop of color to your seasonal decor. This project is approachable for crafters of all skill levels and is satisfying as you see the materials transform into charming figures. You may also find Diy Colorful Rainbow Mandala Window Decor useful.
You may also find Diy Rainbow Mandala Stones For Home Decor useful.
Materials You’ll Need
To get started on your Colorful Corn-Husk Harvest Dolls, gather the following materials:
- Corn husks (dried)
- Twine or string
- Scissors
- Fabric scraps or ribbons for clothing
- Markers or paint for facial features
- Optional: sequins or beads for embellishments
This collection of supplies offers opportunities for creativity. If you’re inspired by vibrant colors, you might also want to check out the colorful creations like colorful ocean jar decor that can complement your autumn display.
Choosing Your Materials
When selecting corn husks, look for ones that are light in color and flexible. This will allow you to shape them easily without breaking. You might also consider using different colors or patterns in your fabric scraps to dress your dolls, which can make them uniquely yours.
How to Make Colorful Corn-Husk Harvest Dolls for Autumn Decor
Follow these simple steps to create your own delightful harvest dolls.
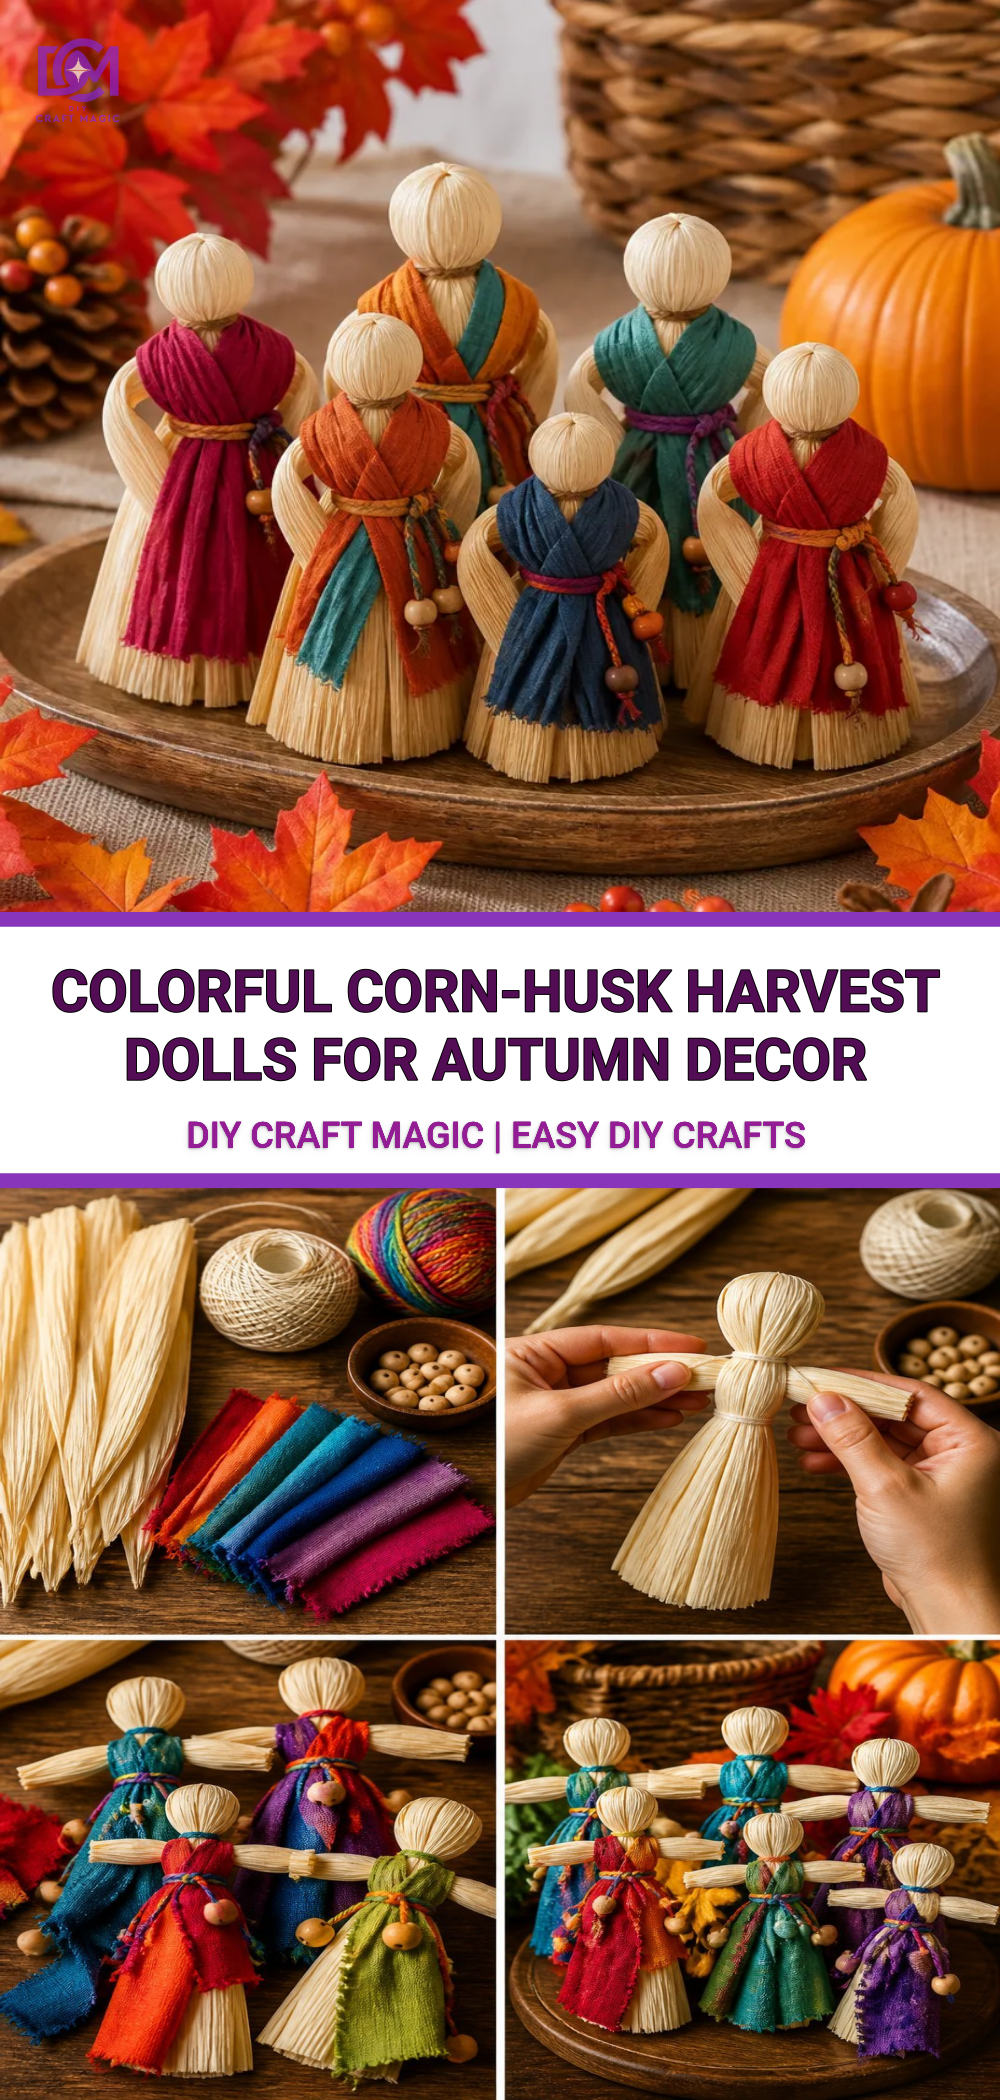
- Prepare the Corn Husks: Soak the corn husks in warm water for about 10 minutes to soften them, making them easier to work with.
- Create the Body: Take several corn husks, align them together, and bundle them at one end. Secure the bundle with twine or string to form the body of your doll.
- Shape the Head: Take a smaller piece of corn husk, soak it, and then wrap it around the top of your first bundle. Secure it tightly to create a head.
- Dress the Doll: Use your fabric scraps to create clothing. Cut out shapes and tie them around the body with string, securing them at the waist or neckline. For an added touch, you can check out colorful rainbow feather decor ideas for inspiration.
- Add Facial Features: Use markers or paint to add eyes, a nose, and a mouth. Feel free to get creative with your designs!
- Embellish: Finally, add sequins or beads to the doll for extra flair. This is a great opportunity to personalize each doll to make your display even more captivating.
Display Ideas
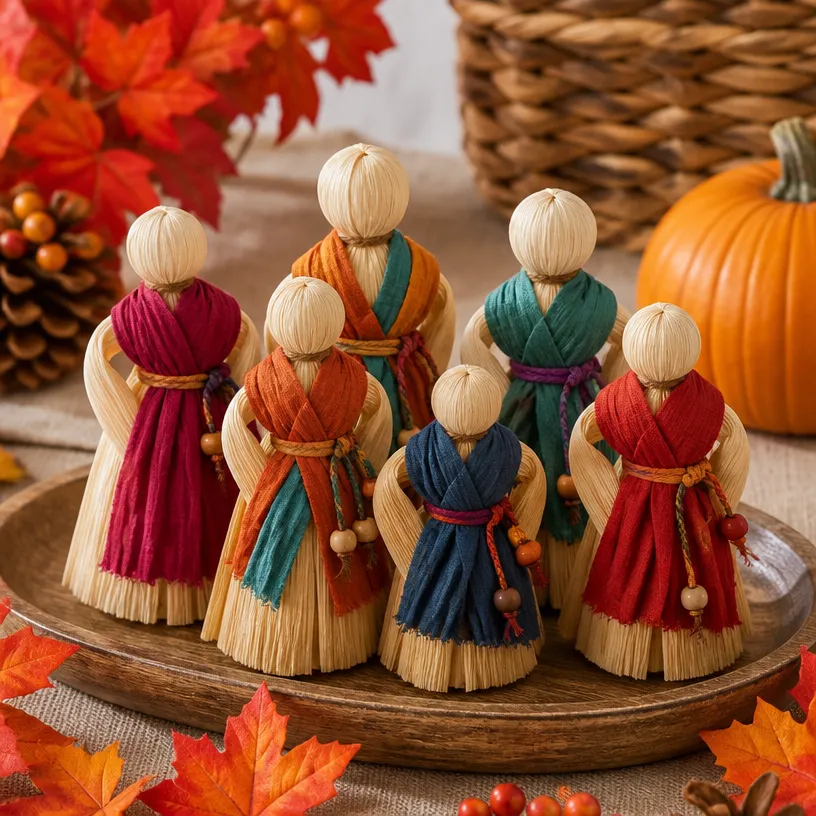
Once your Colorful Corn-Husk Harvest Dolls are complete, you might consider displaying them on your mantel, alongside your autumn-themed decor items. You can create an inviting atmosphere by grouping them with mini pumpkins or dried flowers. For even more seasonal inspiration, explore options like stained glass lanterns that create a warm glow in the evenings.
Helpful Tips
- Work in Batches: If you’re making several dolls, set up a small assembly line to streamline the process.
- Choose a Thematic Color Palette: To create a more cohesive display, select a specific color palette for your dolls’ clothing and embellishments.
- Get Kids Involved: This is a great project to do with children; they can help with decorating and crafting the dolls.
Common Mistakes to Avoid
- Over-soaking the Corn Husks: Make sure not to soak them for too long, as this can make them too fragile to manipulate.
- Skipping the Skin: Don’t remove the outer layer of the corn husk completely, as it adds texture and stability to your dolls.
Frequently Asked Questions
How long do the dolls last?
With proper care, your corn-husk dolls can last several seasons. Just keep them dry and store them in a cool, dark place when they’re not on display.
Can I use other materials?
Absolutely! Feel free to incorporate other craft supplies you may have at home, such as ribbons or glitter, to customize your dolls further.
What is the best way to hang them?
You can create a small loop with twine at the top of the doll’s head for easy hanging. This is particularly lovely if you want to display them on a wall or in a window.
Conclusion
Creating colorful corn-husk harvest dolls for your autumn decor is not just a fun way to celebrate the season, but it also allows for personal artistic expression. Whether you’re crafting with family or showcasing your creations at home, these dolls will bring warmth and creativity to any setting. For additional ideas, explore unique finds like decorative corn husks on Etsy or learn how to enhance your decor with corn husk bats that are perfect for a Halloween theme. Happy crafting!
Print
Colorful Corn-Husk Harvest Dolls
- Total Time: 30 minutes
- Makes: 4 dolls
Description
Learn how to make vibrant corn-husk dolls to enhance your autumn decor.
Materials
- Corn husks (dried)
- Twine or string
- Scissors
- Fabric scraps or ribbons for clothing
- Markers or paint for facial features
- Optional: sequins or beads for embellishments
Instructions
- Prepare the corn husks: Soak the corn husks in warm water for about 10 minutes to soften them.
- Create the body: Align several corn husks together and secure them with twine or string.
- Shape the head: Use a smaller piece of corn husk to wrap around the top of the bundle.
- Dress the doll: Use fabric scraps for clothing, tying them around the body.
- Add facial features with markers or paint.
- Embellish with sequins or beads for a personal touch.
Notes
Work in batches for efficiency and involve kids for a fun crafting session!