

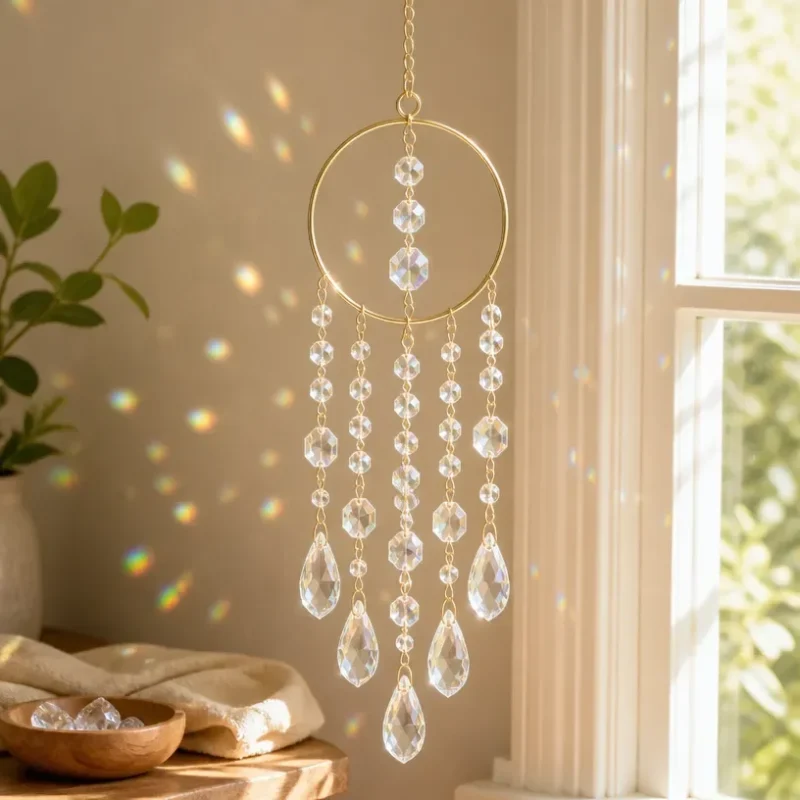
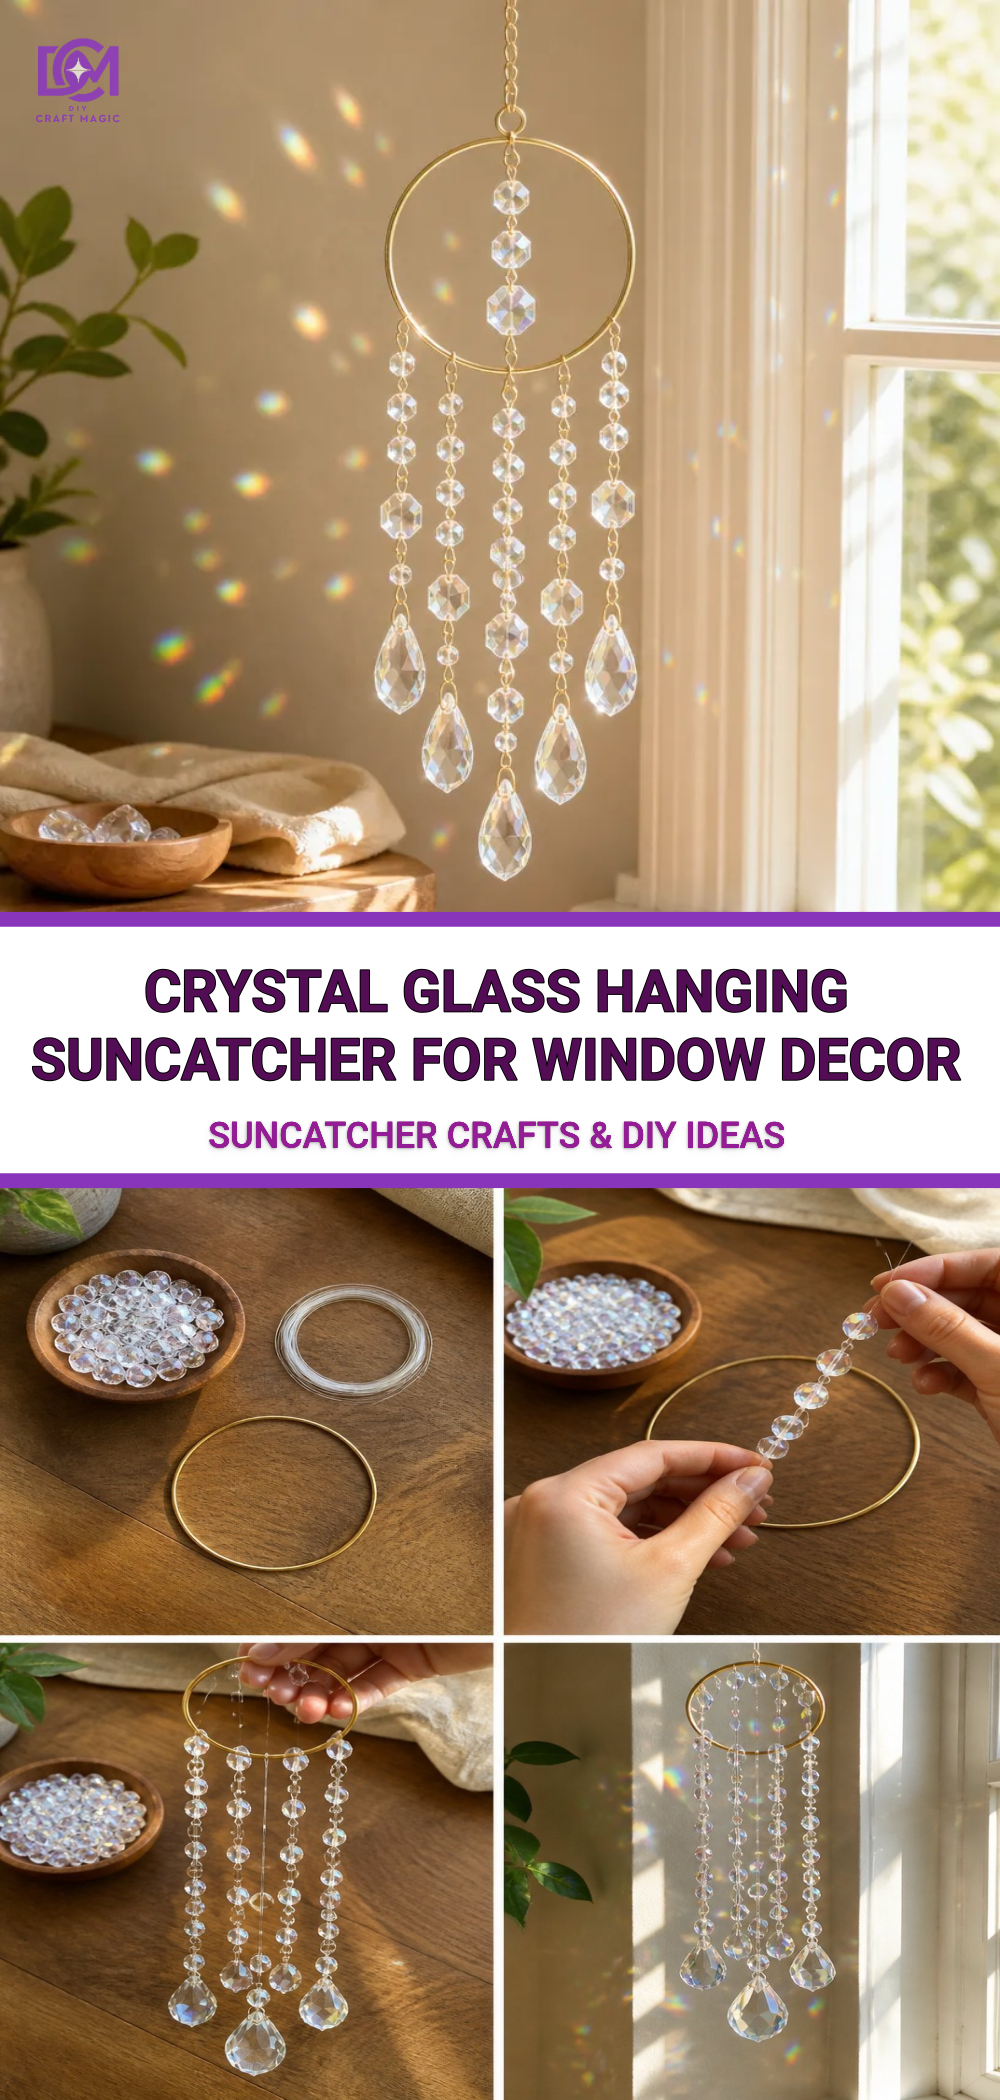
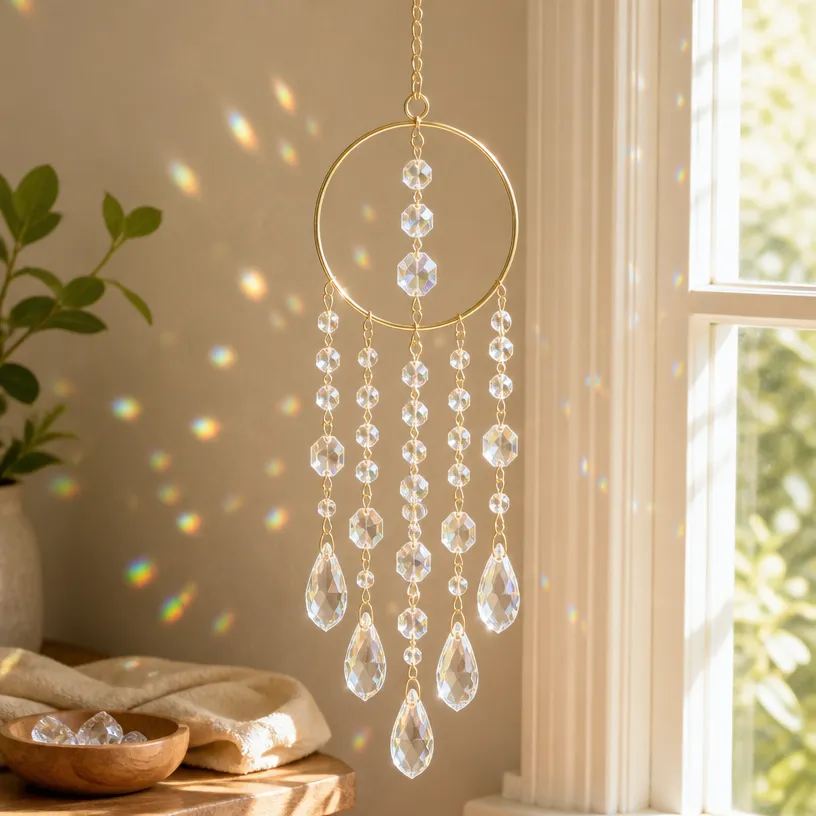
Create Your Own Crystal Glass Hanging Suncatcher for Window Decor
Transform your space with a beautiful crafted crystal glass hanging suncatcher that catches the light and brings a spectrum of colors into your home. This project is not only easy to follow but also offers a satisfying crafting experience that can be enjoyed alone or with family. The glossy, vivid results of the suncatcher are sure to brighten up any window and add a personal touch to your decor. You may also find Borax Rainbow Crystal Bloom Tree Garden Decor useful.
Why You’ll Love This Project
Making a crystal glass suncatcher is a wonderful way to unleash your creativity without requiring elaborate materials or skills. The use of vibrant colors, along with the imperfect charm of handmade design, creates an engaging piece that reflects your personality. Plus, it can be a fantastic project to involve children or friends, providing a fun and interactive way to spend time together. For more inspiring suncatcher ideas, you can explore our crystal cloud raindrops suncatcher project.
Materials You’ll Need
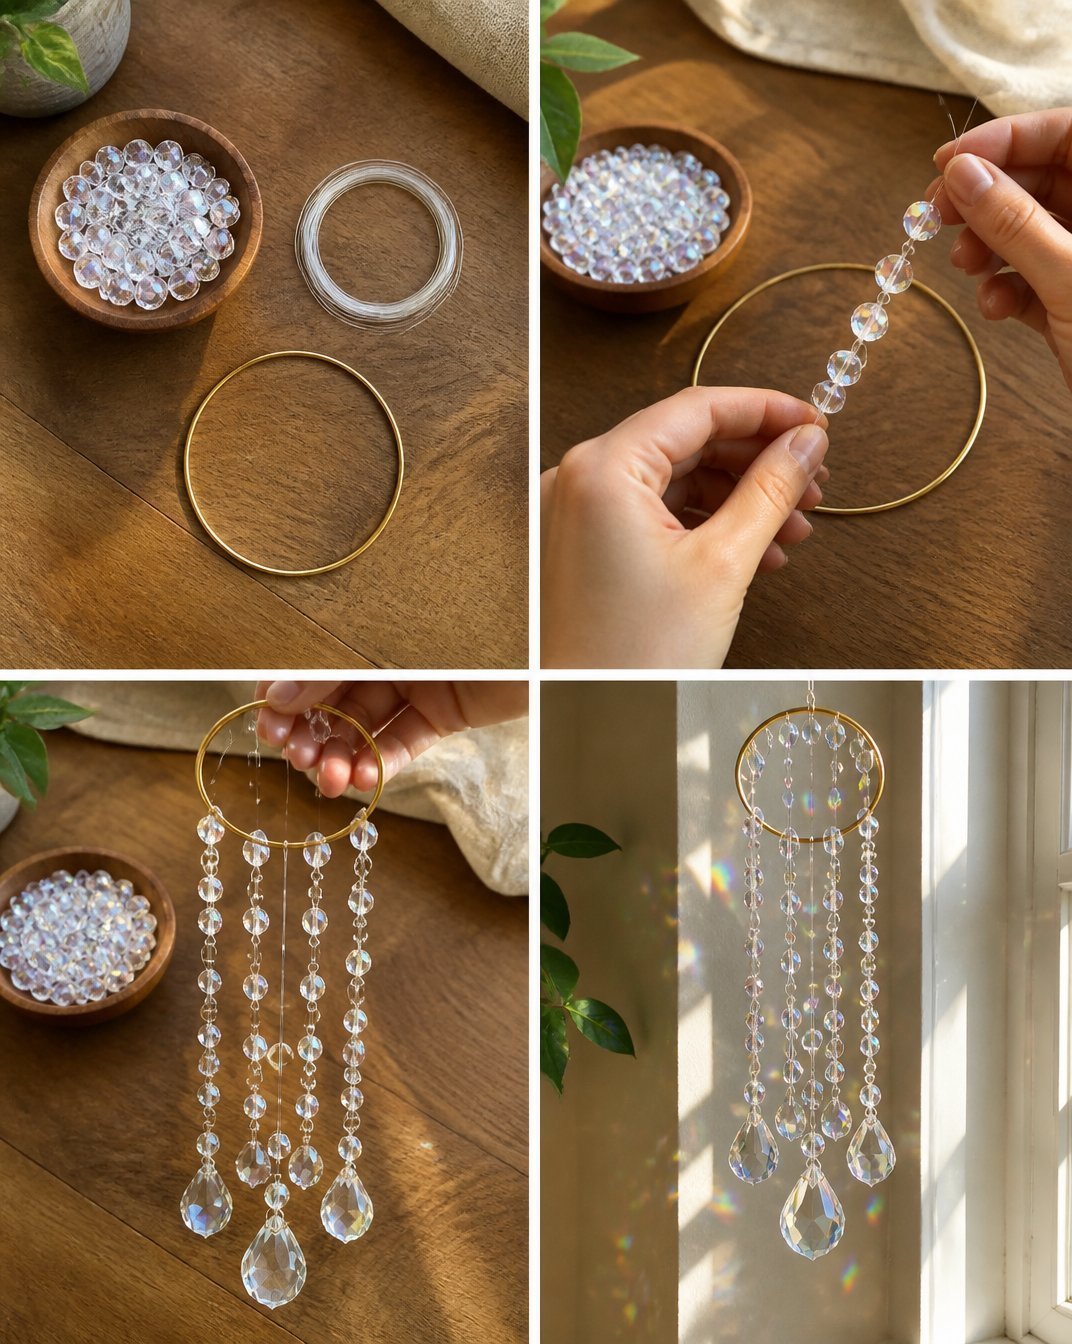
To get started, gather the following materials:
- Clear glass or acrylic sheets
- Assorted colored paints or glass markers
- Strong adhesive or craft glue
- Paintbrushes
- Pencil or pen
- String or fishing line for hanging
- Scissors
Before You Start
Ensure you have a clean and flat workspace. It’s also advisable to wear an apron or old clothes, as working with paint can sometimes get messy. Have some old newspaper or a drop cloth handy to protect your surfaces.
How to Make a Crystal Glass Hanging Suncatcher
The process is straightforward and can be broken down into simple steps.
Step-by-Step Instructions
Design Your Suncatcher: Start by sketching out your design on paper to get a clear idea of how you want your suncatcher to look. Consider shapes and color patterns that would look lovely when light shines through.
Transfer Your Design: On the clear glass or acrylic, carefully trace your design with a pencil or pen. Ensure that the lines are clear and spaced well to allow for colored painting later on.
Color It In: Using the colored paints or glass markers, fill in your traced design. Aim for vibrant sections, leaving spaces between colors to maximize the crystal effect when completed. For beautifully textured results, refer to our pastel flower glue suncatchers tutorial.
Allow to Dry: Let your painted design dry completely, following the paint manufacturer’s recommended drying time.
Assemble the Suncatcher: Once dry, apply a strong adhesive to the edges or sections of your design if you want to create layers or attach different pieces. Be careful to arrange them for an eye-catching effect.
Add Hanging Mechanism: Use a string or fishing line to create a loop at the top of your suncatcher. Make sure it is securely fastened; this will allow you to hang it from windows or hooks.
Final Touches: Once everything is assembled and dry, hang your suncatcher by a window and watch as it transforms sunlight into dazzling color displays across your space!
Getting the Colors Right
Choosing the right colors can significantly enhance your suncatcher’s appearance. Opt for contrasting colors that pop against one another. Experiment with different shades to find a combination that speaks to you. For additional inspiration, check out our neon spiral glue suncatchers for a burst of brightness.
Common Mistakes to Avoid
- Not Allowing Proper Drying Time: Be patient when waiting for paint or glue to dry to avoid smudging.
- Overcrowding the Design: Keep your design balanced; occasional open spaces allow light to shine beautifully through the piece.
- Weak Adhesive: Choose a strong adhesive that can support the weight of the glass and withstand the climate of your window area.
Ways to Customize It
Make your suncatcher unique by experimenting with different shapes, sizes, and hanging styles. You could create seasonal themes, like pastel colors for spring or rich, warm colors for autumn. Consider incorporating elements like beads or small decorative shapes within your design for added dimension. For those interested in other creative projects, our rainbow butterfly suncatcher could provide another fun angle!
Display Ideas
To really let your suncatcher shine, choose a spot where it will be exposed to ample sunlight. A south-facing window is ideal. You could also place it in outdoor spaces like patios or porches where sunlight plays throughout the day.
Frequently Asked Questions
Can I use any type of paint?
It’s best to use paints specifically designed for glass or acrylic to ensure they adhere properly and withstand weather changes if displayed outdoors.
How can I clean my suncatcher?
Gently wipe it with a soft, damp cloth; avoid using harsh chemicals that can damage the paint.
Is this project safe for children?
While the project is family-friendly, ensure that young children are supervised around tools like scissors and hot glue.
Conclusion
Creating your own crystal glass hanging suncatcher not only beautifies your space but also offers a rewarding crafting experience. Once you complete this project, you might want to explore additional suncatcher options, such as the Rswardeleco stained glass window hanging for a more intricate design or discover unique pieces like those available on Etsy. Happy crafting!
Print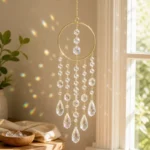
Create Your Own Crystal Glass Hanging Suncatcher
- Total Time: 75 minutes
- Makes: 1 suncatcher
Description
Transform your space with a beautifully crafted crystal glass hanging suncatcher that captures light and brings a spectrum of colors into your home.
Materials
- Clear glass or acrylic sheets
- Assorted colored paints or glass markers
- Strong adhesive or craft glue
- Paintbrushes
- Pencil or pen
- String or fishing line for hanging
- Scissors
Instructions
- Design your suncatcher by sketching out your design on paper.
- Transfer your design by tracing it on the clear glass or acrylic with a pencil.
- Color it in using colored paints or glass markers, leaving spaces for crystal effects.
- Allow to dry completely as per the manufacturer’s recommendation.
- Assemble the suncatcher by applying a strong adhesive and arranging pieces for effect.
- Add a hanging mechanism using string or fishing line.
- Final touches by hanging it up and enjoying the color displays.
Notes
Ensure a clean workspace and be patient during the drying process. Consider contrasting colors for visual impact.