

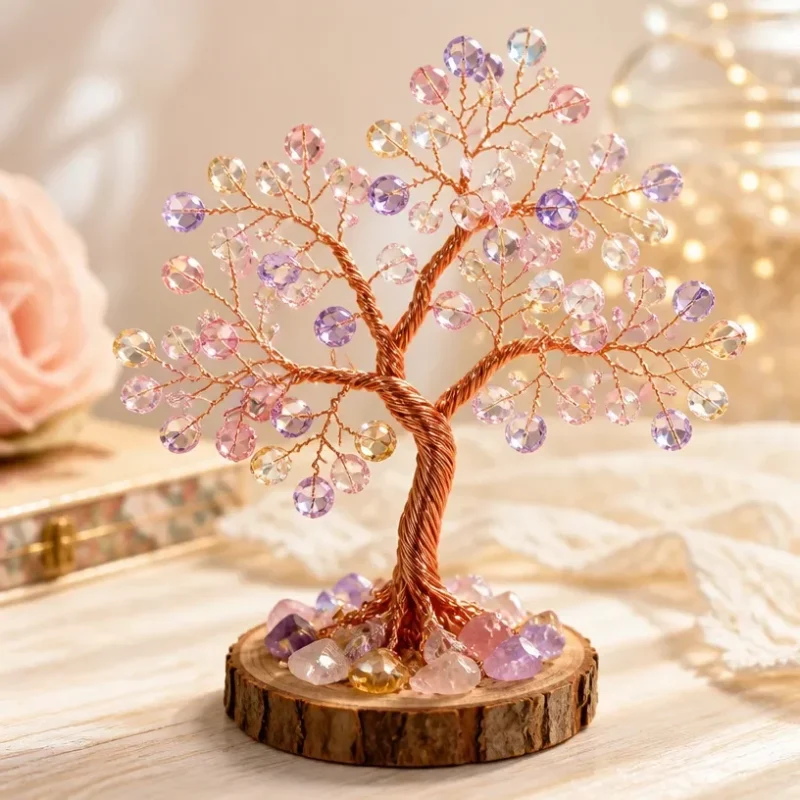
Create Your Own Fairy Crystal Tree: A DIY Guide
Making a Fairy Crystal Tree is a delightful way to add a touch of whimsy to your home decor. With vibrant colors and sparkling crystals, this craft not only enhances your space but also promotes creativity and mindfulness in the crafting process. The finished result is a captivating piece, showcasing multi-dimensional elements that catch the light beautifully, making each tree truly unique. You may also find How To Create Jellyfish Rainbow Salt Art useful.
In this tutorial, you will learn how to build a Fairy Crystal Tree, exploring the significance of each crystal, crafting techniques, and tips for customization.
Why You’ll Love This Project
This project offers something special for everyone who undertakes it. Whether you’re a beginner or an experienced crafter, the process is straightforward and satisfying. The variety of colors and materials used allows for endless creativity, and you can customize your tree to fit any space or occasion. If you enjoy working with crystals, you can enhance your tree’s magic with vibrant hues, just like in our Rainbow Mandala Stones project, also featuring element of fun and creativity.
Materials You’ll Need
To create your Fairy Crystal Tree, gather the following materials:
- Branches or twisted wire (to form the tree structure)
- Floral foam (for stability)
- Paint (acrylic or spray paint in your desired colors)
- Decorative crystals (select your favorite stones like amethyst, rose quartz, or citrine)
- Hot glue gun and glue sticks
- Glitter (optional, for extra sparkle)
- Small beads or decorative bits (for embellishments)
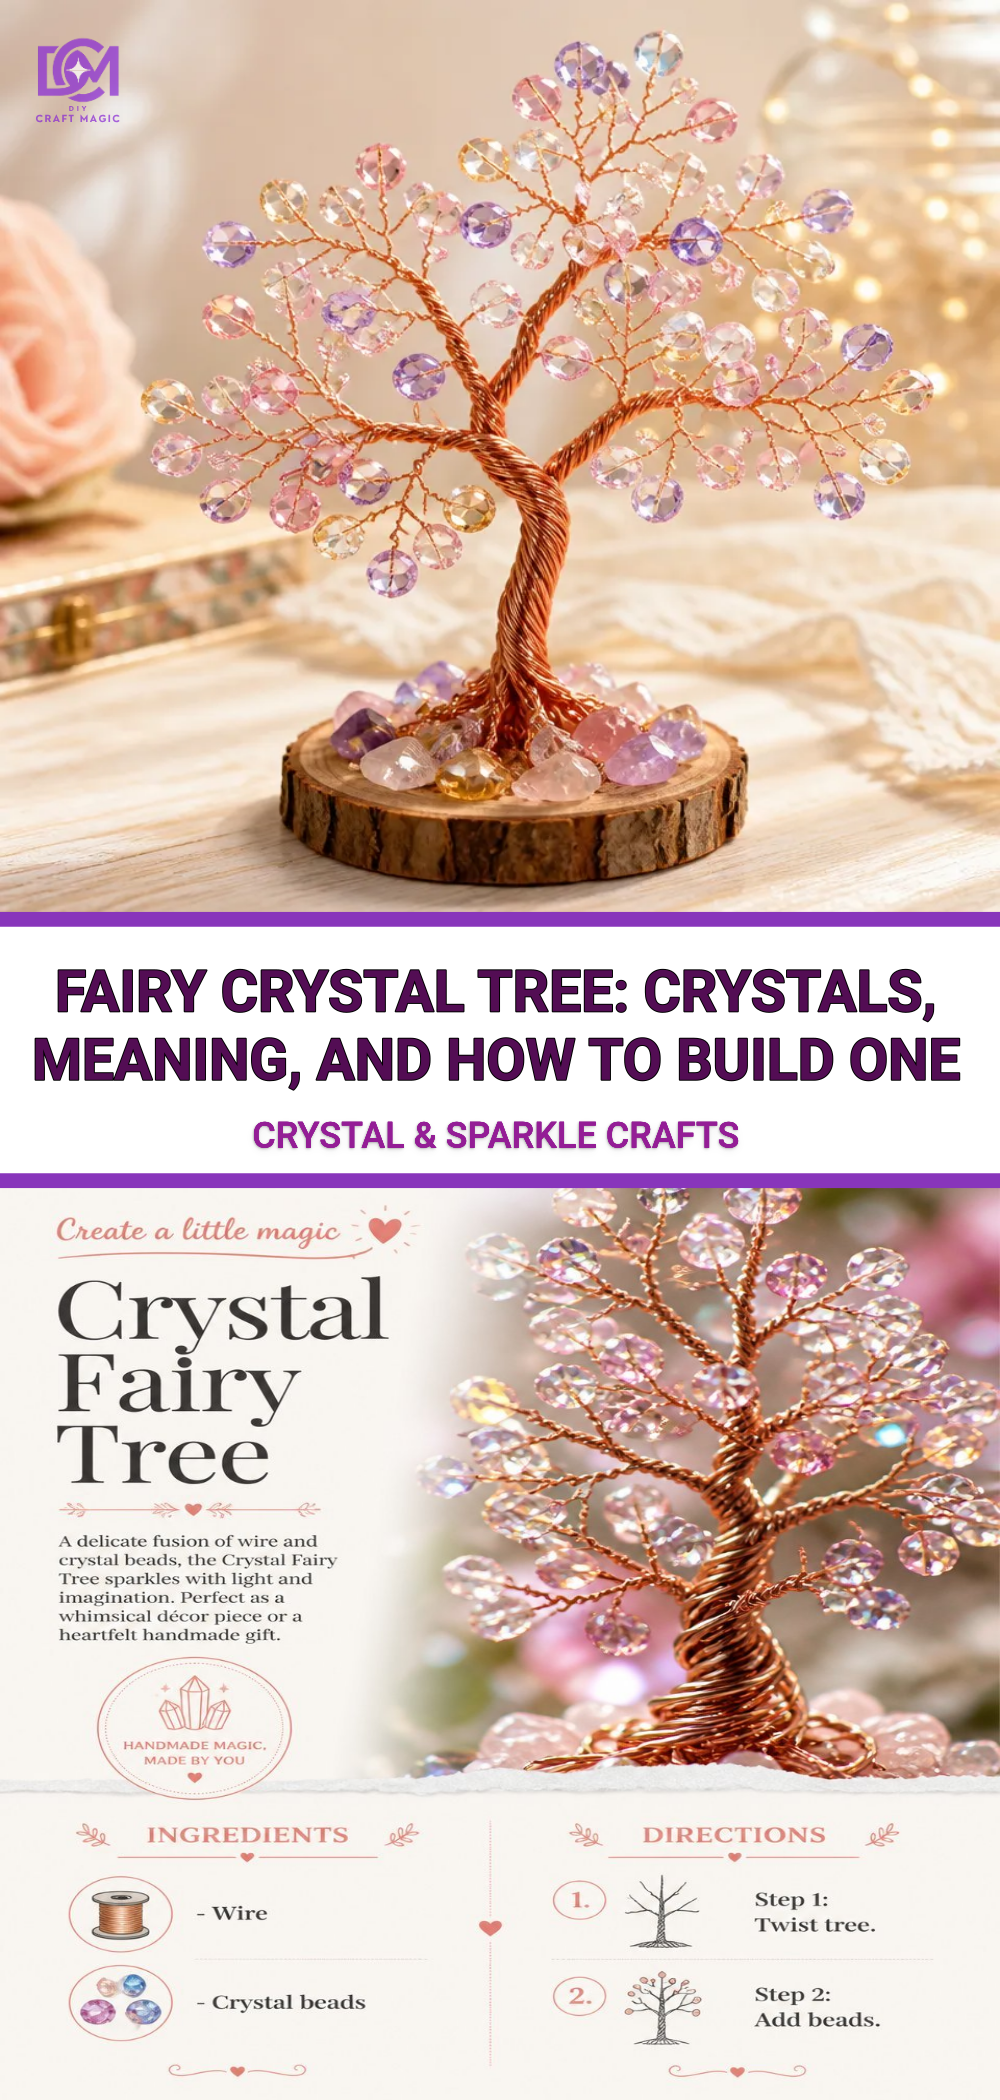
Choosing Your Materials
Selecting the right materials is crucial for your project. Consider the color scheme and overall style of your home when picking your crystals. For instance, if you love the idea of incorporating icy textures, you might enjoy creating a tree that resembles winter with shades of blue and white crystals, similar to our Crystal Pinecones.
Step-by-Step Instructions
1. Prepare Your Base
Start by cutting a piece of floral foam to fit neatly into the base of your container. This will provide stability for your branches. If you’re using a pot or decorative bowl, ensure that it’s deep enough to support the structure.
2. Shape the Tree
Take your branches or twisted wire and arrange them in a tree-like structure. Bend the branches outward to create a visual spread that mimics the natural growth of a tree. Secure them into the foam, ensuring they are firmly positioned.
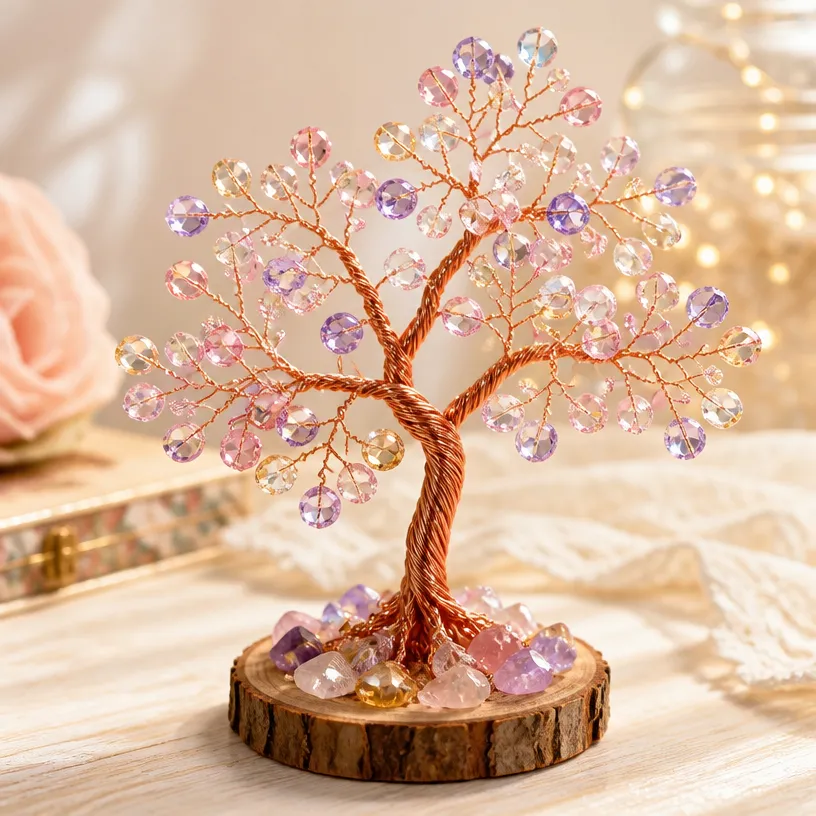
3. Add Color
Paint your branches in colors that complement your chosen crystals. Consider using metallics for a sparkling effect or earthy tones for a natural look. Allow the paint to dry completely.
4. Glue the Crystals
Once the branches are dry, start gluing your crystals onto the branches with a hot glue gun. Arrange them in clusters or evenly distribute them for a balanced look. Feel free to add additional elements like beads or glitter for extra flair.
5. Create the Crystal Effect
To enhance the magical appearance of your Fairy Crystal Tree, sprinkle a bit of glitter on top of the glued crystals while the glue is still wet. This will create a beautiful shimmer that catches the light beautifully.
6. Final Touches
Make sure everything is secured and let your tree dry completely. Once dry, you can display it in your favorite spot! Take inspiration from our tutorial on Creating Crystal Flower Roses for additional decorative techniques.
Helpful Tips
- Use a variety of crystal sizes for more interest and texture.
- If working with children, supervise hot glue gun usage closely to avoid accidents.
- Consider seasonal decorations that could be added to the tree for changing displays.
- Extra embellishments can include fairy lights wound around the branches for a magical effect.
Common Mistakes to Avoid
- Avoid overcrowding your branches with too many crystals; this can make the overall look busy.
- Ensure the base is stable enough to hold the tree securely to prevent tipping.
- Allow ample drying time for glue and paint for the best results.
Display Ideas
Your Fairy Crystal Tree can be a striking centerpiece on a table or a charming addition to a child’s room. You may also consider creating a theme, like holiday decorations, by integrating seasonal colors or figures, similar to our Rainbow Puppy Pinecone Fall Fairy Ornaments.
Crafting With Kids
Involving children in this craft can be an enjoyable bonding activity. Let them choose their crystal colors and encourage them to personalize each branch of the tree. This project can inspire creativity and a sense of ownership over their decorative piece.
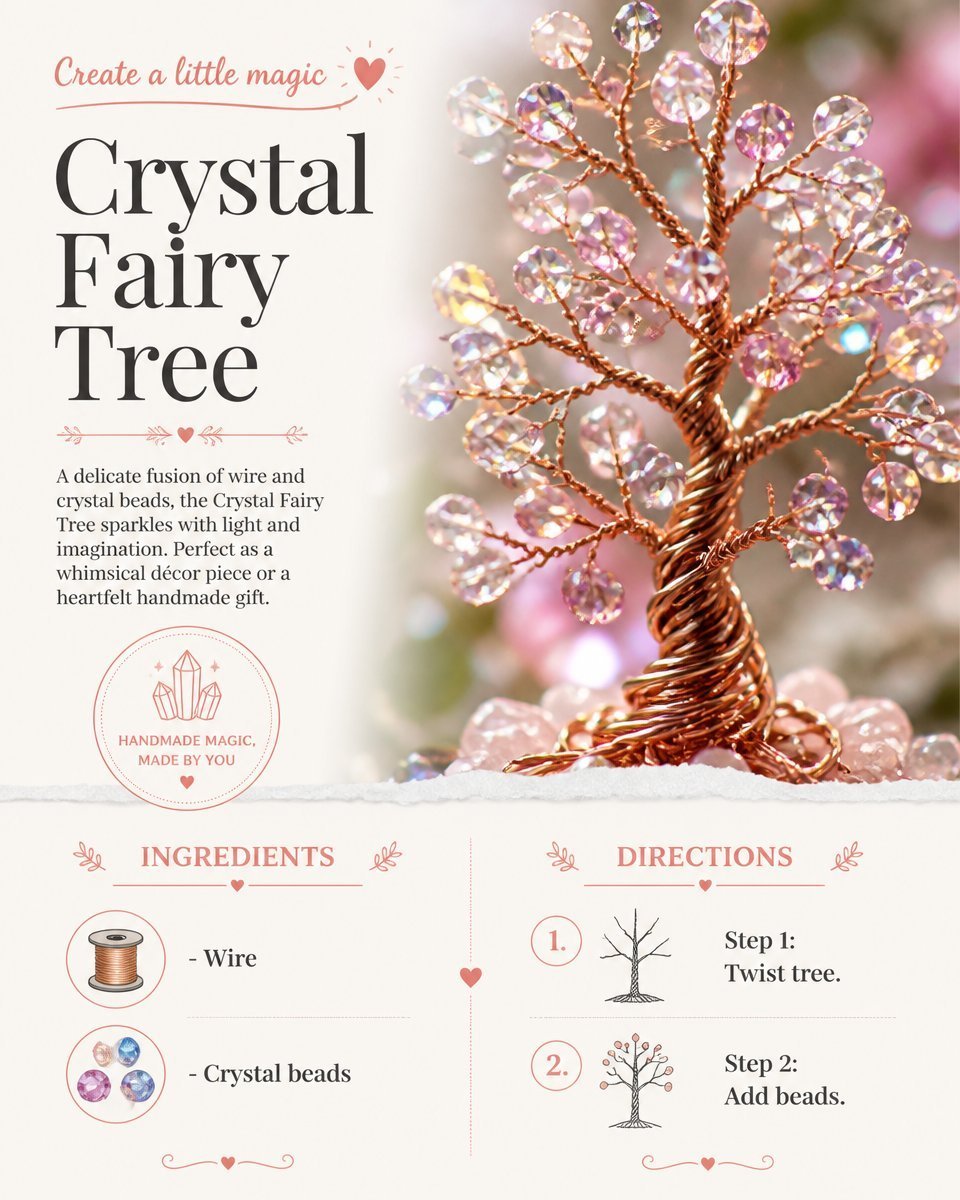
Frequently Asked Questions
1. How long will the Fairy Crystal Tree last?
With proper care, your tree can last for many months. Avoid placing it in direct sunlight or damp environments to preserve its beauty.
2. Can I use natural branches instead of wires?
Yes! Natural branches can add a unique charm to your tree but ensure they are sturdy to support the crystals.
3. What if I want to change the colors later?
You can repaint the branches carefully with acrylic paint and replace crystals, making it easy to adapt your tree to new styles.
Conclusion
Creating your own Fairy Crystal Tree allows for endless creativity and a personal touch in your home decor. If you’re looking for more inspiration about crystal-related crafts, you can explore the Crystal Fairy at Gardner Village for a whimsical experience in crafting. Additionally, you might enjoy learning more about the Legend of the Fairy Stone, as it adds a magical dimension to your new decor. Happy crafting!
Print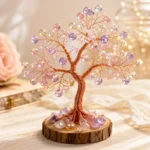
Fairy Crystal Tree
- Total Time: 30 minutes
- Makes: 1 tree
Description
Create a whimsical Fairy Crystal Tree using colorful materials and sparkling crystals to enhance your home decor.
Materials
- Branches or twisted wire
- Floral foam
- Paint (acrylic or spray paint)
- Decorative crystals (amethyst, rose quartz, citrine)
- Hot glue gun and glue sticks
- Glitter (optional)
- Small beads or decorative bits
Instructions
- Prepare your base by cutting floral foam to fit your container.
- Shape the tree by arranging branches or wire into a structure.
- Add color by painting the branches.
- Glue the crystals onto the branches with hot glue.
- Create the crystal effect by sprinkling glitter on wet glue.
- Final touches – ensure everything is secure and let it dry.
Notes
Use a variety of crystal sizes and supervise children when using hot glue.