


Glow-in-the-Dark Rainbow Slime
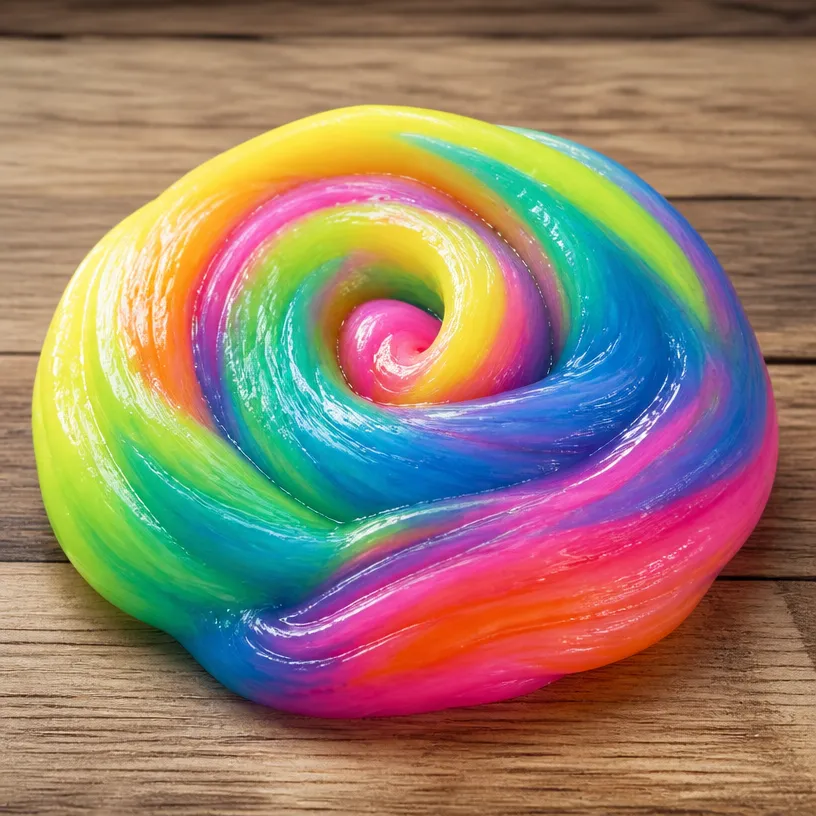
Making Glow-in-the-Dark Rainbow Slime is a delightful and colorful project that will captivate both kids and adults alike. With its vibrant hues and the unique glow-in-the-dark effect, this slime will be a mesmerizing addition to your crafty creations. The process is straightforward, making it an approachable project that promises satisfaction as you see your ingredients transform into a stretchy, gooey treat! You may also find Glow In The Dark Monster Slime Rainbow Colors useful.
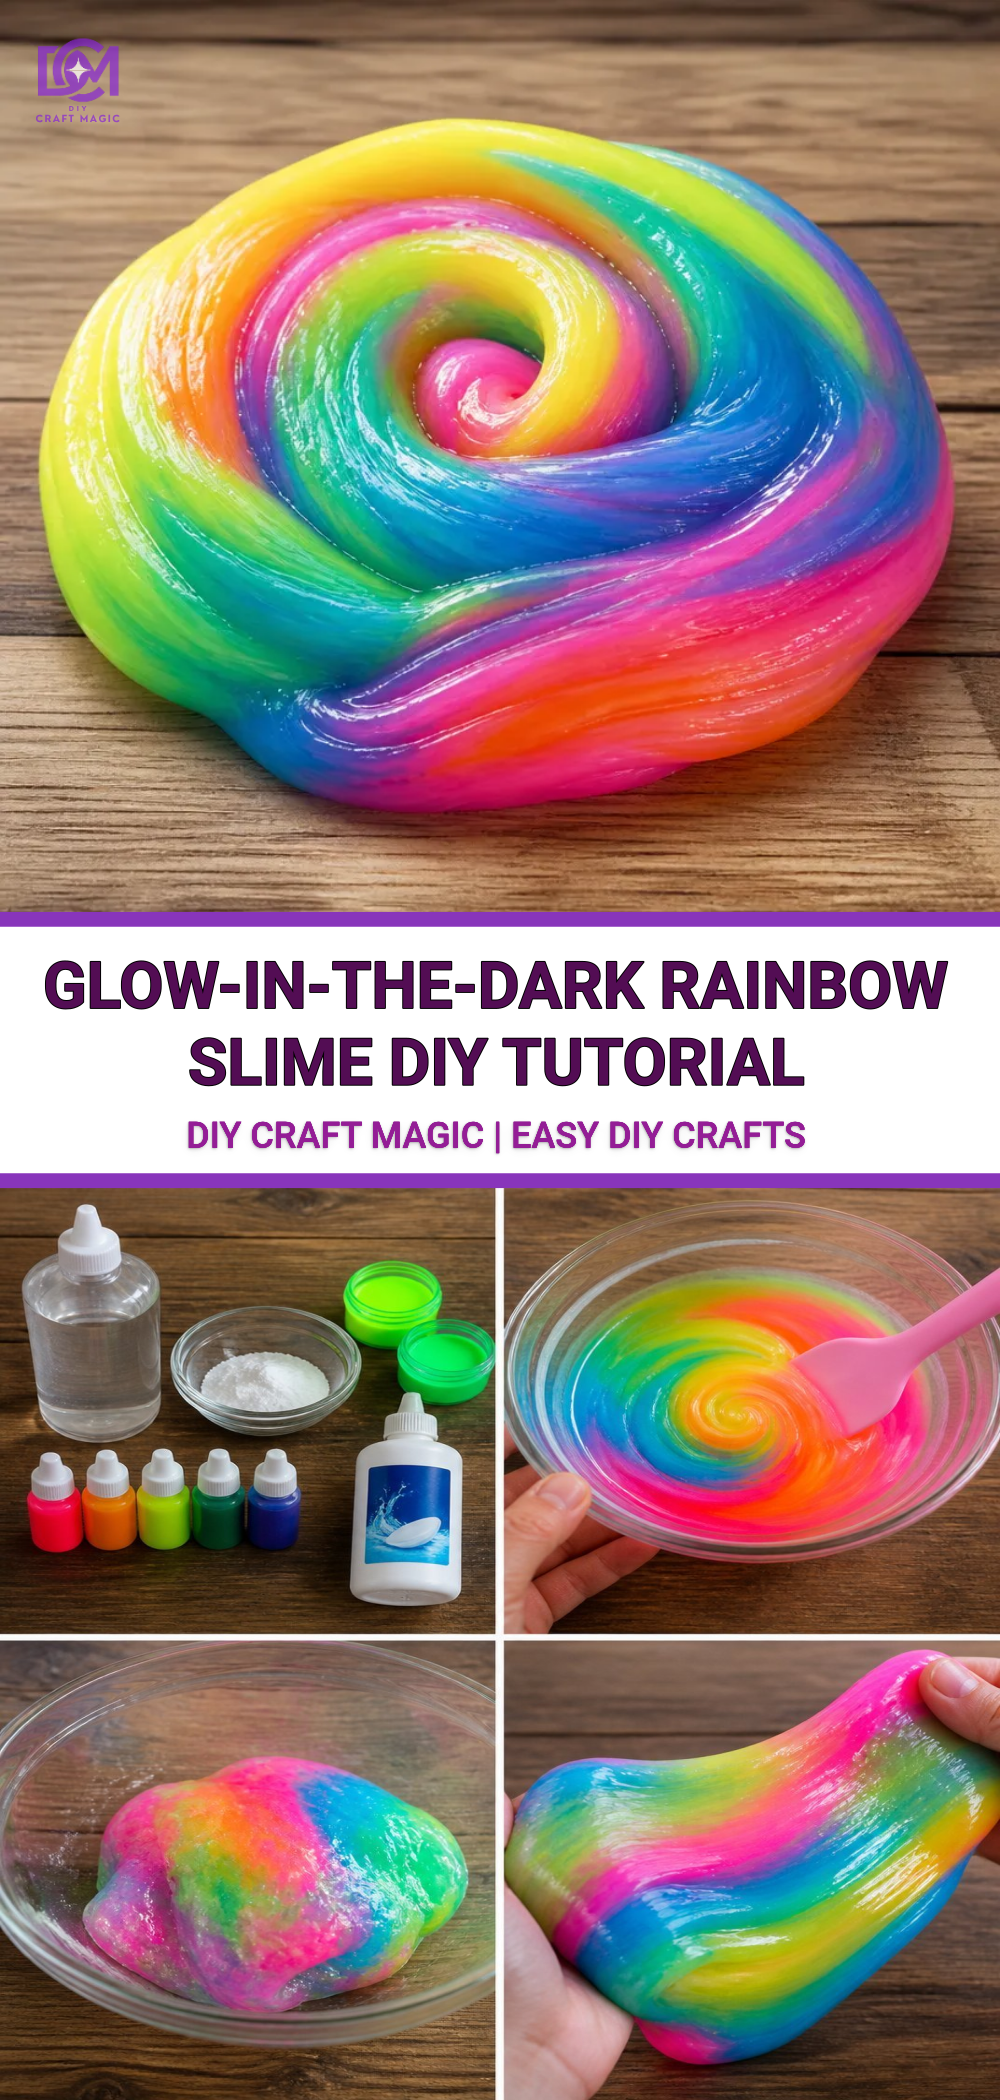
You may also find Rainbow Glowing Monster Slime Magic useful.
Materials You’ll Need
To create your mesmerizing Glow-in-the-Dark Rainbow Slime, gather the following materials:
- White school glue (approximately 1 cup)
- Borax (1 tsp)
- Water (1 cup plus ½ cup for mixing with Borax)
- Food coloring or liquid watercolors in various colors
- Glow-in-the-dark powder (available at craft stores)
- Containers (for mixing)
- Spoon or spatula (for mixing)
Before You Start
Before diving into the fun, it’s essential to prepare your workspace. Lay down some newspaper or a tablecloth to keep the area clean, and have all your materials organized. This not only makes for a smoother crafting experience but also helps you enjoy the process more.
If you’re looking for additional slime recipes to explore after this project, you can check out our guide on rainbow bioluminescent slime for more glowing fun!
How to Make Glow-in-the-Dark Rainbow Slime
Step 1: Prepare Borax Solution
In one of your containers, mix 1 teaspoon of Borax with ½ cup of warm water. Stir until the Borax is fully dissolved. This will act as your slime activator.
Step 2: Make the Glue Mixture
In another bowl, combine 1 cup of white school glue with 1 cup of water. Mix thoroughly until smooth.
Step 3: Add Glow-in-the-Dark Powder
To make your slime glow, incorporate the glow-in-the-dark powder into the glue mixture. Stir until the powder is evenly distributed. This step is crucial as it gives your slime its very special effect.
Step 4: Color Your Slime
Divide the glue mixture into several smaller containers, depending on how many colors you want. Add different food colorings or liquid watercolors to each container and mix until you achieve your desired shades. Each color will represent a layer of your final rainbow slime!
Step 5: Combine with Borax Solution
Now it’s time to bring it all together! Gradually add the Borax solution to each colored glue mixture, stirring as you pour. You should start to see your slime begin to form. Continue adding the Borax solution until your slime reaches the desired consistency stretchy but not too runny.
Tips for Getting the Best Result
- Knead It Well: Once your slime has formed, take it out and knead it with your hands for a minute or two. This will improve its texture and make it less sticky.
- Layering Colors: For a beautiful layered effect, alternate spoonfuls of different colored slime into a container and gently mix them.
- Storage: Keep your finished slime in an airtight container to maintain its consistency and prevent it from drying out.
If you want even more creative slime ideas, consider checking out our post on rainbow glowing monster slime!
Common Mistakes to Avoid
- Over-activating: Adding too much Borax can lead to a rubbery texture. Start with small amounts and add more if necessary.
- Neglecting the Glow Powder: For the best glow effect, make sure to mix in enough glow-in-the-dark powder. You can always add more if needed.
Ways to Customize It
- Scented Slime: Add a few drops of essential oils or scented extracts to make your slime smell delightful!
- Add-ins: Incorporate extras like glitter, small beads, or foam balls to give your slime an added texture and appearance.
If you’re interested in creating other fun crafts, consider exploring our rainbow crystal bloom tree garden décor project!

Frequently Asked Questions
1. How long will my slime last?
When stored in an airtight container, your glow-in-the-dark rainbow slime can last for weeks or even months.
2. Can I use different colors?
Absolutely! Feel free to experiment with any colors you like to create your own unique slime.
3. What if my slime is too sticky?
If your slime remains sticky, kneading it more can help, or you can add small amounts of Borax solution gradually until it reaches the right texture.
Conclusion
Creating Glow-in-the-Dark Rainbow Slime is a wonderfully engaging activity that sparks creativity and excitement. For those interested in purchasing slime-making kits, check out this ocean glow-in-the-dark slime kit for even more crafting inspiration. Also, if you want to discover another fascinating recipe, head over to this rainbow slime recipe for a different take on the beloved goo! Enjoy your crafting adventure!
Print
Glow-in-the-Dark Rainbow Slime
- Total Time: 10 minutes
- Makes: Varies by color amount
Description
Create mesmerizing Glow-in-the-Dark Rainbow Slime with vibrant colors and a unique glow-in-the-dark effect. Perfect for crafters of all ages!
Materials
- 1 cup white school glue
- 1 tsp Borax
- 1 cup water
- ½ cup warm water (for mixing with Borax)
- Food coloring or liquid watercolors
- Glow-in-the-dark powder
- Containers (for mixing)
- Spoon or spatula (for mixing)
Instructions
- Prepare Borax Solution: In one of your containers, mix 1 teaspoon of Borax with ½ cup of warm water. Stir until dissolved.
- Make the Glue Mixture: In another bowl, combine 1 cup of white school glue with 1 cup of water. Mix thoroughly.
- Add Glow-in-the-Dark Powder: Incorporate the glow-in-the-dark powder into the glue mixture and stir until evenly distributed.
- Color Your Slime: Divide the glue mixture into smaller containers. Add food coloring to each and mix until desired shades are achieved.
- Combine with Borax Solution: Gradually add the Borax solution to each colored glue mixture, stirring as you pour until slime forms.
Notes
Knead the slime for improved texture. Store in an airtight container to keep it fresh.