

How to Grow Crystal Stars at Home: A DIY Crystal Tutorial
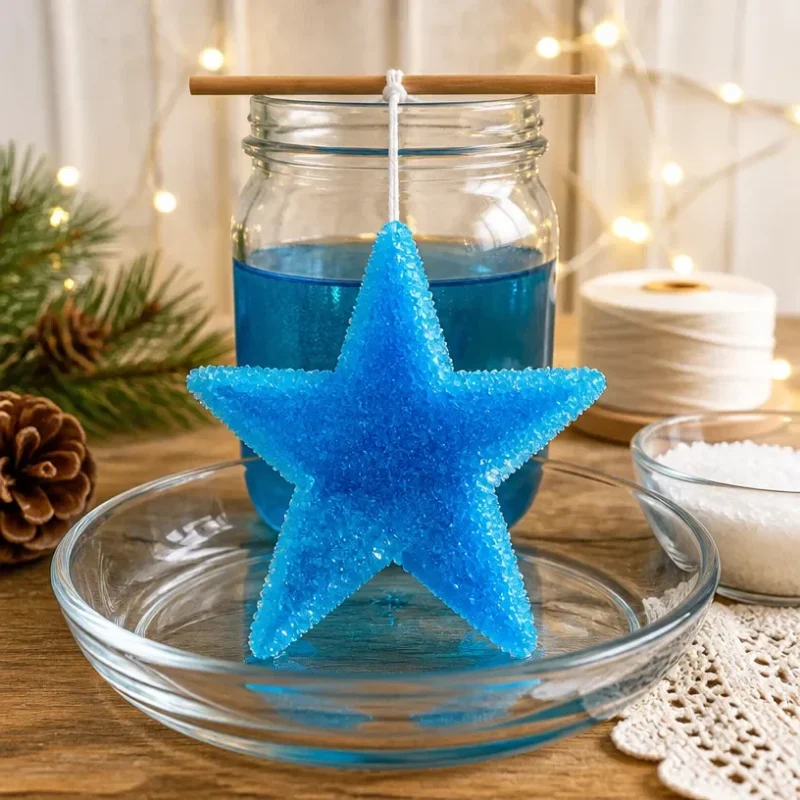
Creating stunning crystal stars at home is not only an engaging craft project but also a wonderful way to explore the fascinating world of crystallization. The finished crystal stars are eye-catching, with their vibrant colors and sparkling reflections, making them perfect for seasonal decorations. This DIY tutorial provides a clear, step-by-step guide to help you achieve beautiful results with minimal effort. Plus, it’s a fantastic project to involve children in, as they will be amazed by the transformation that occurs. You may also find Bunny Flower Pot Covers Diy Tutorial Spring Decor useful.
Materials You’ll Need
To get started, gather the following materials: You may also find Coffee Filter Tie Dye Flowers Diy Tutorial useful.

- Borax (approximately ½ cup)
- Boiling water (about 2 cups)
- Pipe cleaners (in any color of your choice)
- A heat-resistant container (like a glass jar)
- String or fishing line (for hanging)
- Scissors
- A spoon (for stirring)
- Optional: Food coloring (for added visual interest)
Choosing Your Materials
Choosing the right materials is crucial for this project. Borax is essential for creating the crystals, while pipe cleaners will form the base shape for the stars. If you’d like more ideas on eye-catching projects involving pipe cleaners, check out our guide on Coffee Filter Rainbow Roses for a colorful twist on crafting.
How to Make Crystal Stars
Now that you have your materials ready, let’s dive into creating your crystal stars!
Prepare the Pipe Cleaners: Start by bending three pipe cleaners into star shapes. Combine them by twisting the ends together to form a three-dimensional star. The thinner the pipe cleaners, the more intricate your final crystals will be.
Make the Borax Solution: In the heat-resistant container, combine the boiling water and Borax. Stir until the Borax completely dissolves. If you like, add a few drops of food coloring to this solution for colorful crystals.
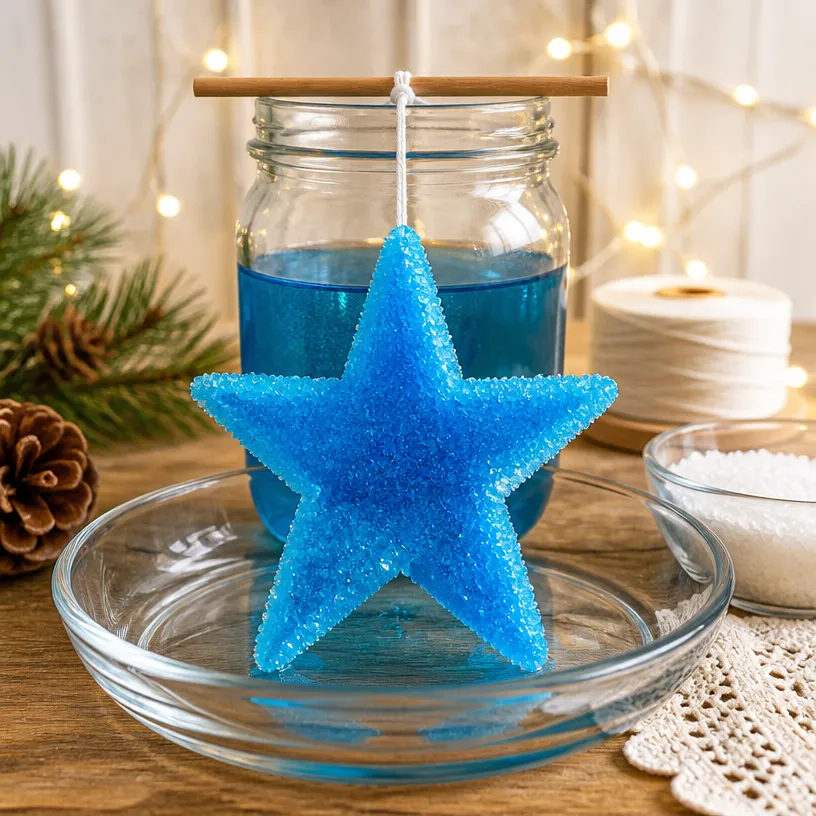
Submerge the Stars: Carefully lower your pipe cleaner star into the solution, ensuring it hangs freely. Use the string to tie it to a pencil or stick that will rest on the rim of the container, keeping the star suspended without touching the bottom.
Let It Sit: Allow the container to sit undisturbed in a cool, dry place for several hours or overnight. As the water cools, crystals will begin to form on the pipe cleaner shape.
Retrieve the Stars: Once the crystallization process is complete, gently remove your stars from the solution. Let them dry completely before displaying.
How to Get the Best Result
To enhance your project’s outcome, here are some helpful tips:
- Ensure the water is boiling before adding the Borax; this improves solubility.
- Make sure your stars do not touch the sides or bottom of the container, or you may not get even crystal growth.
- Patience is key! Allowing enough time for crystals to grow makes a significant difference in the final look.
If you’re curious about further ideas for crafting and decorations that incorporate colorful designs, consider trying our Melted Bead Butterfly Suncatcher project for beautiful additions to your home.
Common Mistakes to Avoid
As you engage in this craft, be mindful of these pitfalls:
- Impatience: Rushing the crystallization process won’t yield the best results.
- Too Much Color: Excessive food coloring may inhibit crystal growth; a few drops are enough.
Display Ideas
Once the stars are ready, consider various creative ways to display them. Here are a few suggestions:
- Hang them in windows where they can catch the light.
- Use a string to make a garland of crystal stars for festive decoration.
- Incorporate them into a centerpiece for parties or seasons.

Frequently Asked Questions
How long do I let the crystals grow?
Ideally, let your stars sit in the solution for at least 6 hours, but overnight will give you the best results.
Can I use other colors for the crystals?
Yes! Experiment with different food coloring to achieve various shades and effects.
Are these safe for kids?
While the process is generally safe, adult supervision is advised, especially while handling hot water and scissors.
Final Touches
Crafting crystal stars is a satisfying experience that creates beautiful decorations. Gather your supplies, follow the steps, and enjoy the mesmerizing results! After you’ve mastered this craft, why not try creating other colorful projects? For example, you can check out the DIY Crystal Flower Roses for another stunning addition to your crafting repertoire.
Conclusion
Creating crystal stars at home can be a delightful experience that combines creativity with science. If you want to explore more about making these magical ornaments, visit How to Make Crystal Stars | Borax Crystal Ornaments for additional insights and techniques. Additionally, you can learn about incorporating educational aspects into crafting by reading about Borax Star Ornaments: Christmas Science Project. Happy crafting!
Print
Crystal Stars
- Total Time: 375 minutes
- Makes: 3 stars
Description
Create stunning crystal stars at home with this simple DIY project that explores the fascinating world of crystallization.
Materials
- Borax (½ cup)
- Boiling water (2 cups)
- Pipe cleaners (any color)
- A heat-resistant container (glass jar)
- String or fishing line (for hanging)
- Scissors
- A spoon (for stirring)
- Optional: Food coloring
Instructions
- Prepare the pipe cleaners by bending them into star shapes and twisting them together.
- Make the Borax solution by combining boiling water and Borax in the container, stirring until dissolved.
- Submerge the star into the solution, tying it to keep it suspended.
- Let the container sit undisturbed for several hours or overnight.
- Retrieve the stars from the solution once the crystallization is complete and let them dry.
Notes
Ensure the water is boiling when adding the Borax for better solubility. Avoid excessive food coloring as it can inhibit crystal growth.