

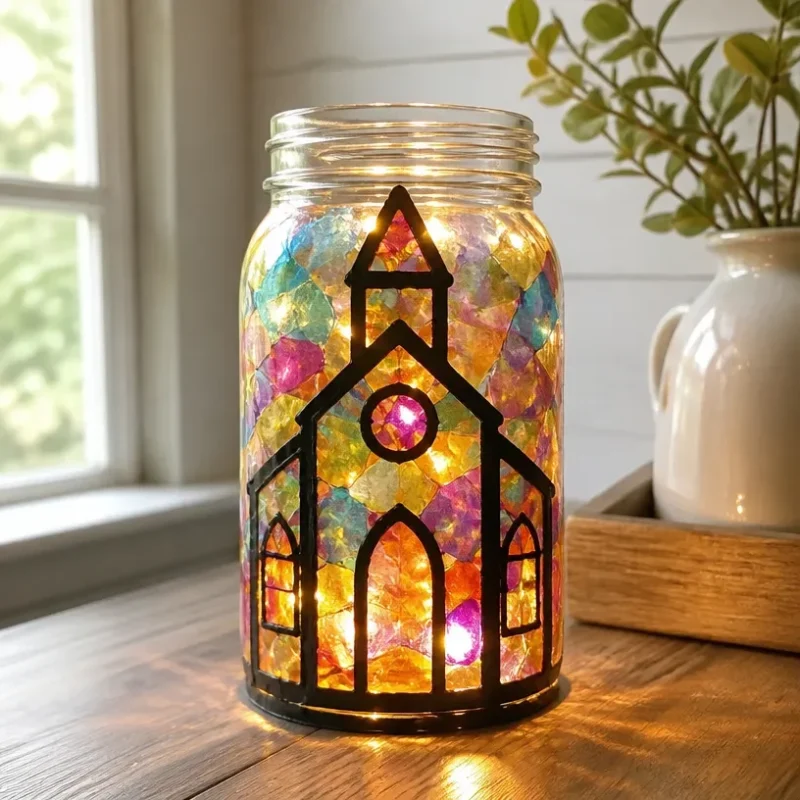
Holographic Glowing Lantern for Schoolhouse
Creating a holographic glowing lantern is an exciting and visually stunning project that will brighten up any schoolhouse or home. With its shimmering colors and captivating light effects, this lantern can serve as a delightful decoration for various occasions. The best part? It’s a straightforward craft that anyone can attempt, providing a great opportunity for family bonding or classroom fun. You may also find Colorful Rainbow Stained Glass Lantern For Candles useful.
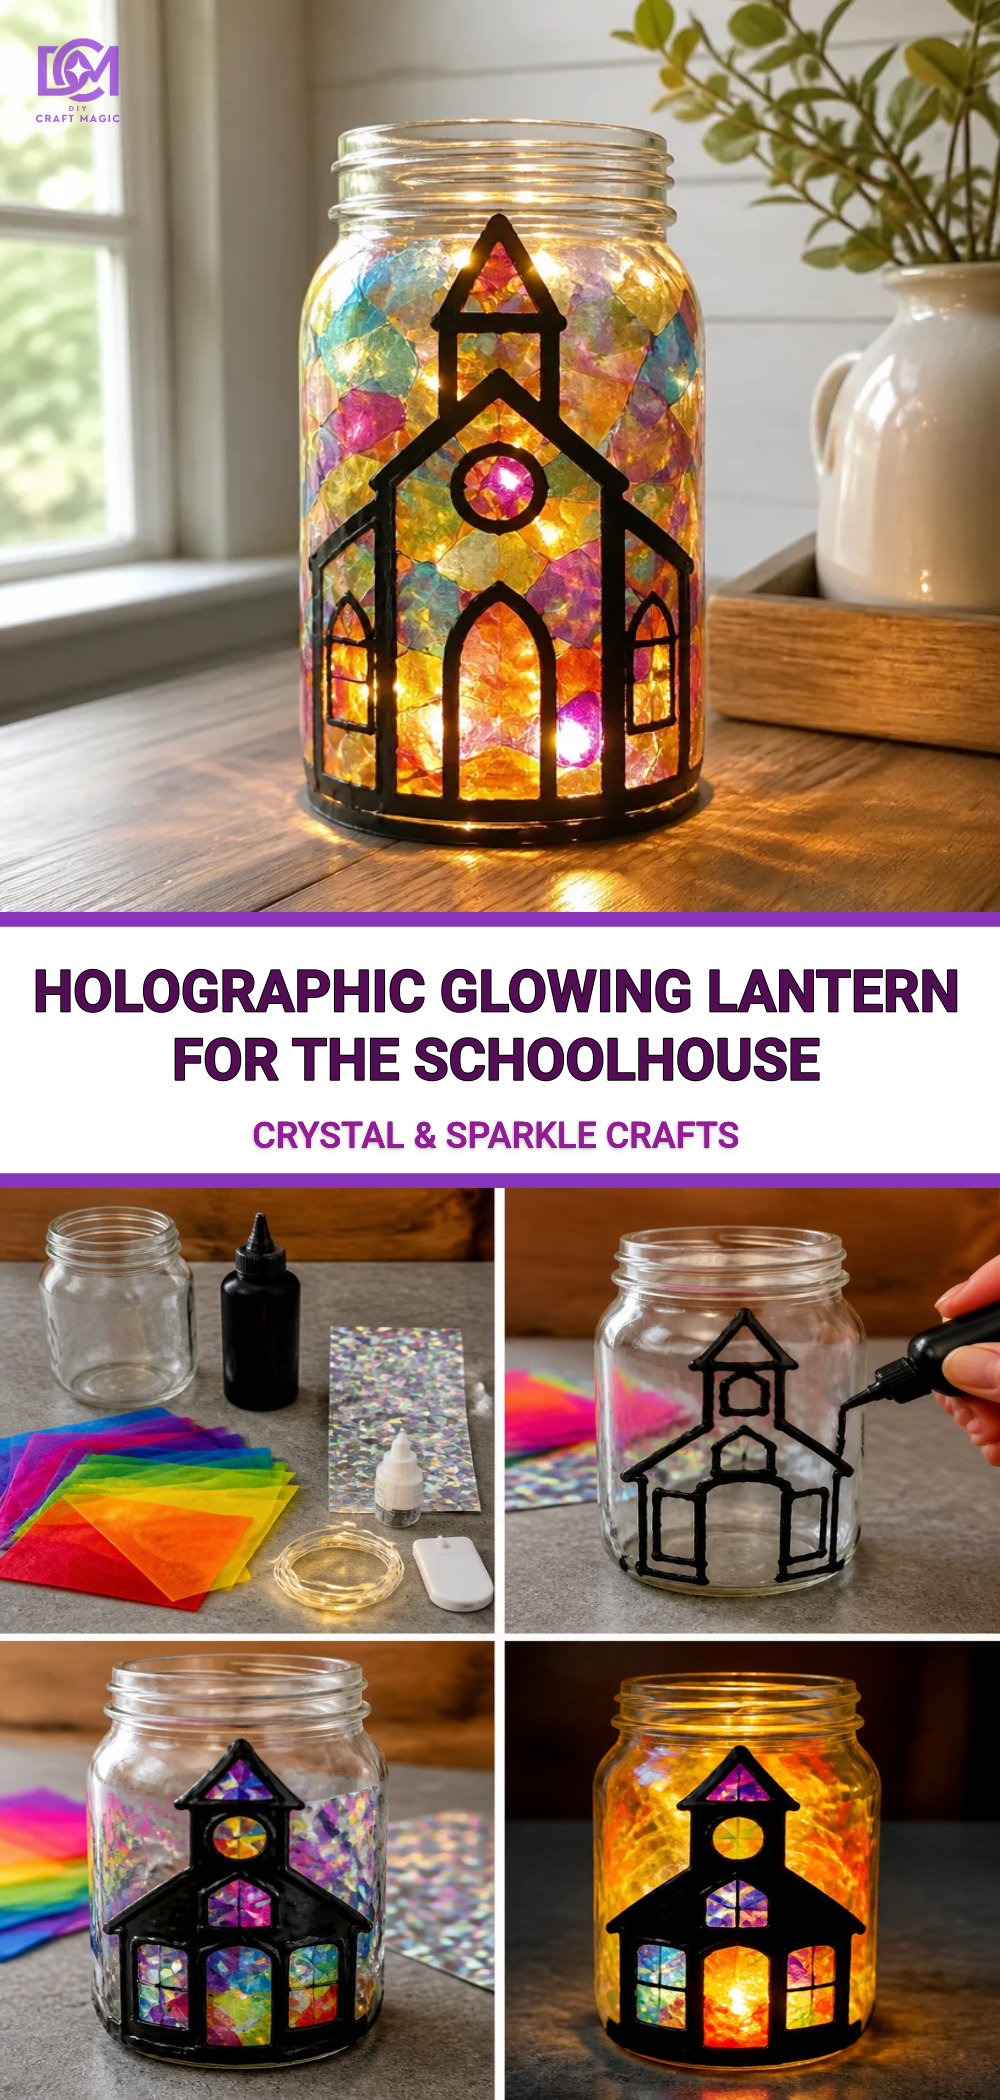
Materials You’ll Need
Before diving into this craft, gather all the materials to streamline your process. Here’s what you’ll need: You may also find Cupcake Liner Sunflower Wreath Craft For Kids useful.
You may also find Diy Glowing Ocean Jar Tutorial Home Decor useful.
- A glass jar (like a mason jar)
- Holographic cellophane (or a decorative film)
- LED tealight (for a safe glowing effect)
- Scissors
- Glue (craft or hot glue)
- Bristol board or cardstock (for structural support)
- Marker (optional for designs)
Having all these materials ready will make your crafting journey enjoyable and efficient! You may also find Diy Rainbow Mandala Stones For Home Decor useful.
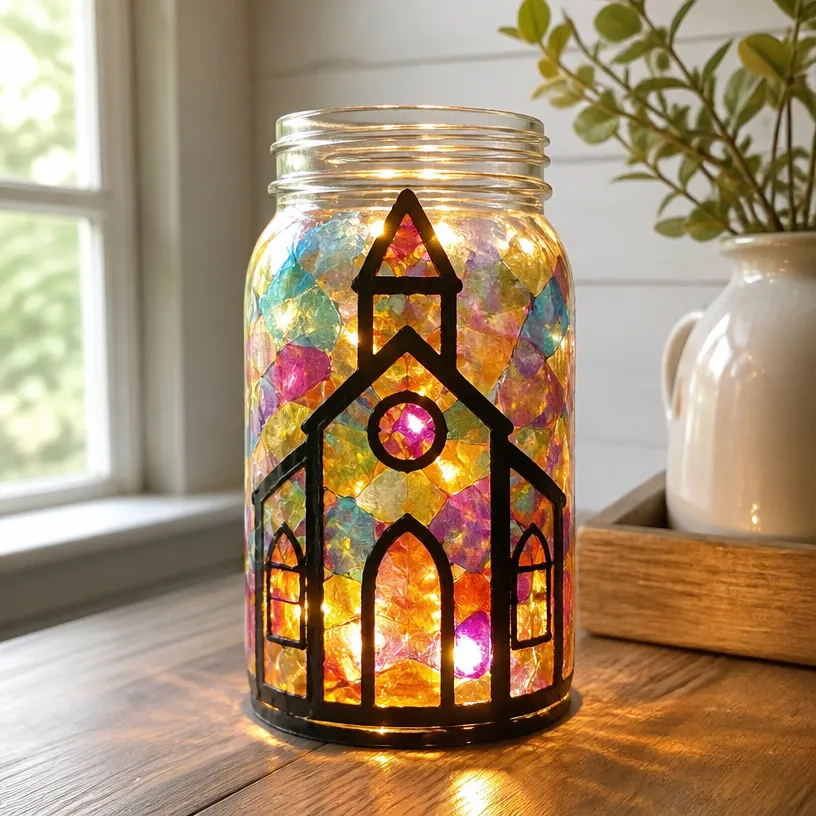
Step-by-Step Instructions
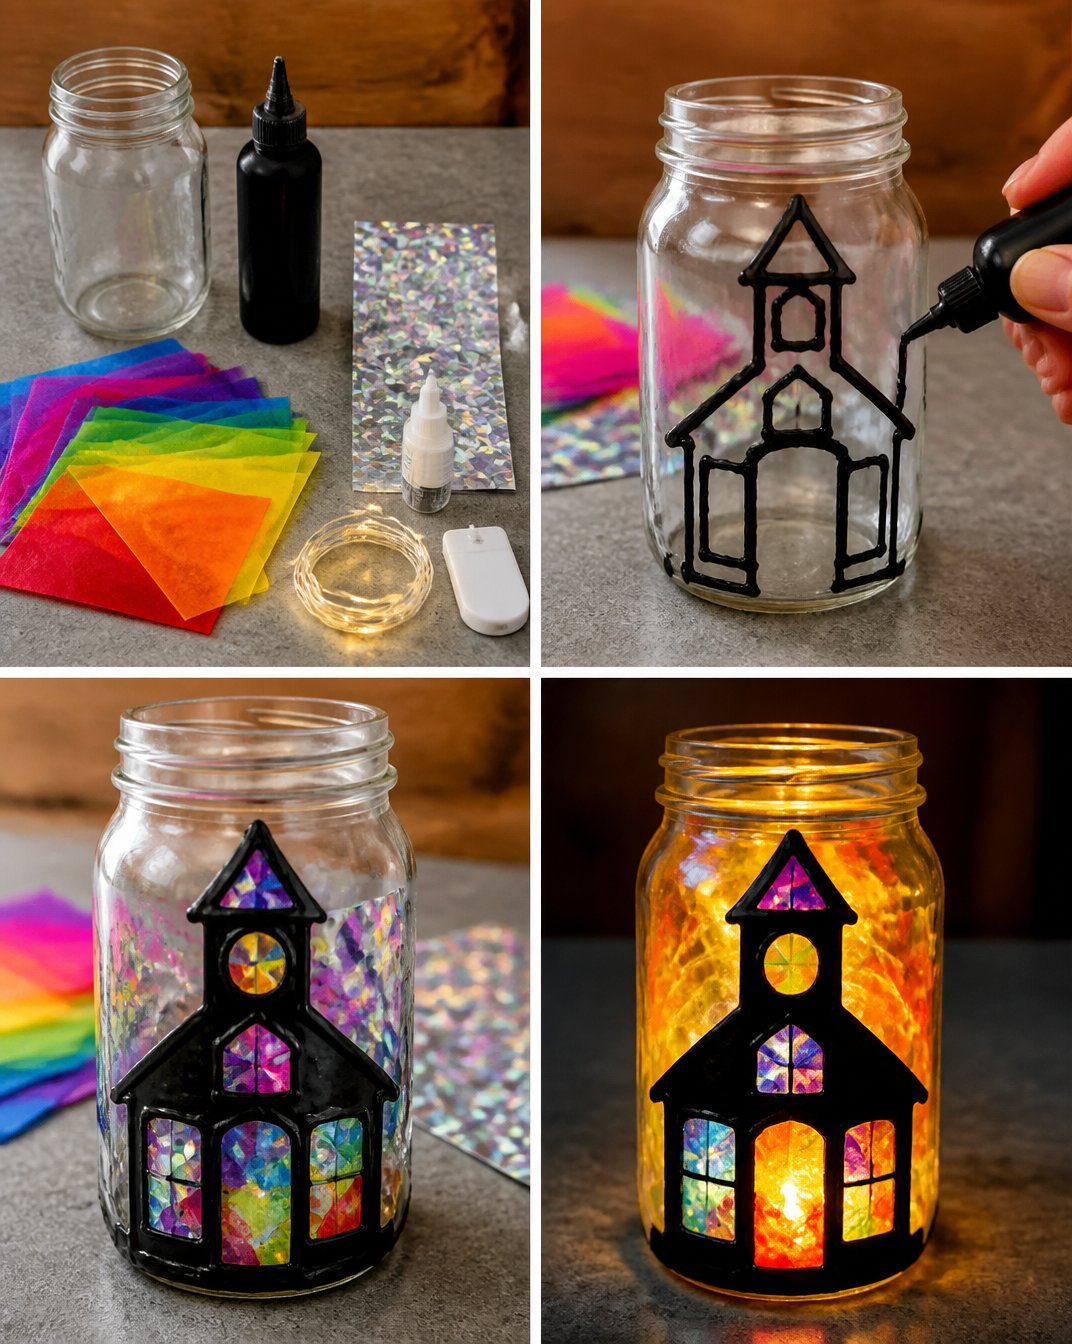
Now that you have all your materials, it’s time to bring your holographic lantern to life. Follow these simple steps:
Prepare Your Jar: Clean the glass jar thoroughly, ensuring there’s no residue. This will help the glue adhere better and makes the inside easier to illuminate.
Create the Holographic Panels: Using your holographic cellophane, cut out panels that will go around the jar. Each panel should be wide enough to be glued onto the jar without gaps.
Attach Panels to Jar: Begin gluing the panels to the jar, making sure to cover it evenly. If you’re feeling creative, you can design different shapes or patterns on the cellophane beforehand for added flair.
Prepare the Base: Cut a circle from the Bristol board that’s slightly larger than the jar’s base. This will provide stability for your lantern.
Secure the LED Tealight: Glue the LED tealight to the center of the Bristol board circle. Make sure it is secure so it does not tip over.
Assemble the Lantern: Once the glue has dried, carefully place the jar on top of the base. Your lantern is now ready to glow!
Final Touches: For a more creative approach, consider decorating your lantern with additional elements such as glitter or stickers, enhancing its luminous appeal.
To explore more exciting crafts, check out our tutorial on rainbow tissue paper flower lanterns which also foster creativity and color.
Helpful Tips
- Safety First: When using scissors and glue, always supervise young children to avoid accidents.
- Experiment With Colors: Feel free to mix different colors of cellophane or add additional embellishments to make your lantern uniquely yours.
- Display Ideas: Consider placing the lantern in a dark room to see its full glowing potential. It can be a fantastic centerpiece or night light.
Common Mistakes to Avoid
- Skipping the Cleaning Step: Make sure the jar is free from dust and grease for the best glue adhesion.
- Using Real Candles: Stick with LED tealights to ensure safety and reduce the risk of fire hazards.
- Neglecting to Secure the Base: A stable base is essential for preventing the lantern from tipping over.
Variations
- Seasonal Themes: Customize your lantern based on seasons or holidays for example, use fall colors for Halloween or softer pastels for spring.
- Shape Options: Instead of a jar, try different container shapes like lanterns or boxes for varied silhouettes.
Frequently Asked Questions
Can I use different lighting options?
Yes! LED string lights or fairy lights can also be used if they fit securely inside your lantern.
How do I store my lantern?
Store your lantern in a cool, dry place. If it’s delicate, consider wrapping it in tissue or bubble wrap to avoid damage.
Can this project be adapted for young children?
Absolutely! Just ensure that all cutting is done by adults or older children, allowing younger ones to participate in the gluing and decorating.
Conclusion
Crafting a holographic glowing lantern is not only fun but also creates a charming addition to any space. If you’re looking for more imaginative projects, you might want to explore options like Trick ‘r Treat – Laserdome or download floating ghost face stock images for free to inspire your next crafting adventure!
Print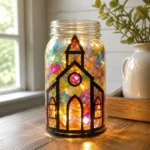
Holographic Glowing Lantern
- Total Time: 15 minutes
- Makes: 1 lantern
Description
Create a stunning holographic glowing lantern with simple materials and steps, perfect for schoolhouses or home decor.
Materials
- 1 glass jar (like a mason jar)
- Holographic cellophane (or decorative film)
- 1 LED tealight
- Scissors
- Glue (craft or hot glue)
- Bristol board or cardstock
- Marker (optional for designs)
Instructions
- Prepare your jar: Clean the glass jar thoroughly, ensuring there’s no residue.
- Create the holographic panels by cutting out pieces from the holographic cellophane.
- Attach the panels to the jar, covering it evenly.
- Prepare the base by cutting a circle from the Bristol board slightly larger than the jar’s base.
- Secure the LED tealight to the center of the Bristol board circle.
- Assemble the lantern by placing the jar on top of the base.
- Final touches can include decorating your lantern with glitter or stickers.
Notes
Always supervise young children when using scissors and glue.