

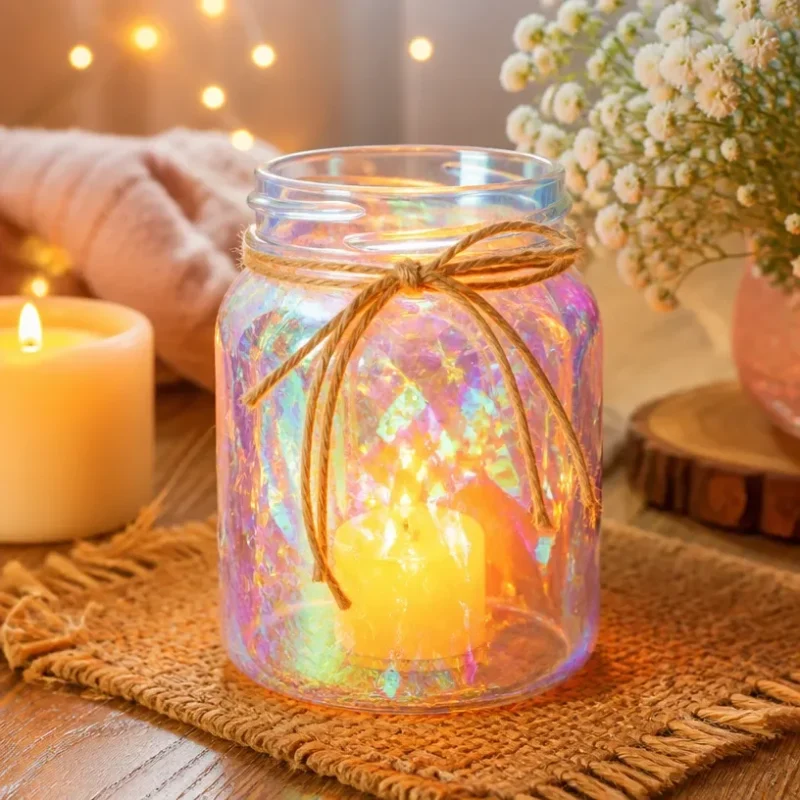
Iridescent Lantern with Magical Glow
Creating your own Iridescent Lantern with Magical Glow is a delightful project that will brighten up your home and imagination. This craft combines everyday materials to produce a stunning lantern that reflects and refracts light beautifully. The iridescent effect adds a unique charm, making the finished product perfect for enhancing cozy evenings or festive celebrations. You may also find Rainbow Puppy Ghost Glow Lantern Diy Project useful.
Why You’ll Love This Project
This project is not just about making a lantern; it’s about expressing creativity and bringing a spark of color into your space. The combination of glowing elements and iridescent finishes creates a lantern that stands out. Plus, it’s an enjoyable craft suitable for all ages, making it a perfect family activity. If you’re inspired by other glowing crafts, check out the glowing rainbow potion bottles for more colorful ideas!
Before You Start
Ensure you have all your materials ready before diving in. This will make the crafting process smoother and more enjoyable. You’ll need basic crafting supplies, which you might already have at home. You may also find Glow In The Dark Mermaid Jar Diy Craft For Kids useful.
Materials You’ll Need
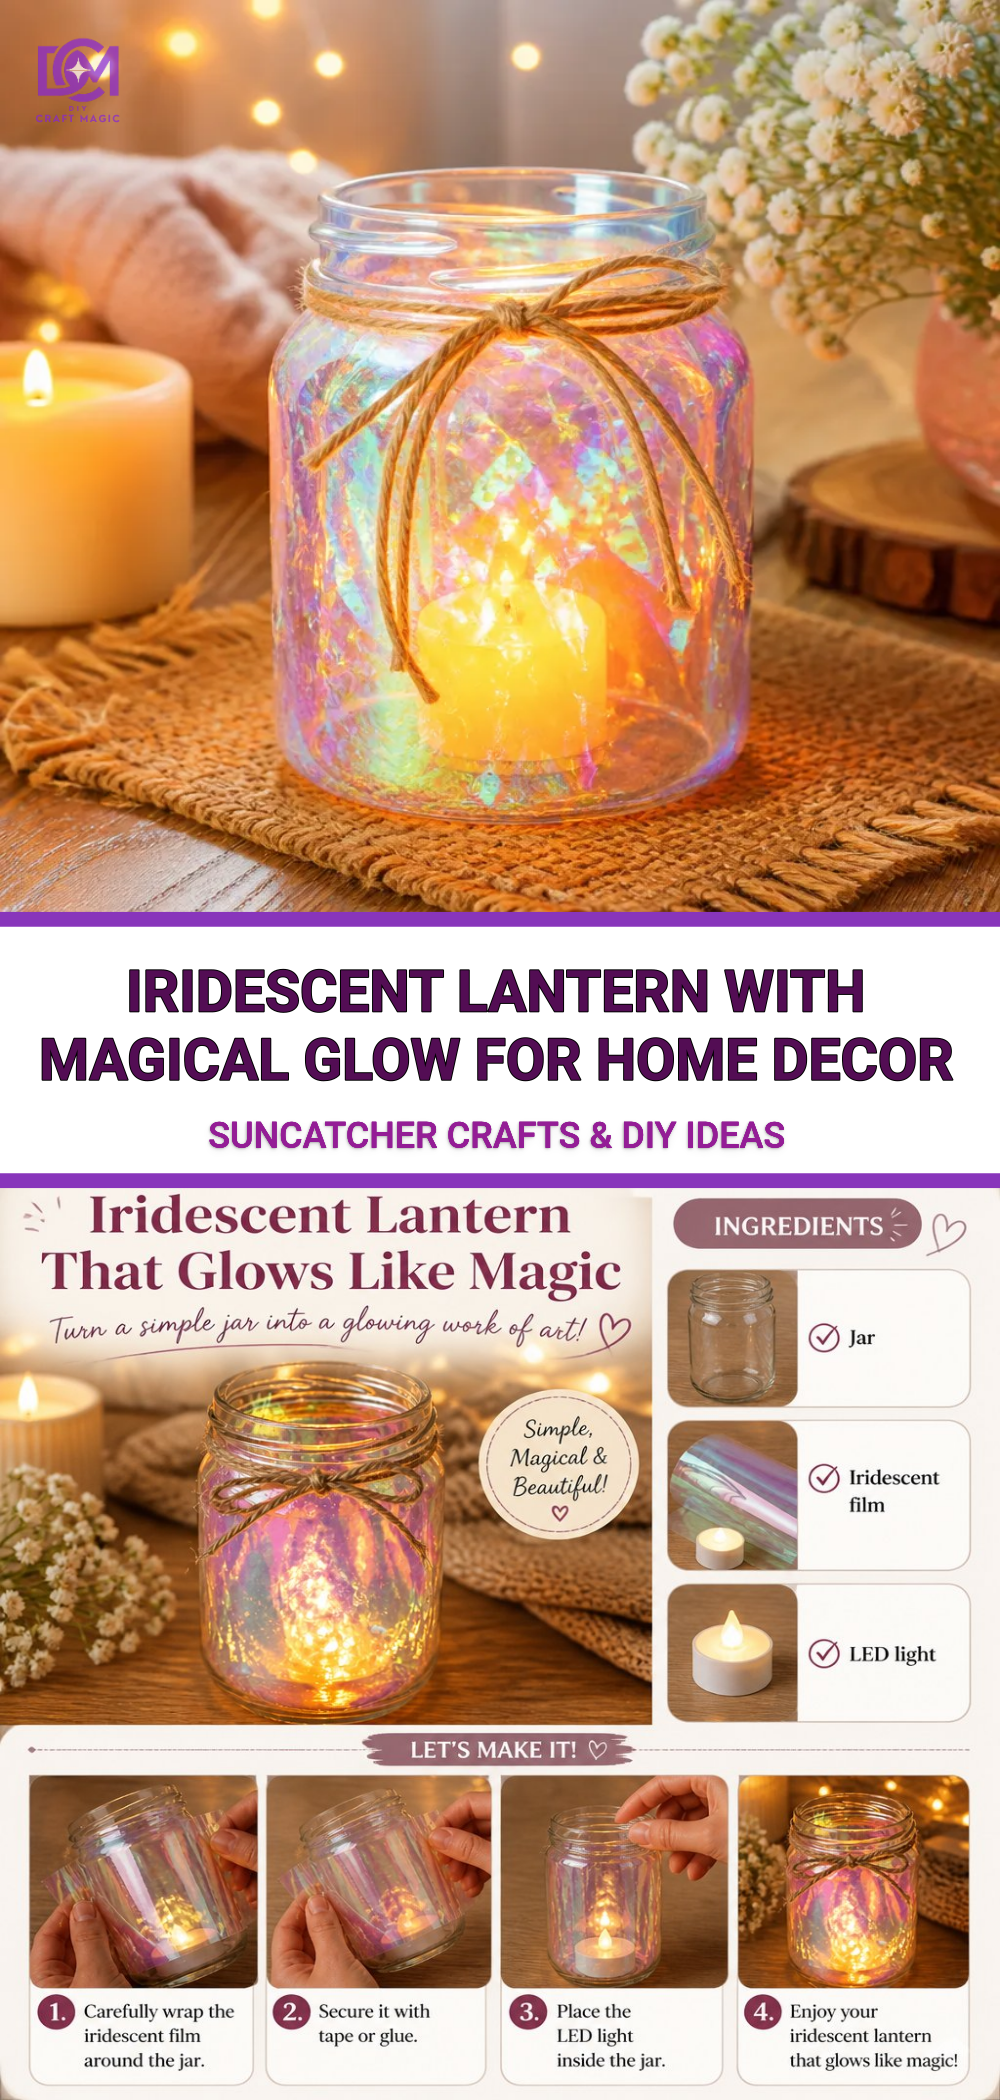
You may also find Glow In The Dark Nebula Bottle useful.
- Clear glass jar or an old candle holder
- Iridescent paint or glass paint
- LED tealight
- Paintbrushes (various sizes)
- Decorative elements (like star sequins or glitter)
- Water
- Optional: string lights for added effect
How to Make Iridescent Lantern with Magical Glow
Step 1: Preparing the Container
Start by cleaning your glass jar or candle holder thoroughly to remove any dust or residue. This will ensure a smooth application of paint.
Step 2: Applying the Paint
Use a paintbrush to apply the iridescent paint to the outside of the jar. It’s best to do this in thin layers to avoid drips. Make sure to cover the glass evenly, allowing each layer to dry completely before applying the next. This will give you the vibrant effect you desire. If you’re interested in more intricate designs, consider making a colorful rainbow stained glass lantern as an alternative project!
Step 3: Decorating the Lantern
Once the paint is dry, it’s time to add decorative elements such as star sequins or glitter. This step adds an extra shimmering touch when the lantern is lit. Feel free to experiment with different patterns or designs to make it uniquely yours.
Step 4: Adding the Light Source
Place an LED tealight inside the jar. If you want a more dramatic look, you can also use string lights, weaving them carefully around the tealight for a twinkling effect.
Step 5: Displaying Your Lantern
Once your lantern is complete, find a perfect spot to showcase it! It can be used indoors or as part of your outdoor decor. This is a wonderful way to add charm and a warm glow to your evenings.
Creating the Crystal Effect
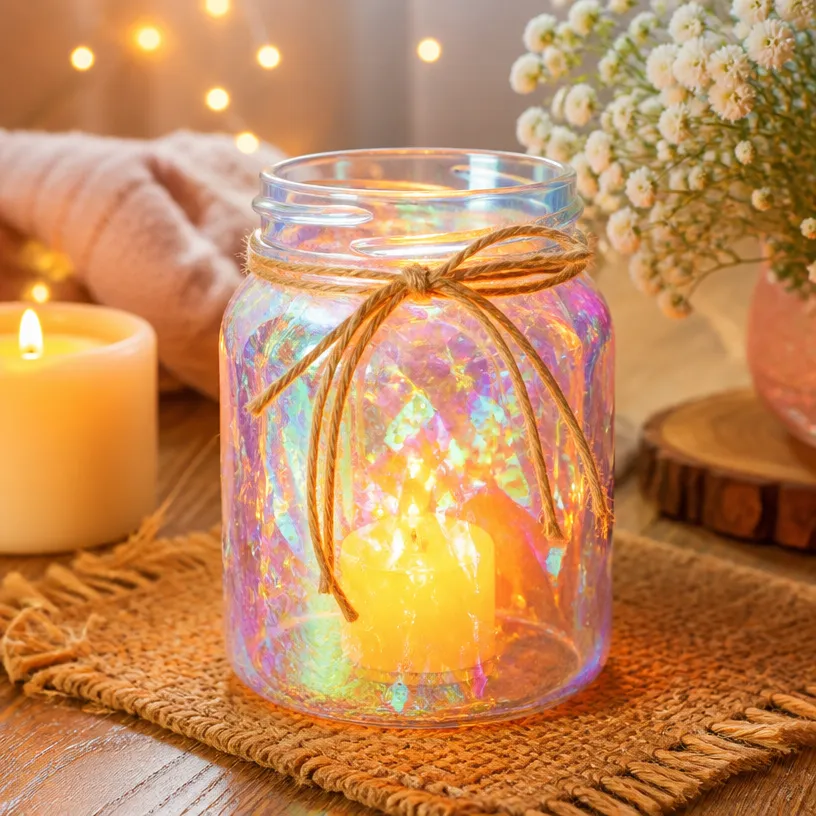
The iridescent paint creates a beautiful crystal-like effect, enhancing your lantern’s visual appeal. To achieve the best results, consider layering different colors for added depth and dimension.
Common Mistakes to Avoid
- Not letting paint dry properly: Take your time with each layer to ensure the best finish.
- Using non-LED lights: Always stick to LED tealights for safety, especially if you’re using glass materials, which can heat up.
Ways to Customize It
Customize your lantern by experimenting with different colors of paint or materials. Adding a fringe of twinkling stars or even seasonal decorations can elevate your project for holidays or celebrations.
Crafting With Kids
This project is great for children, too! Make sure to supervise younger crafters, especially when using scissors or paints. Kids will love the process of creating their own glowing lantern, making it a fun family activity.
Frequently Asked Questions
How long will the lantern last?
The longevity of your lantern will depend on how well it is made. If properly cared for, with the right materials, it can last for years!
Can I use regular candles instead of LED lights?
It is recommended to use LED lights to avoid the risk of fire, especially when using glass.
What if I want to change colors later?
Adding another layer of clear paint over your current design can help modify the appearance. Just remember to apply it gently!
Conclusion
Crafting your Iridescent Lantern with Magical Glow is not only enjoyable but also results in a stunning piece of decor. You might also love the Iridescent Diamond Lamp for more enchanting lighting options. For wholesale or bulk buy options, visit the Iridescent Diamond Lamp – Streamline Imagined Wholesale. Embrace your creativity and let this charming project illuminate your space!
Print
Iridescent Lantern with Magical Glow
- Total Time: 15 minutes
- Makes: 1 lantern
Description
Create a stunning Iridescent Lantern that brightens your home with a magical glow using everyday materials.
Materials
- Clear glass jar or old candle holder
- Iridescent paint or glass paint
- LED tealight
- Paintbrushes (various sizes)
- Decorative elements (like star sequins or glitter)
- Water
- Optional: string lights for added effect
Instructions
- Start by cleaning your glass jar or candle holder thoroughly to remove any dust or residue.
- Use a paintbrush to apply iridescent paint to the outside of the jar in thin layers.
- Once the paint is dry, add decorative elements like star sequins or glitter.
- Place an LED tealight inside the jar or use string lights for a twinkling effect.
- Find a perfect spot to showcase your lantern indoors or outdoors.
Notes
Experiment with different colors of paint or materials for customization. Supervise children while crafting.