

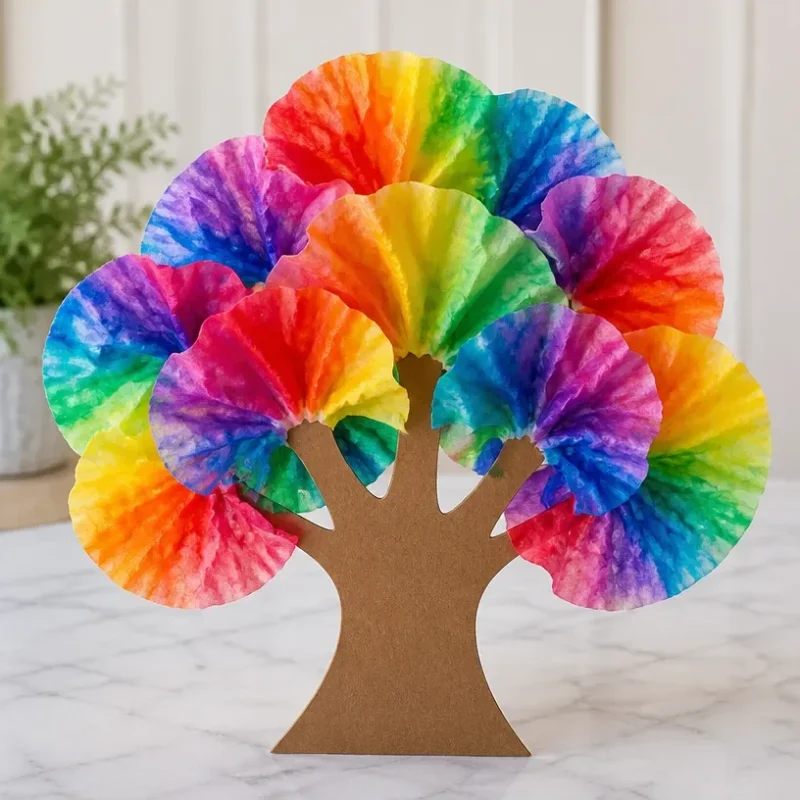
Magical Colour Tree: A Vibrant Rainbow of Leaves
Creating a Magical Colour Tree is a delightful way to express your creativity while producing a vibrant and eye-catching piece of art. This project transforms simple materials into a colorful display of leaves that mimic the beauty of a rainbow. What makes this craft particularly enjoyable is the variety of methods you can employ, allowing for a unique end result that reflects your personal style. It’s a perfect project for both kids and adults to come together and have fun crafting something beautiful. You may also find Crystal Rainbow Love Tree Symbol Of Harmony useful.
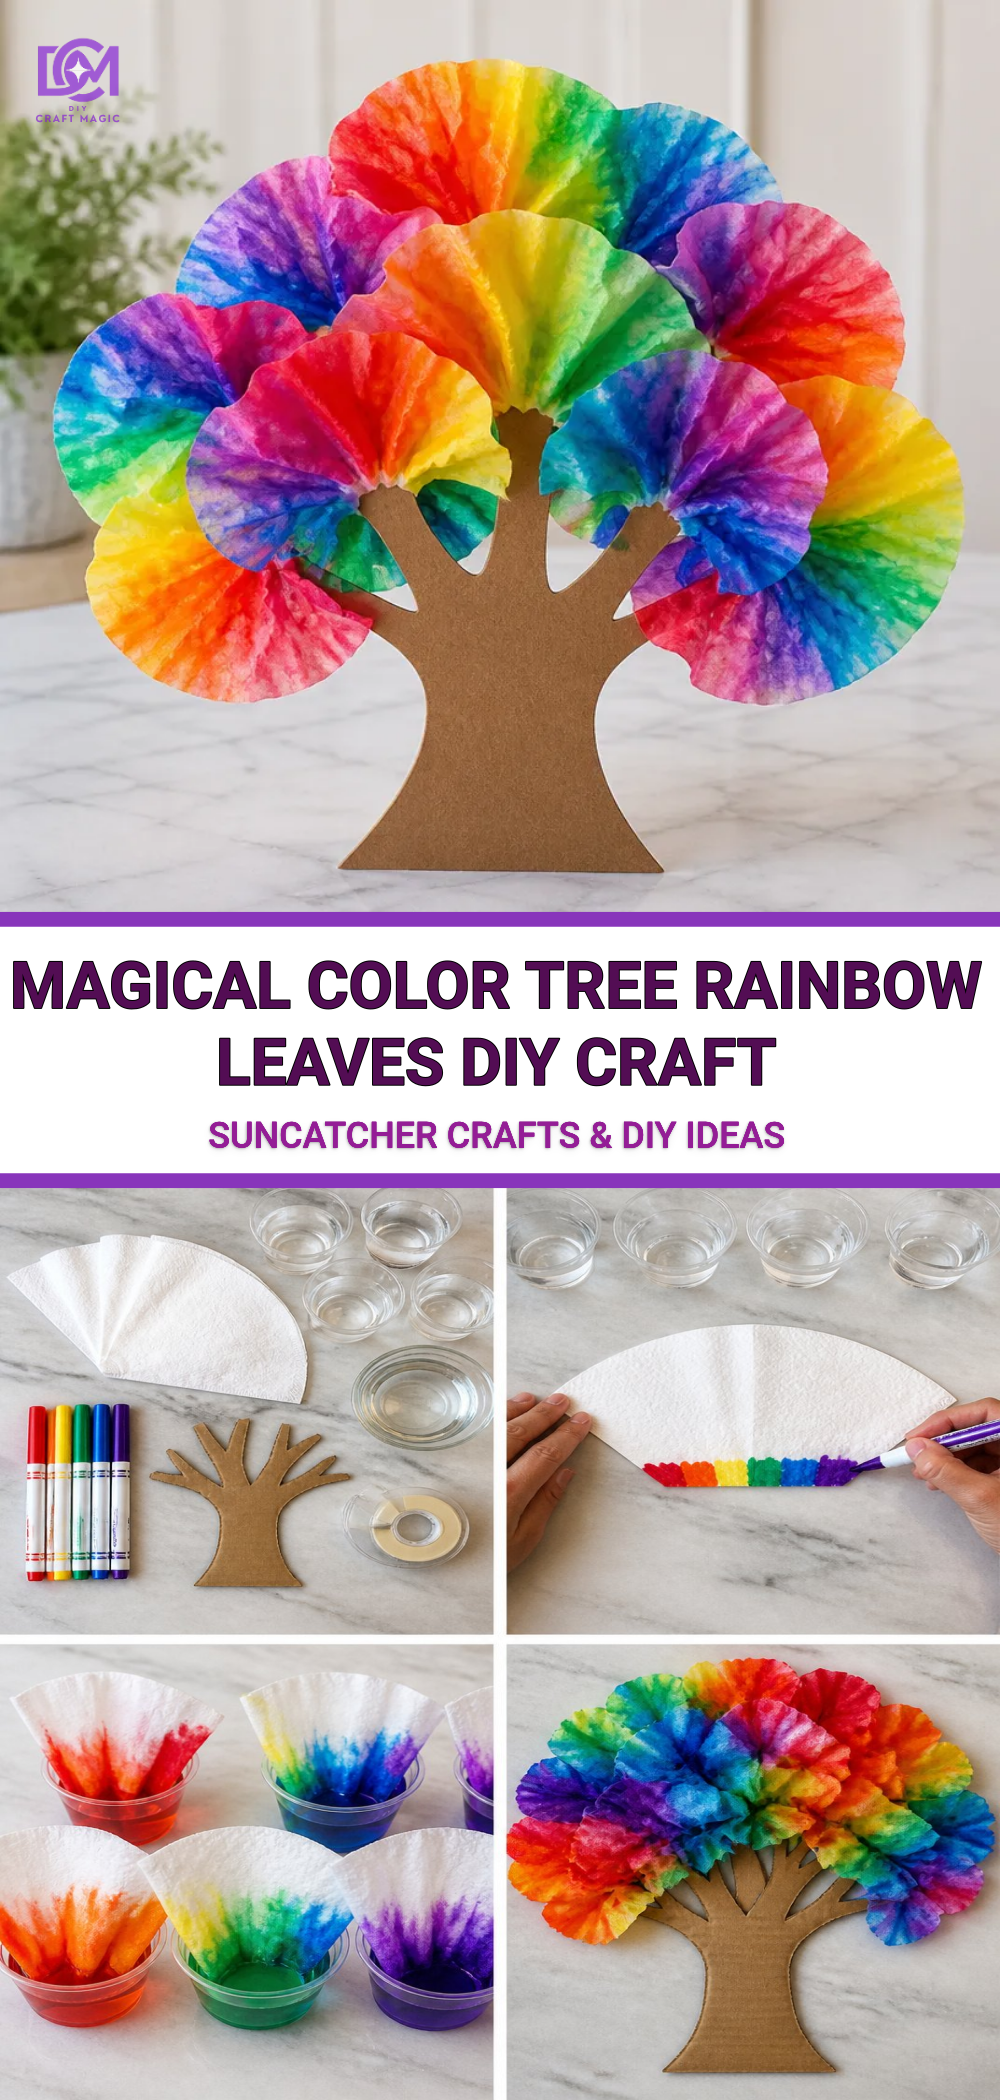
Materials You’ll Need
Before diving into the instructions, let’s gather all the materials you’ll need for this project. Most of these items are common household goods, making it accessible for everyone. You may also find Clear Blue Rainbow Bat Suncatcher Wreath Diy useful.
- Colored paper (various colors)
- Craft glue
- Scissors
- Wire or sturdy tree branches
- Paintbrush
- Water
- Glitter (optional)
- Clear varnish (for a glossy finish)
Why This Craft Works So Well
This craft combines the joy of coloring with the gratifying process of creating something that can be displayed proudly. The construction of a Magical Colour Tree allows for an imaginative outlet, and kids can get involved in every step, making it a great family project. You can also customize your tree by incorporating different techniques, similar to creating rainbow roses, which adds a playful twist to the traditional concept of trees.
How to Make Magical Colour Tree: A Vibrant Rainbow of Leaves
Follow these step-by-step instructions to create your very own colourful tree.
Step 1: Prepare Your Base
Begin by arranging your wire or tree branches into a shape that will support the leaves. You can either bend the branches to create a more animated appearance or keep them straight for a traditional look. Make sure they are sturdy enough to hold your colorful decorations.
Step 2: Cut Out Leaves
Using your colored paper, cut out leaf shapes in various sizes. This is where your creativity shines! You might even consider adding some textured details with ripples or dips for a more realistic look.
Step 3: Create Colourful Leaves
If you want to take it a step further, you could create leaves using the technique described in the Rainbow Milk Art Print. Simply stamp your paper with milk and food coloring to generate vibrant, swirled backgrounds before cutting them into leaf shapes.
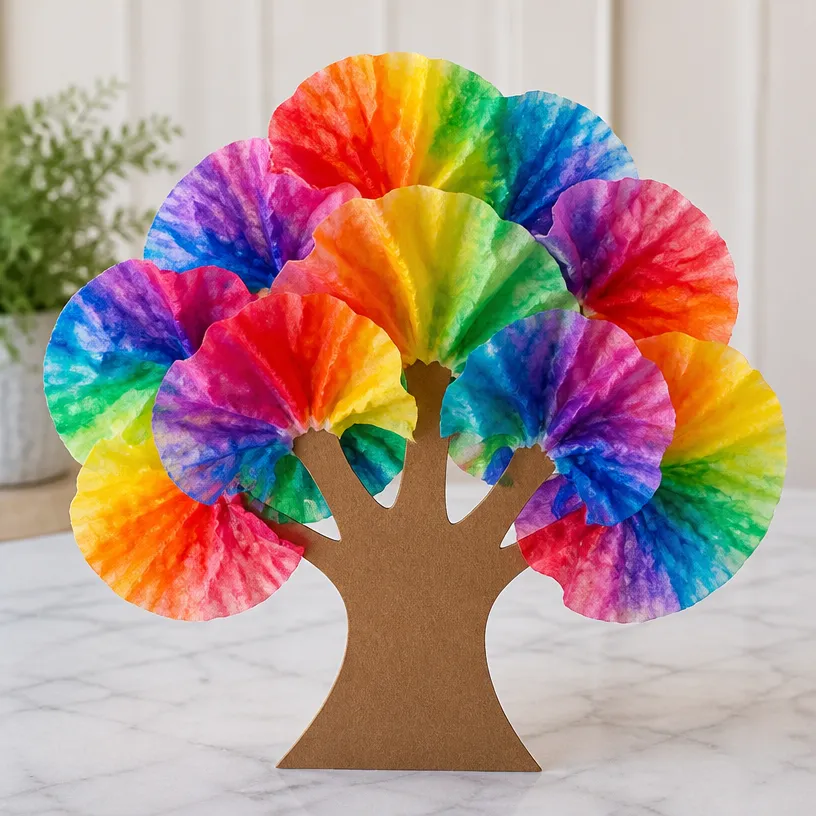
Step 4: Attach Leaves
Using craft glue, attach your leaves to the base. You can place them in clusters or scatter them throughout the branches to mimic a natural growth pattern. For an extra sparkle, sprinkle glitter onto the glue before it dries to give your leaves a magical shine.
Step 5: Final Touches
To ensure your creation lasts long, once your tree is fully decorated with leaves, consider applying a clear varnish coating. This will add a glossy finish and protect your project from wear.
Helpful Tips
- If you’re doing this project with kids, set up a safe crafting area and supervise them with the scissors to ensure safety.
- Consider mixing different materials, such as fabric or even recycled items, to make the leaves more dimensional and interesting.
- For seasonal variations, you could switch up the colors for different occasions, using shades of orange and red for fall, or pastel colors for spring.
Ways to Customize It
Customization is key with any craft! You might want to match the colors of your Magical Colour Tree to your home decor or make it themed for a holiday. To get even more ideas, you can look at this Borax Rainbow Crystal Bloom Tree as inspiration for creating crystal-like leaves.
Crafting With Kids
This project is perfect for children, as it encourages creative thinking and improves fine motor skills. Allow them to choose colors they love, and don’t shy away from mixing techniques to create truly one-of-a-kind leaves. Encourage them to tell stories about their trees.
Frequently Asked Questions
Can I use other materials besides paper for the leaves?
Absolutely! Feel free to experiment with fabric, felt, or even natural materials like leaves and twigs.
How do I ensure my tree is stable?
Ensure the base is well-made and that the branches are properly anchored. You might want to add some small stones or a weighted base for extra stability.
How do I store my colorful tree after the project?
Store it in a cool, dry place, and if using delicate materials, handle it with care to avoid any damages.
Conclusion
Creating your Magical Colour Tree is not just an engaging craft; it’s an opportunity to explore colors and textures while spending quality time with loved ones. For more visual inspiration, check out the beautiful Rainbow Painted Tree Images. Additionally, if you’re looking for unique costume ideas, see the Kids Rainbow Unicorn Feather Wings for a whimsical touch to your crafting adventures!
Print
Magical Colour Tree
- Total Time: 15 minutes
- Makes: 1 Magical Colour Tree
Description
Create a vibrant and colorful Magical Colour Tree using simple materials for a delightful art project suitable for all ages.
Materials
- Colored paper (various colors)
- Craft glue
- Scissors
- Wire or sturdy tree branches
- Paintbrush
- Water
- Glitter (optional)
- Clear varnish (for a glossy finish)
Instructions
- Prepare your base by arranging wire or tree branches in a supportive shape.
- Cut out leaf shapes from your colored paper.
- Create colorful leaves using milk and food coloring for vibrant, swirled designs.
- Attach leaves to the base with craft glue, adding glitter for sparkle.
- Final touches involve applying a clear varnish for a glossy and protective finish.
Notes
Set up a safe crafting area for kids and consider mixing materials for more dimensional leaves.