

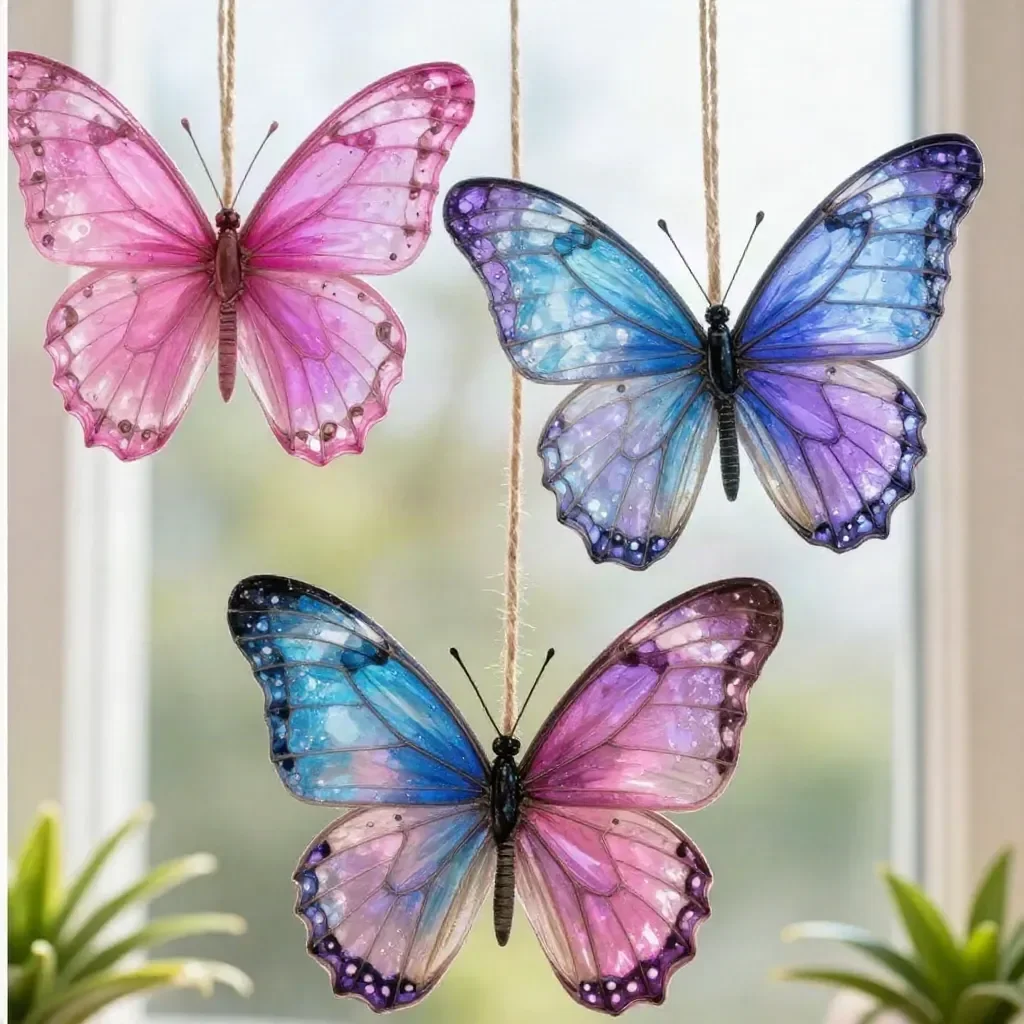
Marbled Glue Butterfly Suncatchers
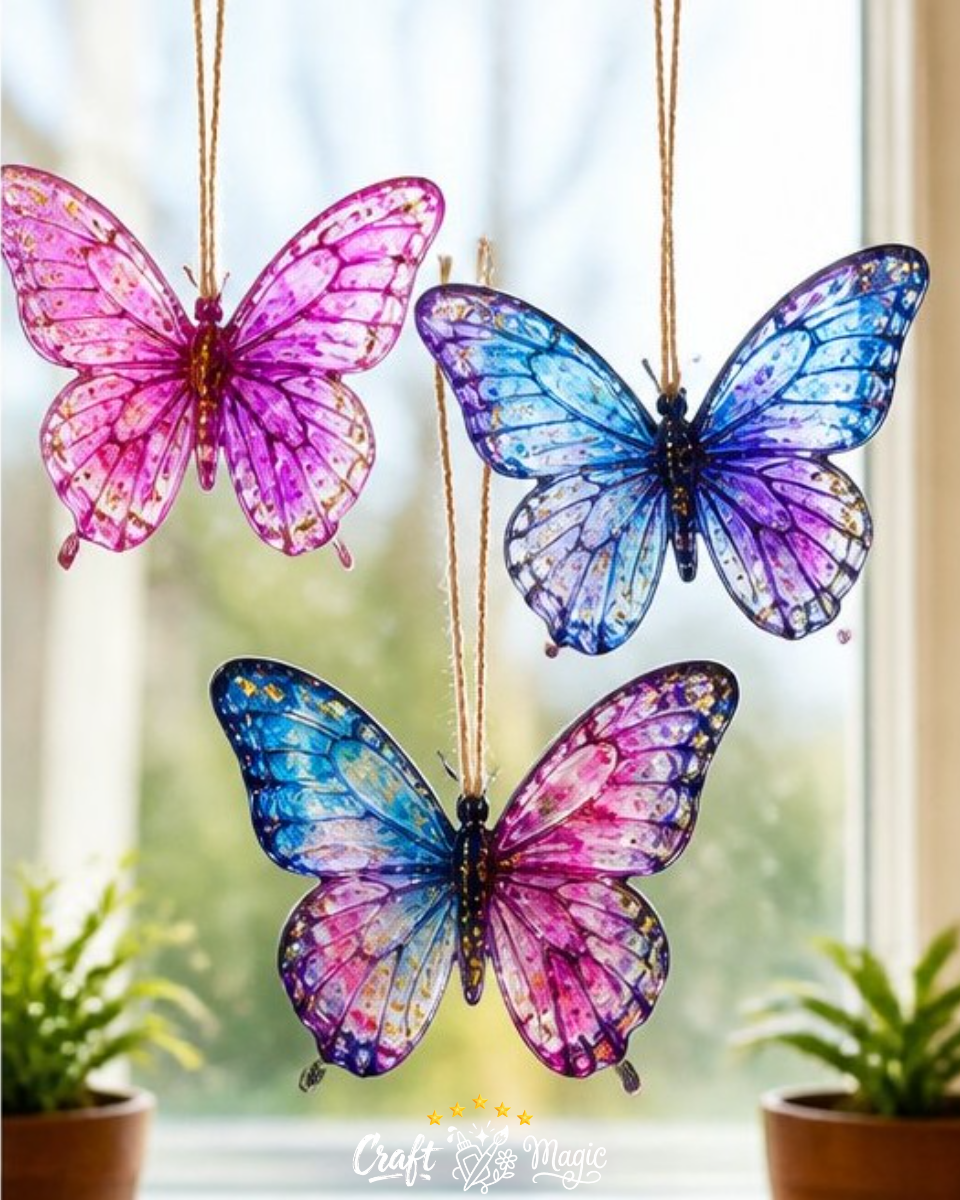
Creating a stunning marbled glue butterfly suncatcher is not only a fun activity but also a visually captivating craft project. With just a few basic materials, you can transform clear glue, liquid watercolors, and glitter into vibrant, artistic pieces that dance in the sunlight. This project is approachable for crafters of all skill levels, with satisfying results that can brighten any window or space in your home. You may also find Melted Crayon Rainbow Butterfly Suncatcher For Kids useful.
You may also find Rainbow Butterfly Stakes Recycled Bottles useful.
Materials You’ll Need
- Clear glue
- Butterfly-shaped silicone mold or outline
- Liquid watercolor (two to three colors)
- Glitter
- Toothpick
- String
How to Make Marbled Glue Butterfly Suncatchers
This suncatcher project is divided into a few simple steps that will guide you through the creative process. You’ll see how easy it is to achieve striking marbled effects.
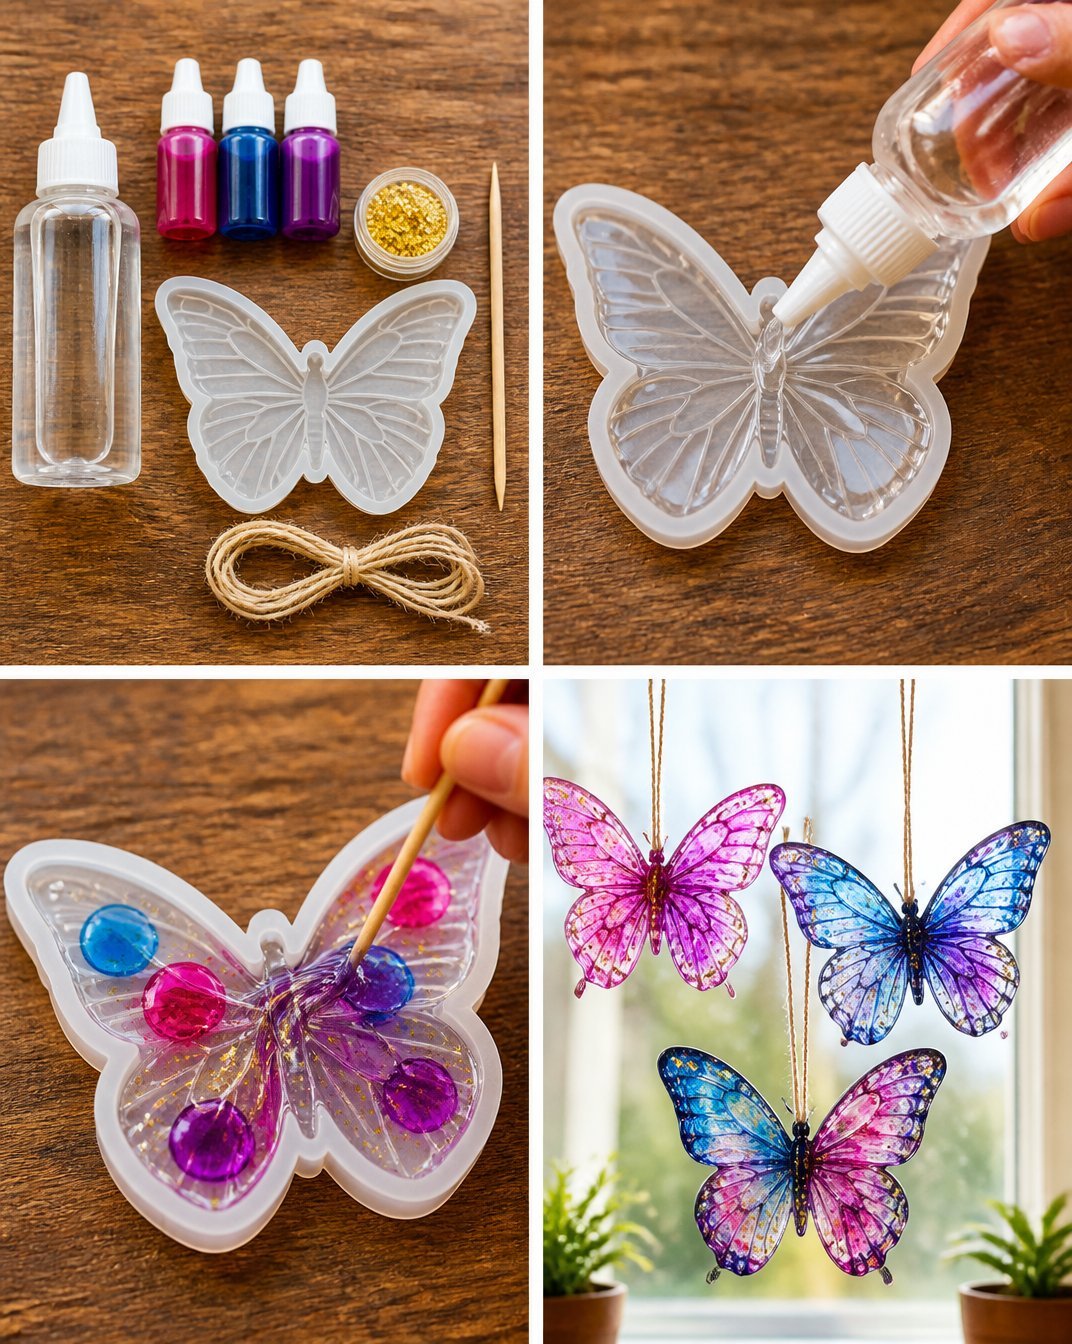
Fill the Butterflies: Start by pouring clear glue into the butterfly-shaped silicone mold, filling each shape generously without overflowing.
Add Color: Next, take your liquid watercolor and add drops of two or three colors into the glue. The colors will blend together nicely. If you are looking for some inspiration, check out our First Day Rainbow Pencil Butterfly Suncatcher project for tips on color combinations.
Swirl the Colors: Use a toothpick to lightly swirl the added colors together into the glue. Be gentle; the goal is to create a marbled effect without completely mixing the colors into one bland shade.
Add Glitter: Sprinkle a bit of glitter on top of the swirled glue. This will add a sparkling touch to your suncatcher.
Dry and Remove: Allow the butterflies to dry fully for several hours or overnight. Once dry, gently peel them out of the silicone mold.
Hang Your Suncatcher: To display your beautiful butterfly, poke a small hole at the top of your butterfly and thread a piece of string through. Hang it in a sunny spot to enjoy the colorful effect it casts on your walls.
Getting the Colors Right
Choosing the right colors is key in achieving the desired marbled effect. For a classic look, opt for a combination of warm colors like reds, oranges, and yellows. For a cooler, serene appearance, try blues and greens together. This craft can be customized further by experimenting with shades. If you’re crafting with children, guiding them through some pre-made color schemes can make it an educational experience too.
Creative Variations
Feel free to explore different shapes aside from butterflies. Consider using other silicone molds such as flowers or hearts for seasonal decorations. You could also create thematic suncatchers, like using autumn colors for fall or pastels for spring. These variations not only add diversity to your crafting but also make great gifts for loved ones.
Tips for Success
- Use Quality Materials: Always use good quality clear glue and liquid watercolors for vibrant results.
- Don’t Rush: Give the glue ample time to dry completely. Rushing this step can lead to bending or difficulty removing from the mold.
- Get Creative with Glitter: Try using different textures of glitter, like fine or chunky, to see how they affect the final look.
Frequently Asked Questions
How long should I let the glue dry?
It’s best to let the glue dry overnight to ensure that the suncatchers hold their shape properly when removed from the mold.
Can I use a different type of glue?
While clear glue is recommended for its transparency, you could experiment with other types of glue. Just be mindful that different glues might dry in different ways, affecting the final look.
What should I do if the colors blend too much?
If your colors have blended too much during the swirling step, you can try adding more contrasting colors on top of the dried glue to create a layered effect.
How can I hang my suncatcher?
Using clear string or fishing line can make your suncatcher appear to float, enhancing its visual impact. Just make sure it’s securely tied before hanging.
Are these safe for children to make?
This project is quite safe for children with adult supervision, particularly during the handling of items like scissors or when making holes for hanging.
Conclusion
Creating marbled glue butterfly suncatchers is a delightful way to enjoy a hands-on crafting experience with vibrant colors and personalized touches. For more seasonal craft ideas like suncatchers, check out this resource on fall suncatchers. Enjoy the process and watch as your creations bring joy and color to your space!
Print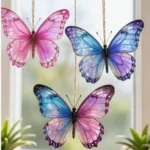
Marbled Glue Butterfly Suncatchers
- Total Time: 600 minutes
- Makes: 4 suncatchers
Description
Create stunning marbled glue butterfly suncatchers with simple materials. This fun and visually captivating craft is perfect for all skill levels.
Materials
- Clear glue
- Butterfly-shaped silicone mold
- Liquid watercolor (2-3 colors)
- Glitter
- Toothpick
- String
Instructions
- Fill the butterflies by pouring clear glue into the butterfly-shaped silicone mold, filling each shape generously without overflowing.
- Add drops of two or three colors of liquid watercolor into the glue to create beautiful blends.
- Swirl the colors together lightly with a toothpick to achieve a marbled effect.
- Sprinkle a bit of glitter on top of the swirled glue for added sparkle.
- Dry the butterflies for several hours or overnight; once dry, gently peel them out of the mold.
- Hang your suncatcher by poking a small hole at the top and threading string through to display in a sunny spot.
Notes
Use quality materials for the best results and allow ample drying time. Experiment with different colors and shapes for unique variations.