

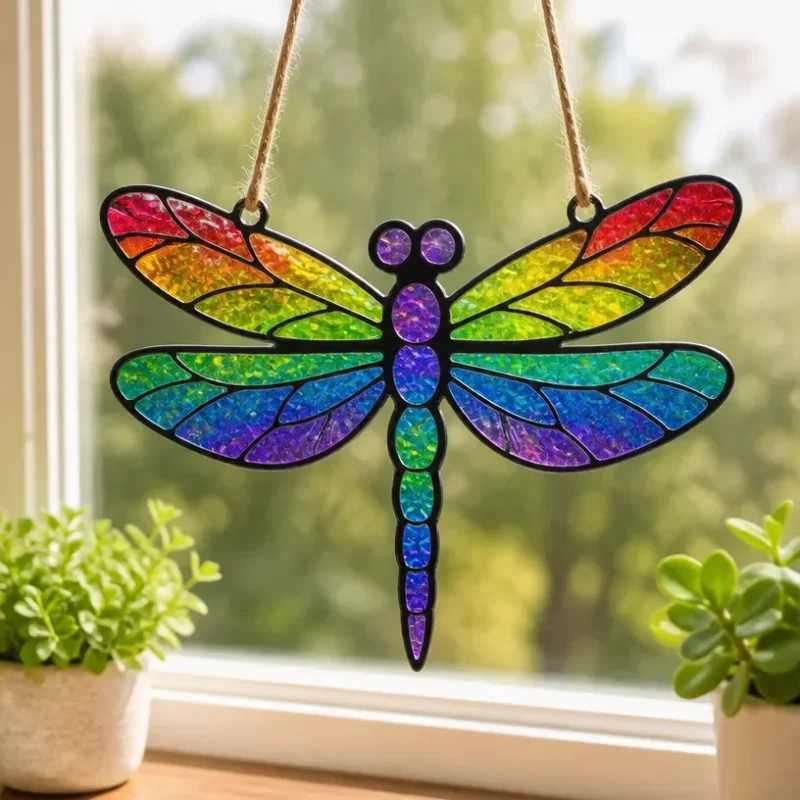
Rainbow Crystal Dragonfly Window Art
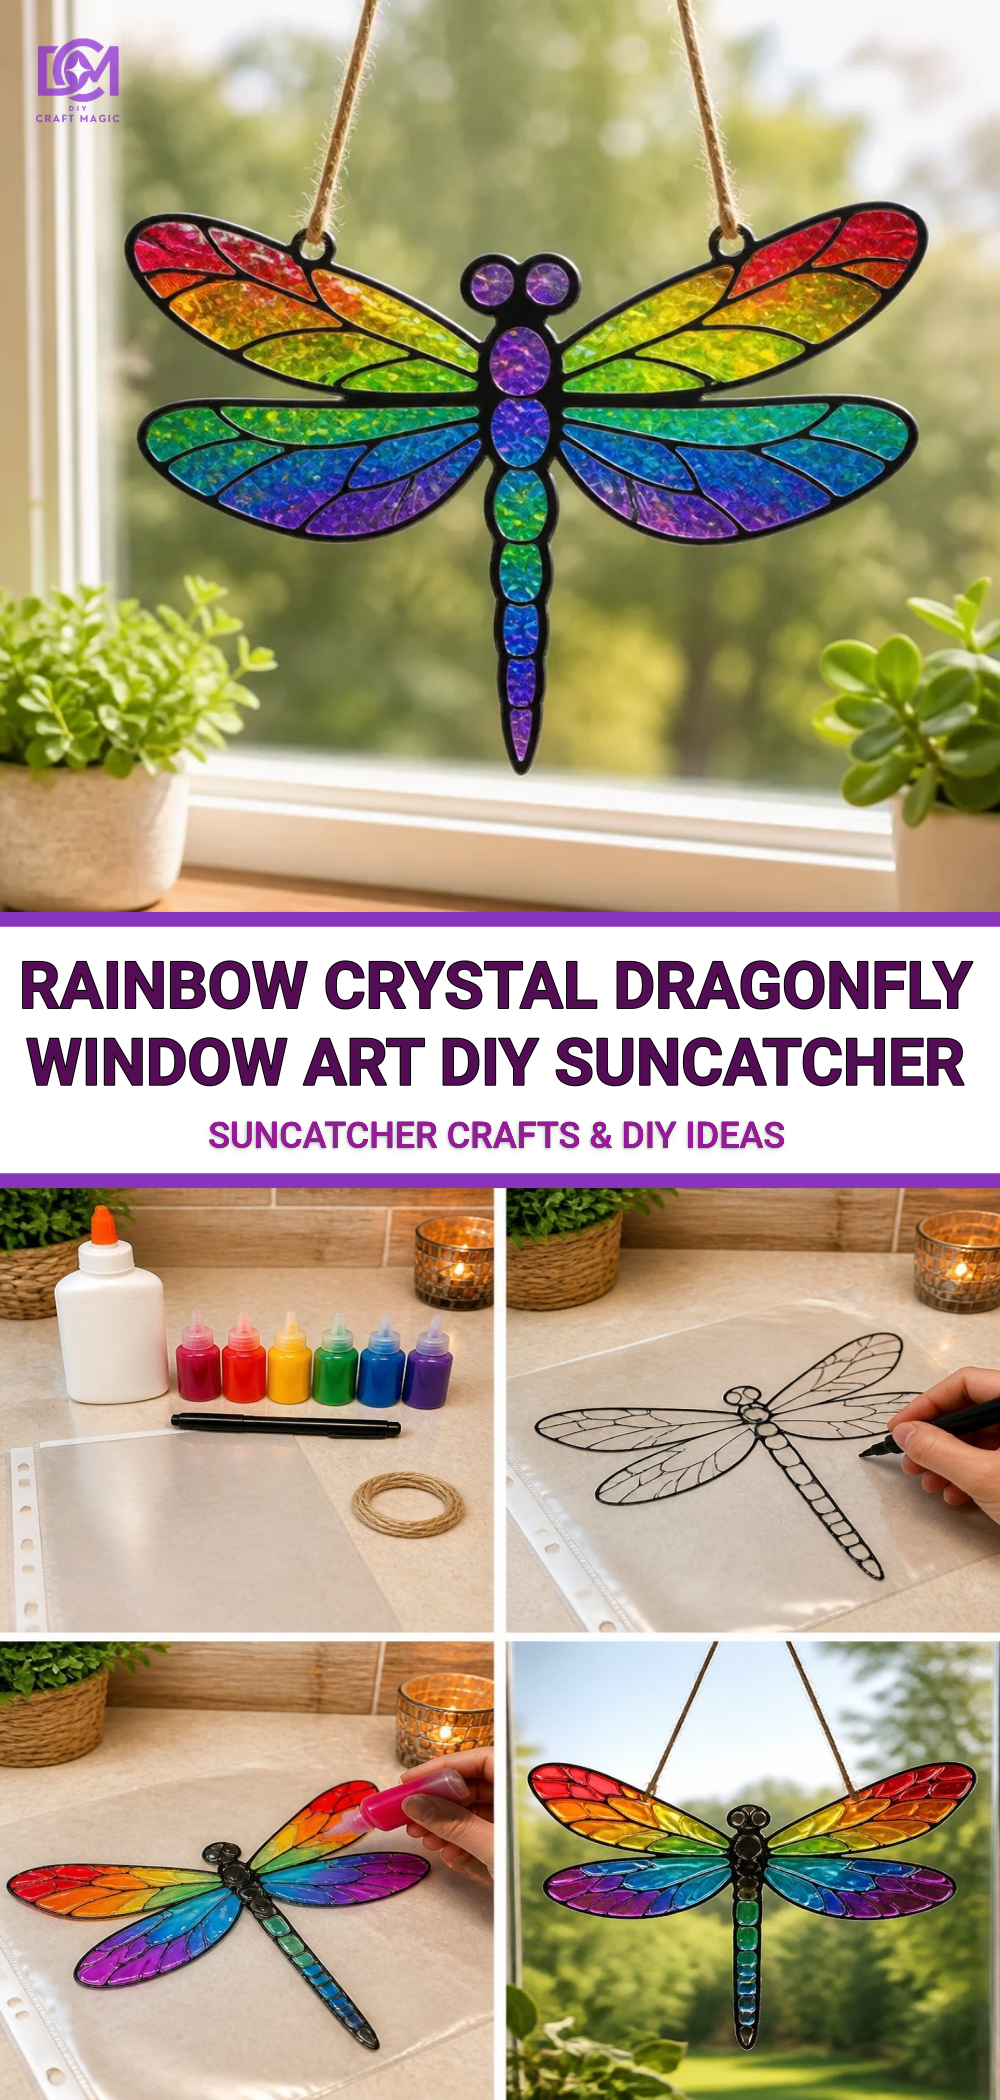
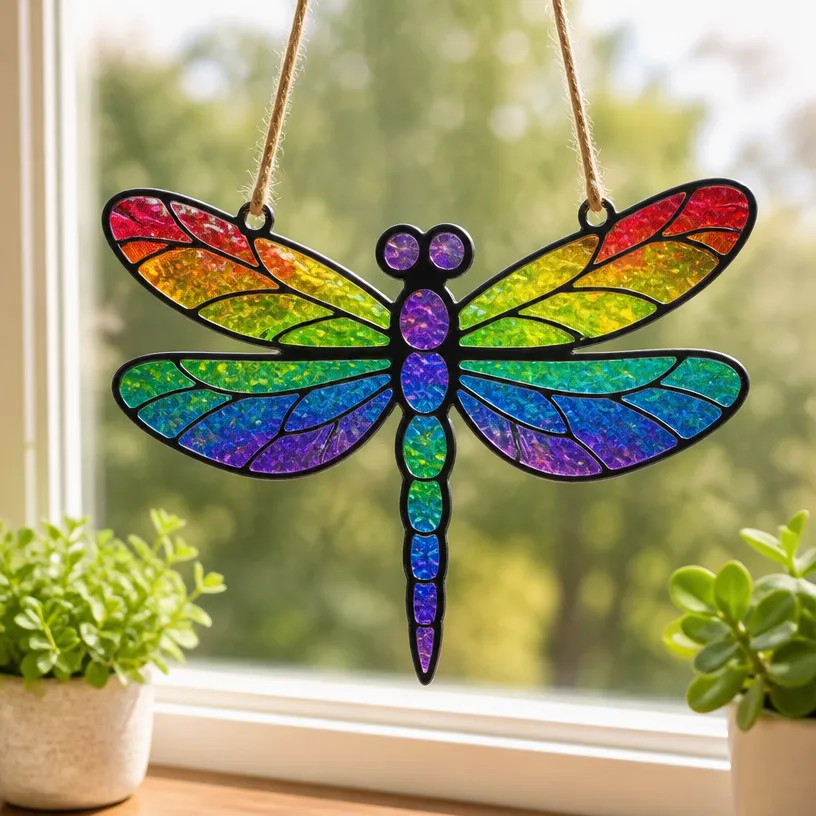
Create stunningly beautiful Rainbow Crystal Dragonfly Window Art that dances in the sunlight, adding a burst of color to any space. This easy-to-follow project uses everyday materials, transforming them into a charming piece of art that reflects light through crystal-like elements. The finished product captures attention with its shimmering, colorful design that’s sure to brighten your room. You may also find Colorful Rainbow Feather Window Decor Artwork useful.
Why You’ll Love This Project
This project is not only visually captivating but also incredibly satisfying to make. By the end, you’ll have a lovely dragonfly decoration that showcases your creativity and enhances your home. The rainbow colors blend seamlessly, creating an art piece that complements any season or occasion. If you enjoy crafting with your kids, this is a wonderful family-friendly activity that fosters creativity and togetherness. You may also find inspiration in other colorful projects, such as this Colorful Crystal Butterfly Rainbow Wings craft.
Materials You’ll Need
To create your Rainbow Crystal Dragonfly Window Art, gather the following materials: You may also find Rainbow Bubble Crystal Canvas Wall Art Diy useful.
You may also find Colorful Crystal Sea Urchins Rainbow Guide useful.
- Rainbow-colored cellophane (red, orange, yellow, green, blue, indigo, violet)
- Lightweight wire for the dragonfly body
- Scissors
- Glue or double-sided tape
- A small wooden or cardboard base (for stability)
- Optional: beads and sequins for added decoration
Before You Start
Before diving into the crafting process, ensure your workspace is well-lit and organized. This will help you manage the various colorful elements and make it easier to construct your dragonfly. Familiarize yourself with these instructions and prepare to unleash your creativity.
How to Make Rainbow Crystal Dragonfly Window Art
Step-by-Step Instructions
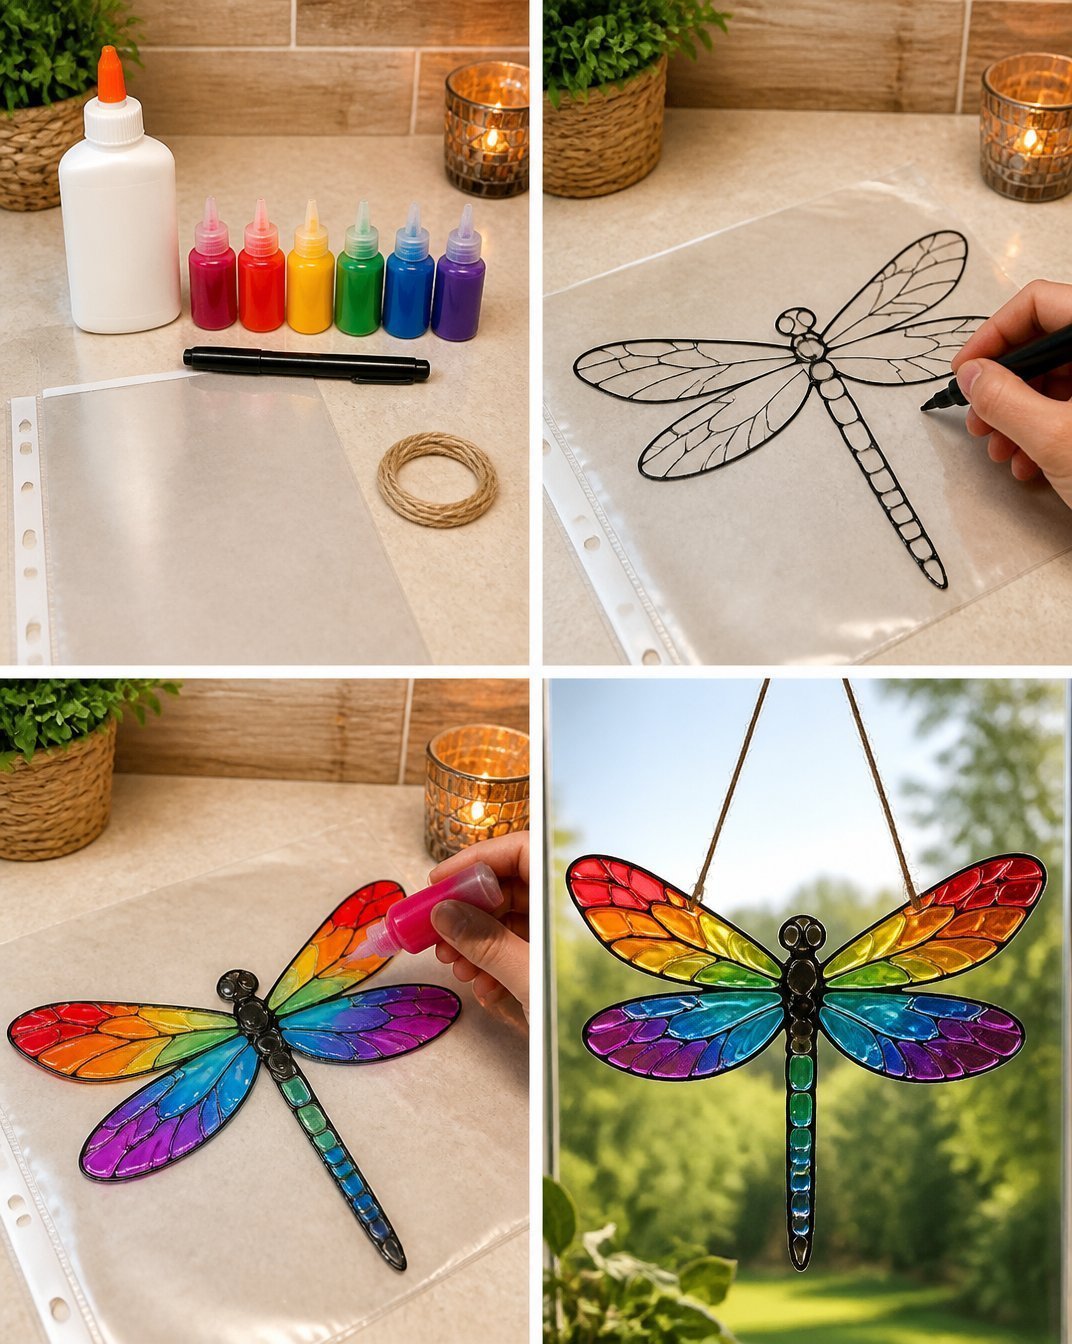
Cut the Wings: Begin by cutting out two large and two smaller wing shapes from the rainbow-colored cellophane. The larger wings will form the upper part of the dragonfly, while the smaller ones will be its lower wings. Try mixing colors for a vibrant look.
Create the Body: Using the lightweight wire, cut a piece about 12 inches long. This will form the dragonfly’s body. Fold the wire in half at the center to create a ‘V’ shape.
Attach the Wings: Start gluing the wings to the wire body, alternating colors for a stunning rainbow effect. Make sure to secure the edges so they don’t peel away.
Add Details: To enhance the visual appeal, glue beads or sequins onto the body or as accents on the wings. This will add a sparkling effect when light hits them.
Prepare the Base: Attach the completed dragonfly to your wooden or cardboard base using glue. This will keep it stable, allowing it to be displayed proudly in your windows.
Getting the Colors Right
To achieve the perfect colorful display, consider the placement of your cellophane. Play around with combinations until you find a harmonious pattern that pleases your eye. This step is crucial in making sure the final piece is not only beautiful but also reflects your unique style.
Creating the Crystal Effect
To add a crystal-like effect to your dragonfly, consider backing the cellophane pieces with translucent plastic or clear film. This will increase the shine and enhance the play of light on your artwork. You can also try layering different colors of cellophane to create depth.
Helpful Tips
- Be Patient: Allow glue and other materials to dry fully before handling your art piece to avoid any collapsing or peeling.
- Experiment with Shapes: Feel free to experiment with different shapes and sizes for the wings to personalize your dragonfly further. You can look into variations like the Borax Rainbow Crystal Bloom Tree Garden Decor for more inspiration.
Common Mistakes to Avoid
One of the most common mistakes is rushing the glueing process. Ensure everything is securely attached and dry before moving the piece. Additionally, avoid using too much glue, as this can overwhelm the delicate materials and spoil the visual effect.
Ways to Customize It
Don’t hesitate to put your personal spin on this project. You could change up the colors based on the season or occasion, or perhaps create a series of dragonflies with varying sizes for an ensemble display.
Crafting With Kids
This intricate yet simple project is perfect for children. Aside from fostering creativity, it encourages fine motor skills through cutting and gluing. Always supervise children when using scissors and glue.
Frequently Asked Questions
1. How long will my Rainbow Crystal Dragonfly last?
With proper care and if kept away from direct moisture, your creation should last for a long time. Keeping it in a stable environment will help preserve its color.
2. Can I use other colors of cellophane?
Absolutely! Feel free to explore other vibrant colors available to match your personal taste or home décor.
3. How do I display my Rainbow Crystal Dragonfly?
This beautiful piece can be hung in a window using a suction cup or displayed on a shelf. Its reflective surface looks gorgeous in sunlight.
Conclusion
With vibrant colors and a touch of creativity, your Rainbow Crystal Dragonfly Window Art will be a delightful focal point in your home. You might also consider browsing for inspiration and materials on various platforms like SUNNYCLUE 1 Box DIY Garden Suncatchers and check out unique finds like the Swarovski Crystal Dragonfly Suncatcher. Enjoy crafting!
Print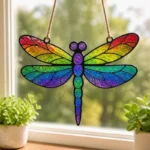
Rainbow Crystal Dragonfly Window Art
- Total Time: 45 minutes
- Makes: 1 dragonfly artwork
Description
Create stunning Rainbow Crystal Dragonfly Window Art that adds a colorful burst to any space, capturing sunlight beautifully.
Materials
- Rainbow-colored cellophane (red, orange, yellow, green, blue, indigo, violet)
- Lightweight wire for the dragonfly body
- Scissors
- Glue or double-sided tape
- A small wooden or cardboard base (for stability)
- Optional: beads and sequins for added decoration
Instructions
- Cut the Wings: Begin by cutting out two large and two smaller wing shapes from the rainbow-colored cellophane.
- Create the Body: Using the lightweight wire, cut a piece about 12 inches long and fold it to create a ‘V’ shape.
- Attach the Wings: Glue the wings to the wire body, alternating colors for a rainbow effect.
- Add Details: Glue beads or sequins onto the body or as wing accents.
- Prepare the Base: Attach the completed dragonfly to your wooden or cardboard base using glue.
Notes
Experiment with different shapes and colors to personalize each dragonfly.