


Rainbow Crystal Pumpkin Fairy Garden Decor Ideas
Create a stunning Rainbow Crystal Pumpkin Fairy Garden that shines with vibrant colors and reflective beauty. This delightful craft combines simple materials with a whimsical design to transform your garden into a magical space. The finished result features colorful, shimmering pumpkins that catch the light beautifully, making them a perfect addition to any fairy garden. You may also find Prismatic Crystal Tree Diy Rainbow Decor useful.
Why You’ll Love This Project
This project is not only visually appealing, but it’s also a fun and engaging way to get the whole family involved. The process of creating these rainbow crystal pumpkins is satisfying and allows for plenty of creativity in terms of colors and designs. Whether you choose bold, bright hues or softer pastel shades, the outcome is sure to enchant everyone who sees it. You may also find Colorful Butterfly Garden Rainbow Cupcake Liners useful.
Materials You’ll Need
Before you get started, gather the following materials:
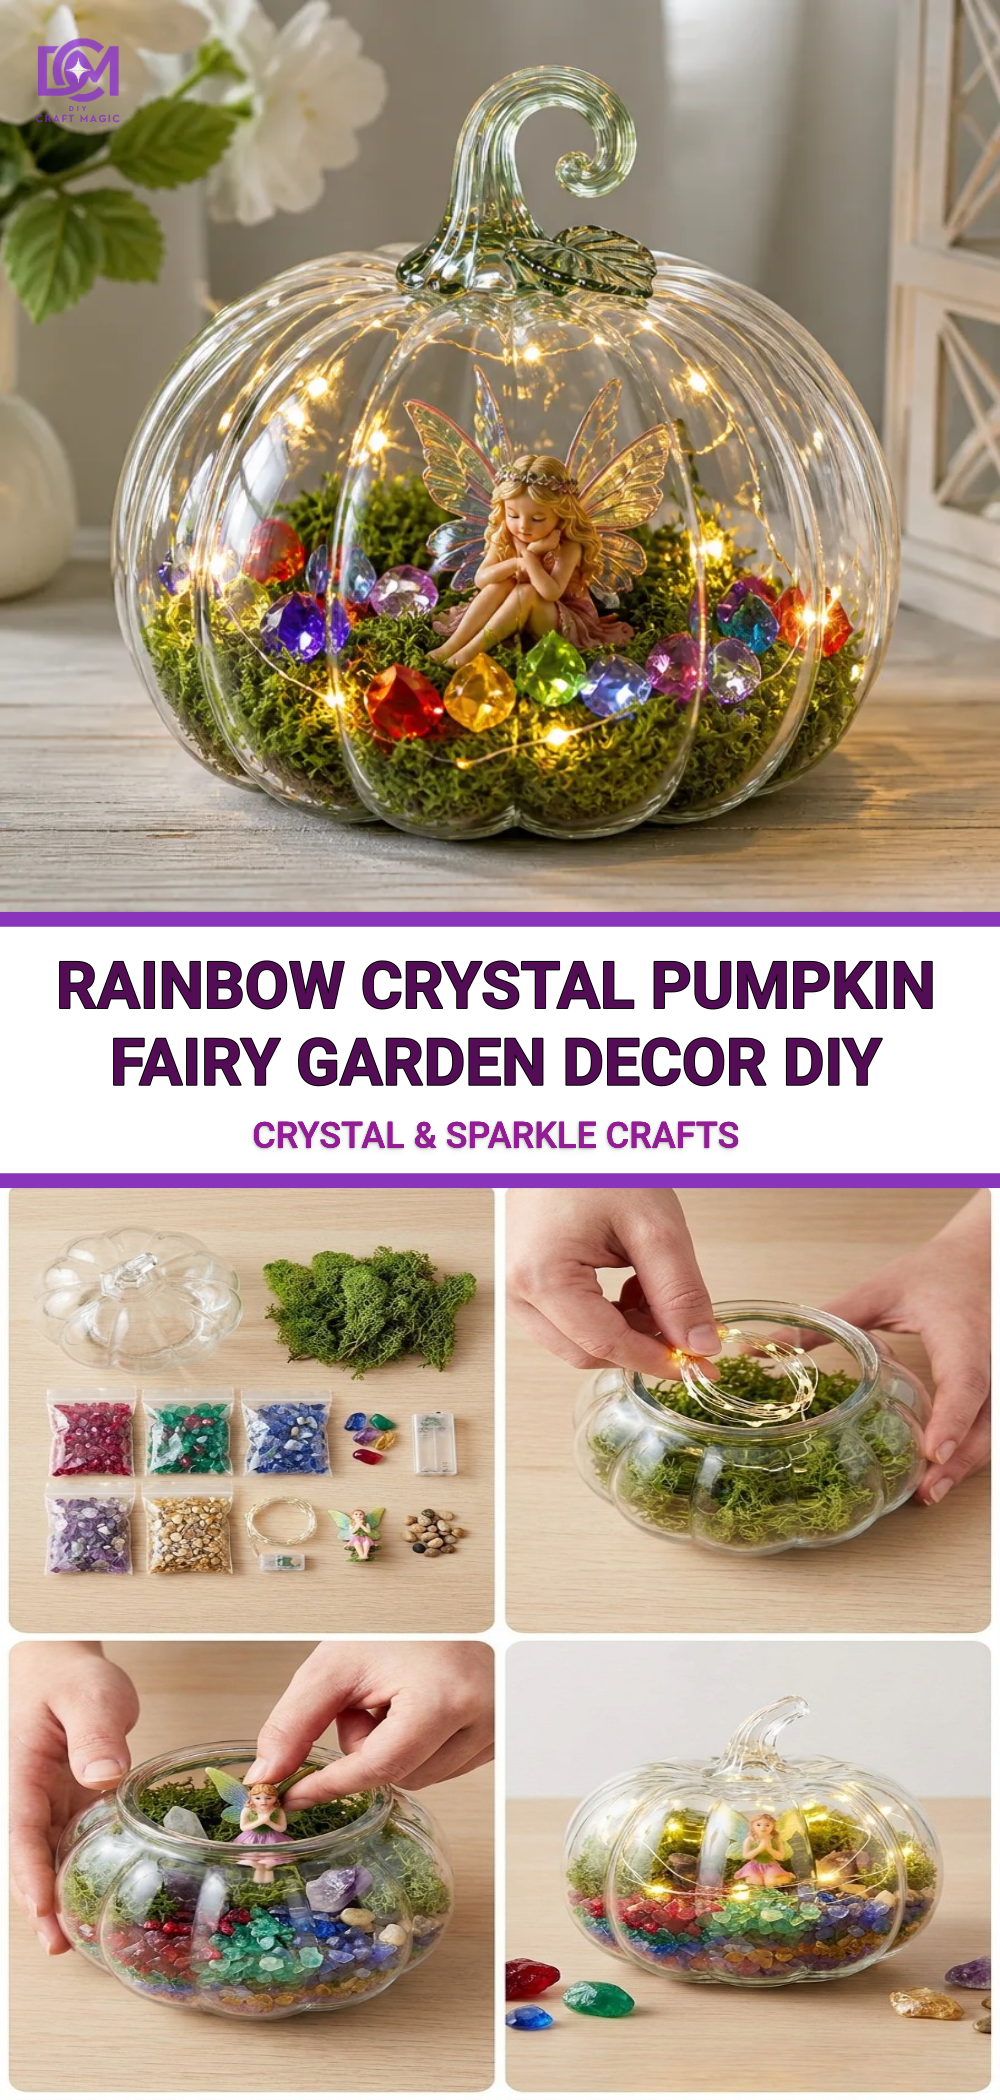
- Mini pumpkins (real or faux)
- Glossy acrylic paints in various colors
- Clear glue (like Mod Podge)
- Rainbow crystal gems or beads
- Paintbrushes
- Craft knife (if using real pumpkins)
- Sealer (optional, for added durability)

How to Make Rainbow Crystal Pumpkin Fairy Garden Decor Ideas
Step-by-Step Instructions
Prepare Your Pumpkins: If you’re using real pumpkins, carefully cut off the tops and scoop out the insides. If using faux pumpkins, you can skip this step.
Paint the Base Color: Choose a base color for your pumpkins and use a paintbrush to cover the entire surface. Make sure to apply a few layers for even coverage. Let it dry completely before moving on.
Add the Crystal Effect: Once the base color is dry, apply a layer of clear glue over the pumpkin’s surface. Sprinkle your rainbow crystal gems or beads onto the still-wet glue. This will create a dazzling effect that catches the light beautifully.
Seal the Craft (Optional): For extra durability, especially if your pumpkins will be displayed outdoors, use a clear sealer to protect your creations.
Display Your Art: Place your rainbow pumpkins in your fairy garden or any sunny spot where they can truly shine.
Creating a glow with these vibrant pumpkins can be enhanced by adding additional elements to your garden. Consider including some colorful butterfly accents, like those from colorful crystal butterfly wings for a cohesive look.
Helpful Tips
Choosing Your Colors: Think about complementary colors that will enhance your space. Mixing warm and cool tones can add depth and interest.
Layering for Texture: Don’t hesitate to layer different sizes and types of crystals for a more textured look.
Crafting with Kids: This project is family-friendly, making it a wonderful opportunity for bonding and encouraging creativity.
Common Mistakes to Avoid
Rushing Dry Times: Ensure each layer dries completely before adding another. This helps prevent smudging or mixing colors unintentionally.
Overloading on Gloss: While it’s tempting to use a lot of glue, too much can make the finish sticky or drippy. Use a light hand!
Ways to Customize It
You can make this project unique by altering the shapes of the pumpkins or even adapting the colors based on seasons. For instance, create more subdued tones for fall or vibrant hues for spring. Adding elements like an accented rainbow butterfly can provide another layer of whimsy to your garden.
Display Ideas
Set your rainbow pumpkins around your garden, on window sills, or as part of your fall décor. Incorporating them with other DIY crafts can unify your theme even more. Check out how to add these to a magical display with ideas from Borax rainbow crystal bloom trees.
Frequently Asked Questions
How can I make my pumpkins last longer?
Consider sealing your pumpkins with a weather-resistant spray if they will be displayed outdoors.
Can I use other materials instead of crystals?
Absolutely! Beads, sequins, or even glitter can work as substitutes to create different effects.
What if I want more detail on my pumpkins?
Use a fine paintbrush to add details or patterns using contrasting colors after the base coat dries.Creating rainbow crystal pumpkins for your fairy garden not only elevates the visual appeal but also invites creativity and family fun into your space. Enjoy making these wonderful decorations!
Conclusion
As you wrap up your crafting, consider adding festive elements like an 8-foot Halloween inflatable pumpkin cat for outdoor yard decoration to complement your DIY creations. If you’re looking for additional crafting kits to expand your garden’s charm, check out the AIPRIDY DIY Crystal Beaded Fairy Wand Garden Stakes Kit for delightful embellishments. Enjoy the beauty and magic of your newly crafted decor!
Print
Rainbow Crystal Pumpkin Fairy Garden Decor Ideas
- Total Time: 30 minutes
- Makes: 4-6 pumpkins
Description
Create vibrant rainbow crystal pumpkins for your fairy garden using simple materials and enjoy a magical ambiance.
Materials
- Mini pumpkins (real or faux)
- Glossy acrylic paints in various colors
- Clear glue (like Mod Podge)
- Rainbow crystal gems or beads
- Paintbrushes
- Craft knife (if using real pumpkins)
- Sealer (optional)
Instructions
- Prepare your pumpkins: If you’re using real pumpkins, carefully cut off the tops and scoop out the insides. If using faux pumpkins, you can skip this step.
- Paint the base color: Choose a base color for your pumpkins and use a paintbrush to cover the entire surface. Make sure to apply a few layers for even coverage. Let it dry completely before moving on.
- Add the crystal effect: Once the base color is dry, apply a layer of clear glue over the pumpkin’s surface. Sprinkle your rainbow crystal gems or beads onto the still-wet glue.
- Seal the craft (optional): For extra durability, especially if your pumpkins will be displayed outdoors, use a clear sealer to protect your creations.
- Display your art: Place your rainbow pumpkins in your fairy garden or any sunny spot where they can truly shine.
Notes
Consider mixing warm and cool tones for depth. This project is family-friendly and a great way to encourage creativity together.