

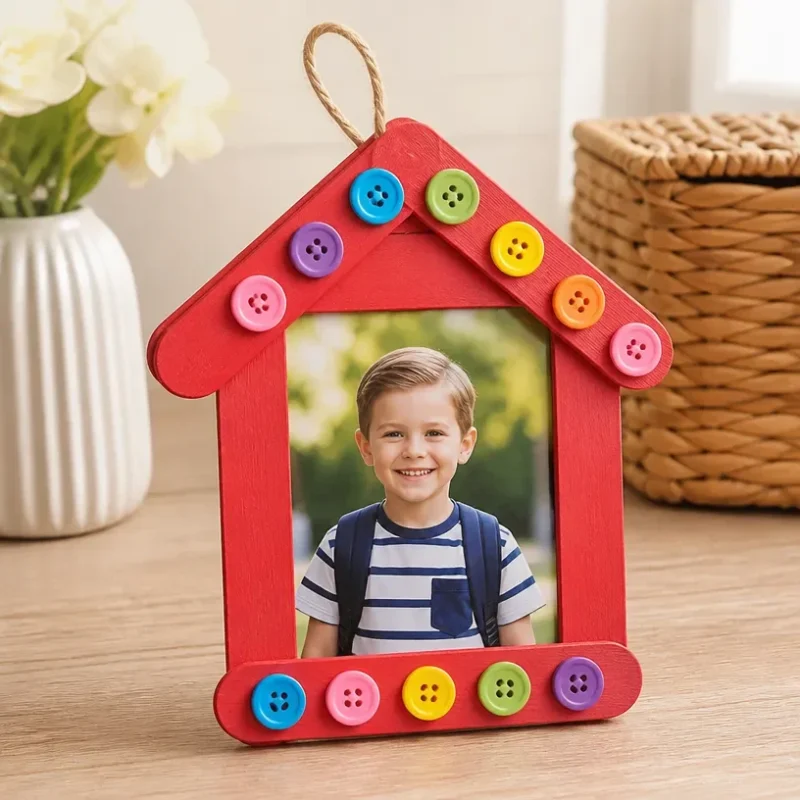
Crafting a Rainbow School Photo Frame for First Day
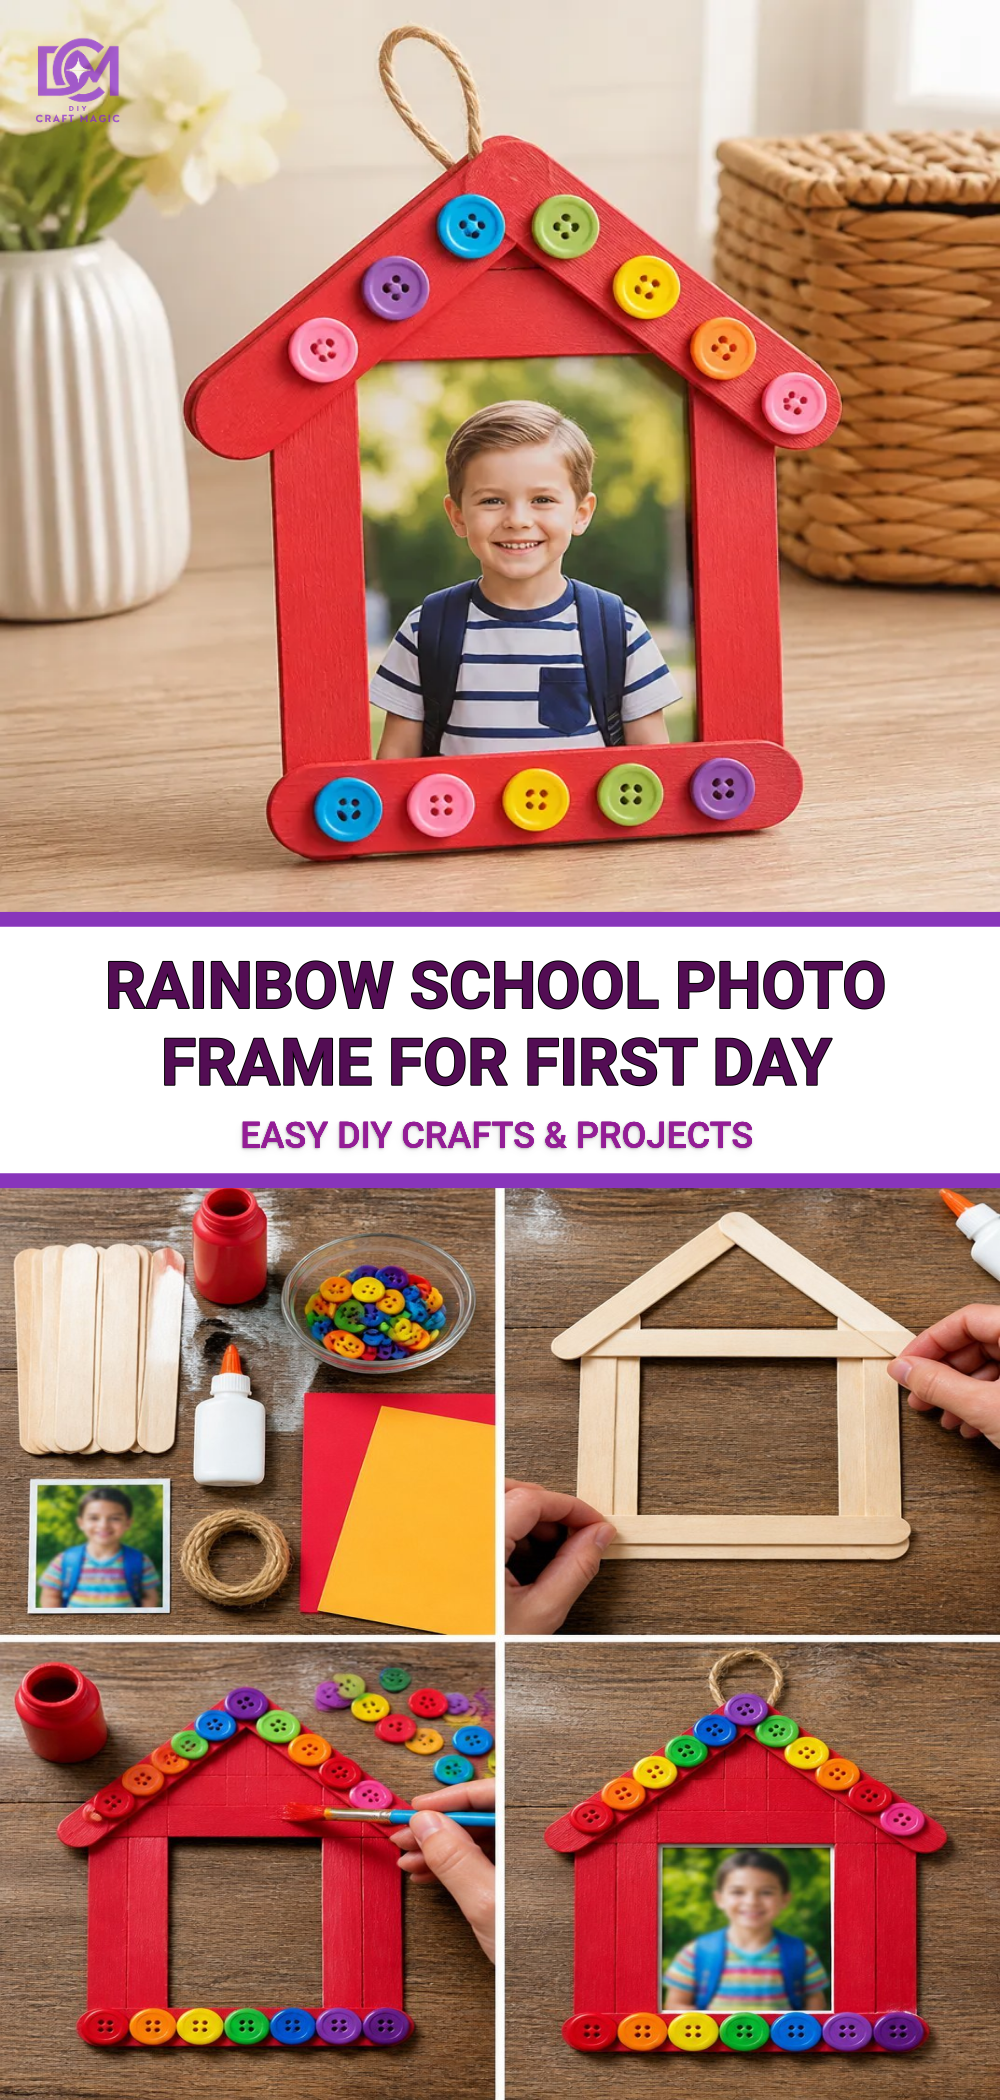
Creating a personalized Rainbow School Photo Frame for the first day of school is a delightful way to commemorate this special occasion. This charming craft not only adds a pop of color but also can be a treasured keepsake for years to come. By using simple materials and following a few easy steps, you can produce an eye-catching frame that your child will love to display their school photo in. Let’s dive into the joy of crafting! You may also find First Day Rainbow Pencil Butterfly Suncatcher useful.
Materials You’ll Need
Before we begin, make sure you have all the materials ready. Here’s a quick list: You may also find Rainbow Pencil Butterfly Suncatcher First Day Gift useful.
- A wooden or thick cardboard frame (you can also make your own)
- Acrylic paints in various rainbow colors
- A paintbrush
- A clear sealant (optional, for added durability)
- Decorative items: stickers, washi tape, or other embellishments
- A photo of your child
- Scissors
- Pencil
- Ruler
You may also find Melted Crayon Rainbow Butterfly Suncatcher For Kids useful.
Why You’ll Love This Project
This project is perfect for instilling creativity in kids while celebrating a significant moment in their academic journey. Not only do they get to enjoy the creative process, but they also get a colorful frame that reflects their personality. You can even add elements like sparkling rhinestones or glitter to enhance the frame’s visual appeal, similar to the colorful rainbow stained glass lantern for candles project that adds a magical touch to illuminate their memories.
Step-by-Step Instructions
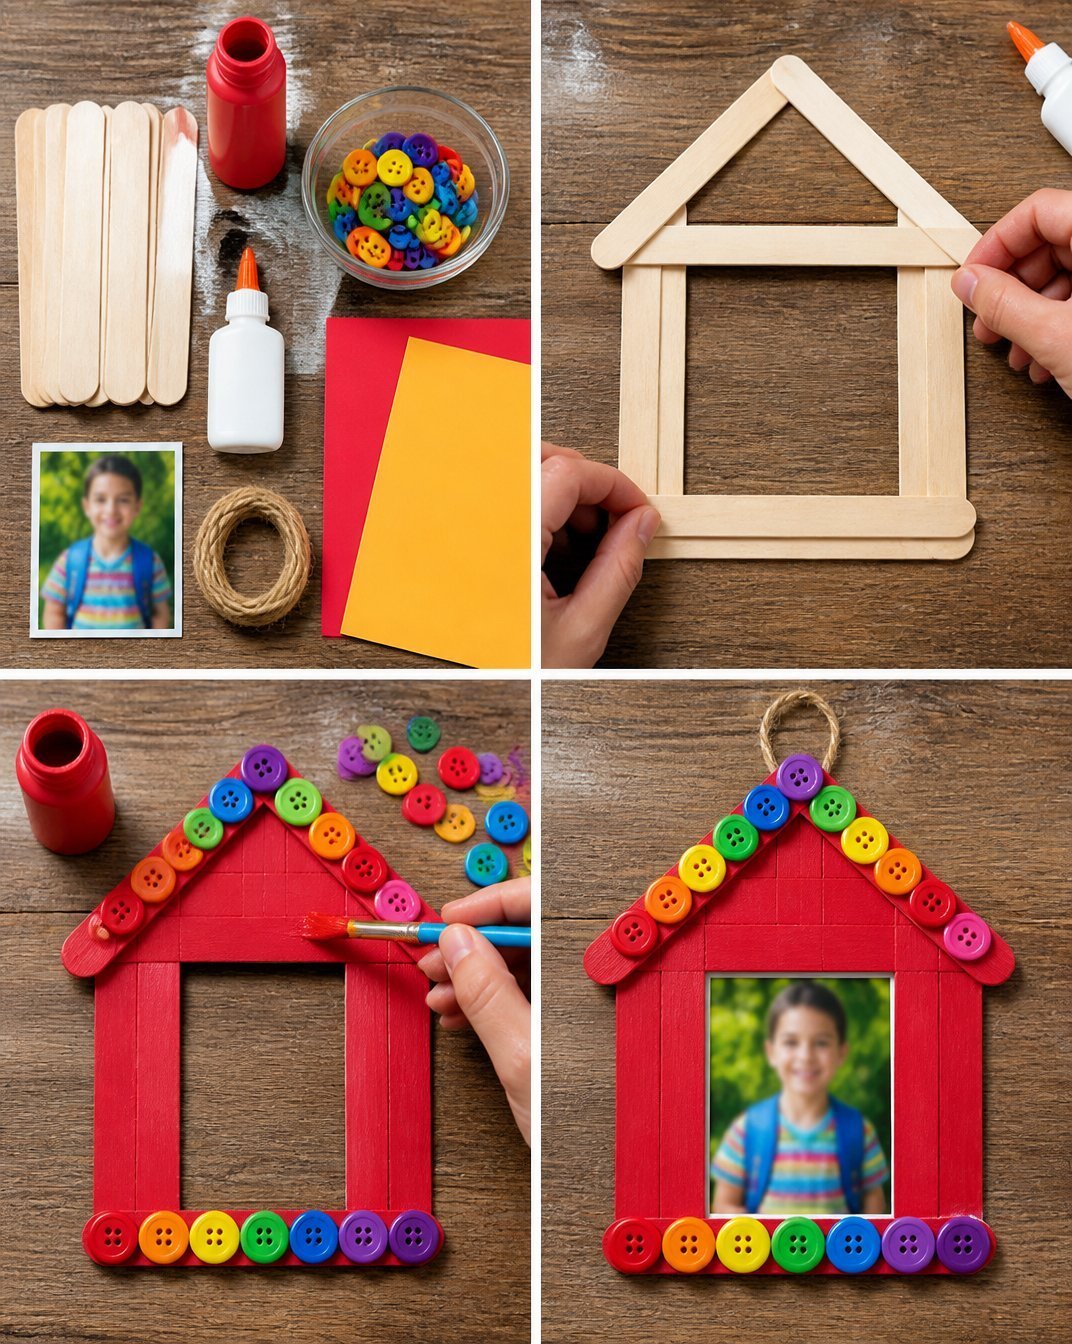
Prepare the Frame: If you’re using a wooden frame, sand it down to create a smooth surface for painting. If it’s cardboard, ensure it’s sturdy.
Paint the Base: Using a paintbrush, apply a coat of white acrylic paint. This will help your rainbow colors pop. Allow it to dry completely.
Create the Rainbow Effect: Start painting your frame with the rainbow colors. You can apply each color side by side or create a blended effect for a more artistic look. Allow each color to dry before moving on to prevent smudging.
Add Decorative Elements: Once the paint has dried, you can add stickers, washi tape, or other embellishments to enhance the artistic flair of the frame. This is where kids can truly let their creativity shine!
Seal the Frame: For added protection, you can apply a clear sealant. This is especially useful if you want to keep the frame looking fresh for years to come.
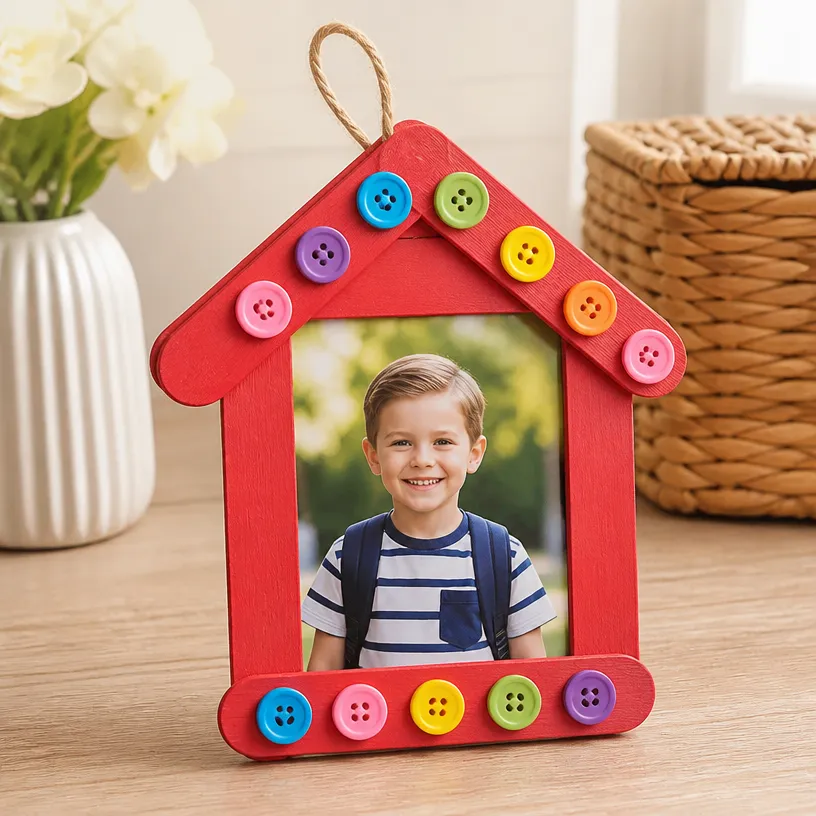
- Insert the Photo: After the frame is completely dry, insert a lovely picture of your child on their first day of school.
Helpful Tips
- Encourage kids to mix colors to create unique shades for their frames.
- If using more than one decorative element, help them space it evenly to maintain a clean look.
- For younger kids, pre-painting the frame a solid color may help minimize mess.
Common Mistakes to Avoid
- Not letting each layer of paint dry completely can lead to smudging.
- Overloading your frame with decorations can detract from its overall design. Keep a balanced approach by choosing a few focal pieces.
Ways to Customize It
This craft allows for numerous customization options. You may choose to use different colors for distinct effects. Seasonal embellishments can also be added for a unique twist think leaves for autumn or snowflakes for winter. For more rainbow-themed crafts, consider checking out the DIY rainbow mandala stones for home decor and see how you can coordinate different crafts together!
Crafting With Kids
This project is perfect for crafting with kids. It offers a fantastic opportunity for them to explore their creativity. Set up a crafting station with all materials in reach and encourage them to express themselves.
Display Ideas
Once the photo frame is complete, display it prominently on a shelf, desk, or as a centerpiece on a family bulletin board. This not only highlights their achievements but also creates a cheerful atmosphere in your home.
Frequently Asked Questions
How do I ensure the paint dries evenly?
Make sure to apply thin layers of paint and give each layer ample drying time to avoid uneven patches.
Can I use a different type of frame?
Absolutely! Any sturdy frame will work, including repurposed materials or even DIY cardboard options.
How do I make it more durable for kids?
Applying a sealant is a great way to ensure the frame holds up to wear and tear.
What if my child wants a specific theme?
Feel free to adapt the colors and decorations to match any theme or favorite colors they have!
Are there alternative materials I can use?
Yes! You can use recycled items such as bottle caps, fabric scraps, or even natural materials like twigs to craft a unique frame.ConclusionEmbrace the excitement of the first day of school by creating a beautiful Rainbow School Photo Frame together! This craft not only serves as a wonderful way to capture memories but also creates engaging family time. For added inspiration on how to make a memorable first day even more special, consider exploring these First Day of School Signs: Modern Rainbow Classroom Decor and safeguarding your cherished memories with the WaaHome My First Day of Preschool Picture Frame. Happy crafting!