

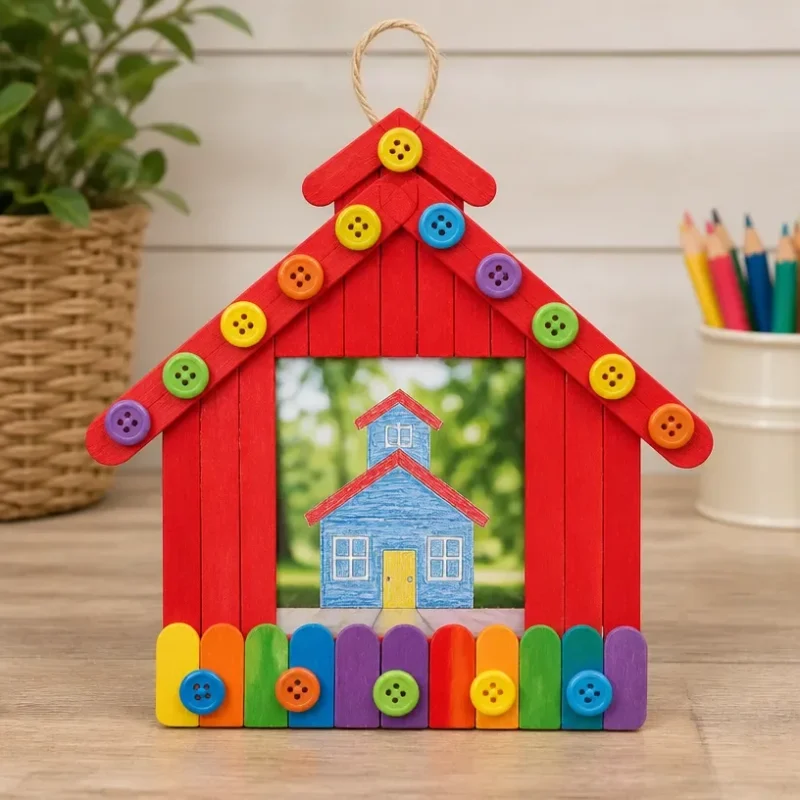
Rainbow Schoolhouse Photo Frame for First Day Memories
Create a charming Rainbow Schoolhouse Photo Frame to capture and celebrate those special first day memories! This vibrant craft not only serves as a delightful display for your child’s photo but also adds a splash of color to your home. The transformation from simple materials into a cheerful frame is both easy to achieve and satisfying, making it perfect for family crafting time. You may also find First Day Rainbow Pencil Butterfly Suncatcher useful.
Why You’ll Love This Project
This Rainbow Schoolhouse Photo Frame is not just about the end result; the crafting process is equally enjoyable. With its whimsical design featuring bright colors and playful elements, it’s an excellent way to reflect the joy of a new school year. Plus, crafting with children is a great bonding experience that enhances their creativity and fine motor skills. You may also find Diy Rainbow Mandala Stones For Home Decor useful.
Using this project, you can personalize the frame further and make it an exciting first day gift. For another wonderful gift idea, consider checking out the rainbow pencil butterfly suncatcher.
Materials You’ll Need
Before diving into crafting, gather your supplies. Here’s what you’ll need:
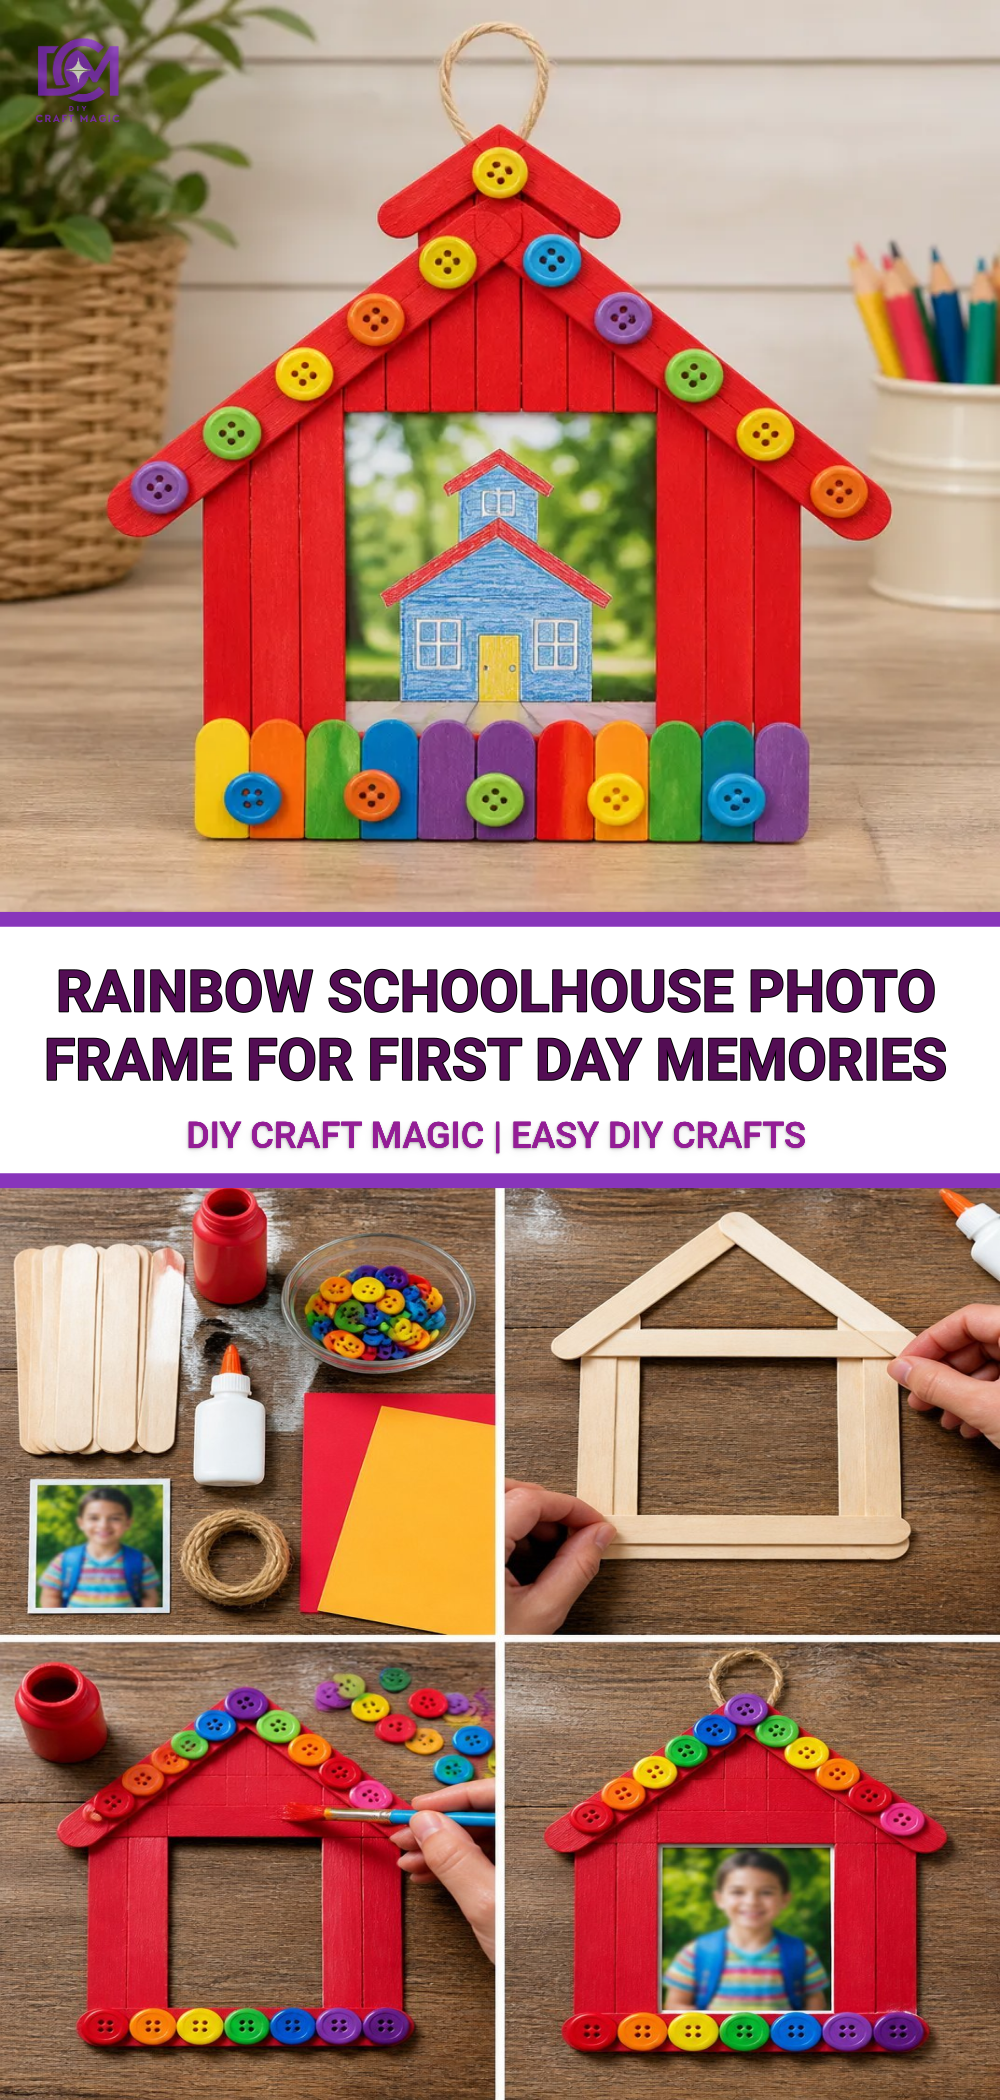
- Colorful cardstock or poster board
- Scissors
- Glue sticks or a glue gun (with supervision)
- Decorative items (e.g., stickers, markers, or glitter)
- A 4×6 inch photo of your child
- A craft knife for precise cuts
- Ruler and pencil
- Optional: clear plastic sheets for protection
How to Make Rainbow Schoolhouse Photo Frame for First Day Memories
Step-by-Step Instructions
Prepare the Base: Start by cutting your colorful cardstock into a frame shape. Measure a 4×6 inch rectangle for the photo and cut out the inner section to leave a border. This will create the frame’s edge.
Add Dimension: Take another piece of cardstock in a contrasting color and cut it slightly larger than the frame you’ve just created. This will form the backing of your frame and give it stability.
Decorate: Use your decorative items to embellish the border of your frame. Stickers of school-related icons or colorful drawings can enhance the theme. Let the children add their artistic touch, giving them a sense of ownership.
Insert the Photo: Position the photo behind the frame and secure it using glue. Make sure it’s centered properly before pressing down.
Secure the Backing: Once the photo is in place, glue the backing to the frame, ensuring everything stays snugly together.
Finishing Touches: Consider adding a layer of clear plastic over the photo to protect it, especially if you plan to display it prominently. You might find ideas for such protection in our tutorial for colorful rainbow stained glass lanterns.
Helpful Tips
- Work with Kids: Allow kids to lead in decoration to foster creativity. Use non-toxic supplies to ensure safety during crafting.
- Customize Colors: Choose their favorite colors to make the frame special!
- Display Options: Use a stand or hang your frame on the wall to showcase it properly.
Common Mistakes to Avoid
- Not measuring accurately: Ensure each cut is precise to avoid mismatched edges.
- Using too much glue: A little goes a long way. Too much glue can make the frame messy or weighty.
- Forgetting about the photo: Double-check to ensure the photo is visible before sealing the frame.
Frequently Asked Questions
How long will the frame last?
When using quality materials, such as sturdy cardstock and proper glue, your frame can last for many years! The laminated options can enhance durability as well, similar to our melted crayon rainbow butterfly suncatcher.
Can I use other types of decorations?
Absolutely! Get creative and use whatever you have on hand. Just avoid heavy decorations that might weigh down the frame.
Are there alternative sizes for the frame?
Yes, you can easily alter the dimensions to fit different photo sizes, just make sure you adjust the cuts accordingly.
Display Ideas
Once completed, this vibrant photo frame can be a lovely centerpiece on a desk or a highlight on a wall. Consider creating multiple frames to celebrate each first day of school through the years.
Customization Options
Get creative! Maybe add a little chalkboard area on the side for writing the school year or a special memory from that day. The flexibility of this craft makes it enjoyable every time you attempt it.
Why This Craft Works So Well
This craft is a fun mix of creativity, personalization, and practicality. Children can express their personalities through colors and designs, while parents can treasure the memories tied to each school year. Each frame can tell a story, capturing the essence of growing up.
Conclusion
Creating the Rainbow Schoolhouse Photo Frame is a rewarding project that not only serves as a creative outlet but also commemorates important milestones. You might also find inspiration in the playful design that makes you smile or look for a charming 1st Grade Picture Frame on Etsy for additional keepsakes. Enjoy the crafting experience and preserve those sweet first day memories!
Print
Rainbow Schoolhouse Photo Frame for First Day Memories
- Total Time: 15 minutes
- Makes: 1 photo frame
Description
Create a charming Rainbow Schoolhouse Photo Frame to capture and celebrate those special first day memories! This vibrant craft is perfect for family bonding.
Materials
- Colorful cardstock or poster board
- Scissors
- Glue sticks or a glue gun (with supervision)
- Decorative items (e.g., stickers, markers, glitter)
- A 4×6 inch photo of your child
- A craft knife for precise cuts
- Ruler and pencil
- Optional: clear plastic sheets for protection
Instructions
- Prepare the Base: Start by cutting your colorful cardstock into a frame shape. Measure a 4×6 inch rectangle for the photo and cut out the inner section.
- Add Dimension: Cut another piece of cardstock in a contrasting color slightly larger than the frame.
- Decorate: Use your decorative items to embellish the frame’s border.
- Insert the Photo: Position the photo behind the frame and secure it using glue.
- Secure the Backing: Glue the backing to the frame once your photo is in place.
- Finishing Touches: Consider adding a layer of clear plastic over the photo for protection.
Notes
Customize colors based on your child’s favorites and allow them to lead the decoration process.