

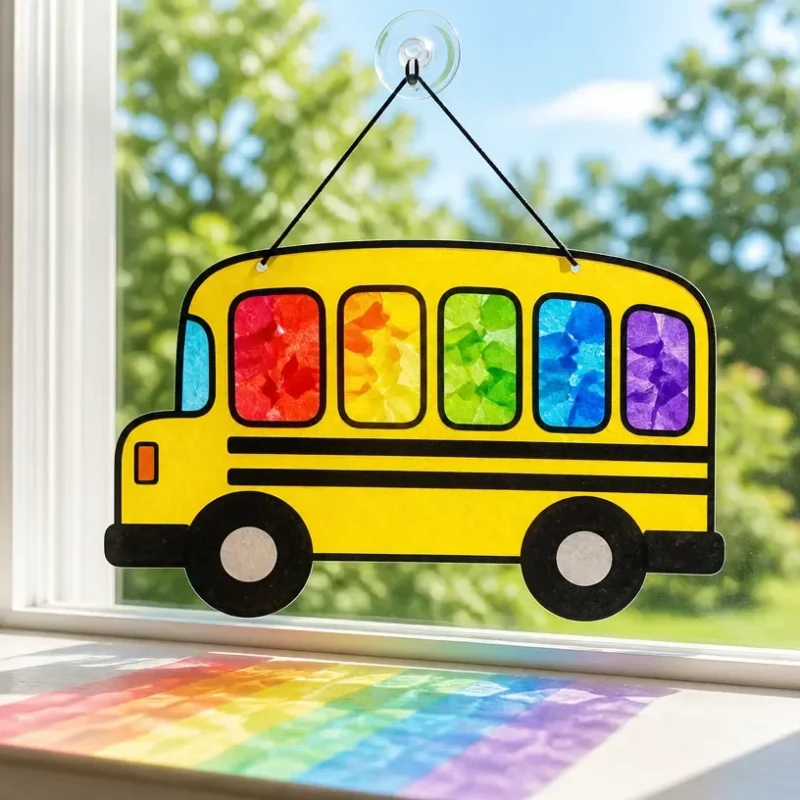
Rainbow-Themed School Bus Window Suncatcher
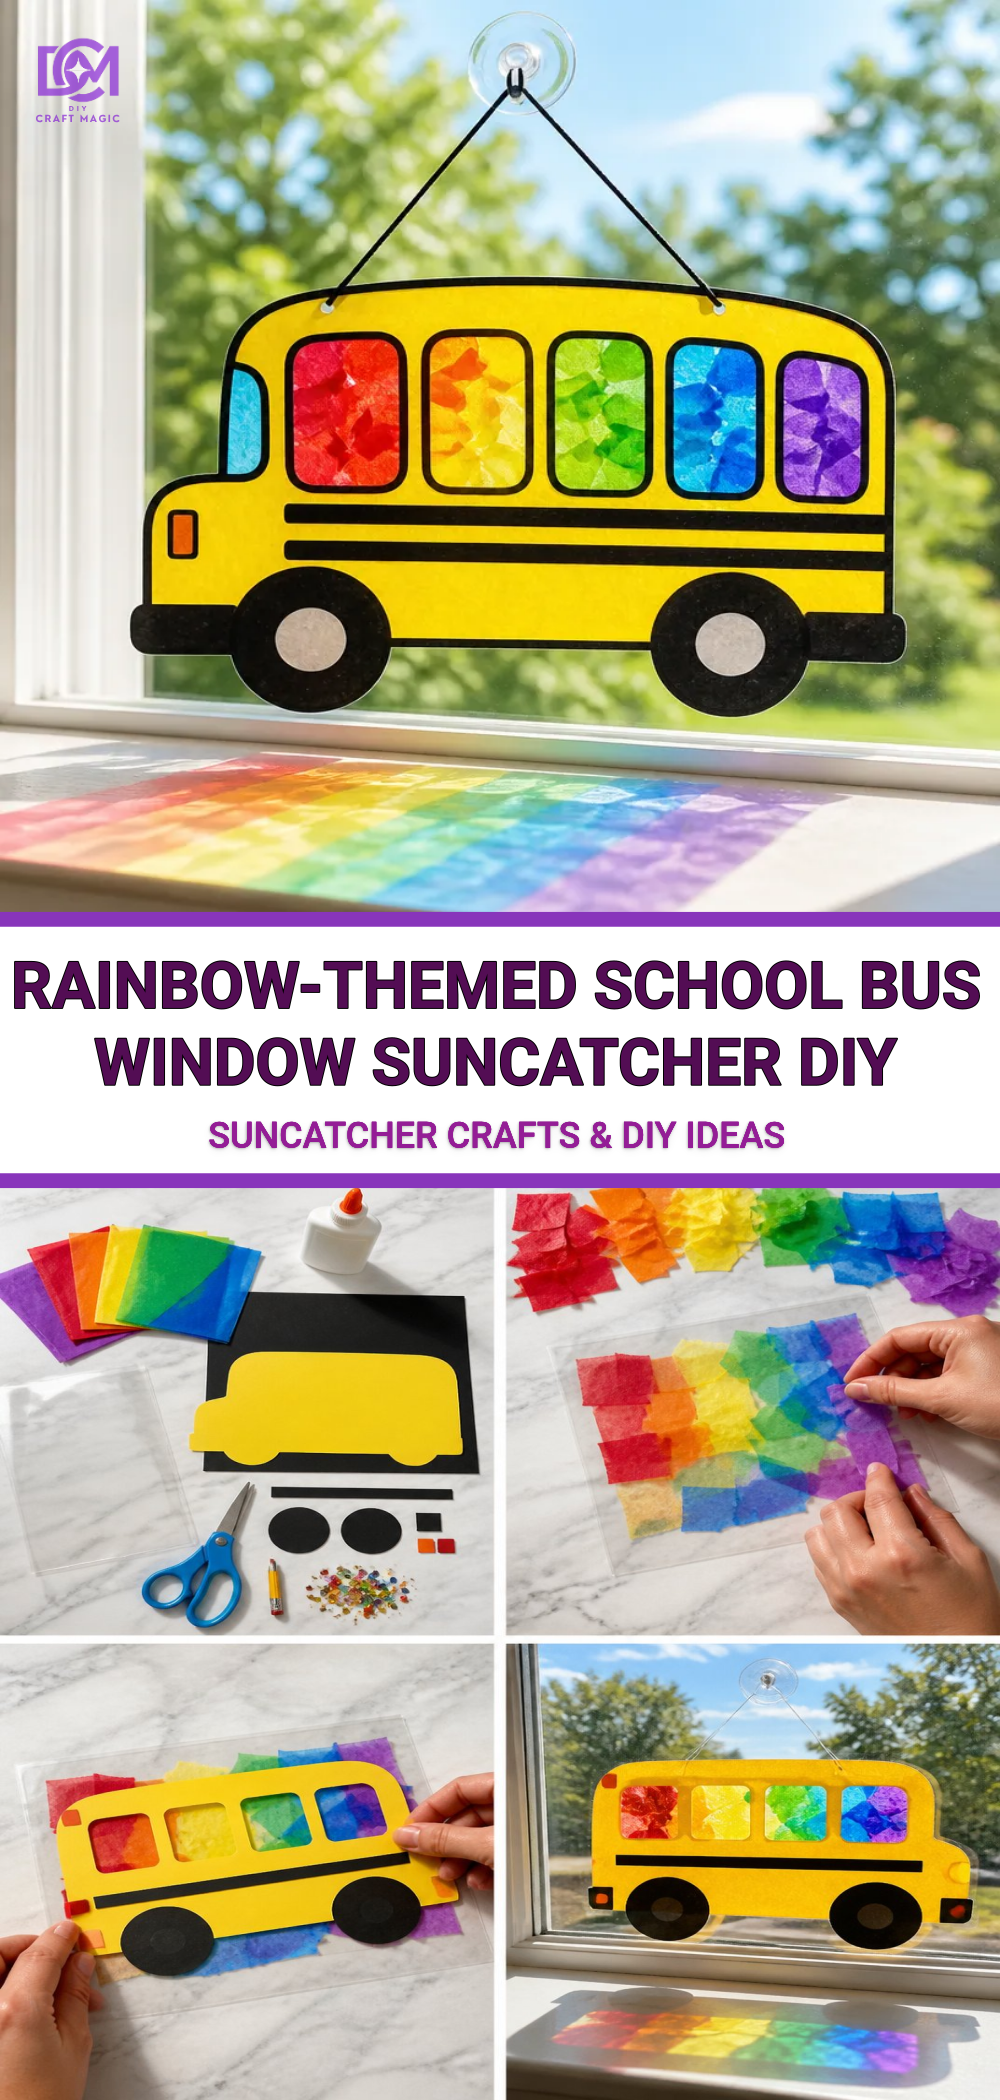
Creating a cheerful rainbow-themed school bus window suncatcher is a delightful craft project that brings a splash of color and joy to your home. The bright and glossy finish of this suncatcher reflects beautifully in the light, making it a visually engaging piece for any window. Best of all, this project is simple enough for children to join in, promoting creativity and hands-on making. You may also find Colorful Rainbow Window Suncatcher Bright Sunlight useful.
You may also find Neon Spiral Glue Suncatchers Rainbow Window Decor useful.
Materials You’ll Need
To create this charming suncatcher, gather the following materials:
- Clear adhesive glue
- Colored tissue paper (red, orange, yellow, green, blue, purple)
- A piece of clear plastic or acrylic sheet
- Scissors
- A paintbrush
- A craft knife (for adult use)
- A permanent marker
- A string or ribbon for hanging
Choosing Your Materials
For this project, it’s important to select vibrant colors that will stand out in sunlight. Tissue paper works wonderfully as it catches light beautifully. Opt for lighter shades if you want a more pastel effect, or choose rich, saturated colors for a bolder look. If you’re interested in more variations on suncatcher techniques, check out this crystal cloud raindrop suncatcher tutorial for inspiration.
Step-by-Step Instructions
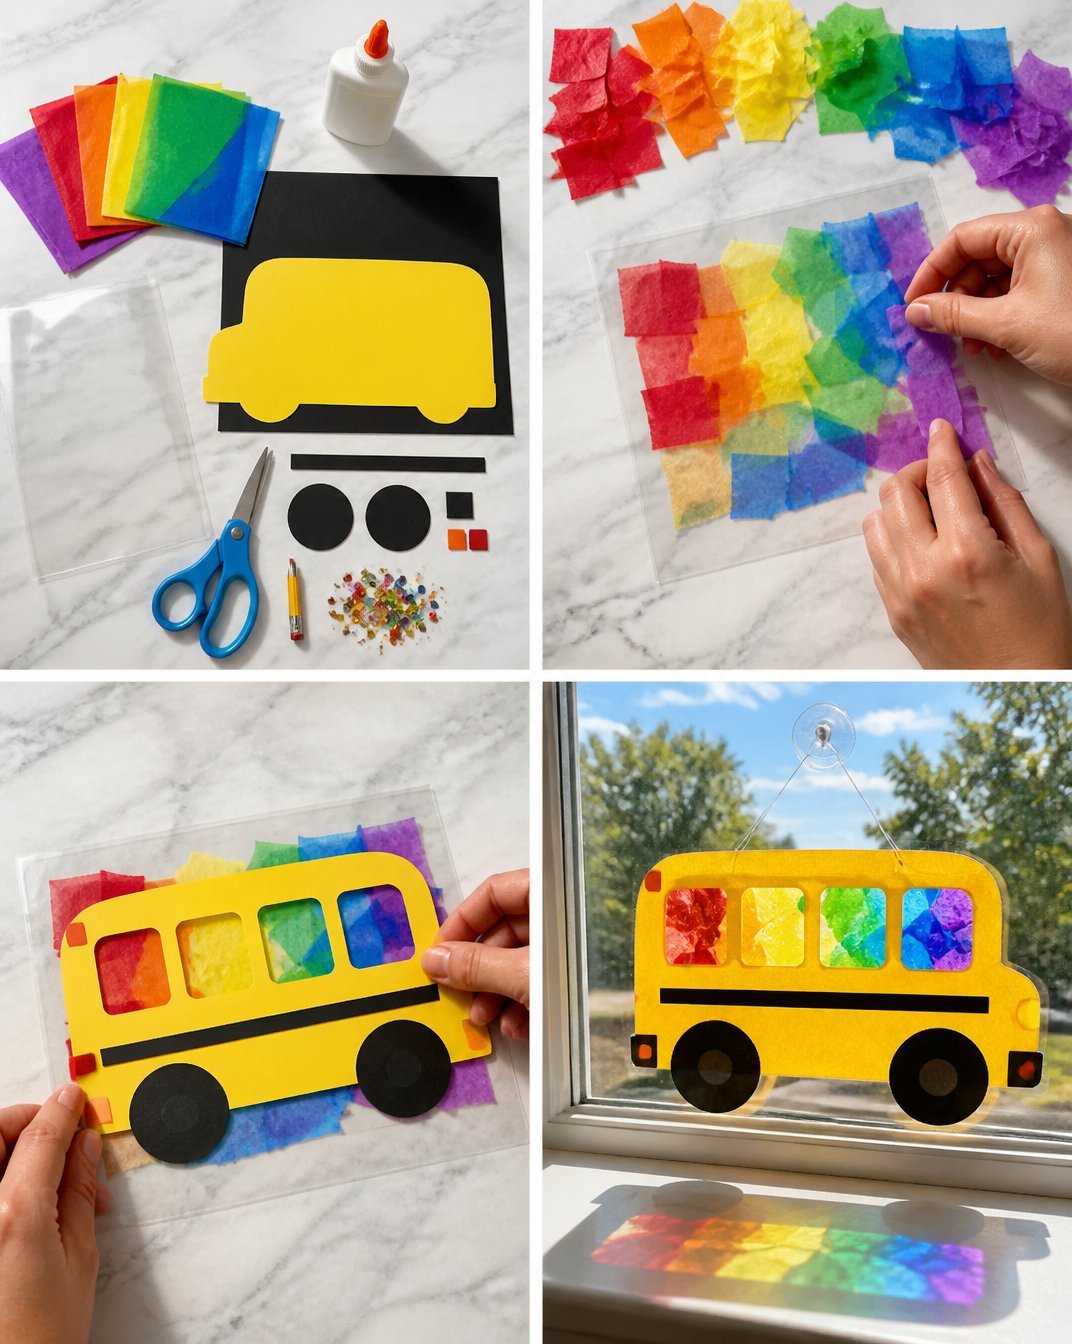
Prepare the Base: Start by cutting your clear plastic sheet into the shape of a school bus. You can use an outline of a school bus as a guide. Trace the outline onto the plastic sheet with a permanent marker.
Create the Rainbow: With your colored tissue paper, cut small squares or strips, and apply them to the bus shape. Use the paintbrush to coat the back of the tissue paper with a layer of adhesive glue. Make sure to adjust the pieces closely to create a vibrant rainbow effect.
Add Details: Once the rainbow sections are in place, use additional pieces of tissue paper to cut out details such as headlights or windows. Affix these in the same manner with glue.
Seal the Edges: After all pieces are attached and dry, apply another layer of glue over everything to seal it. This step ensures that the colors stay vibrant and helps prevent them from peeling.
Cut and Hang: Once completely dry, cut out the shape of your school bus. Make a small hole at the top and thread a string or ribbon through it for hanging.
Tips for Best Results
- Drying Time: Ensure each layer of glue dries fully before moving on to the next step. This will prevent colors from mixing unintentionally.
- Customize Your Suncatcher: To make your project even more fun, involve your children in choosing additional decorative elements, such as stickers or glitter.
- This project pairs beautifully with others; for instance, you can create a matching popsicle stick organizer to complement your suncatcher.
Display Ideas
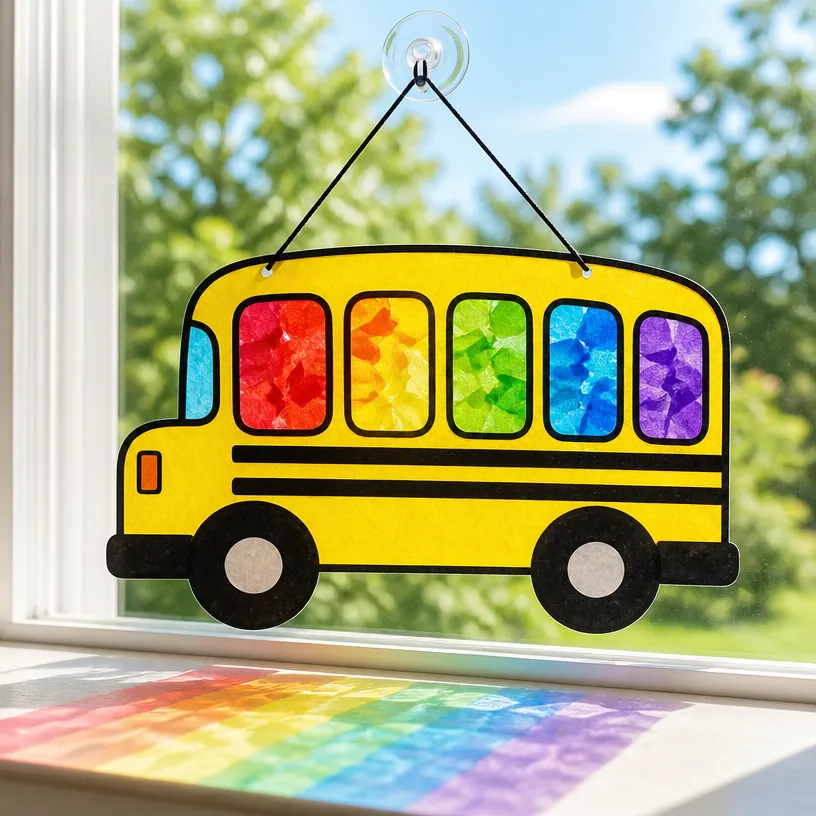
Hang your rainbow-themed school bus suncatcher in a sunny window where it can be admired from both inside and outside. This eye-catching piece can brighten up a child’s room or a classroom. You might also consider creating a series of themed suncatchers to hang together for an impactful visual display.
Common Mistakes to Avoid
- Over-saturating the tissue paper with glue can lead to a soggy texture instead of a glossy finish.
- Don’t rush the drying process. Patience is key to achieving the best appearance.
- Make sure to handle the acrylic sheet with care, as jagged edges could be sharp.
Crafting with Kids: This project not only encourages creativity but also enhances fine motor skills as children learn to cut, glue, and assemble their designs.
Frequently Asked Questions
Can I use different materials instead of tissue paper?
Yes! You can use colored construction paper or even scrapbook paper for a different look.
How can I make my suncatcher more durable?
Make sure all layers are thoroughly dried and consider using a waterproof sealant for extra protection.What colors should I choose for the best effect? Vibrant colors work best, but you can also experiment with pastels if they match your decor. You might also want to explore the pastel flower suncatcher concept for softer hues.
How do I hang my suncatcher?
Use a strong string or ribbon, and ensure it’s sturdy enough for the weight of the suncatcher.
Conclusion
This rainbow-themed school bus window suncatcher is a fun and colorful way to brighten your space while spending quality time with loved ones. It’s not just a craft; it’s a creative bonding experience. Experiment with different shapes and colors to keep the fun going. For additional ideas and inspiration, visit LalyMom’s rainbow activities or find supplies on Amazon to expand your crafting adventures!
Print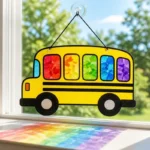
Rainbow-Themed School Bus Window Suncatcher
- Total Time: 20 minutes
- Makes: 1 suncatcher
Description
Create a delightful rainbow-themed suncatcher to brighten your home and promote creativity with this simple craft project.
Materials
- Clear adhesive glue
- Colored tissue paper (red, orange, yellow, green, blue, purple)
- A piece of clear plastic or acrylic sheet
- Scissors
- A paintbrush
- A craft knife (for adult use)
- A permanent marker
- A string or ribbon for hanging
Instructions
- Prepare the base: Cut the clear plastic sheet into the shape of a school bus, tracing the outline with a permanent marker.
- Create the rainbow: Cut small squares or strips of colored tissue paper, apply them to the bus shape using adhesive glue.
- Add details: Cut out additional pieces like headlights or windows, and attach them with glue.
- Seal the edges: Once everything is attached and dry, apply a layer of glue to seal the colors.
- Cut and hang: Once dry, cut out the school bus and make a hole at the top to thread a string or ribbon for hanging.
Notes
Ensure each layer of glue dries fully before moving on to the next step to avoid mixing colors. Involve children in choosing decorative elements like stickers or glitter for more fun.