

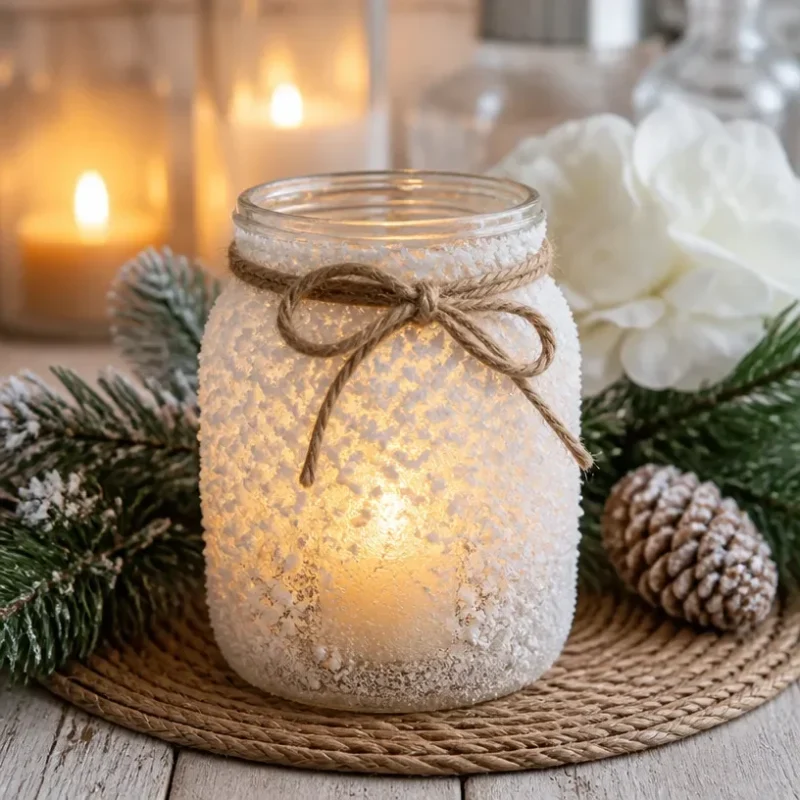
Crafting Snowy Wedding Lanterns: Winter Wedding Decor Ideas
Welcome to a delightful adventure in craftsmanship where you can create gorgeous snowy wedding lanterns that will add a magical touch to your winter wedding decor. These lanterns exude a frosted elegance, perfect for twinkling candlelight and a soft, dreamy ambiance. The process is intuitive and satisfying, turning simple materials into stunning decorations that enhance your special day. You may also find Borax Rainbow Crystal Bloom Tree Garden Decor useful.
Materials You’ll Need
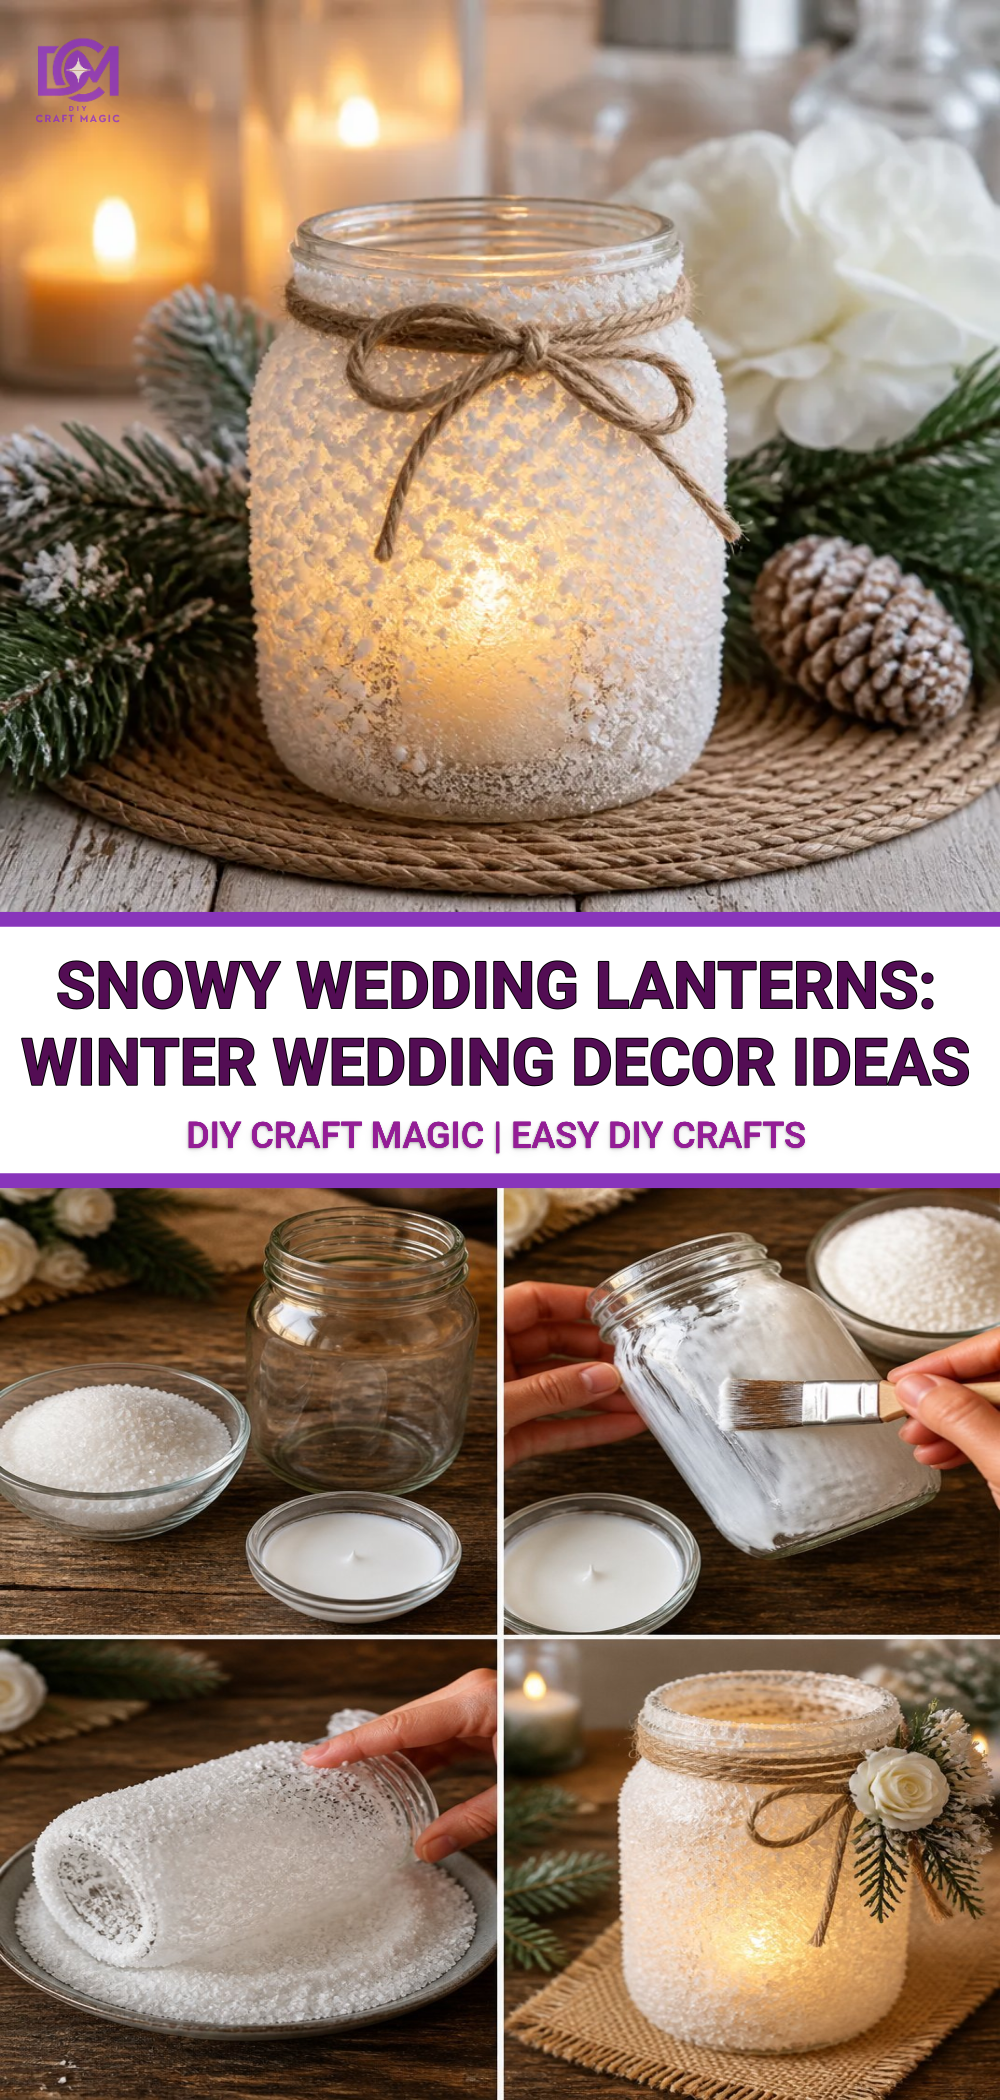
Before you get started, gather all the materials to ensure a smooth crafting experience. Here’s what you’ll need: You may also find Colorful Ocean Jar Decor Rainbow Glass Jar Coastal Homes useful.
You may also find Colorful Rainbow Feather Window Decor Artwork useful.
- Lanterns (either glass or metal)
- White craft paint or spray paint
- Fake snow or cotton batting
- Hot glue gun and glue sticks
- Paintbrush
- Decorative elements (like pinecones, ribbons, or dried flowers)
- LED tealight candles or fairy lights
Why This Craft Works So Well
Creating snowy wedding lanterns is a fantastic way to personalize your wedding decorations with a crafty twist. The blend of glossy paint and realistic fake snow will give your lanterns a beautiful, wintery finish. Plus, using items readily available at craft stores makes this project approachable for crafters of all skill levels.
For those looking to encompass winter magic in other forms, consider exploring rainbow-colored snowflake window clings to complement your lanterns.
Step-by-Step Instructions
1. Prepare Your Lanterns
Start by giving your lanterns a good cleaning to remove any dust. If they are glass and you want a frosted look, apply a layer of white craft paint or spray paint. Allow them to dry completely.
2. Add the Fake Snow
Once the paint is dry, take your hot glue gun and apply a thin layer of glue around the rim of the lantern. Then, sprinkle fake snow or cotton batting over the glue. Press gently to attach it securely while creating the effect of freshly fallen snow.
3. Personalize Your Lanterns
This is where your creativity can shine! Attach decorative elements to the lanterns using hot glue. Pinecones and dried flowers can enhance the winter theme. Consider using ribbons or even embellishments made from nature that resonate with the season.
4. Insert Lighting
Now, it’s time to brighten up your snowy lanterns! Place an LED tealight candle or fairy lights inside the lantern. When lit, they will cast a warm, inviting glow through the frosty decorations, creating a truly enchanting atmosphere for your wedding.
5. Display Ideas
You can make a stunning arrangement by grouping several snowy wedding lanterns together. Place them on tables, along walkways, or even around the altar. For a cute seasonal touch, consider adding flower pot covers nearby.
Helpful Tips
- Layering Snow: For a more realistic effect, layer different types of fake snow fluffy cotton batting can mimic soft snow, while larger chunks can represent untouched drifts.
- Weather Resistance: If your wedding is outdoors, ensure your lanterns are sealed against the elements by using waterproof materials.
- Coordinating Colors: Choose colors that complement your wedding palette to create a cohesive look throughout your decor.
Common Mistakes to Avoid
- Overloading Decorations: While it’s tempting to add many embellishments, focus on a few key pieces to avoid an overwhelming look.
- Ignoring Weight: Ensure the lanterns are stable, particularly if using lighter materials. You might need a heavier base if placed on windy outdoor tables.
Crafting With Kids
If you’d like to include your children in this project, consider simplifying by using paper lanterns instead. They can have a blast painting and decorating their creations. This engaging activity can lead to beautiful child-made decorations at your wedding!
Conclusion
Transforming simple materials into dreamy, snowy wedding lanterns allows you to create a personal touch for your winter celebration. If you’re looking for expert tips to craft additional winter decor, consider checking out this DIY winter terrarium idea for more inspiration. Alternatively, explore 29 awesome winter wedding ideas to elevate your decoration game even further. Enjoy your crafting journey!
Print
Snowy Wedding Lanterns
- Total Time: 20 minutes
- Makes: As many lanterns as desired
Description
Create gorgeous snowy wedding lanterns that enhance your winter wedding decor with a magical touch.
Materials
- Lanterns (glass or metal)
- White craft paint or spray paint
- Fake snow or cotton batting
- Hot glue gun and glue sticks
- Paintbrush
- Decorative elements (pinecones, ribbons, or dried flowers)
- LED tealight candles or fairy lights
Instructions
- Prepare your lanterns by cleaning them and applying a layer of white paint for a frosted look. Allow to dry.
- Add a thin layer of glue around the lantern rim and sprinkle fake snow or cotton batting over it.
- Personalize by attaching decorative elements with hot glue to enhance the winter theme.
- Insert an LED tealight candle or fairy lights inside the lantern for illumination.
- Display by grouping multiple lanterns together on tables, walkways, or around the altar.
Notes
For added realism, layer different types of fake snow. Ensure lanterns are weather-resistant if used outdoors.