

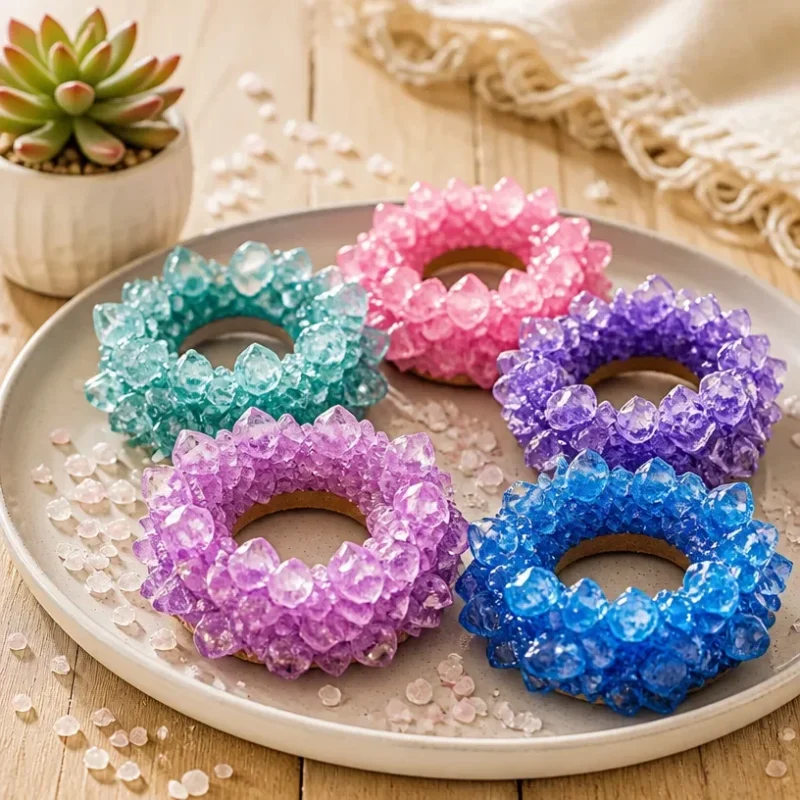
Stunning Salt Crystals for Home Decor
Creating stunning salt crystals for home decor is not only a visually pleasing project but also a highly approachable one. The beautiful crystals can add a touch of color and texture to any space, and making them is an involving and satisfying process. By following simple steps, you’ll be able to transform basic materials into eye-catching crystal displays that brighten your home. You may also find Diy Rainbow Mandala Stones For Home Decor useful.
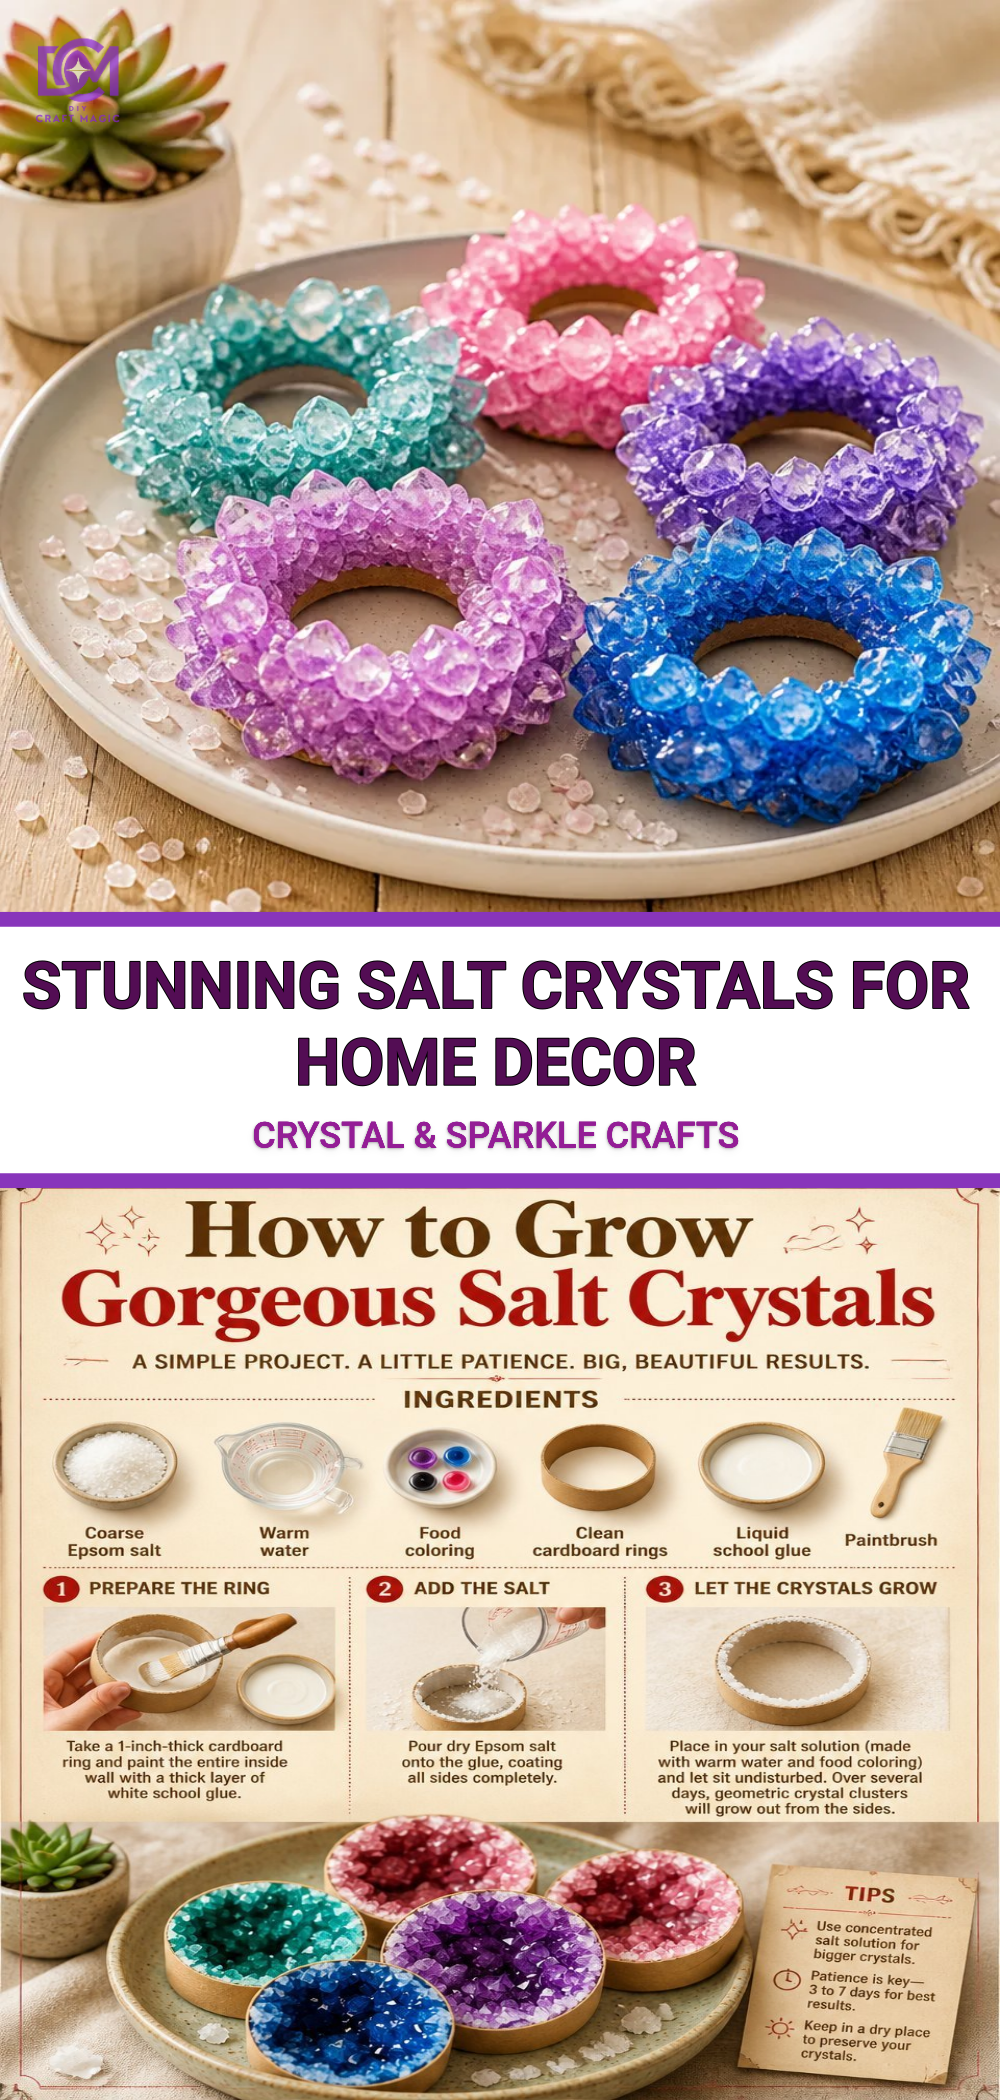
You may also find Diy Crystal Starfish Geodes Seaside Home Decor useful.
Materials You’ll Need
To complete this project, gather the following materials: You may also find Iridescent Lantern Magical Glow Home Decor useful.
- Epsom salt or sea salt
- Water
- Food coloring (your choice of colors)
- Clear containers or jars
- String or twine (for hanging, if desired)
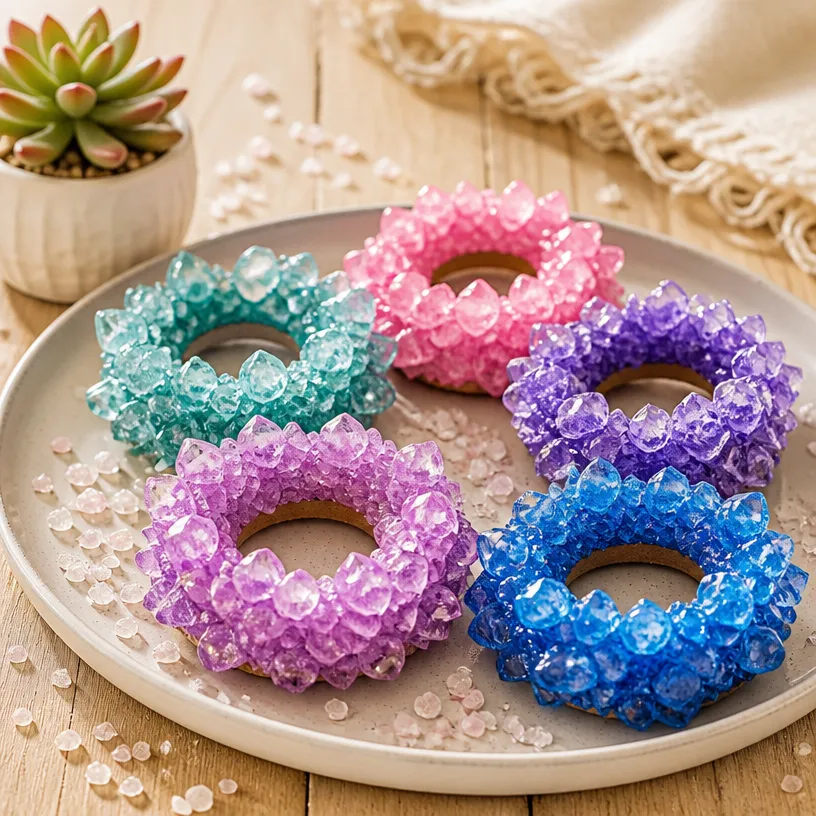
These materials are easy to source, and the crafting process is simple enough for children to join in as well.
How to Make Stunning Salt Crystals for Home Decor
Step-by-Step Instructions
Prepare the Solution: In a pot, combine water with a generous amount of salt. Heat the mixture on the stove, stirring until the salt fully dissolves. The more salt you use, the larger your crystals will grow. Keep in mind that using Epsom salt can yield a more delicate crystal appearance.
Add Color: Once your mixture is fully dissolved, remove it from heat and let it cool for a few minutes. Add drops of food coloring to the salt solution until you reach your desired shade. If you’re looking for multi-colored crystals, you might want to divide the solution into separate containers and color each batch differently.
Pour into Containers: Carefully pour the colored salt solution into your clear containers or jars. Leave some space at the top to allow for evaporation.
Create Crystals: Now comes the waiting game! Set the containers in a spot where they won’t be disturbed. Over several days, the salt will begin to crystallize as the water evaporates. This step is crucial, so be patient.
Check Progress: After a few days, you can check on your salty creations. If you want the crystals to grow larger, leave them undisturbed for a bit longer. You can also explore variations by trying out different container shapes or experimenting with multiple colors!
Crafting with salt crystals can be paired wonderfully with other home decor projects. If you want to explore more complementary ideas, consider checking out Rainbow Salt Painting Jellyfish for vibrant decor options.
Tips for Getting the Best Result
- Temperature: Ensure the mixture is not too hot when pouring into the containers to avoid cracking glass.
- Location: Place your jars in an area with good air circulation to promote faster evaporation.
- Stirring: If your crystals appear cloudy, a gentle stir after cooling can help them grow clearer.
Ways to Customize It
You can personalize your salt crystal project in a variety of ways:
- Shape and Size: Use different container shapes to create varied crystal designs. Mini jars or larger bowls can create different visual impacts.
- Add Embellishments: Consider adding decorative elements to the jars such as shells or twine around the rim for extra flair.
- Seasonal Themes: Adapt the color palette or container style based on the season; pastel colors for spring, warm tones for autumn, or icy blues for winter.
Display Ideas
Your stunning salt crystals can be displayed in numerous ways:
- Table Centerpieces: Use larger jars filled with colored crystals as vibrant centerpieces.
- Window Displays: Hang smaller jars in windows to catch the sunlight and cast colorful reflections.
- Gift Giving: These unique creations can also serve as thoughtful homemade gifts for friends and family.
If you’re interested in other ways to enhance your home with colorful projects, you might also enjoy Colorful Ocean Jar Decor for a coastal touch.
Frequently Asked Questions
How long do the crystals take to form?
Typically, it takes about 3-7 days for the salt crystals to form, depending on the humidity and temperature of your environment.
Can I use table salt instead of Epsom or sea salt?
Yes, you can use table salt, but the crystal structure may differ, resulting in less aesthetically pleasing crystals.
What should I do with the crystals once they’re formed?
Once your crystals have formed, you can leave them in the jars as beautiful decor, use them in craft projects, or give them as gifts.
Can I preserve the crystals?
To preserve them long-term, minimize exposure to moisture, as humidity can cause them to dissolve. A clear varnish can help protect their appearance without hiding them.By embarking on this creative journey, you’ll find that the enchanting world of salt crafting is not just about creating decor but also about enjoying the process. Your finished salt crystals will undoubtedly bring a sense of brightness and joy into your home.
Conclusion
Creating stunning salt crystals can be a delightful way to add a personal touch to your home decor. Let your creativity shine as you explore different colors and display options. Also, if you’re looking to enhance your home with more ideas, check out Growing Crystals: How to Make Beautiful Crystals at Home or find unique decorative pieces like the JAMBO 15.5″ Amber Crystal Motion Light. Happy crafting!
Print
Stunning Salt Crystals for Home Decor
- Total Time: 7 days
- Makes: Varies based on container size
Description
Learn how to create beautiful salt crystals for unique home decor that adds color and texture to any space.
Materials
- Epsom salt or sea salt
- Water
- Food coloring (your choice of colors)
- Clear containers or jars
- String or twine (for hanging, if desired)
Instructions
- Prepare the solution: In a pot, combine water with a generous amount of salt and heat, stirring until fully dissolved.
- Add color: Remove from heat, cool slightly, and add food coloring to the mixture.
- Pour into containers: Carefully pour the colored mixture into clear jars, leaving space at the top.
- Create crystals: Set the containers undisturbed to allow crystals to form over several days.
- Check progress: Monitor the crystals; allow more time for larger growth if desired.
Notes
Ensure the mixture is not too hot when pouring to avoid cracking glass. Place in well-ventilated areas for faster evaporation.