

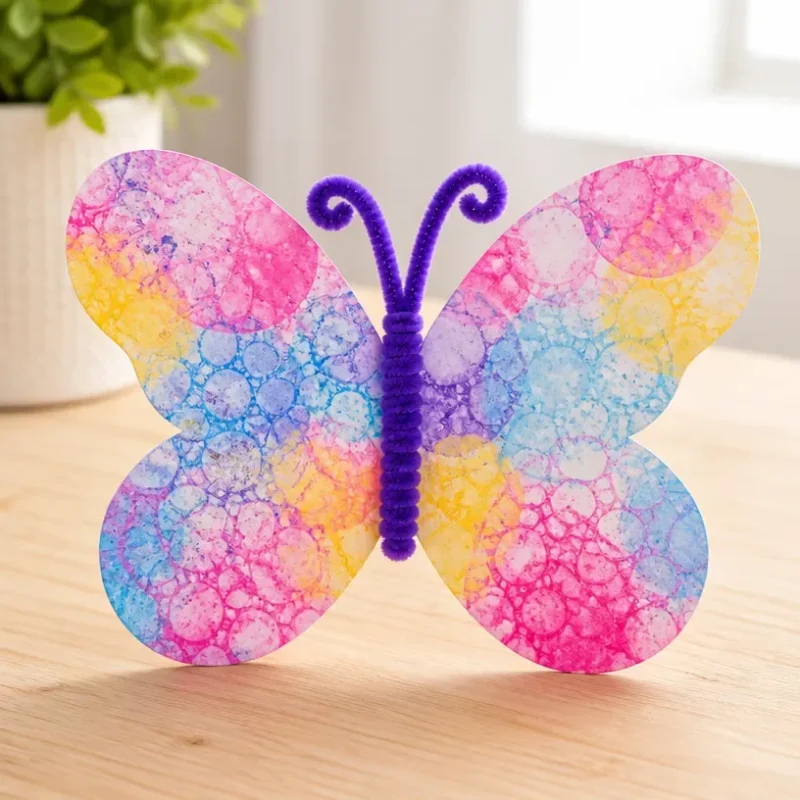
Bubble Print Butterfly Wings: Easy Kids Craft
Create colorful and whimsical butterfly wings using bubble printing techniques! This engaging project allows children to express their creativity while developing fine motor skills. The end result features vibrant, layered designs that catch the eye perfect for enhancing playtime or as a unique decoration. You may also find Clear Rainbow Ghost Shaker Suncatcher Craft Kids useful.
You may also find Easy Baking Soda Balloon Experiment For Kids useful.
Materials You’ll Need
Gather the following materials to create your bubble print butterfly wings: You may also find Glow In The Dark Mermaid Jar Diy Craft For Kids useful.
- Cardstock or heavy paper
- Bubble solution (store-bought or homemade)
- Food coloring or washable paint
- Plastic dish or a shallow container
- Straws (one for each color)
- Scissors
- Glue
- Markers or crayons for detailing
Before You Start
Before diving into this delightful craft, ensure you have a clean workspace. Set aside any delicate items as paint and bubble solution can get messy. It’s a good idea to supervise younger children, especially when using scissors or straws.
How to Make Bubble Print Butterfly Wings
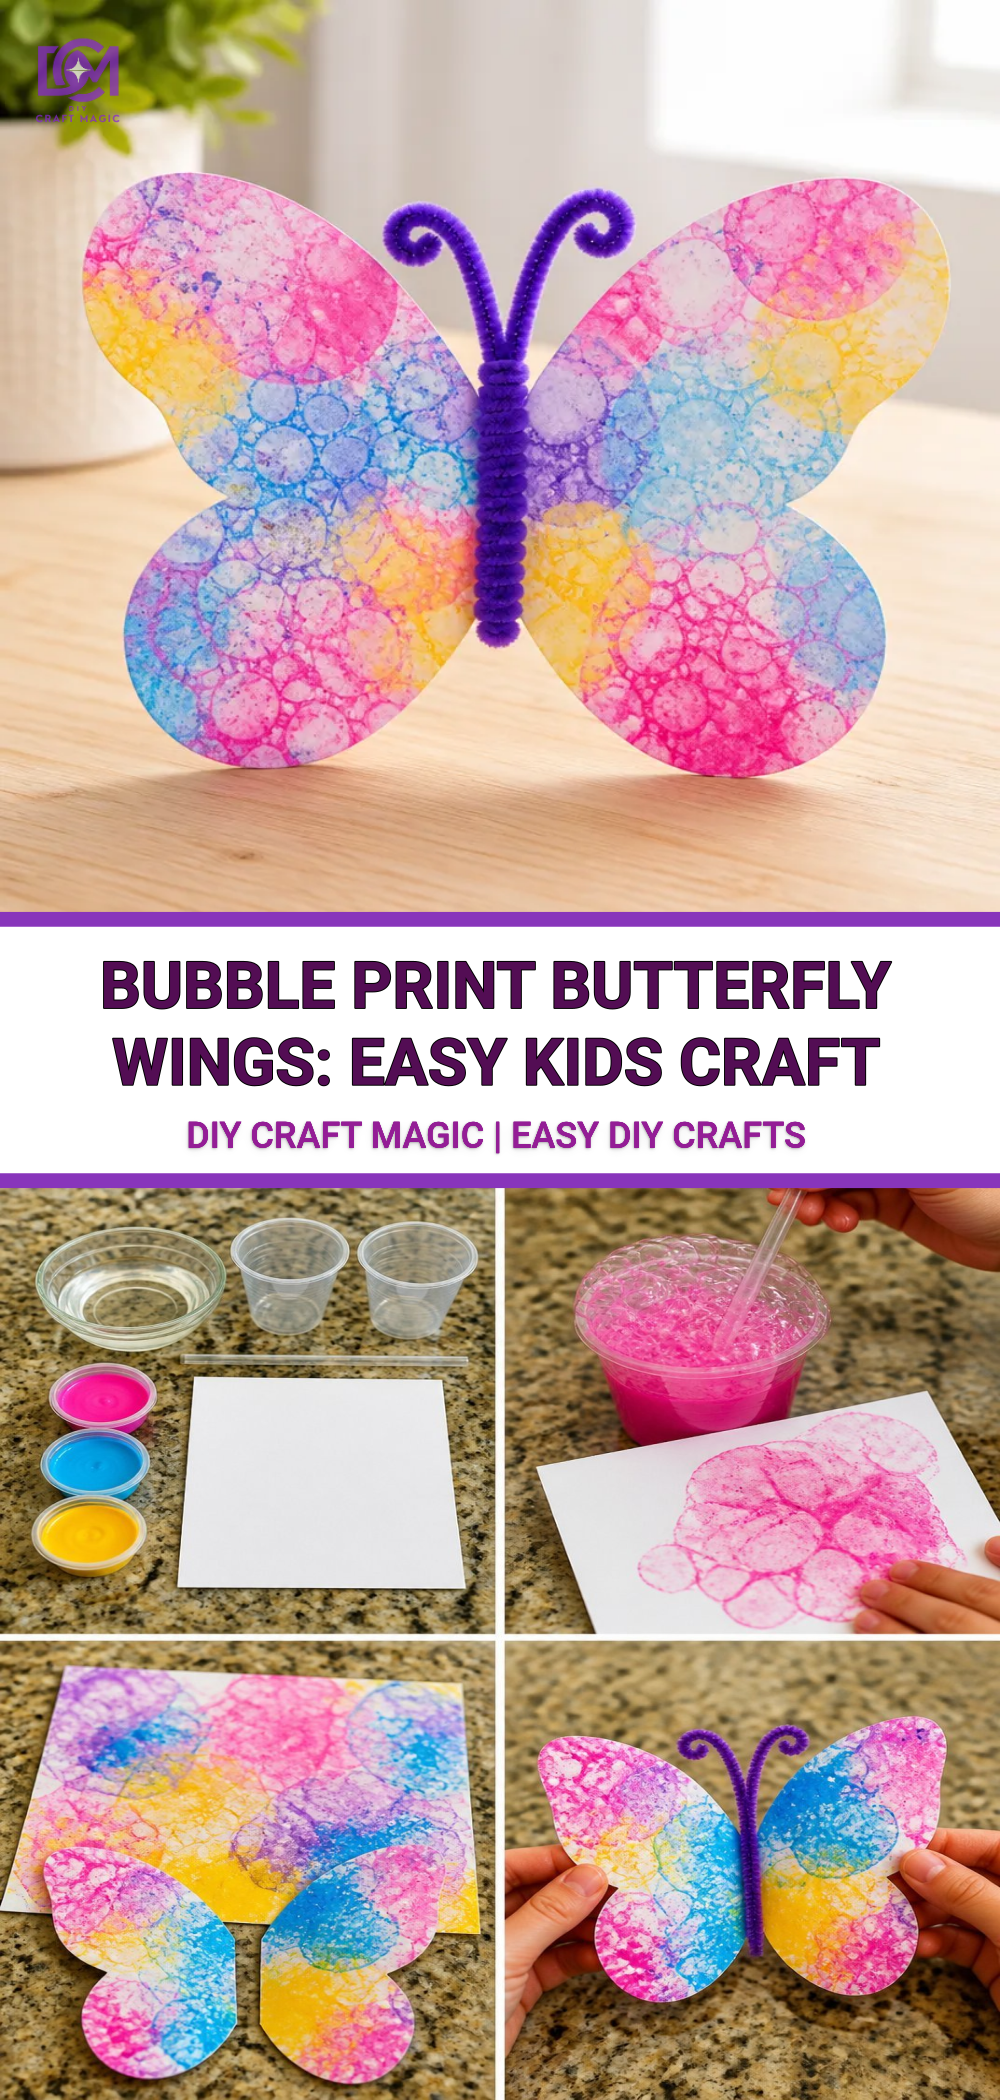
Step 1: Prepare Your Bubble Solution
If making your own bubble solution, mix two parts dish soap with one part water and add a few drops of food coloring or washable paint. This will create the vibrant bubbles that will give your wings color. If you’re pressed for time, feel free to use a pre-made bubble solution.
Step 2: Create the Bubble Prints
Pour a small amount of your colored bubble solution into a plastic dish. Using a straw, blow carefully into the solution to create bubbles. Once the bubbles overflow the edges, take your cardstock and gently press it down onto the billowing bubbles to transfer the colors. The result should be a unique pattern where the bubbles have popped, leaving vibrant impressions. This method also makes for fun and exciting designs!
To explore art projects that use similar techniques, check out this colorful wing art.
Step 3: Cut Out the Wings
Once your prints are dry, use scissors to cut out butterfly wing shapes. You can find templates online, or let your little ones guide the design by drawing their own shapes. This flexibility encourages creativity and reinforces their decision-making skills.
Step 4: Assemble the Butterfly
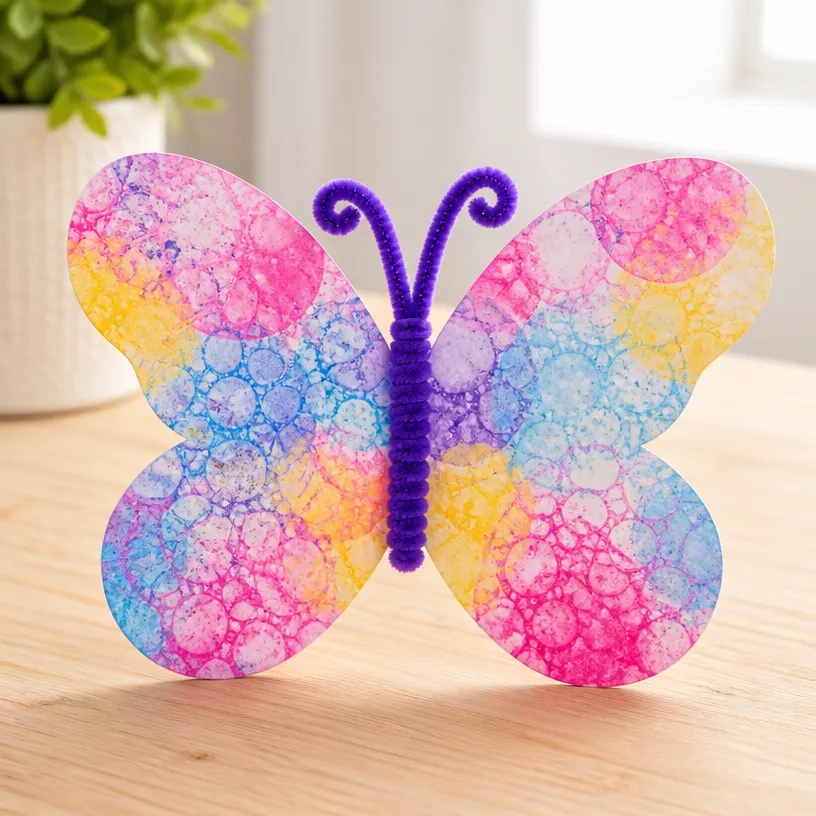
After cutting the wings, it’s time to assemble your butterfly. You can use a large paper body from construction paper or even an old cardboard roll. Glue the wings to the body, ensuring they are spaced out evenly. Finish off with markers or crayons, adding details like eyes and antennae to breathe life into your butterfly.
Step 5: Display Your Butterfly Wings
Finally, find a special place to show off your creation! You can hang the butterfly wings on a wall, or use them as part of a fun dress-up scenario to encourage imaginative play. For additional decoration ideas, consider making a sunflower wreath to complement your butterfly.
Helpful Tips
- Experiment with Colors: Try mixing various colors to see how they blend and change in the bubble prints. Kids love discovering unexpected color outcomes!
- Protect Surfaces: Lay down an old sheet or newspaper when bubble printing to easily catch any spills or splashes.
- Keep It Fun: Allow your kids to embrace their creativity. They might want to create multiple sets of wings with different colors or styles!
Common Mistakes to Avoid
- Too Much Solution: Too much bubble solution can make controlling the bubbles difficult, leading to messy prints. A manageable amount will yield the best results.
- Not Allowing Drying Time: Make sure the bubble prints are fully dry before cutting out the wings. This avoids smudging.
Frequently Asked Questions
Can I use regular paint instead of food coloring?
Yes, washable paint works well too! Just ensure it’s non-toxic and suitable for children.
How do I store leftover bubble solution?
Store any remaining bubble solution in a sealed container. Remember to shake it gently before use to re-incorporate the ingredients.
Variations
- Add Texture: Use different materials like glitter or fabric to enhance the butterfly wings. This will give them a stunning texture and additional visual interest.
- Seasonal Creations: Adapt the colors and designs for different holidays, like using red and green for Christmas or pastels for Easter.
Conclusion
This delightful bubble print butterfly wings craft not only fosters creativity but also provides great fun and exploration. For additional inspiration on butterfly crafts, consider checking out the Bubble Print Butterfly Craft – Happy Toddler Playtime or the Bubble Art Butterflies – Red Ted Art – Kids Crafts. Embrace the joy of crafting with your children, and watch as they create their own unique masterpieces!
Print
Bubble Print Butterfly Wings
- Total Time: 20 minutes
- Makes: 1 set of butterfly wings
Description
Create colorful and whimsical butterfly wings using bubble printing techniques! This engaging project allows children to express their creativity while developing fine motor skills.
Materials
- Cardstock or heavy paper
- Bubble solution (store-bought or homemade)
- Food coloring or washable paint
- Plastic dish or a shallow container
- Straws (one for each color)
- Scissors
- Glue
- Markers or crayons for detailing
Instructions
- Prepare Your Bubble Solution: Mix two parts dish soap with one part water and add a few drops of food coloring or washable paint.
- Create the Bubble Prints: Pour a small amount of bubble solution into a plastic dish and blow into the solution with a straw to create bubbles.
- Cut Out the Wings: Once your prints are dry, use scissors to cut out butterfly wing shapes.
- Assemble the Butterfly: Glue the wings to a large paper body and add details with markers or crayons.
- Display Your Butterfly Wings: Find a special place to show off your creation.
Notes
Experiment with colors and protect your surfaces while crafting. Allow kids to embrace their creativity!