

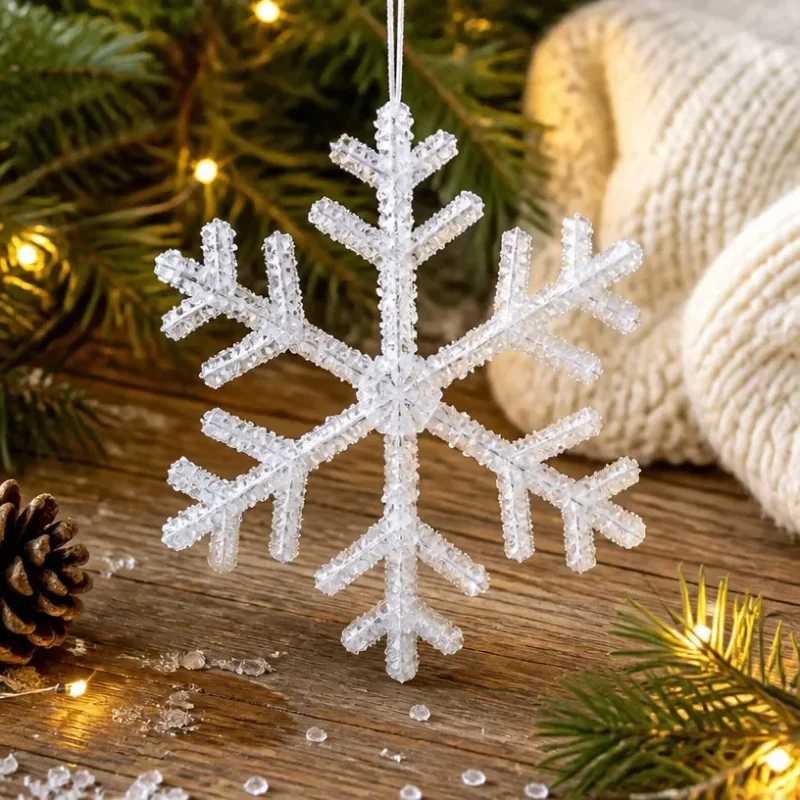
Crafting Crystal Snowflakes That Look Like Real Ice
Creating beautiful, shimmering crystal snowflakes isn’t just a delightful craft; it’s a satisfying project that transforms simple materials into stunning, icy decorations. These crystal snowflakes glisten like real ice and can add a frosty charm to your home decor, perfect for the winter season. This project is approachable for crafters of all ages, so gather your materials and let’s get started! You may also find Borax Rainbow Crystal Bloom Tree Garden Decor useful.
You may also find Crystal Accented Rainbow Butterfly Tree Decor useful.
Materials You’ll Need
To make your crystal snowflakes, gather the following supplies:
- Borax (a key ingredient for the crystal formation)
- Pipe cleaners (to shape the snowflakes)
- Boiling water
- A heatproof container (such as a glass jar)
- String or fishing line (for hanging)
- Food coloring (optional, for a splash of color)
Why This Craft Works So Well
This craft relies on a simple science experiment that leads to beautiful results. When borax is dissolved in hot water and then cooled, it forms crystals as the water evaporates. The unique shapes of your pipe cleaner creations allow the crystals to grow into stunning, icy forms, resembling real snowflakes. You’ll be amazed at how they turn out! For more intricate designs, consider trying something like the colorful crystal sea urchins.
How to Make ❄️ Crystal Snowflakes That Look Like Real Ice
Follow these step-by-step instructions to create your own crystal snowflakes:
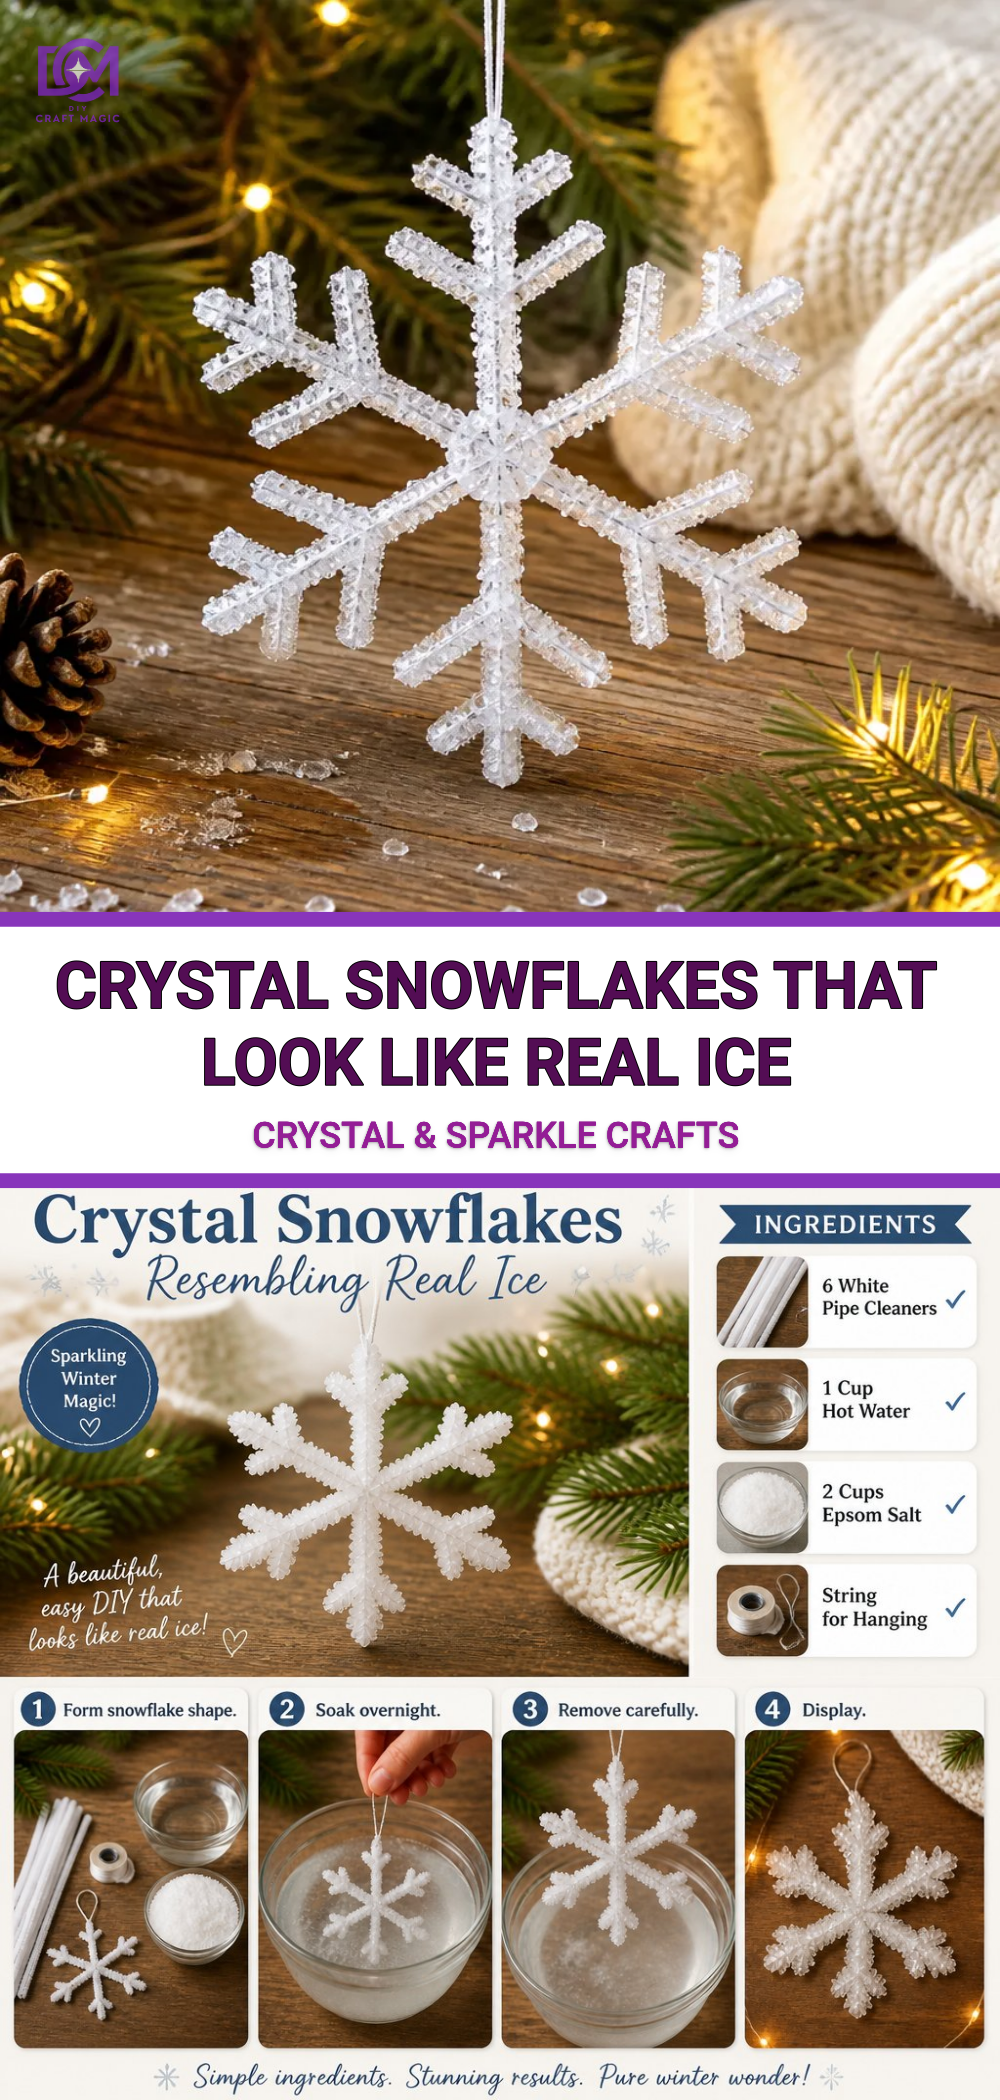
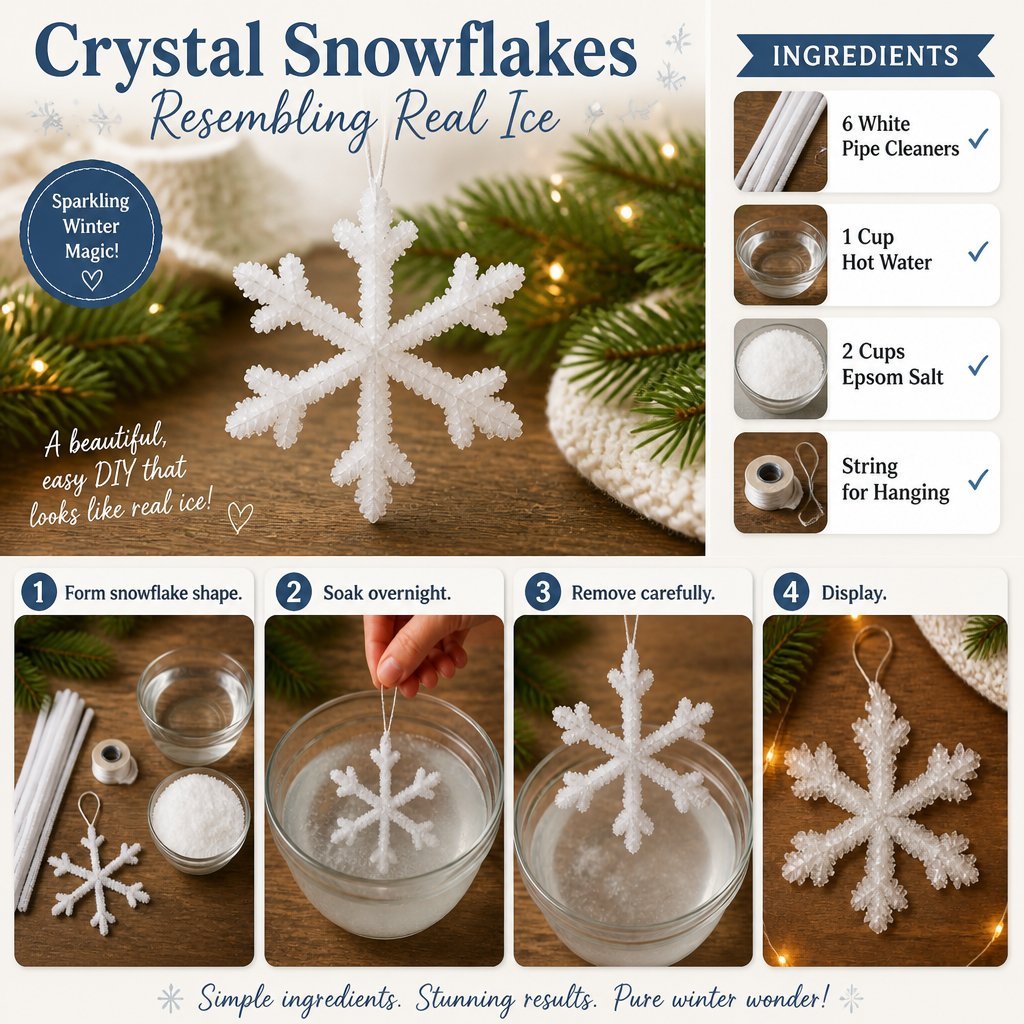
Shape the Pipe Cleaners: Begin by twisting several pipe cleaners together to form a snowflake shape. Get creative with your designs; they can be simple or intricate.
Prepare the Borax Solution: In a heatproof container, mix about 3 tablespoons of borax with 1 cup of boiling water. Stir until the borax is completely dissolved. You can also add food coloring to the solution at this stage to tint your crystals.
Submerge Your Shapes: Tie a piece of string to your snowflake and suspend it in the borax solution so it doesn’t touch the bottom. Make sure the snowflake is fully submerged.
Let It Sit: Allow the container to sit undisturbed for about 6 hours or overnight. As the water evaporates, your snowflake will begin to grow crystals.
Remove and Rinse: Once the crystals have formed, carefully remove the snowflake from the solution and rinse it gently under cold water to remove any excess borax.
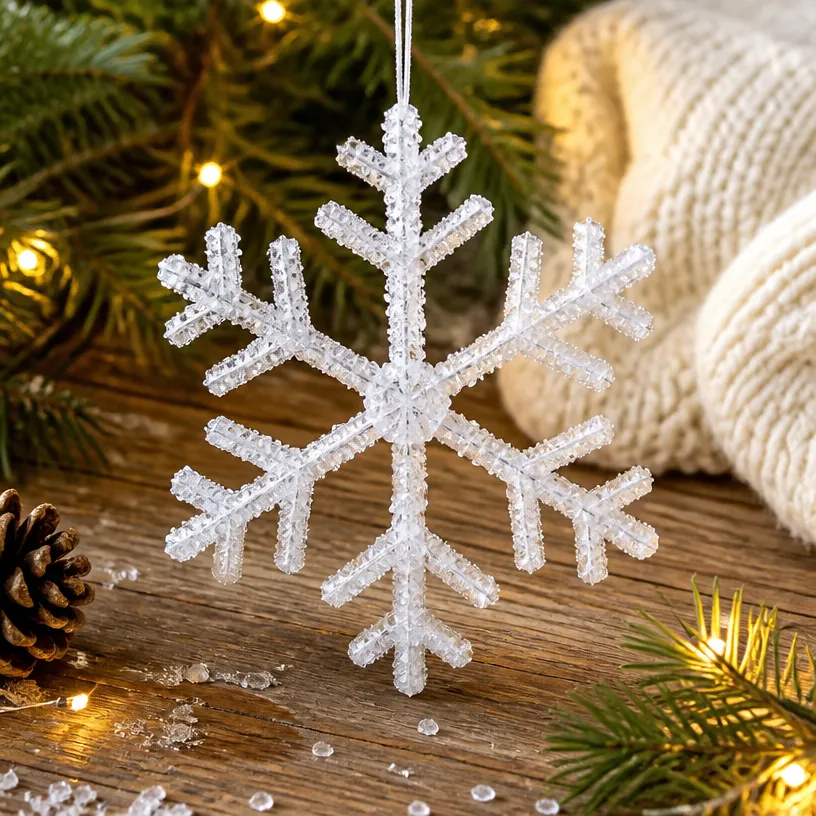
- Dry and Display: Let your snowflakes dry completely. Once dry, they will look stunningly clear and beautifully structured. You can hang them in your windows for a dazzling display that catches sunlight, much like the effect of crystal cloud raindrops.
Getting the Colors Right
For a vibrant display, consider using different food colors in each batch of snowflakes. The contrasting colors can create a magical effect when they catch the light. You might want to experiment with shades like blue and white for a classic winter look, or rainbow tones to make your decorations pop.
Helpful Tips
- Make sure your solution is well-mixed to enhance crystal growth.
- If you’re crafting with kids, supervise them during the boiling water step for safety.
Common Mistakes to Avoid
- Avoid overcrowding the container, as this can hinder crystal growth.
- If the solution is too hot, it may dissolve the crystals you’ve created, so be sure to let it cool a little before use!
Ways to Customize It
You can personalize each snowflake by using different colors or adding glitter to the pipe cleaners before submerging them in the borax solution. This adds an extra sparkle to your creation!
Crafting With Kids
This project is a fantastic way to do science and art in one. Let kids help shape the snowflakes and choose their colors, making it a wonderful bonding experience. They can learn about crystallization while also expressing their creativity.
Display Ideas
Hang your crystal snowflakes from the ceiling or in windows to catch the light beautifully. Pair them with other winter crafts, like the colorful crystal butterfly wings, to create a whimsical winter wonderland in your home.
Frequently Asked Questions
Can I use a different type of glue to attach the string for hanging?
Hot glue works best, but you can use a strong craft adhesive if you prefer.
How do I store my snowflakes after making them?
Store them in a cool, dry place in a padded container to prevent damage.
What if my crystals didn’t form well?
Ensure your borax solution is not too hot and give it more time. Sometimes, a second round in the solution can help.
Conclusion
Crafting these crystal snowflakes that resemble real ice is not only fun but also educational. You can explore the fascinating world of snow by understanding the science behind crystal formation in nature. If you’re curious about the process of snowflake creation in the atmosphere, check out this insightful article on how snowflakes form. Also, learn some fascinating facts about uniqueness in snowflakes by visiting this resource from the Library of Congress. Happy crafting!
Print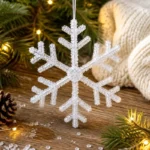
Crystal Snowflakes That Look Like Real Ice
- Total Time: 6 hours 15 minutes
- Makes: 4 snowflakes
Description
Create beautiful, shimmering crystal snowflakes that glisten like real ice and add a frosty charm to your home decor during the winter season.
Materials
- Borax (3 tablespoons)
- Pipe cleaners
- Boiling water (1 cup)
- Heatproof container (such as a glass jar)
- String or fishing line
- Food coloring (optional)
Instructions
- Shape the Pipe Cleaners by twisting several together to form a snowflake shape.
- Prepare the Borax Solution by mixing 3 tablespoons of borax with 1 cup of boiling water in a heatproof container.
- Submerge Your Shapes by tying a piece of string to your snowflake and suspending it in the borax solution.
- Let It Sit for about 6 hours or overnight to allow crystals to grow.
- Remove and Rinse the snowflake gently under cold water to remove excess borax.
- Dry and Display the snowflakes by hanging them in your windows.
Notes
Experiment with different food colors for a vibrant display. Supervise children during the boiling water step for safety.