

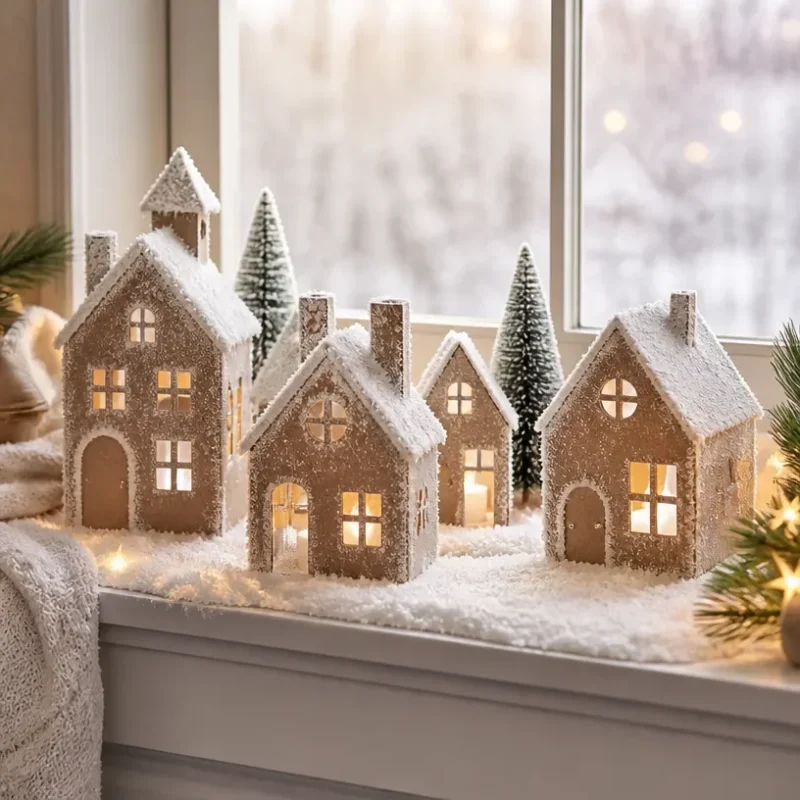
DIY Snow Village Window Display Tutorial
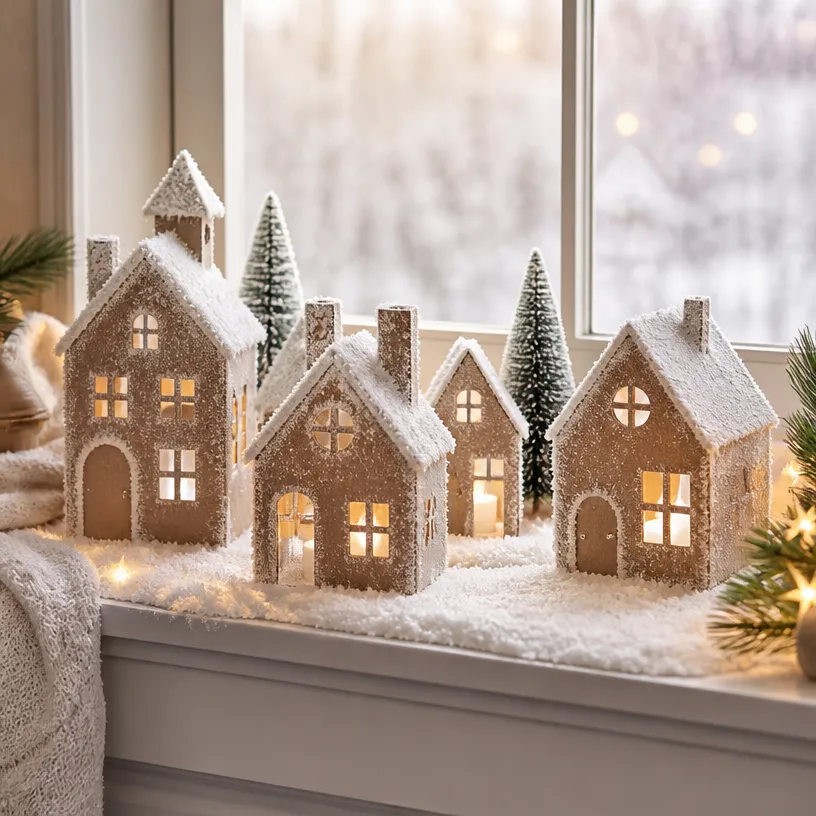
Bring a charming winter wonderland into your home with this DIY Snow Village Window Display. This delightful project transforms ordinary materials into a whimsical scene that captures the enchantment of a snowy village. With glossy finishes and colorful touches, your final display will create a visually striking centerpiece that is both approachable and satisfying to craft. You may also find Bunny Flower Pot Covers Diy Tutorial Spring Decor useful.
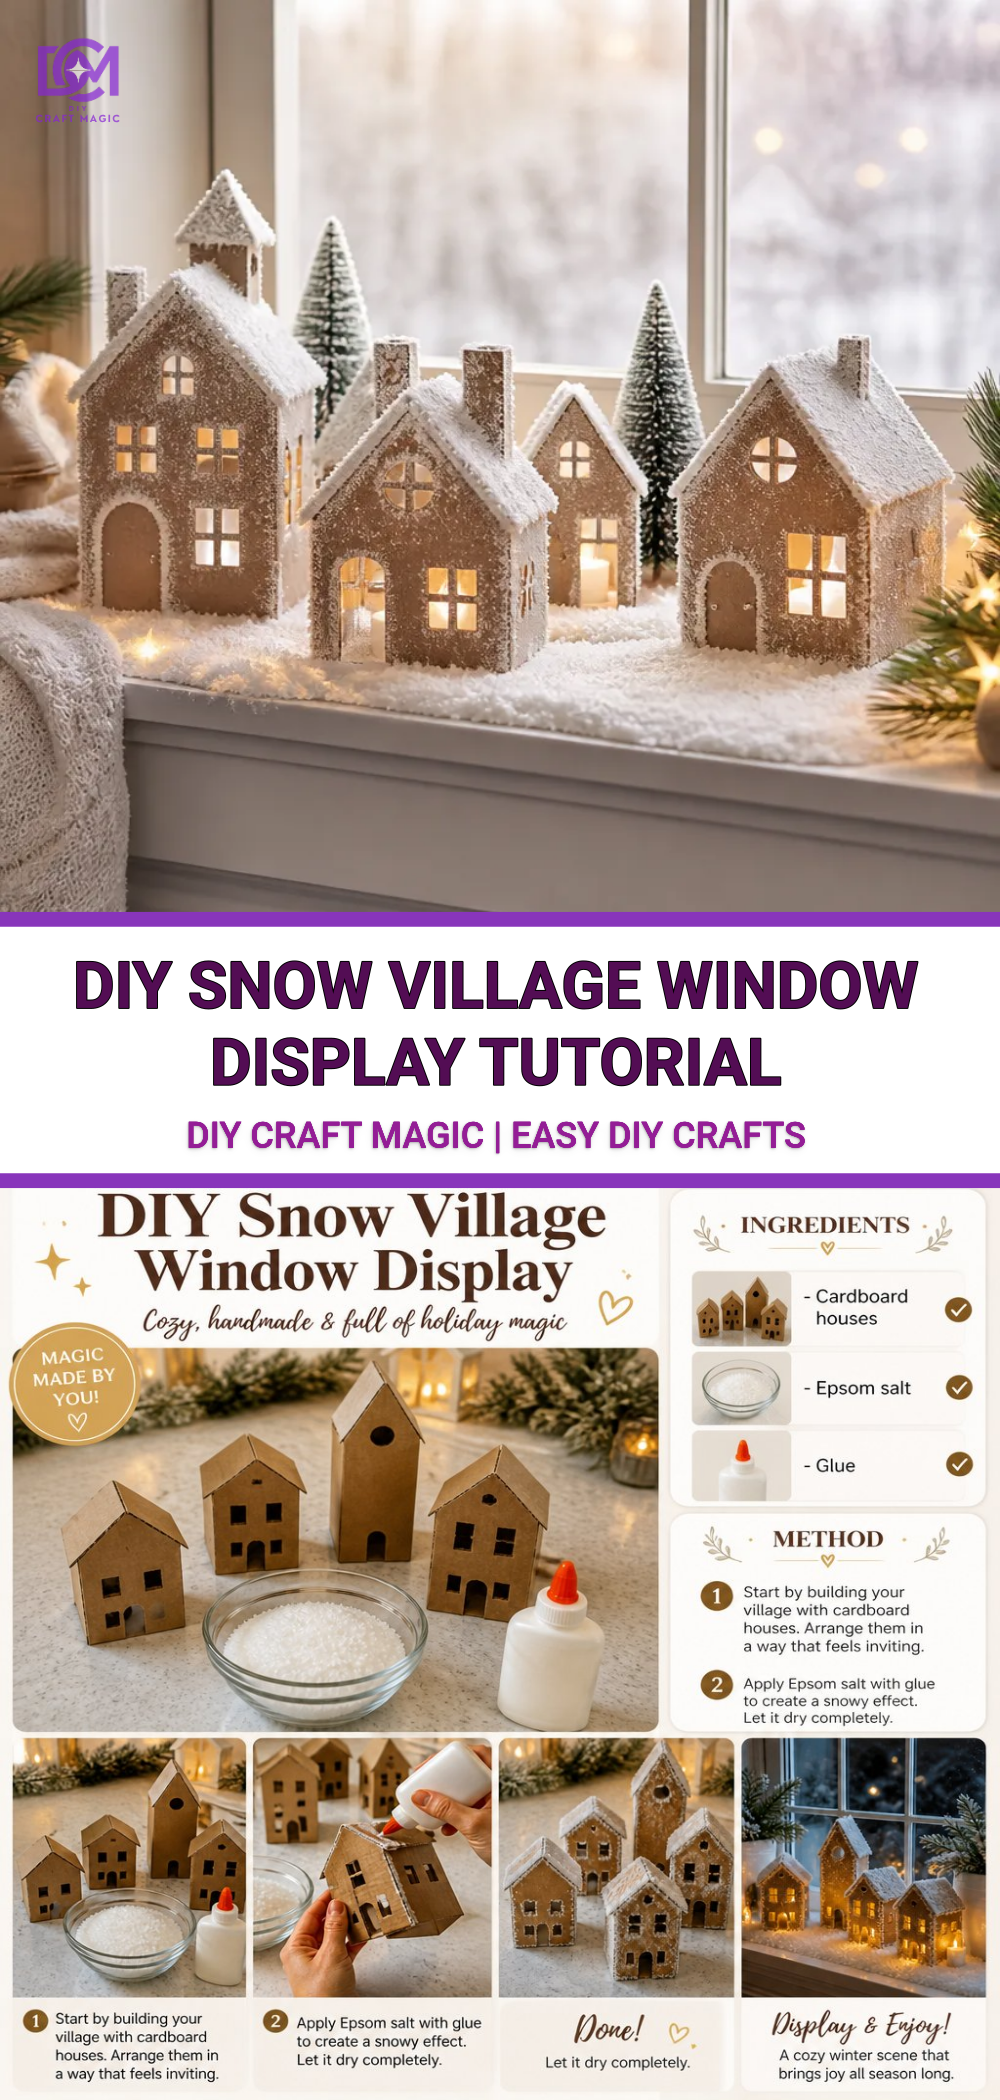
You may also find Coffee Filter Tie Dye Flowers Diy Tutorial useful.
Materials You’ll Need
Before you begin creating your winter forest, gather the following materials: You may also find Crystal Cloud Raindrops Diy Window Suncatcher useful.
- White and blue construction paper
- Scissors
- White glitter
- Clear craft glue
- Cotton balls or faux snow
- LED tea lights
- Miniature houses or figures
- A large piece of cardboard for your base
- Optional: additional decorations such as small pine trees or snowflakes
Step-by-Step Instructions
Create Your Base: Start by cutting your cardboard into a rectangular shape, which will serve as the base for your snow village. This provides stability while showcasing your village. You may also find Diy Colorful Rainbow Mandala Window Decor useful.
Make the Snowy Background: Use your blue construction paper to create the backdrop. Cut it to fit the back of the cardboard base, and glue it on. This blue will represent the winter sky.
Add Snow: Once the background is secure, use clear craft glue to apply glue along the bottom of the cardboard base. Sprinkle white glitter generously to mimic sparkling snow.
Position Miniatures: Arrange your miniature houses and figures on the base, making sure to leave some space for the LED tea lights. After positioning, secure them with clear glue.
Integrate Light: Place the LED tea lights among the village figures to create a warm, glowing effect. This will enhance the coziness of your snowy scene.
Finish with Cotton Snow: Finally, use cotton balls or faux snow to cover any visible glue or to provide extra texture. This will create a layered snowy effect that brings your village to life.
Customize Your Display: Feel free to enhance your project by adding DIY elements like colorful streamers or decorative pieces. If you’re interested in creative alternatives, check out this coffee filter rainbow roses tutorial for vibrant decor ideas.
Helpful Tips
Mix and Match Materials: You can adapt the colors and shapes of your displays. White and silver can give a wintery feel, while adding bright colors can create a more festive vibe, making it perfect for the holiday season.
Crafting With Kids: This project can be a fun family activity! Just be mindful of the scissors and glue if crafting with younger children. Otherwise, let them express their creativity.
Display Ideas: This snow village can be placed on windowsills, mantles, or dining tables. It will invite warmth and happiness into your space throughout winter.
Common Mistakes to Avoid
Overlooking Stability: Ensure that the base is sturdy and that miniatures are secured well to avoid any disappointing falls once your display is set up.
Too Much Glue: A little goes a long way. Using excessive glue can lead to a mess and longer drying times.
Ways to Customize It
Want to make your snow village unique? Include variations like different-sized houses or creating custom signs that display village names. Adding personal touches can make this project even more special.
FAQ
Can I use different lighting?
Yes! You can use fairy lights for a twinkling effect or battery-operated string lights for a cozy ambiance.
How should I store my display?
Keep it in a safe place where it won’t be crushed or damaged. Storing it in a box with cushioning can help preserve its appearance for next year.
How long does it take to dry?
Typically, you should allow at least 24 hours for everything to set properly, especially if you’ve used a lot of glue.
Conclusion
Creating a DIY Snow Village Window Display is a fulfilling project that brings warmth and joy to your home. Whether you are looking to build a simple scene or a grand display, this project can be tailored to your vision. For more festive inspiration, consider exploring Make Your Own Village Bookstore or check out building a Christmas village display for even more ideas. Enjoy crafting your winter wonderland!
Print
DIY Snow Village Window Display
- Total Time: 30 minutes
- Makes: 1 snow village display
Description
Bring a charming winter wonderland into your home with this DIY Snow Village Window Display, transforming ordinary materials into a whimsical scene.
Materials
- White and blue construction paper
- Scissors
- White glitter
- Clear craft glue
- Cotton balls or faux snow
- LED tea lights
- Miniature houses or figures
- A large piece of cardboard for the base
- Optional: additional decorations like small pine trees or snowflakes
Instructions
- Create your base by cutting cardboard into a rectangular shape for stability.
- Make the snowy background with blue construction paper, cut to fit the back of the cardboard base, and glue it on.
- Add snow by applying clear glue along the bottom of the cardboard, then sprinkle with white glitter.
- Position your miniature houses and figures, leaving space for LED tea lights, and secure them with glue.
- Integrate light by placing LED tea lights among the figures for a warm glow.
- Finish with cotton balls or faux snow to cover glue and enhance the snowy effect.
- Customize your display by adding colorful streamers or decorative pieces.
Notes
This project is great for families; ensure safety with scissors and glue for younger children. Customize it to reflect personal styles and make it unique.