

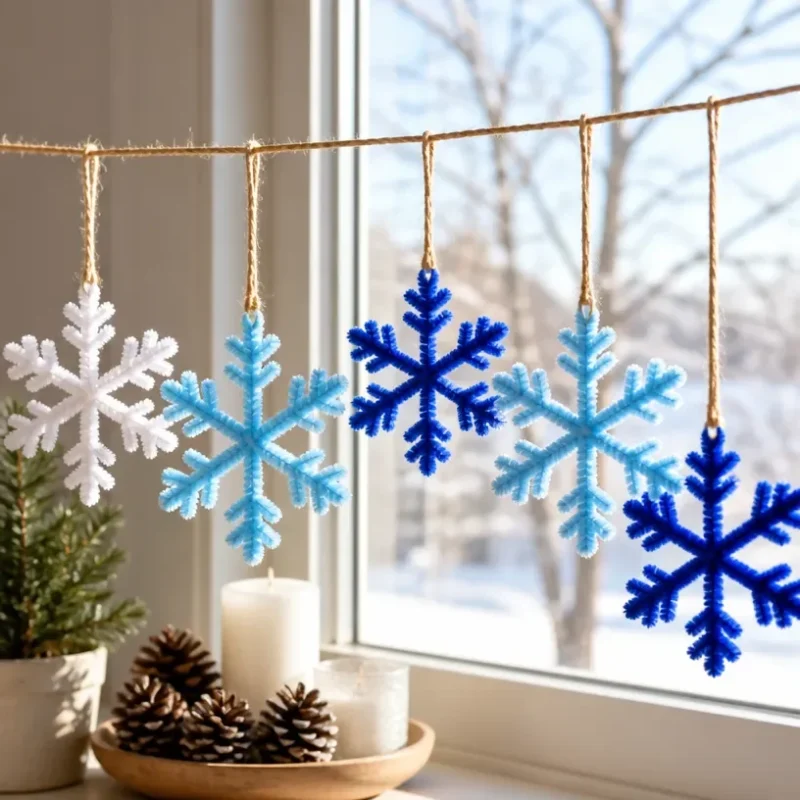
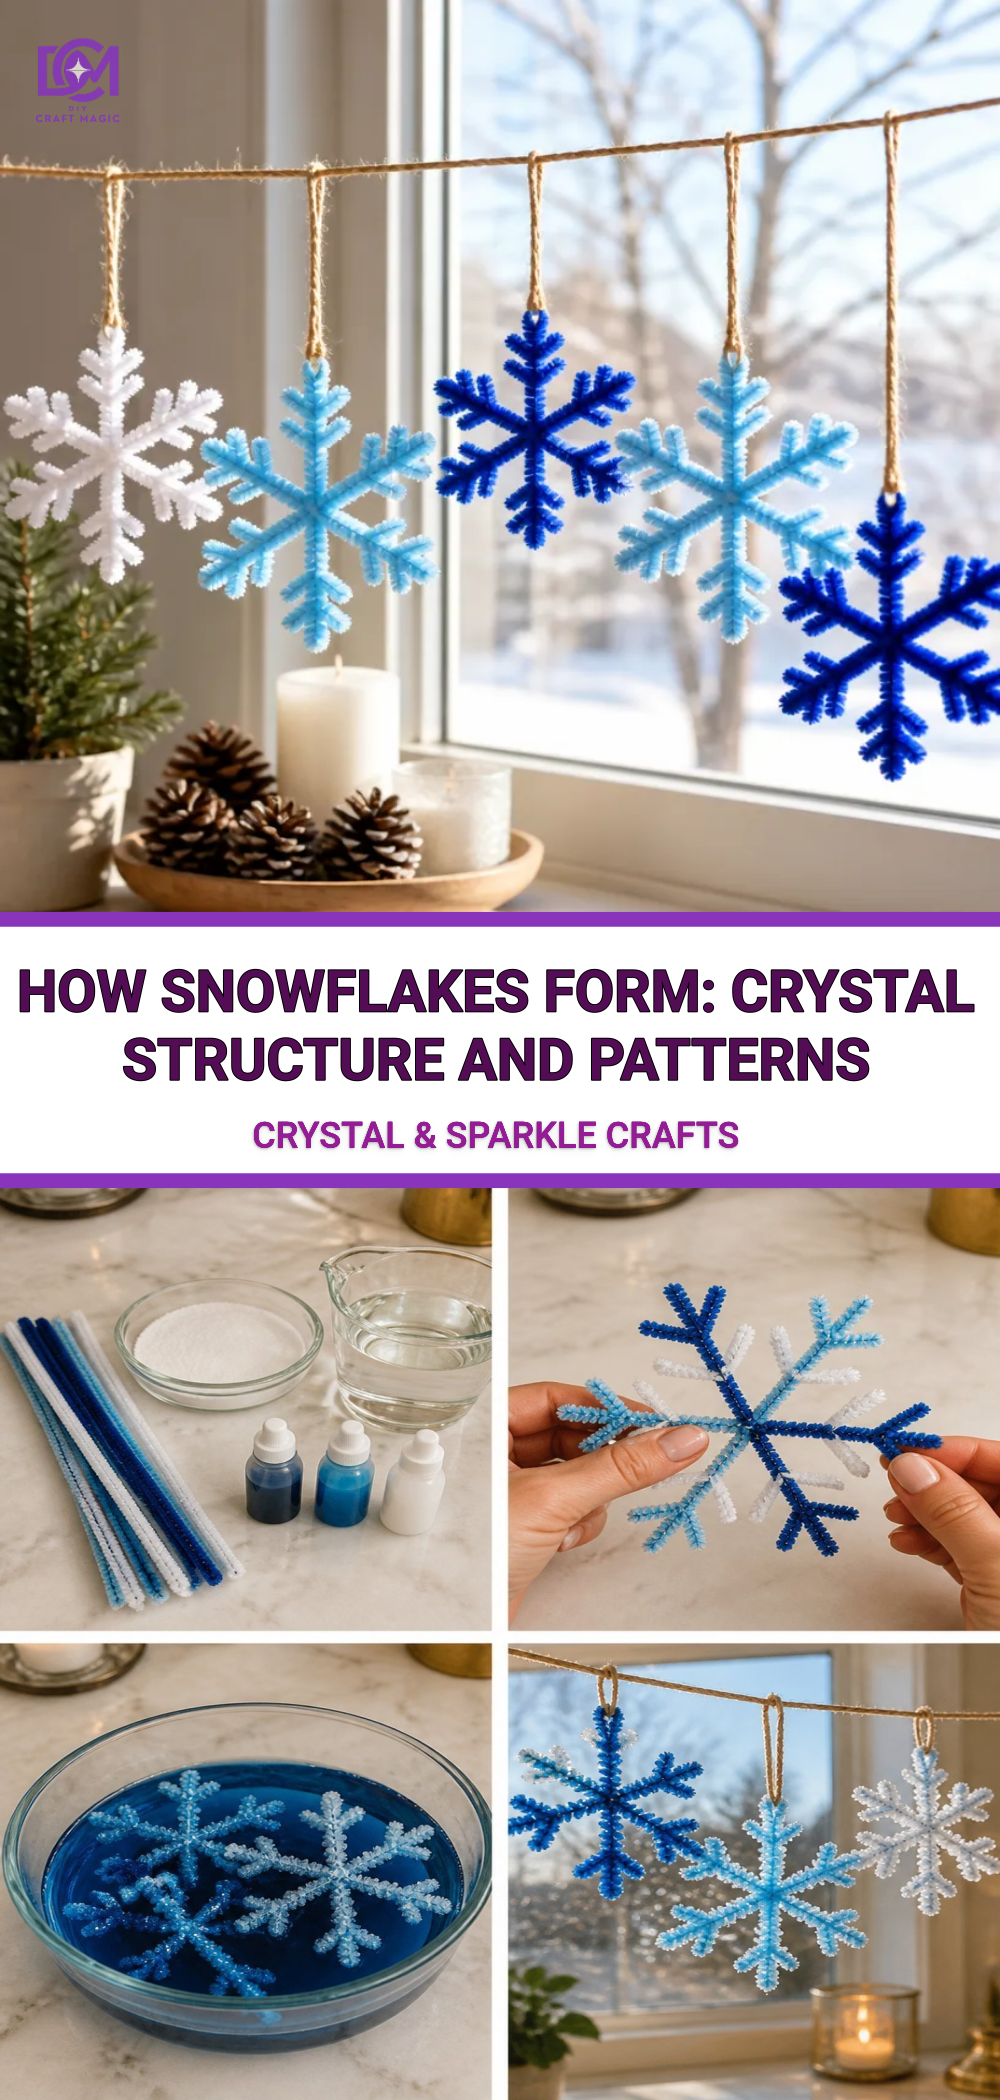
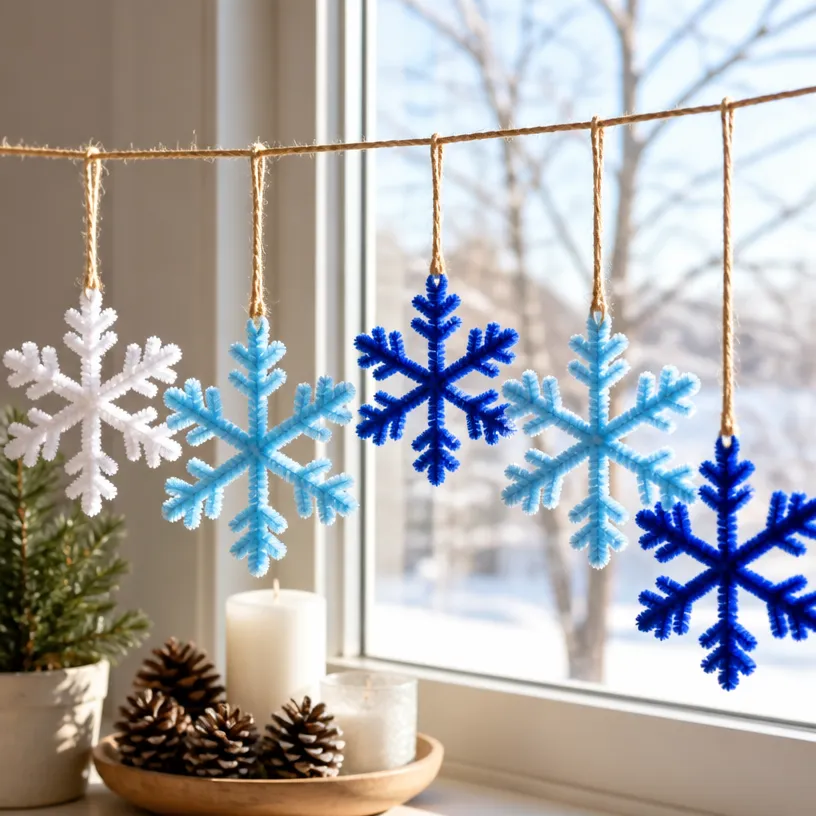
Crafting snowflakes is a delightful and visually appealing project that allows you to explore the beauty of nature right from your home. By creating these intricate designs, you’ll not only enhance your creative skills but also impress your family and friends with your artistic flair. The end result will be delicate, sparkling snowflakes that mimic the unique crystal structures found in nature. For those interested in other crystal-related crafts, you might want to check out how to create a rainbow crystal tree for an additional touch of magic in your decor!
Materials You’ll Need
To get started with making your beautiful snowflakes, gather the following materials: You may also find Colorful Rainbow Stained Glass Lantern For Candles useful.
You may also find Crystal Accented Rainbow Butterfly Tree Decor useful.
- Borax (available in the laundry section of stores)
- Water
- A heat-resistant container (like a glass jar)
- String
- A stick or pencil
- A bowl
- A spoon
- Optional: glitter or food coloring for extra flair
Why This Craft Works So Well
The process of making snowflakes involves crystallization, and the fascinating thing about crystals is that they form in unique and beautiful patterns. It’s the same science that you can see in various crafts, including crystal butterfly wings! By manipulating the temperatures and understanding the properties of the materials, your snowflakes will replicate the beauty of snowflakes that fall from the sky.
Step-by-Step Instructions
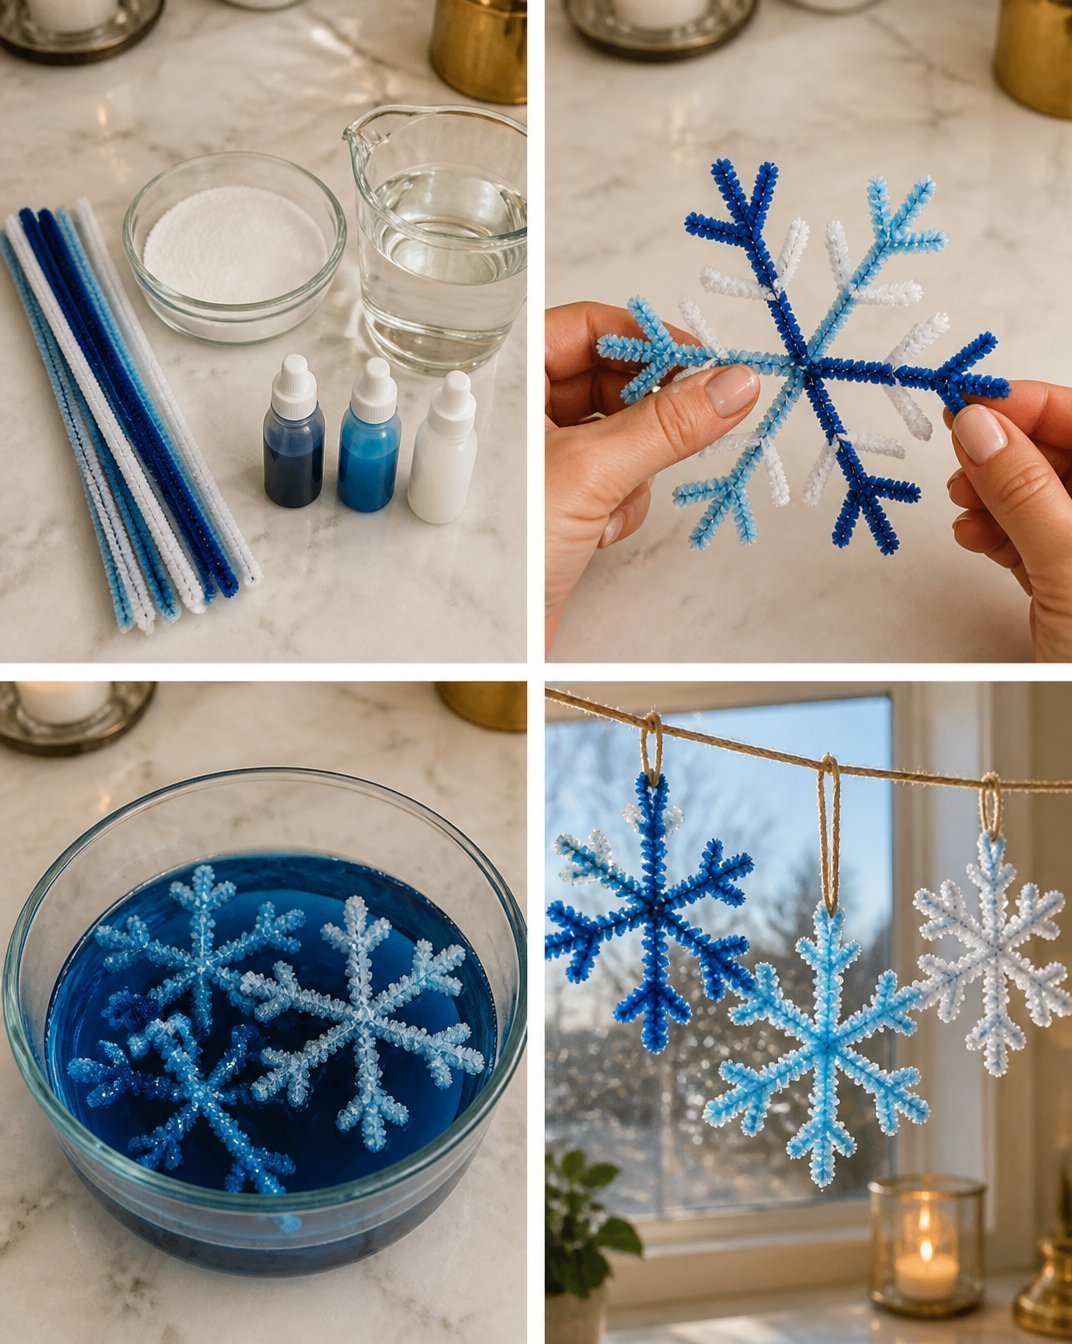
Prepare Your Solution: Start by boiling about two cups of water in your heat-resistant container. Once the water is boiling, gradually add around six tablespoons of Borax while stirring continuously. Keep adding until no more Borax dissolves, indicating a saturated solution.
Create Your Snowflake Structure: While the solution is cooling slightly, take your string and cut it to the desired length for the snowflake. You can form shapes such as stars, or any other intricate designs that seem appealing. Use the stick or pencil to hold the shape above the solution.
Submerge and Wait: Once your structure is ready, suspend it in the solution using the stick or pencil so that it isn’t touching the bottom of the container. The snowflake needs time to form, so leave it undisturbed for six to eight hours.
Observe the Growth: After several hours, you’ll begin to see crystals forming on your snowflake. The longer you leave it, the more impressive your creation will become. You might find it interesting to explore other crystal crafts, like making colorful crystal sea urchins to broaden your crafting repertoire!
Final Touches: Once you are satisfied with the size of your snowflake, gently remove it from the solution and hang it to dry. You can sprinkle glitter or add food coloring during the drying process for extra sparkle.
Helpful Tips
- Temperature Control: Make sure to keep your solution at a consistent temperature while it crystallizes. A colder environment can lead to more defined crystals.
- Experiment with Shapes: Feel free to experiment with different shapes and sizes for your snowflakes. Each one will turn out unique!
- Crafting with Kids: This project can easily be turned into a family activity. Guide your children in making their designs, and then compare the unique results.
Common Mistakes to Avoid
- Too Little Borax: If you don’t use enough Borax in your solution, the crystals won’t form properly. Ensure your solution is saturated.
- Touching During Formation: It’s crucial not to disturb the snowflake while it’s forming. This can disrupt the crystal growth process.
Frequently Asked Questions
How long do the snowflakes take to dry?
They typically take a few hours to dry thoroughly, depending on the humidity in the air.
Can I reuse the solution?
No, the solution is meant for a one-time use, as the crystals absorbed will affect future attempts.
What if I want colored snowflakes?
You can experiment with food coloring added to the solution or sprinkle glitter during the crystallization process for a colorful effect.
Conclusion
Creating snowflakes is a mesmerizing project that not only beautifies your space but also teaches you about the science of crystallization. To learn more about how snowflakes form and delve deeper into the science, check out this informative piece on the science behind snow. Additionally, for further insights into the formation of snow crystals, visit American Scientist. Happy crafting!
Print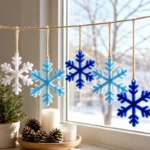
DIY Crystallized Snowflakes
- Total Time: 490 minutes
- Makes: Varies
Description
Create stunning snowflakes using a simple crystallization process with Borax and water. Perfect for a fun crafting project!
Materials
- Borax
- Water
- A heat-resistant container (like a glass jar)
- String
- A stick or pencil
- A bowl
- A spoon
- Optional: glitter or food coloring
Instructions
- Prepare your solution: Boil about two cups of water in your heat-resistant container and gradually add six tablespoons of Borax while stirring until saturated.
- Create your snowflake structure with the string, forming shapes like stars or other designs.
- Submerge the structure in the solution, suspending it with the stick or pencil so it doesn’t touch the bottom.
- Observe the growth: Leave the snowflake undisturbed for six to eight hours to allow crystallization.
- Final touches: Once satisfied, gently remove the snowflake from the solution and let it dry. Add glitter or food coloring if desired.
Notes
Keep the solution at a consistent temperature during crystallization and experiment with different shapes for unique snowflakes.