


How to Make Easy Frozen Ice Crystal Pine Cones
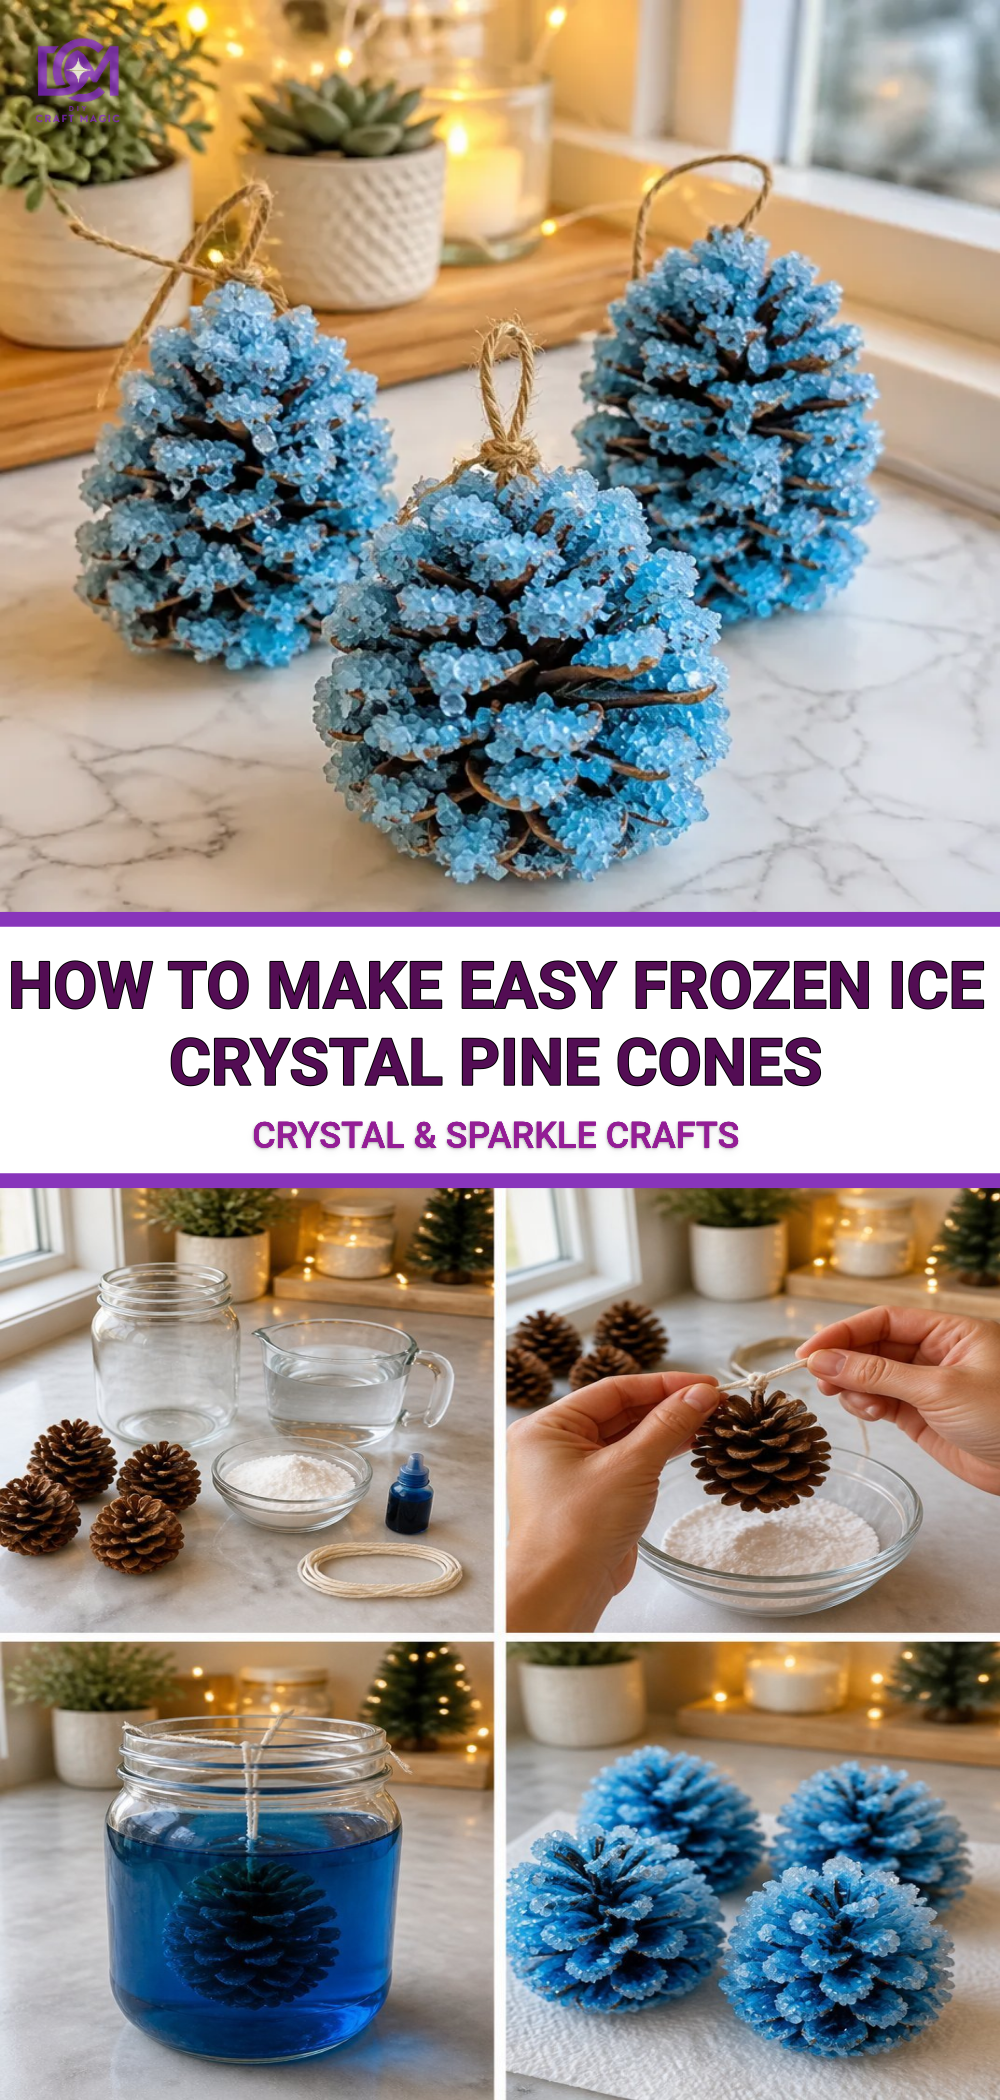
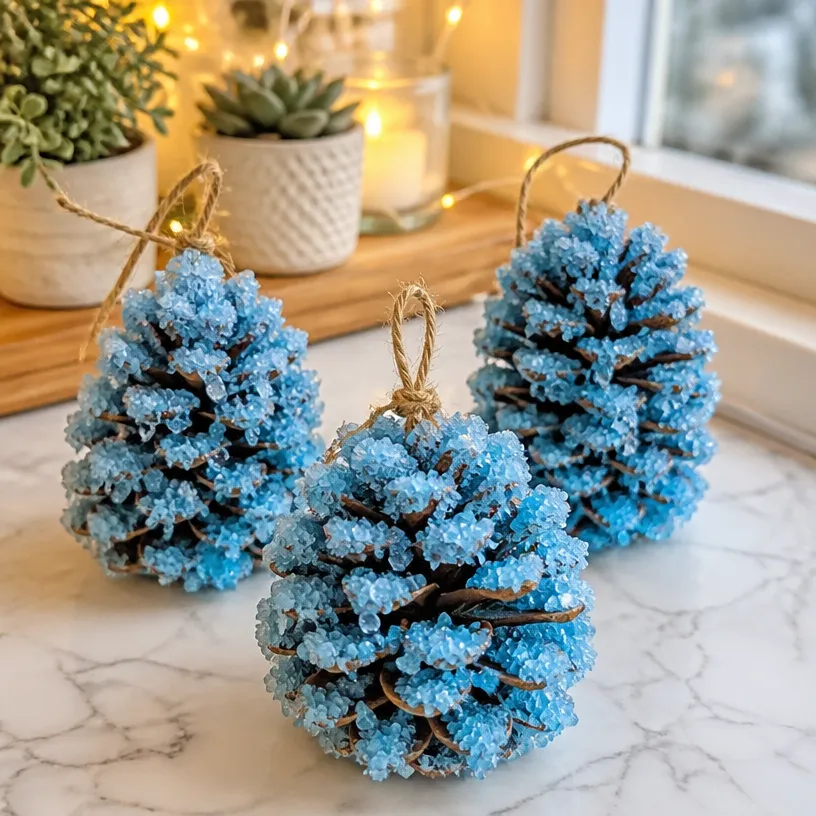
Creating beautiful, sparkling frozen ice crystal pine cones is a delightful craft project that’s both easy and visually stunning. These pine cones, adorned with shiny crystals, make excellent decorations for your home during the winter season or even as a unique gift. With just a few basic supplies, you can transform ordinary pine cones into these magical pieces of art that glitter in the light! You may also find How To Make A Lemon Suncatcher useful.
You may also find Easy Rainbow Beaded Pipe Cleaner Snails Tutorial useful.
Materials You’ll Need
Before diving into the instructions, gather the following materials:
- Pine cones (fresh or dried)
- A large bowl or container for soaking
- Water
- Borax (available at most grocery stores)
- A stirring stick
- Optional: food coloring or glitter for added sparkle
How to Make Easy Frozen Ice Crystal Pine Cones
Step 1: Prepare the Borax Solution
To start, you’ll want to create the borax solution. In your large bowl, mix about 3 tablespoons of borax with 1 cup of hot water. Stir until the borax is fully dissolved. If you’d like to add color, now is the perfect time to mix in a few drops of food coloring.
Step 2: Soak the Pine Cones
Once the borax solution is ready, submerge your pine cones in the mixture. Ensure they are fully covered by the liquid. Allow them to soak for at least 4-6 hours, or overnight for a more intense crystal effect. For more fascinating crafting ideas, check out this tutorial on frozen rainbow pine cones.
Step 3: Remove and Dry
After soaking, carefully remove the pine cones from the solution. You’ll notice a white, crystal-like coating forming on the surface. Place them on a drying rack or some newspaper to allow the excess liquid to drain away. This step can be tricky, so take care not to disturb the crystals.
Step 4: Optional Embellishments
While your pine cones are drying, think about any additional decorations you might want to add. For instance, a sprinkle of glitter can enhance their visual appeal. If you’re interested in crafting flowers that sparkle, consider exploring how to create DIY crystal flowers as well!
Step 5: Display Your Creations
Once the pine cones are completely dry, it’s time to display them! They can be used as centerpieces, holiday decorations, or festive touches around your home. You could even fill a bowl with them for a stunning seasonal display.
Helpful Tips
- For an even more vibrant effect, try using colored borax or experiment with mixing different colors of food coloring.
- Make sure to use gloves while handling borax, as it can irritate your skin.
- If you want a denser crystal coat, allow the pine cones to soak longer.
Common Mistakes to Avoid
While making these ice crystal pine cones is enjoyable, here are some pitfalls to watch out for:
- Not using enough borax in the water can lead to fewer crystals forming.
- Skipping the drying phase can cause the crystals to fall off prematurely.
Ways to Customize It
Feel free to customize your frozen pine cones! Try different sizes of pine cones or use scented oils in the soaking solution for a delightful aroma. Making sparkling frozen pine cones can also be a fun variation, adding more texture and brilliance to your creations.
Frequently Asked Questions
Can I use any type of pine cone?
Yes, most pine cones work well for this project. However, larger cones may yield more dramatic results.
How do I store my completed pine cones?
Store your frozen ice crystal pine cones in a cool, dry place to avoid melting or moisture damage.
What if I want to make a smaller batch?
Simply reduce the amount of borax and water proportionally while ensuring the pine cones are well submerged.
Conclusion
Transforming simple pine cones into sparkling crystal creations is a fun and fulfilling project, perfect for families and craft enthusiasts alike. For further inspiration and tips on making crystal pine cones with borax, consider checking out this comprehensive guide from KidMinds. If you’re looking for a sweet winter treat to complement your crafting session, you can learn more about making sno-cones for a refreshing treat!
Print
Easy Frozen Ice Crystal Pine Cones
- Total Time: 360 minutes
- Makes: Varies based on the number of pine cones used
Description
Create beautiful, sparkling frozen ice crystal pine cones as stunning winter decorations or unique gifts.
Materials
- Pine cones (fresh or dried)
- Water
- Borax (3 tablespoons)
- Optional: food coloring
- Optional: glitter
Instructions
- Prepare the borax solution by mixing 3 tablespoons of borax with 1 cup of hot water in a large bowl.
- Soak the pine cones in the borax solution, ensuring they are fully covered for at least 4-6 hours.
- Remove the pine cones from the solution and place them on a drying rack to drain excess liquid.
- Add optional embellishments like glitter while the pine cones are drying.
- Display your creations as centerpieces or festive decorations around your home.
Notes
Use gloves when handling borax to avoid skin irritation. Experiment with colored borax for vibrant effects.