

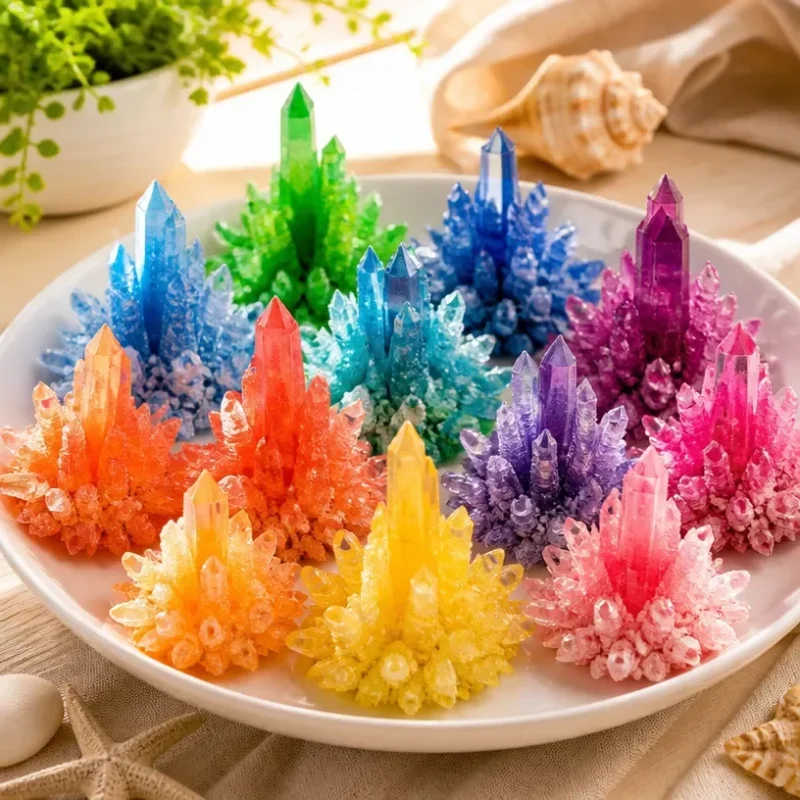
Rainbow-Colored Crystal Sea Urchins: A Colorful Ocean Guide
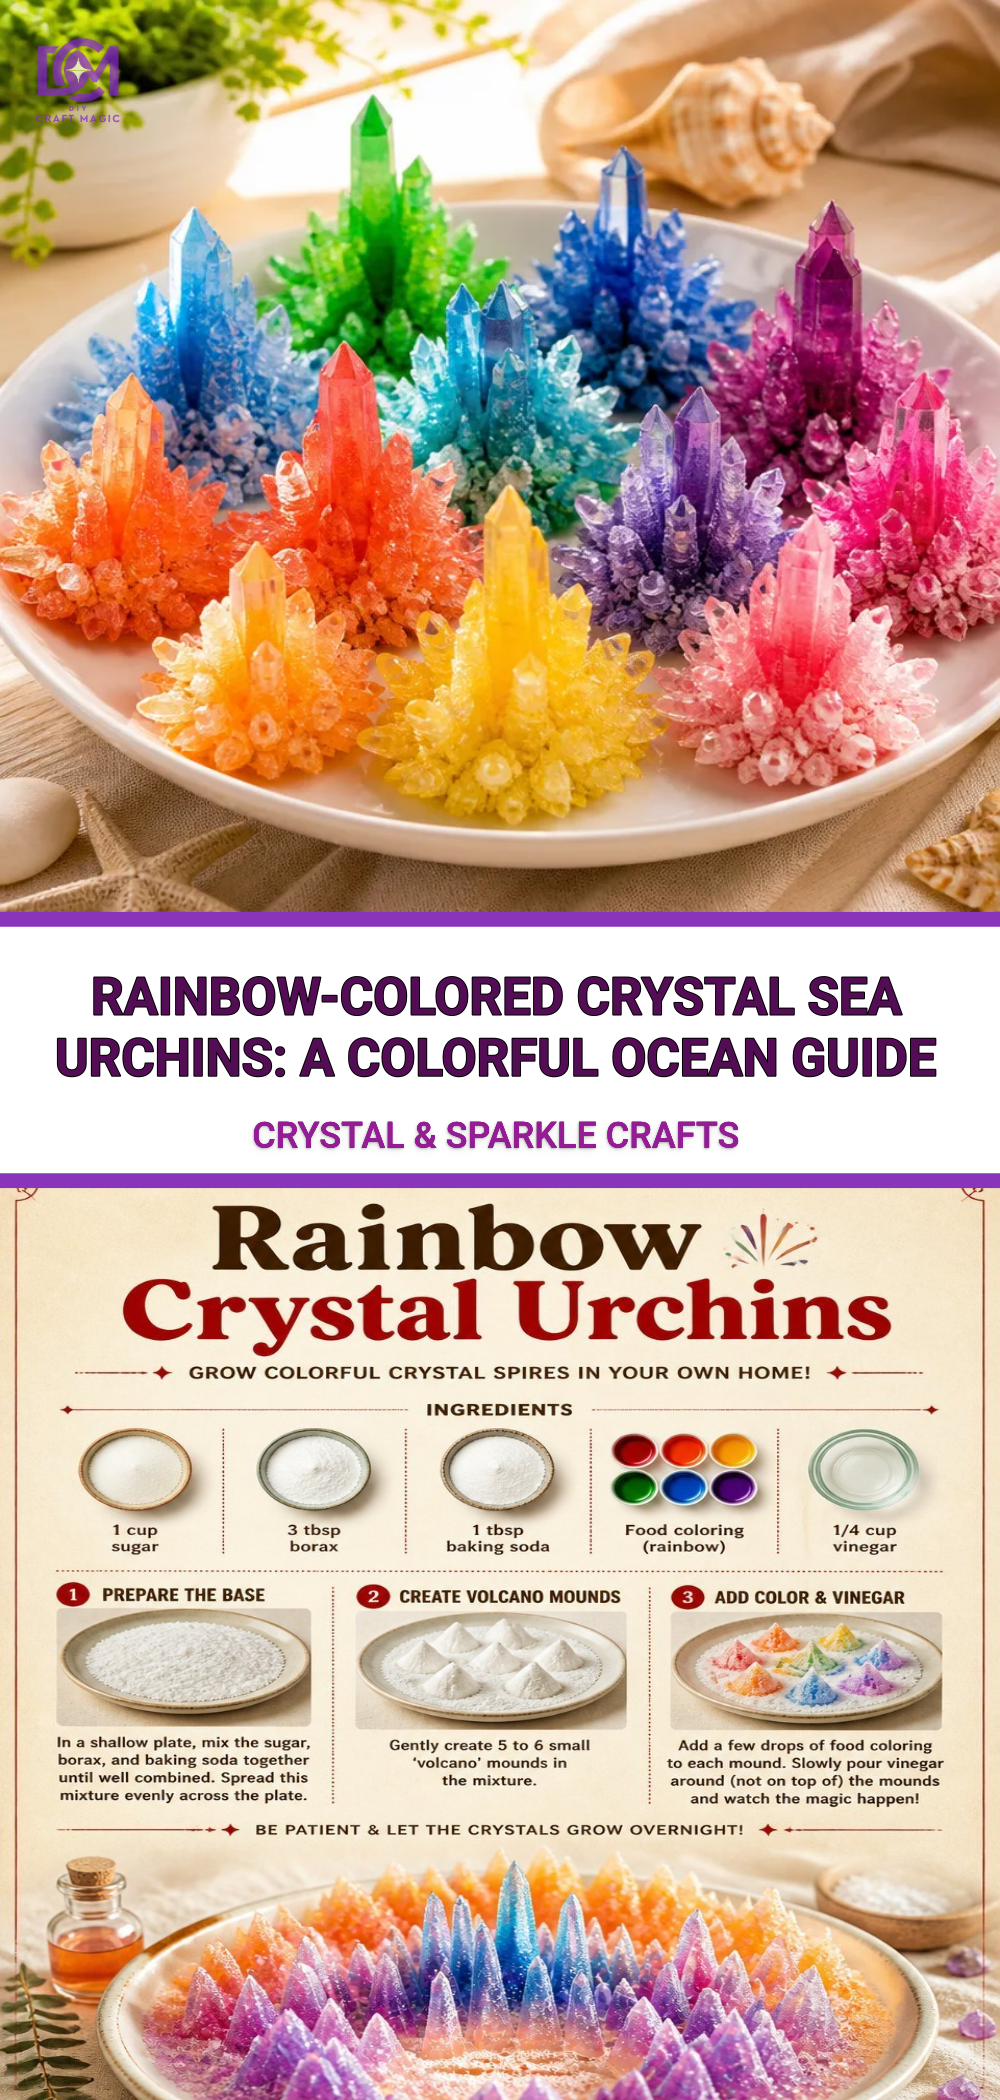
Creating beautiful rainbow-colored crystal sea urchins is a charming and satisfying craft project that anyone can enjoy. These vibrant sea urchins not only add a fun splash of color to any space but also evoke memories of ocean adventures. With accessible materials and straightforward steps, this craft is perfect for families, teachers, and anyone eager to explore their creative side. For those looking for a complementing craft, check out our guide on colorful ocean jar decor.
Materials You’ll Need
Before diving into crafting, gather the following materials that will bring your crystal sea urchins to life: You may also find Crystal Rainbows Clouds Prismatic Sky Phenomena Guide useful.
You may also find Colorful Crystal Butterfly Rainbow Wings useful.
- Clear resin – Choose a high-quality resin suitable for this project.
- Mold for sea urchins – Flexible silicone molds work best.
- Color pigments – Go for vibrant colors like blue, green, and pink.
- Glitter – Optional, for added sparkle.
- Mixing cups and sticks – For achieving that perfect color blend.
- Safety gear – Gloves and a mask to ensure you’re safe while crafting.
How to Make Rainbow-Colored Crystal Sea Urchins: A Colorful Ocean Guide
Now that you have your materials, let’s get started. Follow these steps for creating your dazzling sea urchins.
Step-by-Step Instructions
Prepare Your Workspace: Ensure your crafting area is well-ventilated and covered to protect against spills.
Mix the Resin: In a mixing cup, follow the manufacturer’s instructions to combine the resin and hardener. Stir thoroughly for about five minutes until it’s completely blended.
Add Color: Divide the resin into smaller cups, adding different pigments to each to create a rainbow effect. You may use a small amount of glitter for each color to enhance the sea urchins’ sparkle.
Pour into Molds: Carefully pour each color layer into the mold, starting with the lighter colors and gradually adding darker shades. This will create a beautiful gradient effect.
Cure the Resin: Allow the resin to cure according to the package instructions. Typically, you’ll leave it for 24 hours to ensure it hardens completely.
Demold and Finish: Once the resin is cured, gently remove the sea urchins from the molds. If needed, sand any rough edges for a smooth finish.
Creating the rainbow effect in your sea urchins reflects the beauty of nature. For a fun project with a similar splash of color, consider making bubble print butterfly wings.
Getting the Colors Right
Color choice is vital; consider using colors that reflect the ocean like aquamarine, coral pink, and sunshine yellow. You can experiment with mixing pigments to discover new shades that vibrate beautifully together.
Helpful Tips
- Temperature Matters: Warmer temperatures help the resin cure faster and more evenly, so be mindful of your crafting environment.
- Experiment: Don’t hesitate to play with different color combinations to find what works best for your artistic vision.
Common Mistakes to Avoid
- Not Mixing Properly: Ensure you fully mix the resin and hardener to avoid sticky spots in your final product.
- Overfilling the Molds: Leave some space as the resin expands slightly during curing.
Ways to Customize It
Customization is endless! You can add small shells or sand to your molds before pouring resin for added texture. For another colorful idea, check out how to make a cupcake liner flower bouquet for decoration.
Crafting With Kids
This project can be a delightful experience with kids just ensure they’re monitored during the mixing process and handling of materials. Use bright colors to engage their creativity and make it a family art session.
Frequently Asked Questions
What type of resin should I use?
Choose a clear epoxy resin for the best results as it offers clarity and durability.
How do I clean my molds?
Wipe the molds with a soft cloth and ensure no residue is left before the next use.
Can I use other objects in the mold?
Yes, feel free to embellish your sea urchins with small decorative items like beads or dried flowers for a personalized touch.
Conclusion
Creating your rainbow-colored crystal sea urchins is not only an enjoyable craft but also a way to brighten up your space with handmade art. Once you’ve finished your crafts, why not explore more adventures? Check out the top things to do on the beaches in Lincoln City for inspiration, or dive into the vibrant world of marine life at Boss Frog’s Hawaii Fish & Marine Wildlife guide. Happy crafting!
Print
Rainbow-Colored Crystal Sea Urchins
- Total Time: 1455 minutes
- Makes: Varies
Description
Create vibrant, rainbow-colored crystal sea urchins with this simple craft project that sparks creativity and adds beautiful decor to any space.
Materials
- Clear resin
- Mold for sea urchins
- Color pigments
- Glitter (optional)
- Mixing cups and sticks
- Safety gear (gloves and mask)
Instructions
- Prepare your workspace: Ensure your crafting area is well-ventilated and covered to protect against spills.
- Mix the resin: In a mixing cup, follow the manufacturer’s instructions to combine the resin and hardener. Stir thoroughly for about five minutes until it’s completely blended.
- Add color: Divide the resin into smaller cups, adding different pigments to each to create a rainbow effect. You may use a small amount of glitter for each color to enhance the sea urchins’ sparkle.
- Pour into molds: Carefully pour each color layer into the mold, starting with the lighter colors and gradually adding darker shades. This will create a beautiful gradient effect.
- Cure the resin: Allow the resin to cure according to the package instructions. Typically, you’ll leave it for 24 hours to ensure it hardens completely.
- Demold and finish: Once the resin is cured, gently remove the sea urchins from the molds. If needed, sand any rough edges for a smooth finish.
Notes
Customize your sea urchins by adding small shells or sand before pouring resin for added texture.